Yes that’s true what we need is an Advanced Mode which enables us to have full manual control if needed
3 Likes
It used to be (and, honestly, I don’t remember if the product still does it…) that after the analysis phase, a red tick mark was placed on the different sliders in positions the product perceived as the best settings for the active image. We could manually move the slider control handles but those tick marks remained fixed in place as a means for us to compare how far afield of the recommended setting we were going. I could see the analysis taking place if someone liked that reference feature (and/or thought, “Hey, I’ll try manual settings and if I don’t like them I’ll switch to AP.”).
But, I agree with PnP (and, you) that for those of us who just want to trial and error our settings on a manual basis it would be good to have an “Expert Mode” that doesn’t waste the upfront time assessing each image every time one opens into the UIs (plural b/c holds for Phot (TP) and Giga (TG)). It would be a good Preference option. Image Analysis/No Analysis.
3 Likes
Expert Mode that’s the tag I was looking for and yes it would be great for the experienced user.
As for the Red Check Mark indicating recommended setting we have little Green Dots in Dark Mode and when you move the sliders Left or Right the Green Dots become hollow unless you move the slider to that position again then they become full
Now here’s the strangest thing that works for Dark Mode however for Light Mode the behaviour is a little different.
You still get the little Green Dots but, now in Light Mode if you move the sliders Left or Right the Green Dots completely disappears and only come back if you put the slider back to its original position
Strange but True
1 Like
Hunh! Interesting. Now I’ll have to look tomorrow. I forgot since I only do manual settings!
Seems like it would be a great drinking game to see how well someone could line up the dots after a few beverages…
1 Like
I’ll drink too that ![]()
![]()
![]()
![]()
2 Likes
Thanks @AND-E ! That is correct
@plugsnpixels Analysis is a crucial step in the app and not related to Auto-Pilot. When a file is opened, the analysis runs first so that any enhancements you add afterward preview much faster. If the analysis did not happen up front, every time you applied an enhancement the app would need to analyze the image again, which would significantly slow things down.
In your current Photoshop workflow, where you are editing one file at a time, the app will perform analysis for each file individually. That is expected behavior. When using the standalone app for batch processing, analysis only needs to on file #1 within the batch workflow, which saves a substantial amount of time overall. Batch processing is not supported from Photoshop plugins, which is why the standalone workflow is recommended for larger jobs.
The development team is also exploring the feasibility of allowing enhancements and Presets to be added while analysis is still running, to further streamline the experience. You can add your vote here for this!
ill bring up the green dot flag with Lingyu tomorrow as well!
1 Like
Thanks, so it’s wait now or wait later, ha!
3 Likes
Yes ahah: wait a little more upfront so you wait much less later. That said, being able to apply presets or enhancements while analysis is still running would absolutely be a great improvement, and it’s something being explored.
Tip: If you know you won’t be editing images with people and won’t need face recovery, you can speed up analysis by going to Preferences → Recover Faces and setting it to Never. This skips face detection during analysis and saves time. Just remember to turn it back on when working with portraits again.
5 Likes
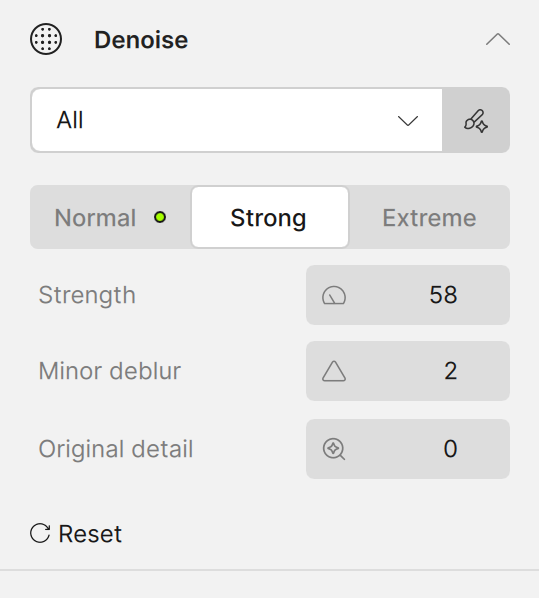
What happens if you try other models? And, at lower settings values?
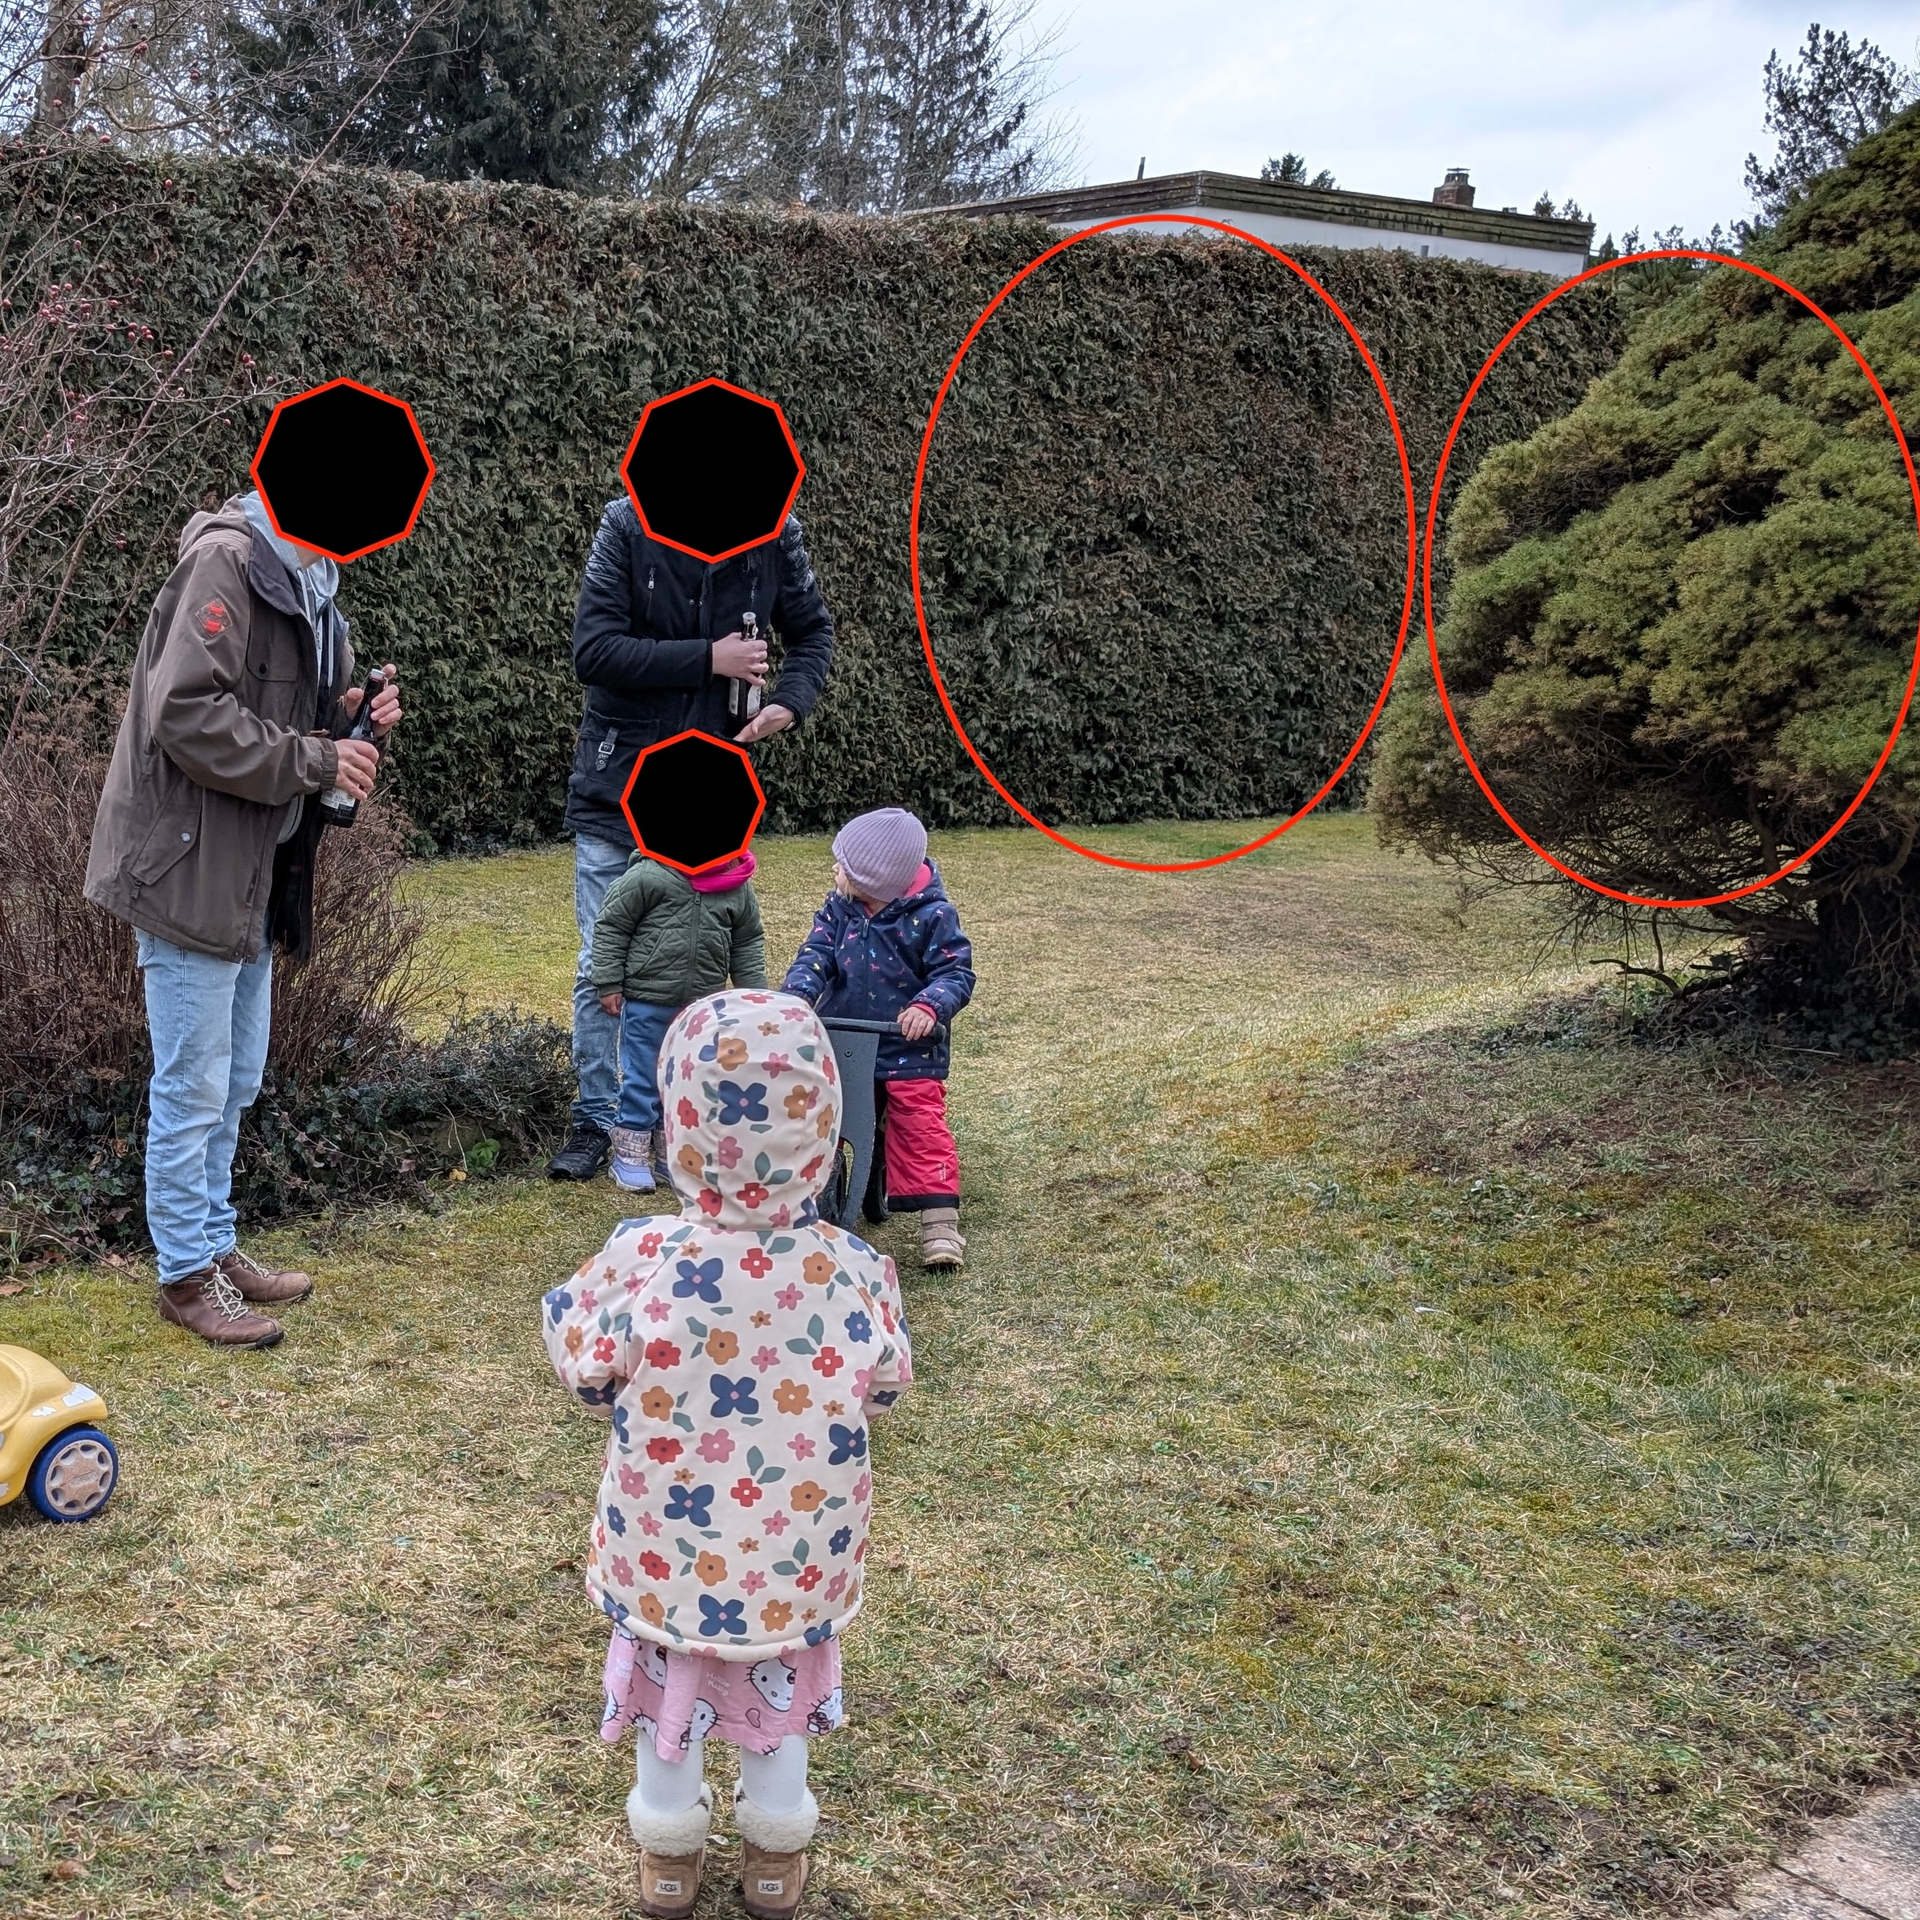
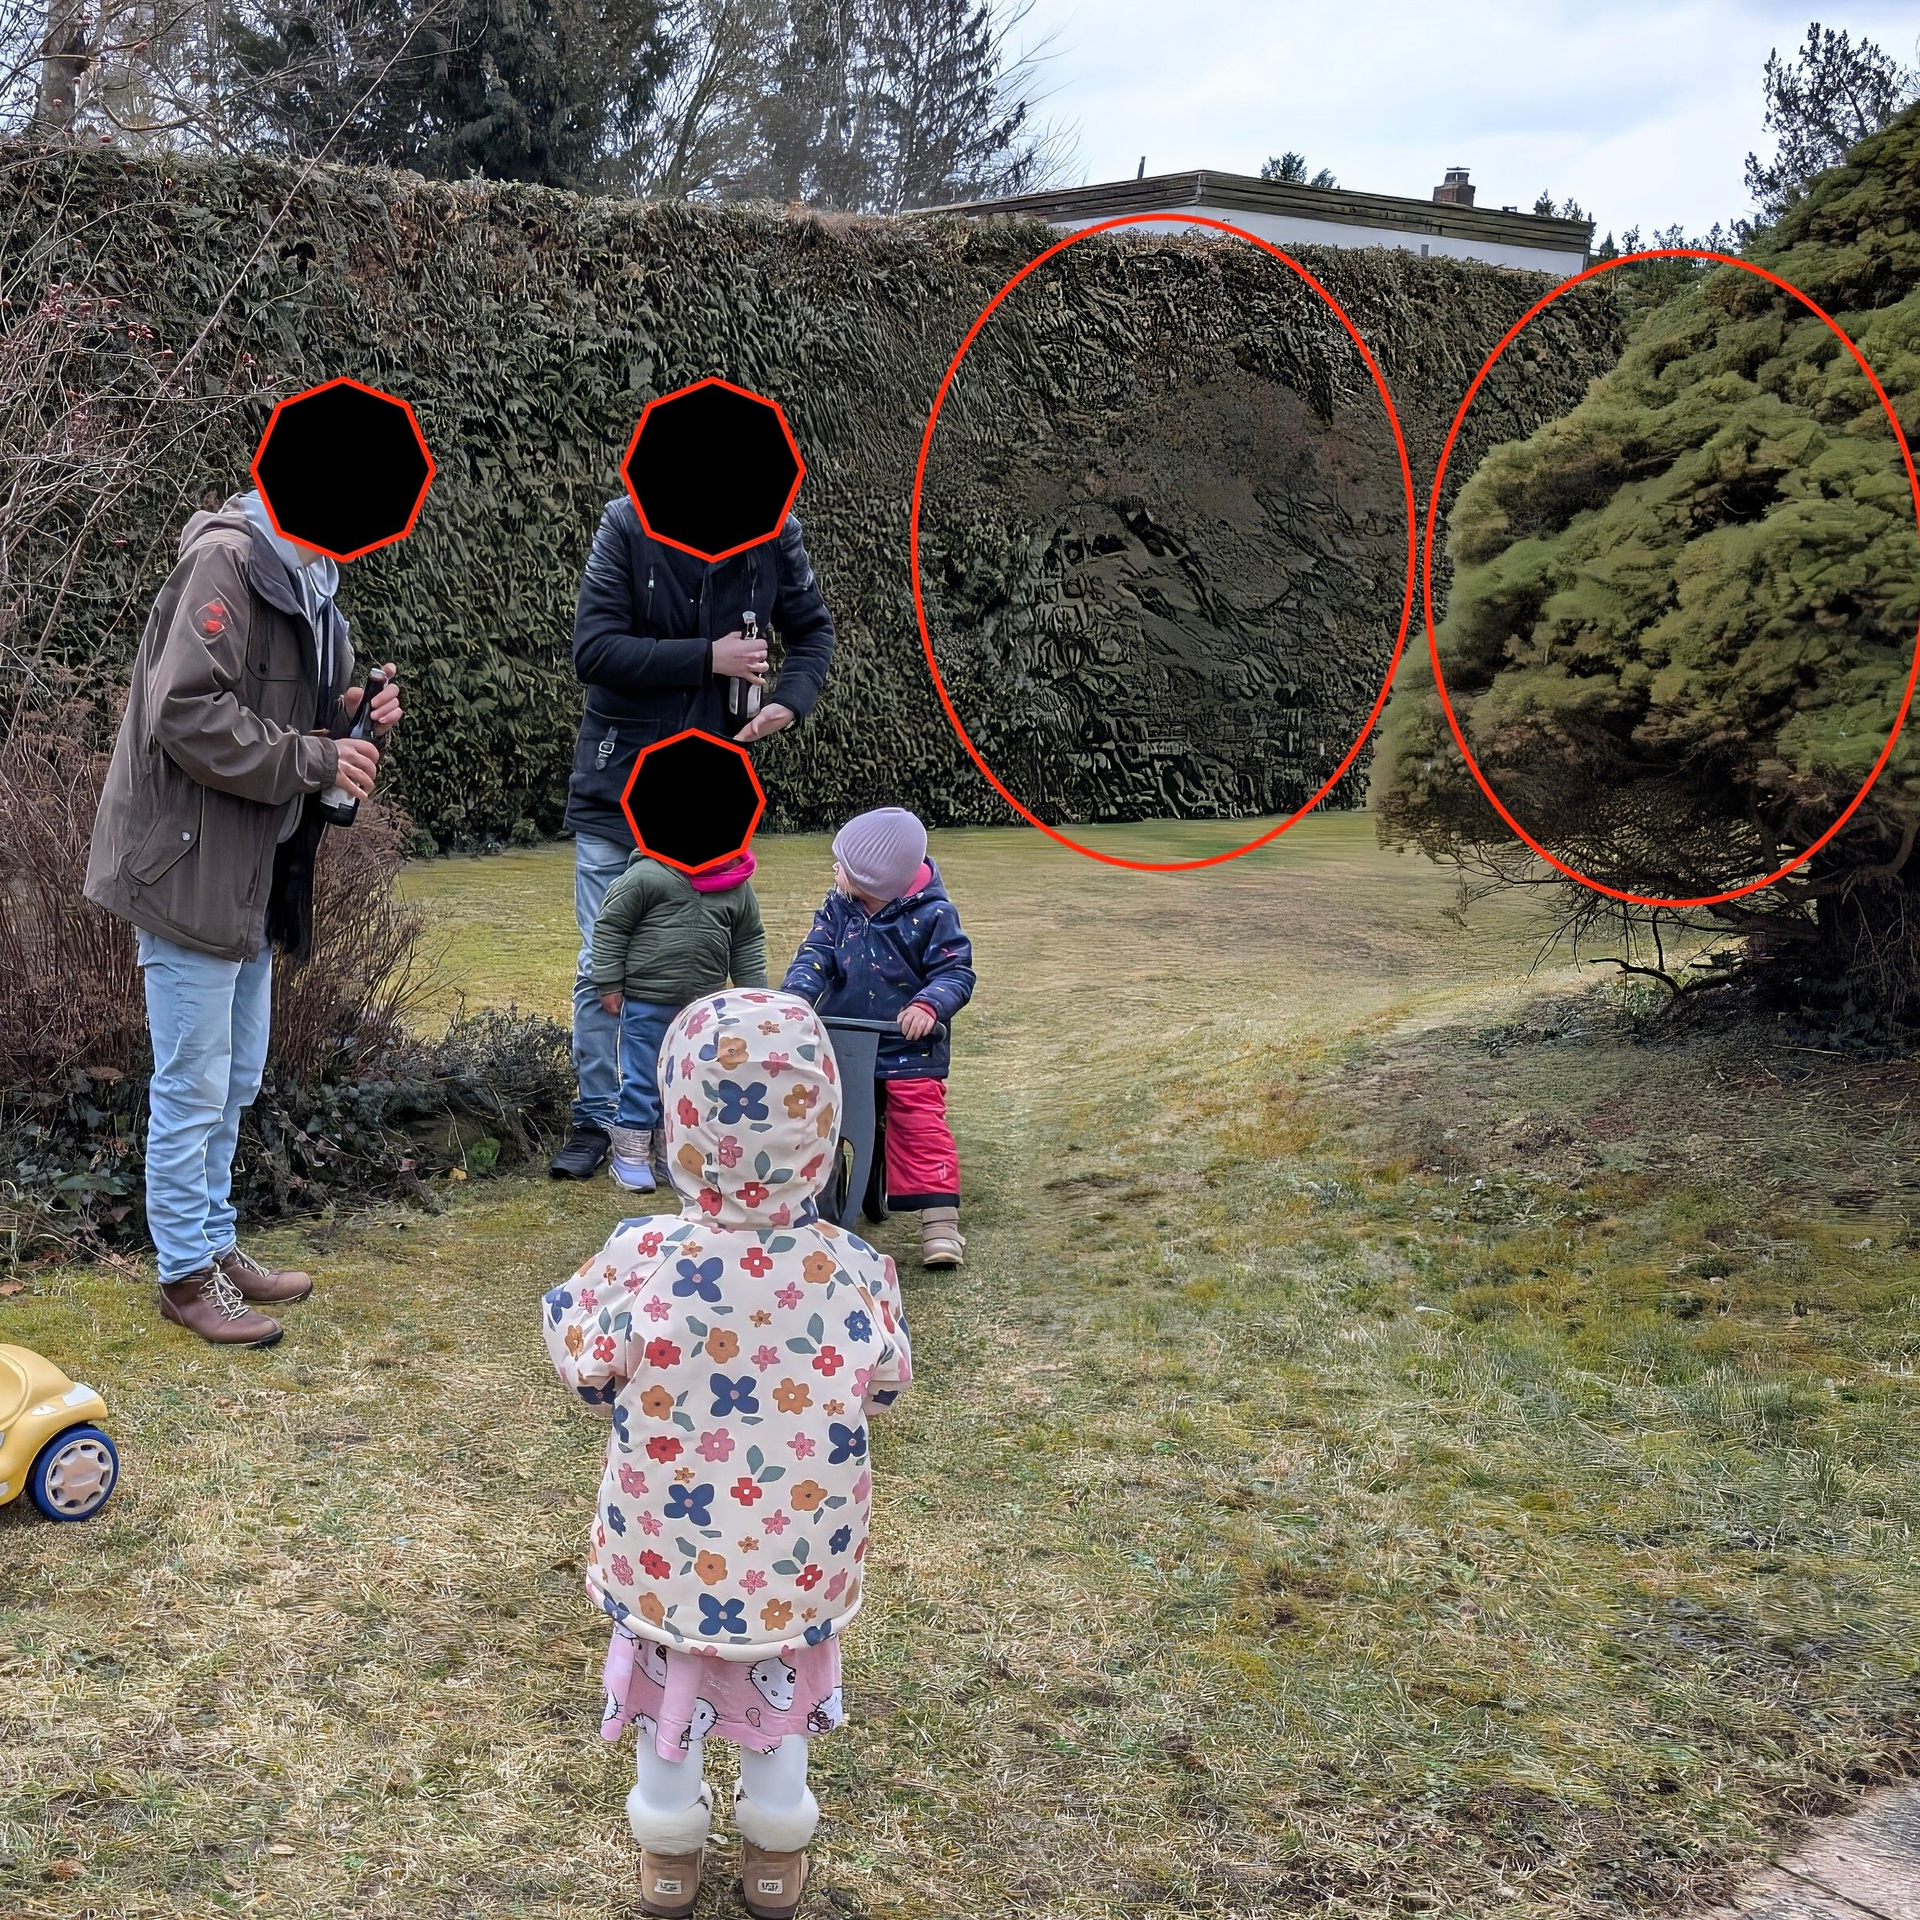
Is there really sufficient noise to use denoising?
Noise comes from digital camera sensors, in low-light conditions and most visible in shadow areas. That is not what we are seeing here.
What this file shows is compression, which is common with phone images. Compression should be addressed with the appropriate Upscale model, not Denoise.
Using Denoise on a file that has no noise will force the model outside its intended purpose and can introduce artifacts. If you still want to force a Denoise here, make sure to increase the Original Detail slider to around 75% to minimize artifacts. However, the correct approach here is to skip Denoise entirely and use the proper Upscale model instead.
Let me know how it goes!
2 Likes
Thanks for the reply. I tend to use a mixture of Wonder 1 and 2 with my phone pictures. Then I use Photoshop to mix the two renders. Works great most of the time.
1 Like
Ah yes. glad to hear, Wonder models will work great for cellphone photos, and PS will allow to use the best parts.
another tip: I see you have the Studio apps and I am mentionning this since you have PS, in cellphone pics if any areas lack details I like to use Bloom (from your Apps Page) and blend parts I like that Bloom recovered with PS.
If you ever get unwanted results, you can DM me the original and your results, and we can suggest the best model to use (can also send to support@topazlabs.com), and we will run the testing from there!
1 Like
5 posts were split to a new topic: Preferences not keeping pixel size values
Topaz Photo v1.3.0 is now released!
1 Like