I am aware of that, that it cannot recommend it…. but yet I can copy the settings from one image to a bunch of others, including the wildlife model. However, by doing that, it also copies the sharpening amounts, which I don’t want. I do not want wildlife to be the default model For example, I have 500 wildlife images. I load them all, select wildlife on one of them, and then copy it to the 499 other ones.
The same thing could be said for any other model. Normally, Topaz gets it right, but if I have a sequence of shots where it chooses lens blur instead of standard, I would like to copy the standard model to the other images in the sequence and let Topaz figure out the amount of sharpening to use for each. The copy feature, however, copies the model and sharpen settings.
Autopilot changes the parameters of AI Models based on Image Analysis however, this isn’t possible with either the Portrait or Wildlife Sharping because, they are not included during Image Analysis thus, can not be Selected or Recommend by Autopilot until they have been released from BETA.
So, until Portrait and Wildlife Sharping are out of BETA you’re either have to manually set the parameters yourself or be patient and wait.
Is it the same issue we discussed today by email, that was resolved logging back in for forcing local processing, and for cloud to use small low resolution? If so, resolved with our emails steps, let us know if any other issues remain!
After some use cases and tests, I really like the Wonder model on pictures taken from phones with average overall quality.
Even if the pictures are high resolution (read many pixels), the quality isn’t there. Wonder does a great job at saving those pictures.
The only drawback is that it tends to soften the edges and add some kind of wax statue texture to skin and faces. It would be great to have a way to tweak either the amount of processing or add back skin/facial texture details back.
On a side note, I’m happy to see that as a Pro subscriber one can process it locally, but boy, it’s heavy! It takes around 40 minutes to process a picture with 1x setting (meaning without upscaling), on a Mac M2 Pro.
On the cloud it takes around 2 minutes, more ore less. I’m wondering what CPU/NPU you guys use in your servers…
Gee. I had to work with much smaller images than that (about 1/2 those dimensions) to get Wonder to run locally without generating an error msg on my Win 11 system (NVIDIA RTX 5090). Also 1-2x. I never have browsers open when processing - in Ps.
It was interesting to watch the GPU load during the Wonder processing. The first and last minute it ran full speed, without much Bus activity or memory used. The middle three minutes the GPU clocked down and the load dropped to 25%, but the Bus was working flat out with a lot of memory engaged.
My experience is more or less the same. Usually the GPU and CPU switch between each other. Wonder is still Beta, so there are probably reasons for that (even though it is greatly slowed down by using the CPU). Hopefully it will get better over time (soon), sometimes the Wonder gives good results.
Glad to hear. Wonder local will continue to be optimized, we will post in release notes when it is further optimized, we are looking to have it use the GPU more.
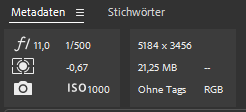
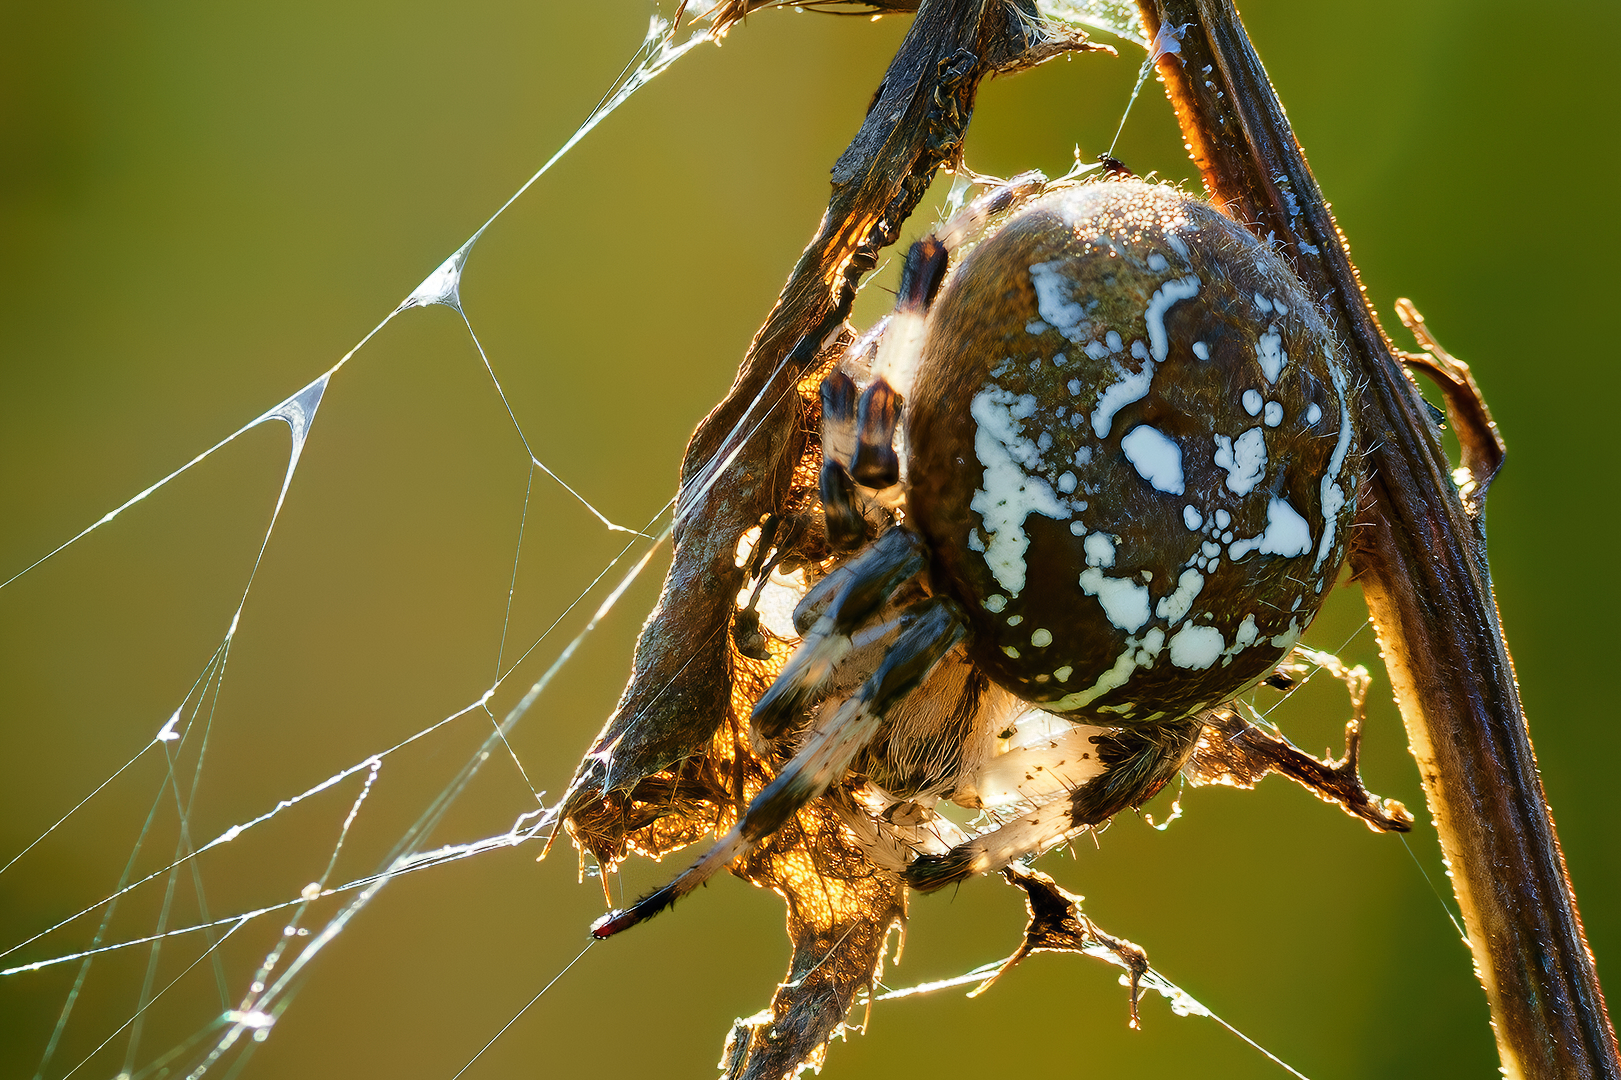
Pure RAW 5 + Capture One + Photoshop + DxO Silver Efex + Color Efex + TL Gigapixel Wonder & Redefine Real Subtle with promt.
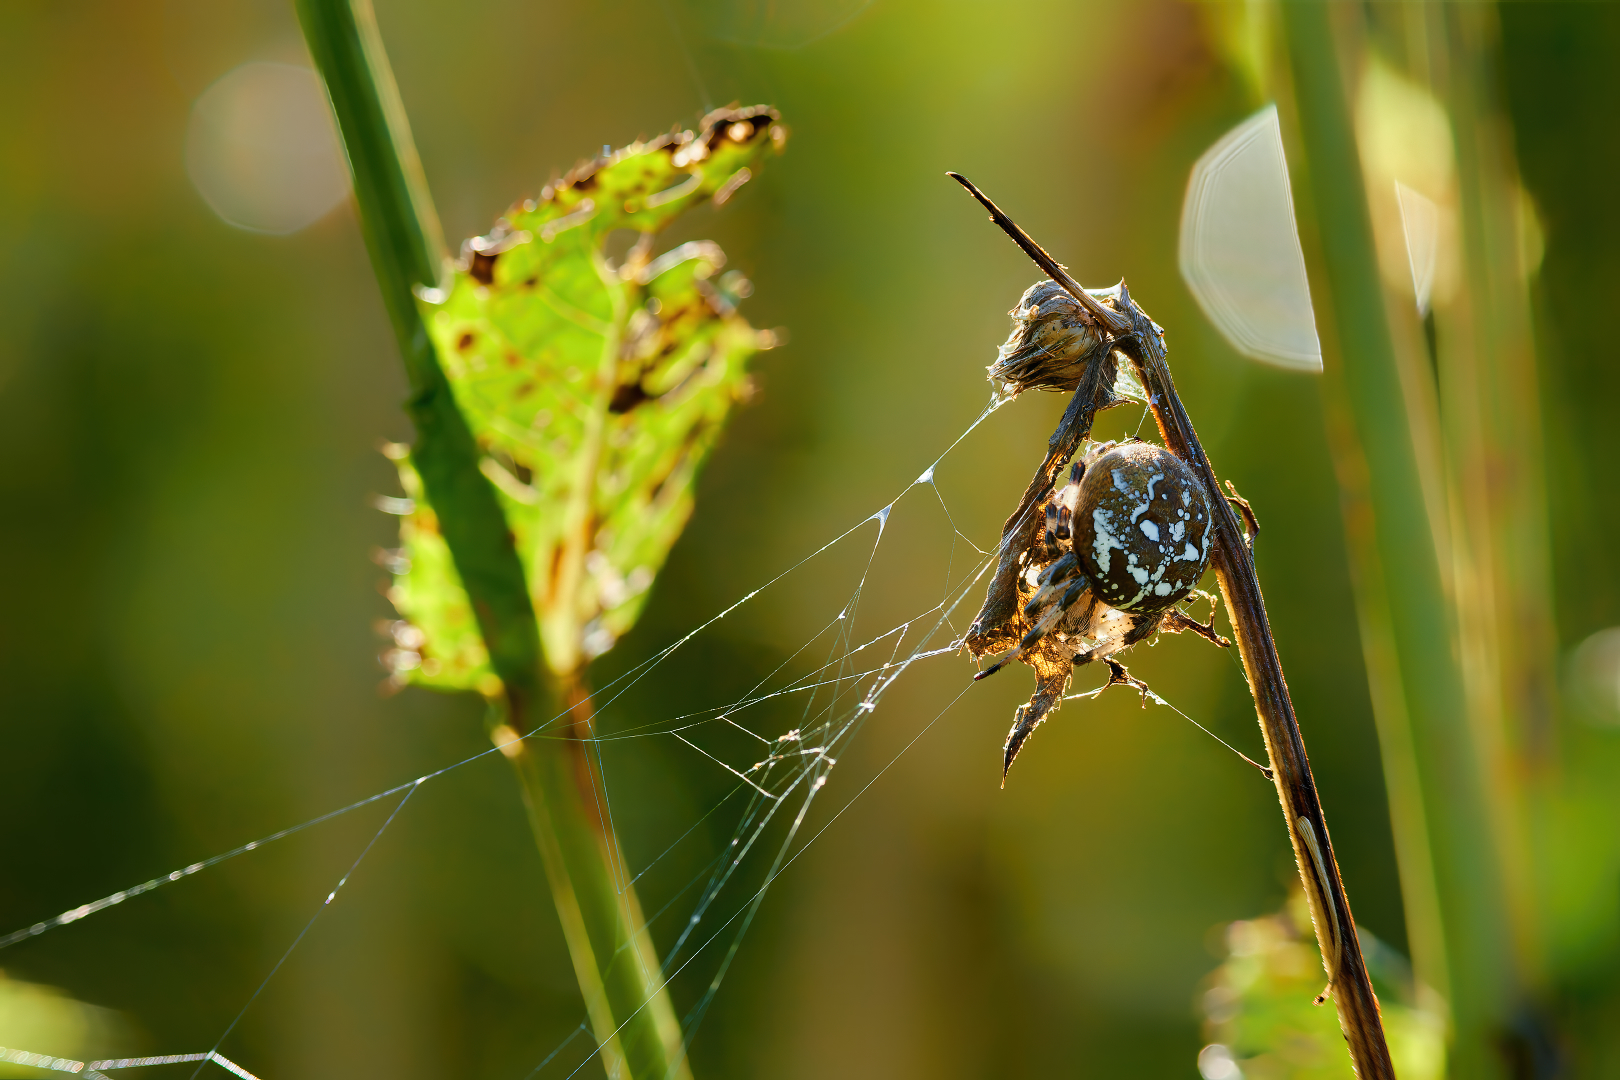
The image does not contain any brush strokes and was edited almost entirely globally.
Masks were used to cut out the spider from the background in order to better edit the details of the spider and the background.
I didn’t use a blur filter for the background.
I did that with a contrast filter, in black and white (Silver Efex).
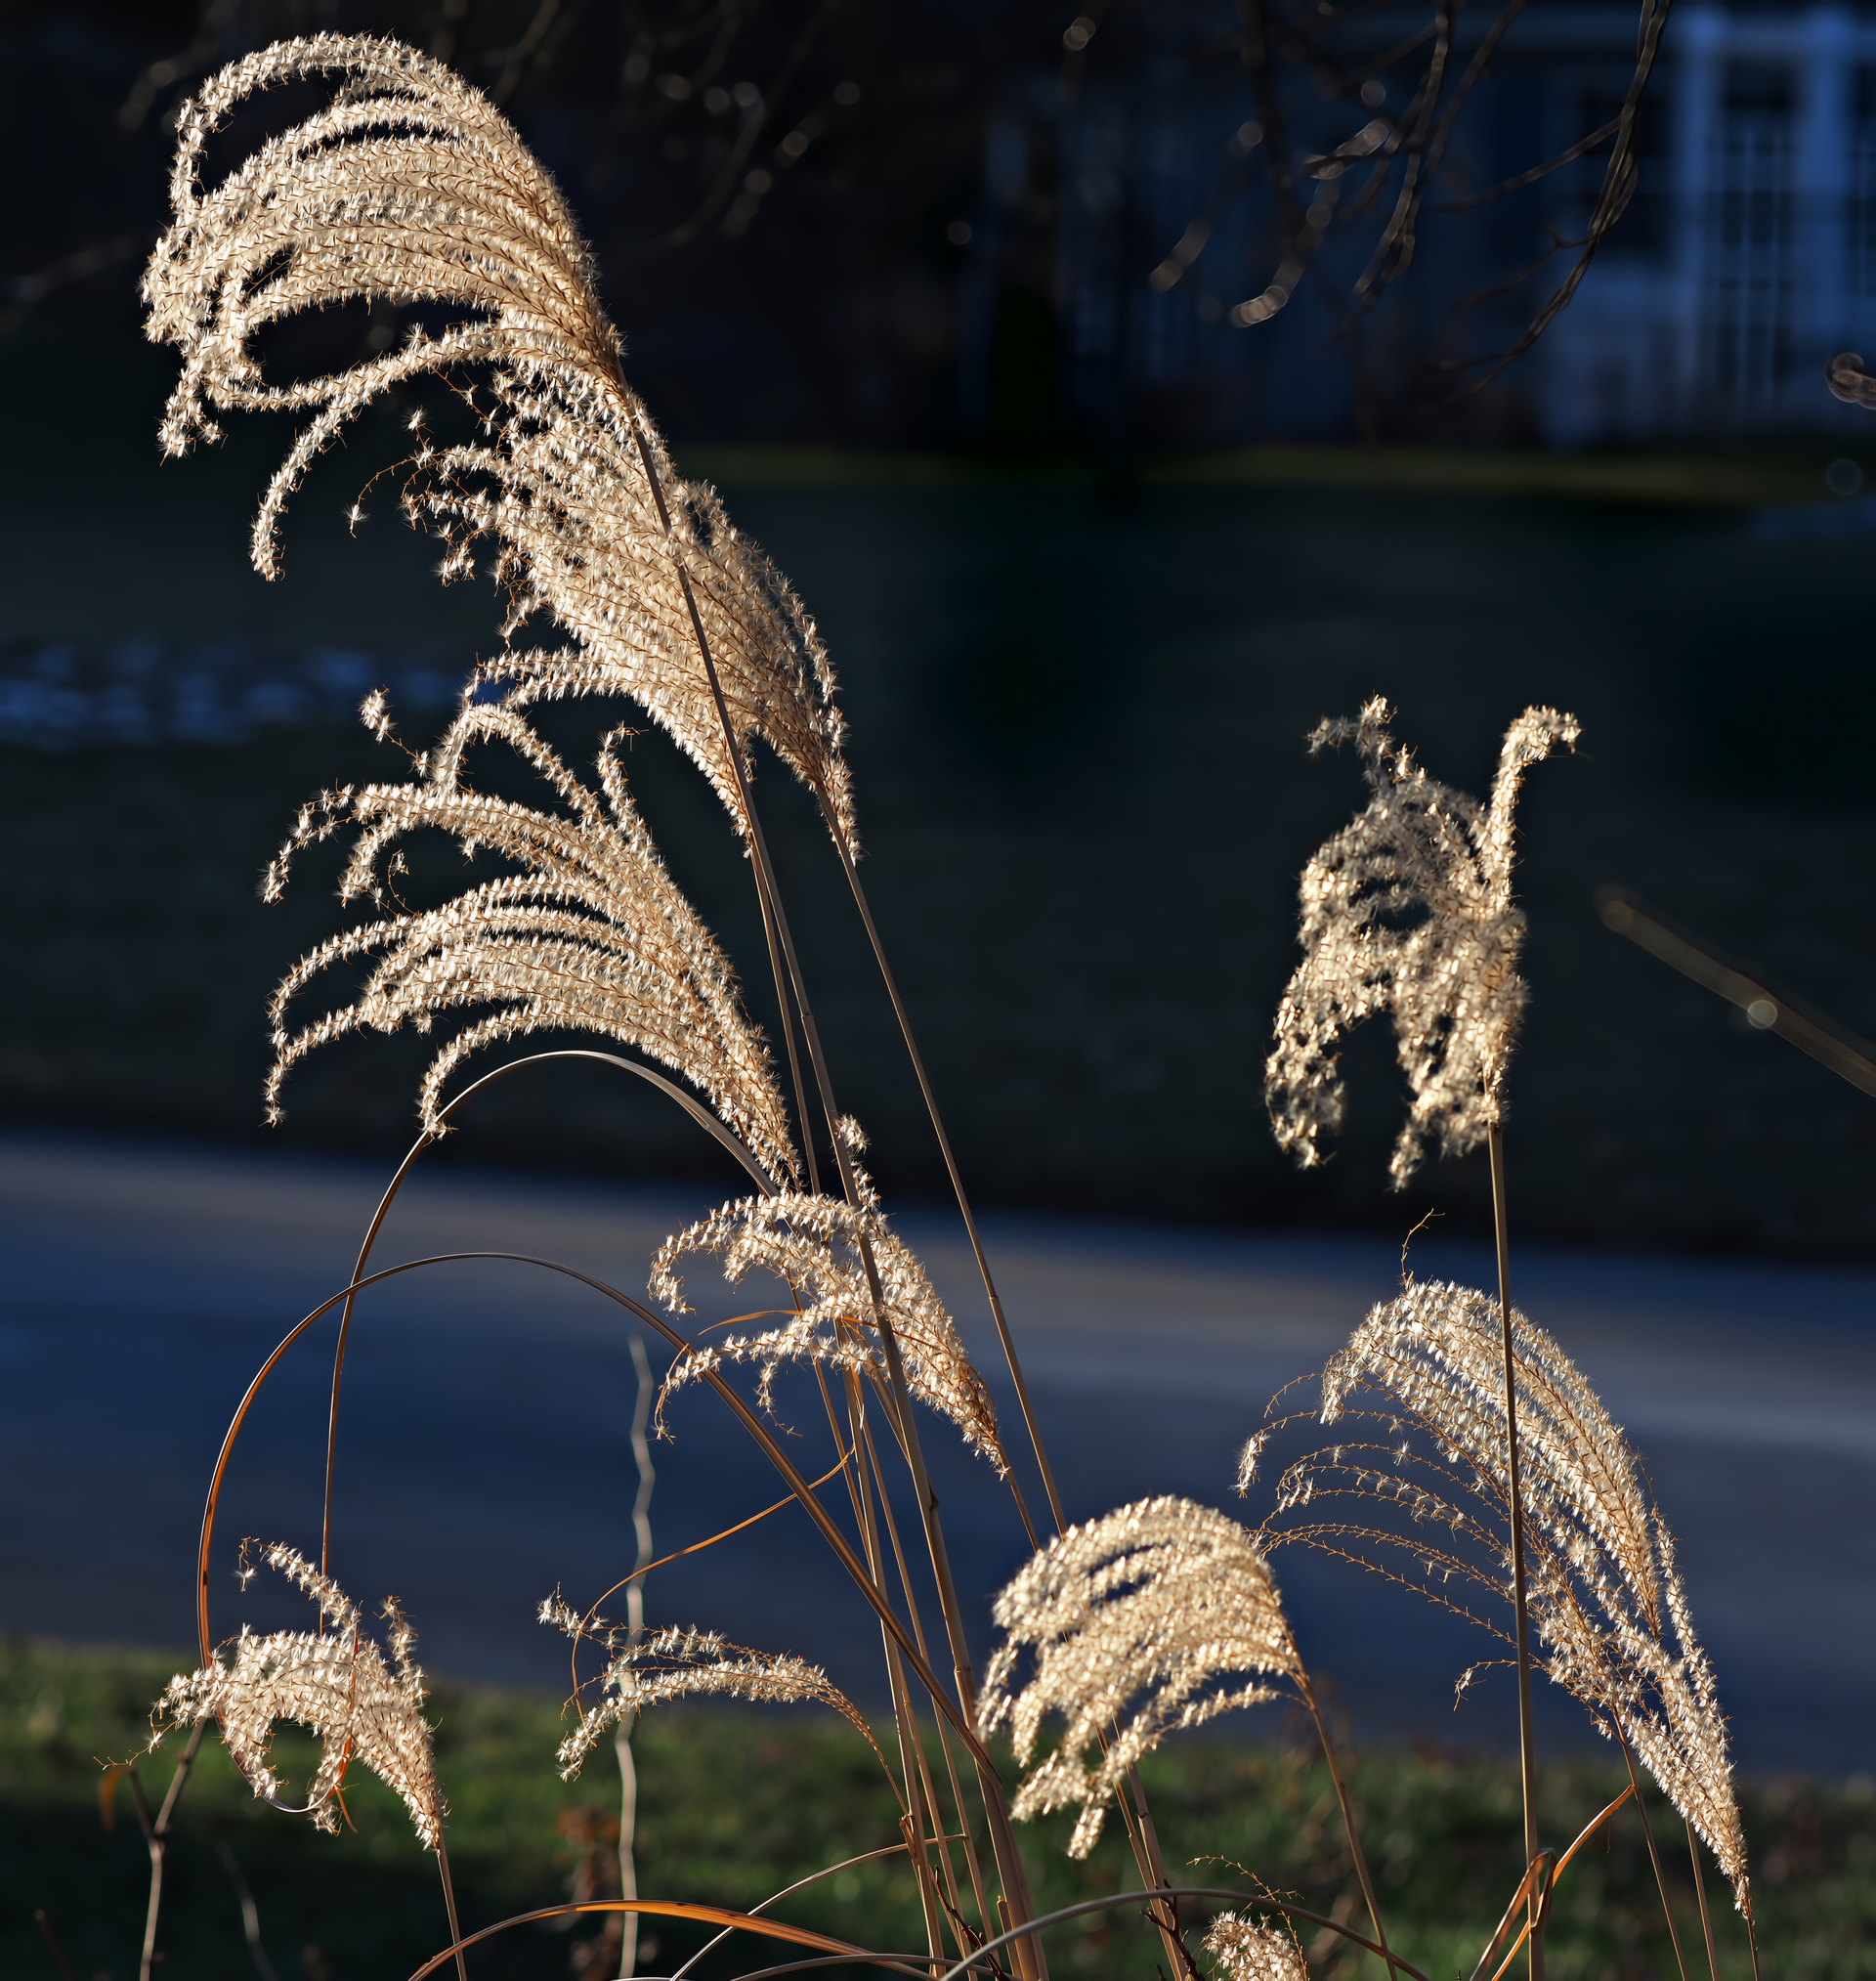
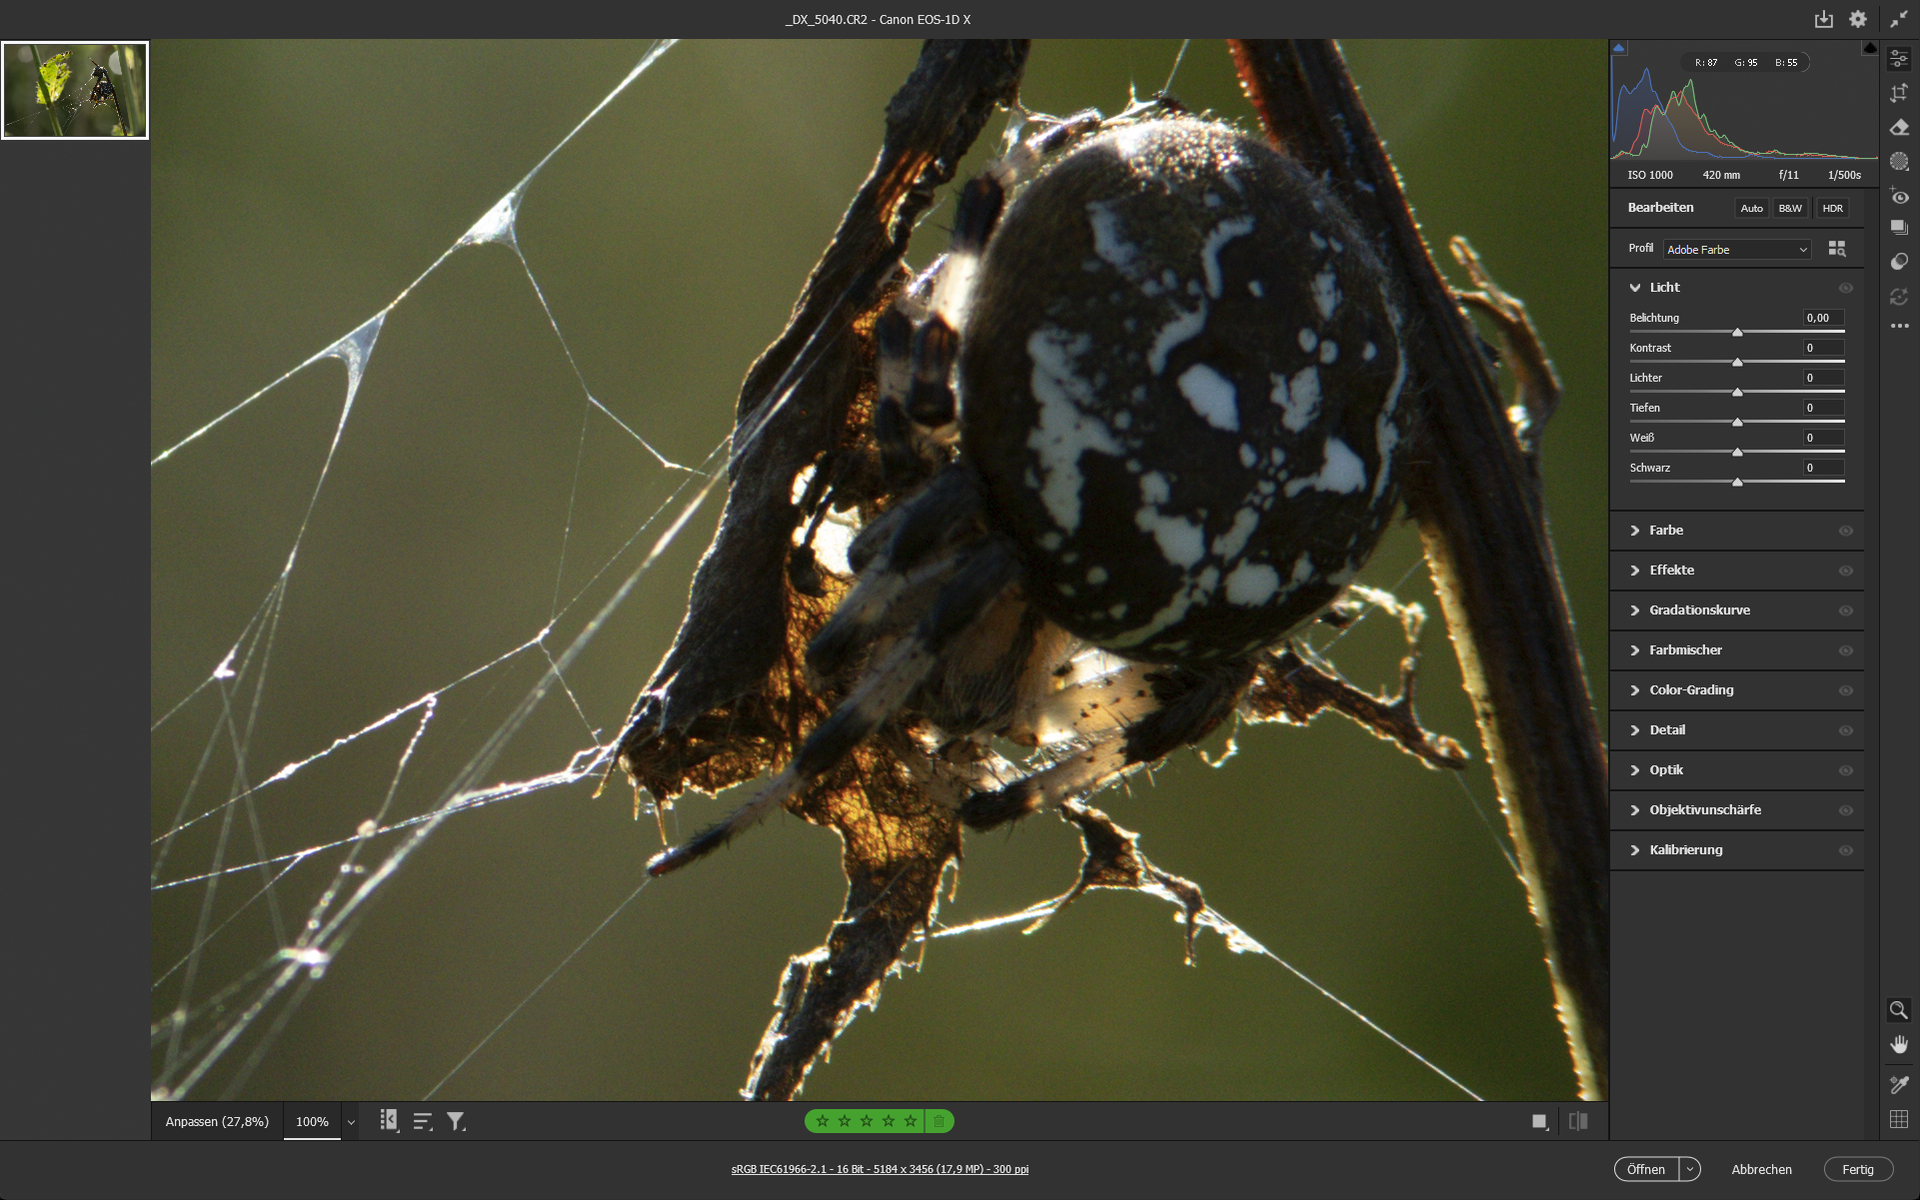
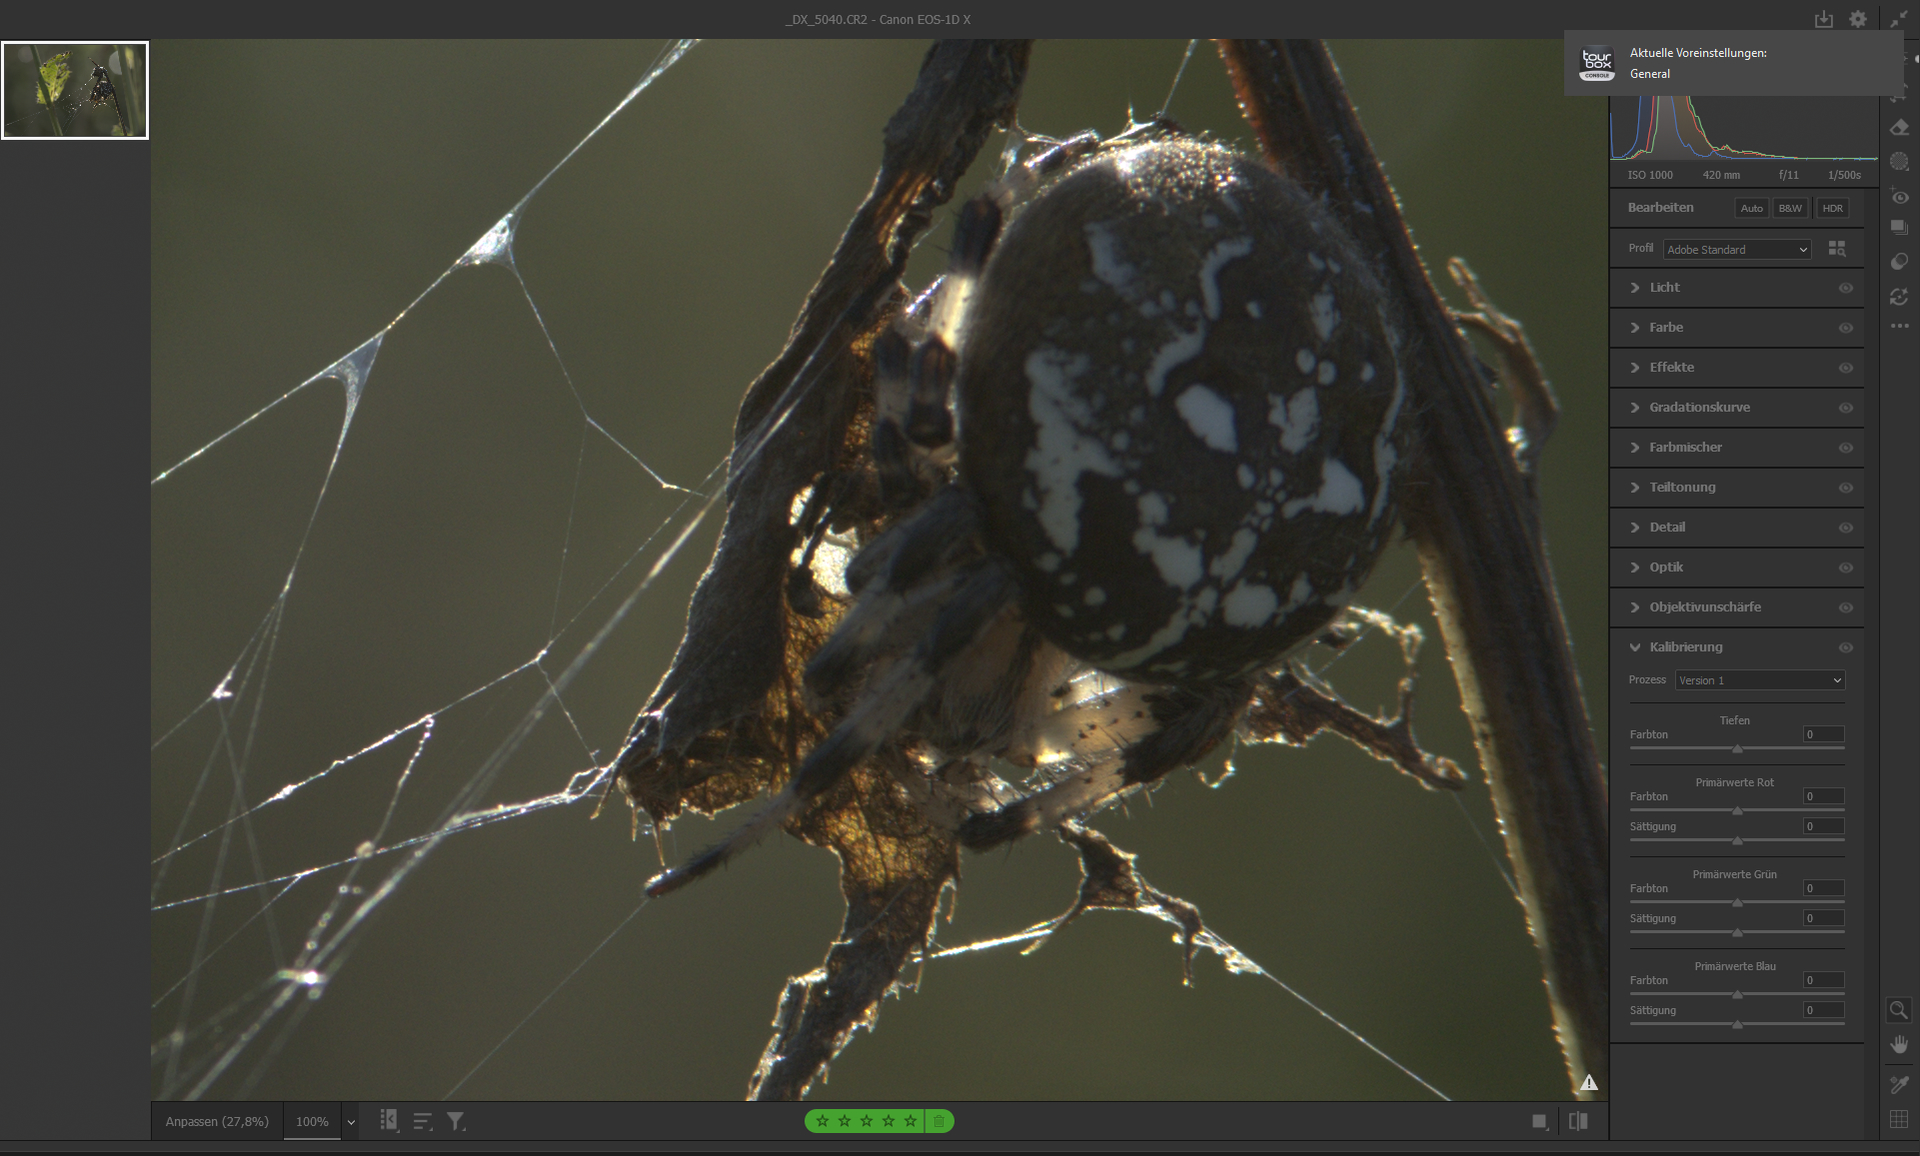
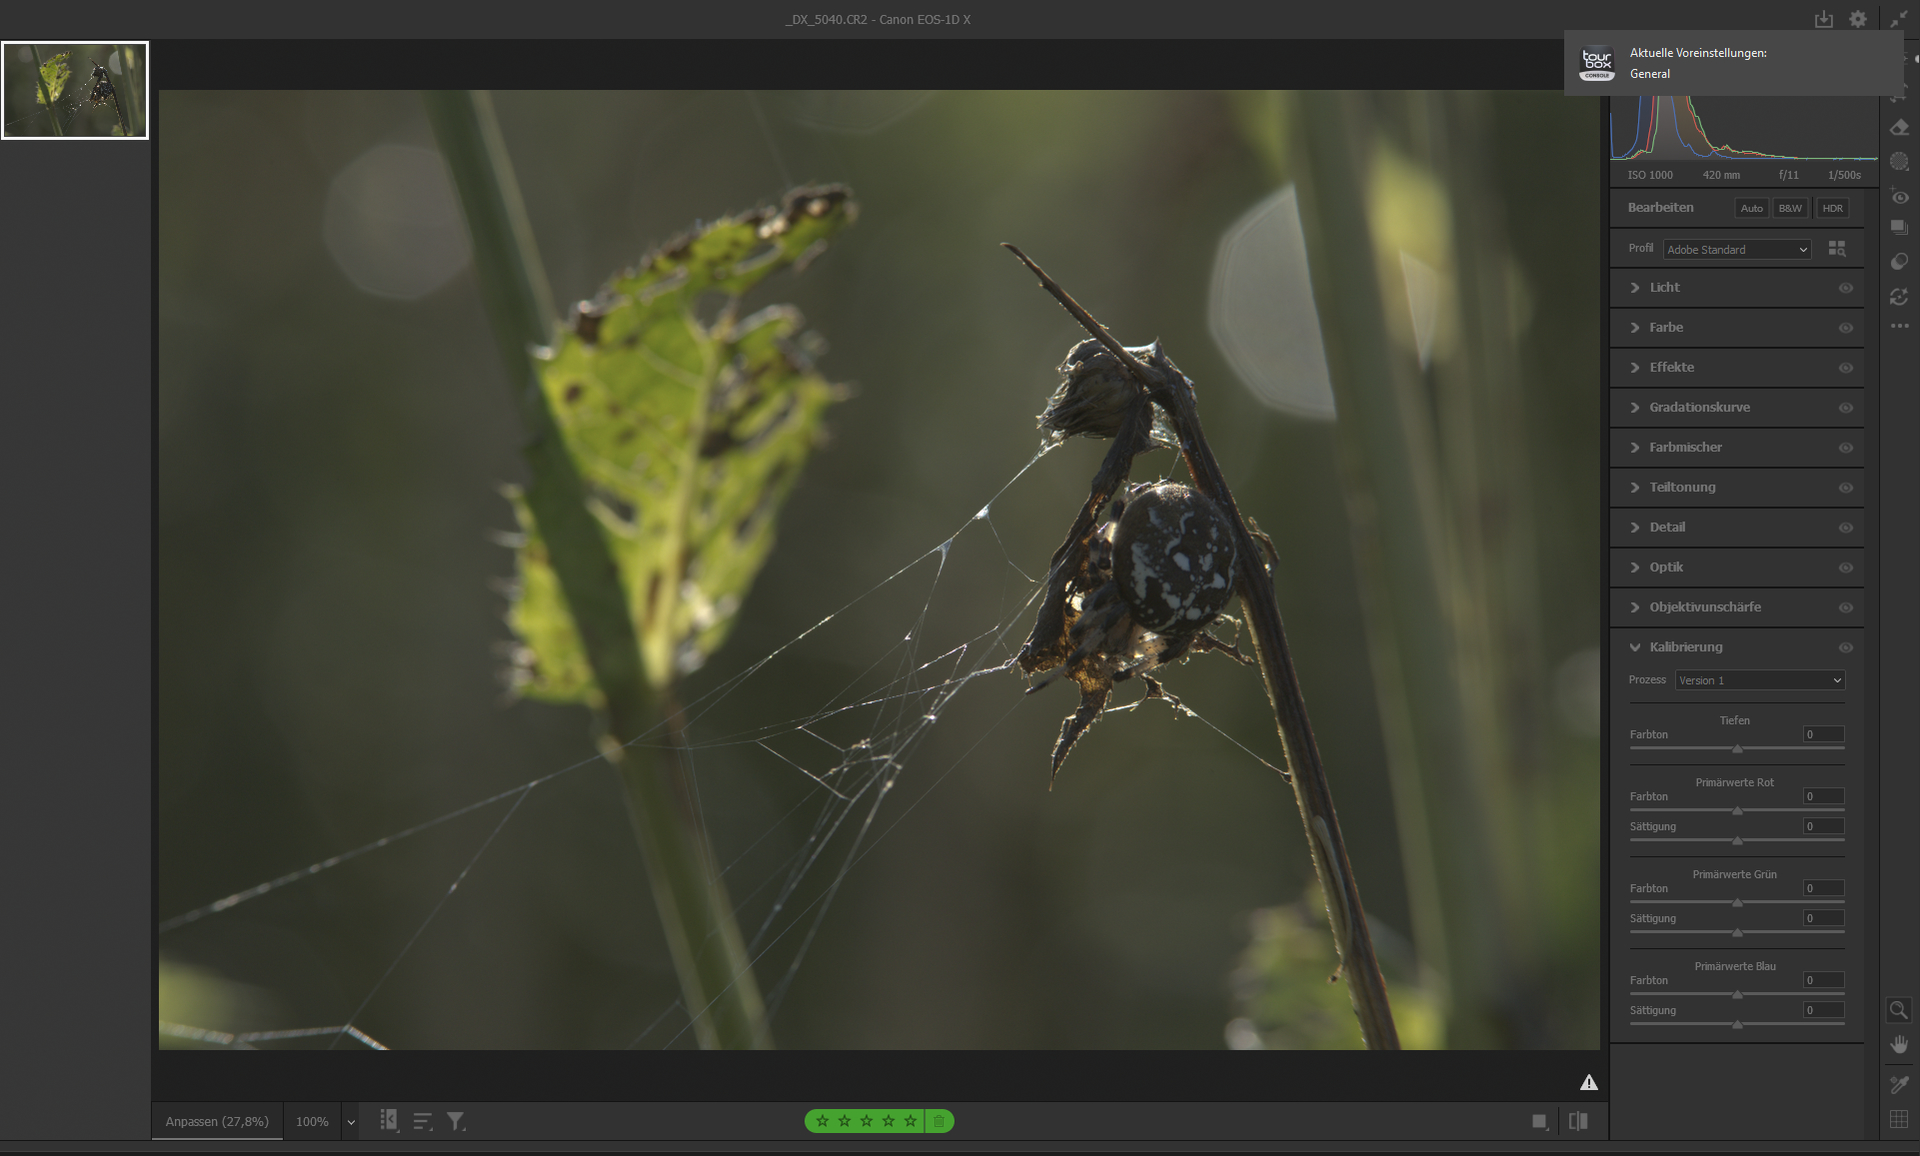
“out of cam” - Adobe Standard Technology state 2009.
Yes, Adobe created a preset at some point that represents the standard, but it doesn’t actually represent the RAW file, but rather an image that has already been edited.
You only know this if you have selected the neutral color profile in your Canon camera, completely removed the contrast, sharpness and saturation (set to 0), and compared the histogram displayed on the camera with that from Adobe in Lightroom or Camera RAW.
The problem here is that you will be fighting against Adobe’s standard profile because it forces you to bring back the highlights, for example, which is actually unnecessary because they were never blown out in the “old profile.”
Just a side note: Despite some possible imperfections, I especially like the first picture. I’ve tried to take a photo of a garden spider many times in the fall, but it was never really worth it. The position and lighting always hid something from me. The web was mostly (almost) invisible – and a spider without a web? Bad. In your case, the necessary things are clearly visible (web, details of the legs, etc.). Although the spider should have been looking straight into the camera to get a good look!
@plugsnpixels - All is up to date on the account but be we see “network error” on our side on your attempt which can be a blocker. Test with the direct link from this post (Mac: Download) - If still blocked, make sure to check if there is a security blocker, such as a firewall or antivirus, or it could be a router as well. You can test connecting to a mobile hotspot. Let us know how it goes!