Sony A1 Compressed RAW files - is anyone having success with TPAI opening them?
Unsure if it is just me or if they aren’t supported yet. Running a 14" MBP M2 Max 1tb.
Thanks in advance!
Sony A1 Compressed RAW files - is anyone having success with TPAI opening them?
Unsure if it is just me or if they aren’t supported yet. Running a 14" MBP M2 Max 1tb.
Thanks in advance!
Hi Harald,
Yes. I have my “baby” Sony set to capture both Raw & Jpg simultaneously. I chose the jpg for this test b/c my workflow only involves using PAI as a Ps plugin.
I could try the Raw version of the same image. Not do any ACR processing on it. Open it into Ps then see what happens. But my understanding was that the Raw would not be carried into the plugin. I may have misunderstood. But I can try it to see if results differ. I realize jpg is processed in cam.
I always shoot both Raw/jpg on my P&S (Sony), mirrorless (Olympus) & DSLR (I no longer shoot the Canon - too heavy to lug around). I can spot what I want to process w/out using Bridge & can experiment with styles that way too.
Exactly! I agree with your hunch. Because that is not my typical experience. I noted it in case there was a server jam up or something didn’t get compiled properly or someone was making PAI excessively larger than it should be.
The few times it’s happened have only been with newly released Topaz downloads. I never have that with other software. Even though Adobe’s isn’t fast & is complex, it never takes that long. Ditto with the others I use - all hefty programs from a mix of mfrs.
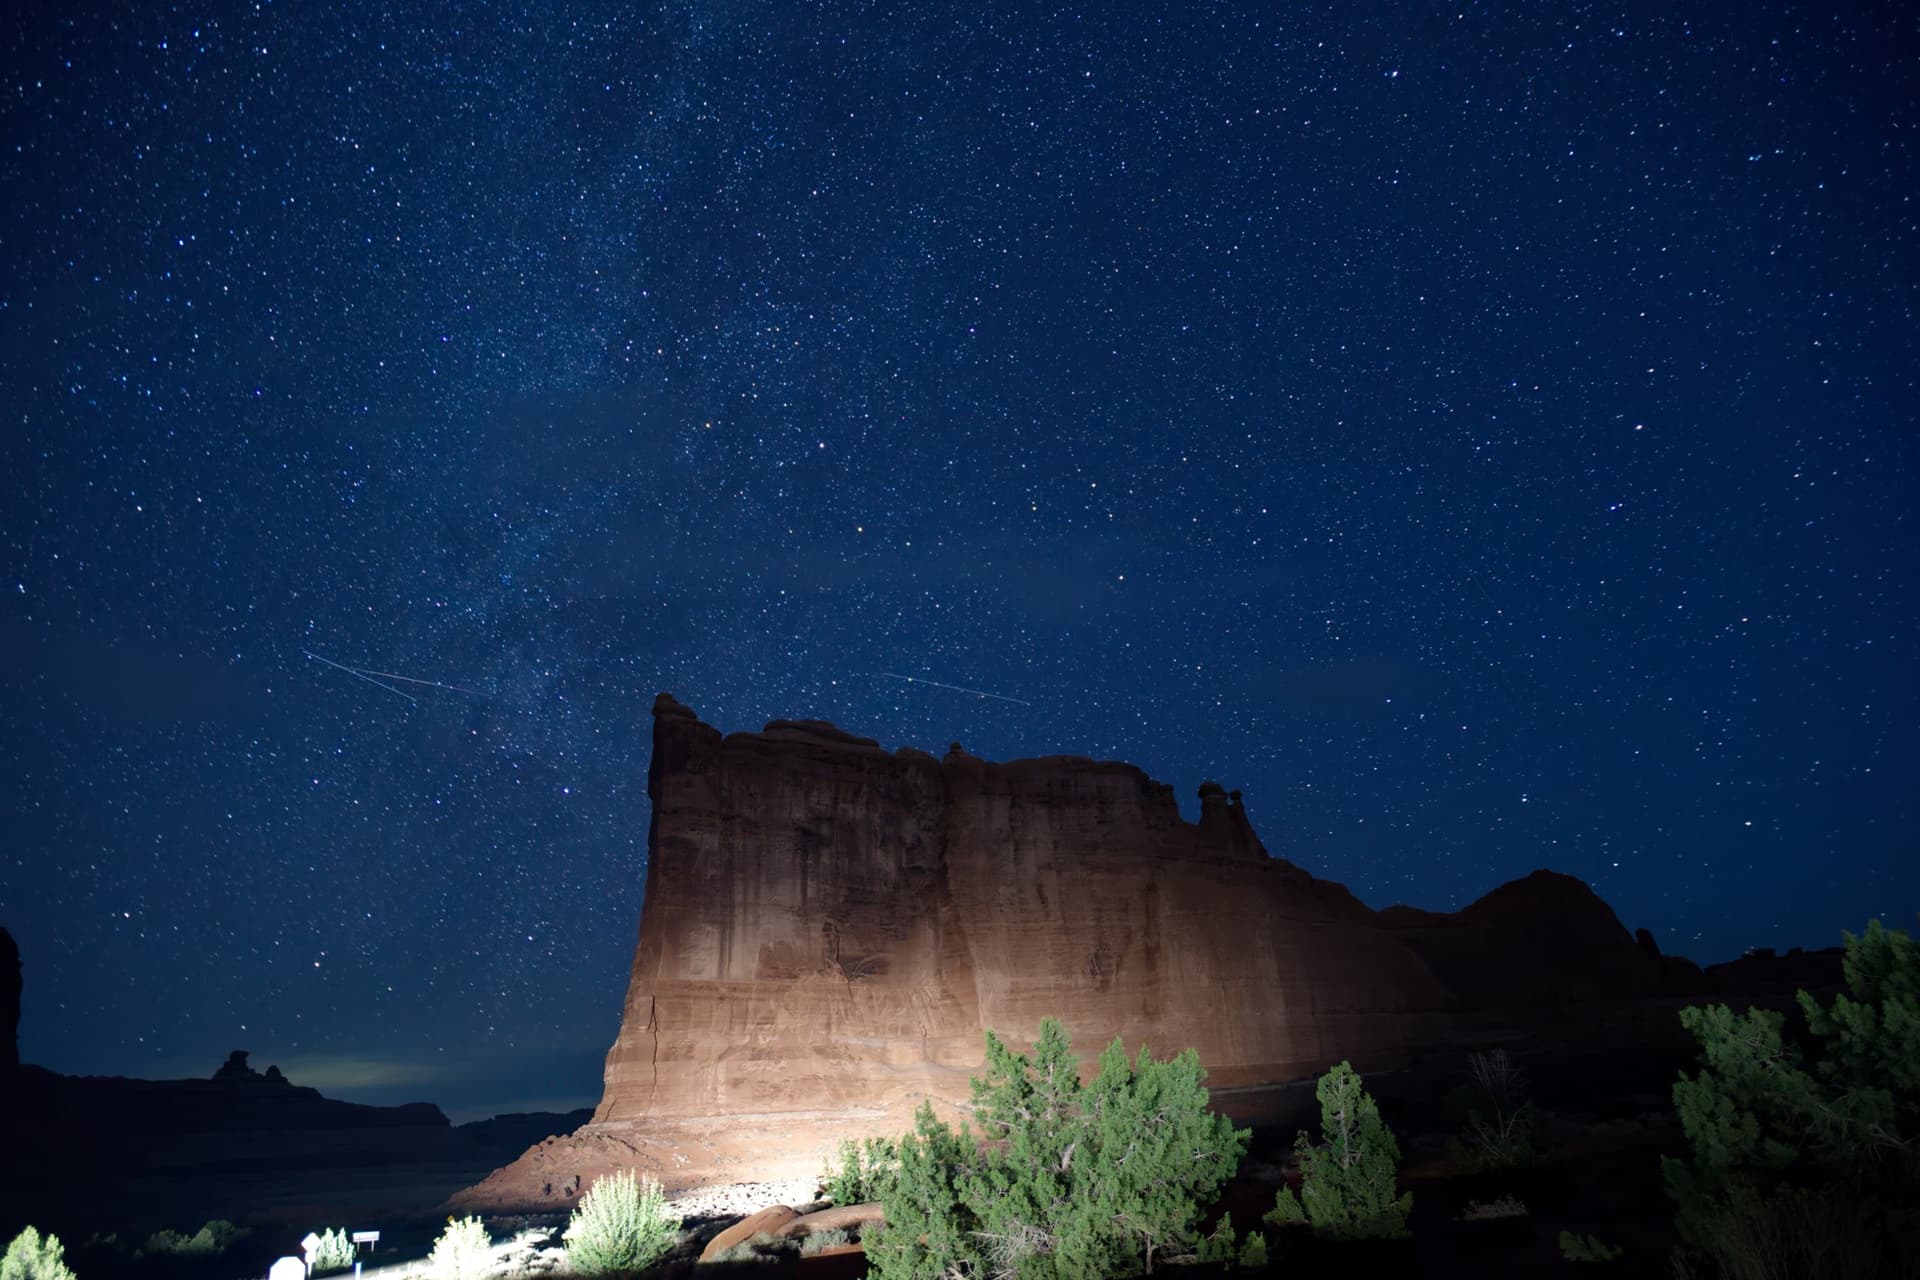
This has been one of my test case images going back to pre-release. The auto pilot results of the latest version are the best I have seen. Not too sharp and not too painterly, noise in the sky is gone and still reasonable texture. I actually like the little softer jpeg save better than tiff.
Well, it is painterly, Ken! In the sense that it’s artistic & would be a great subject for a painting! But you & I both prefer our photography to look like photos and not applied paint or illustrations, and the latest releases are retaining a photographic appearance ![]()
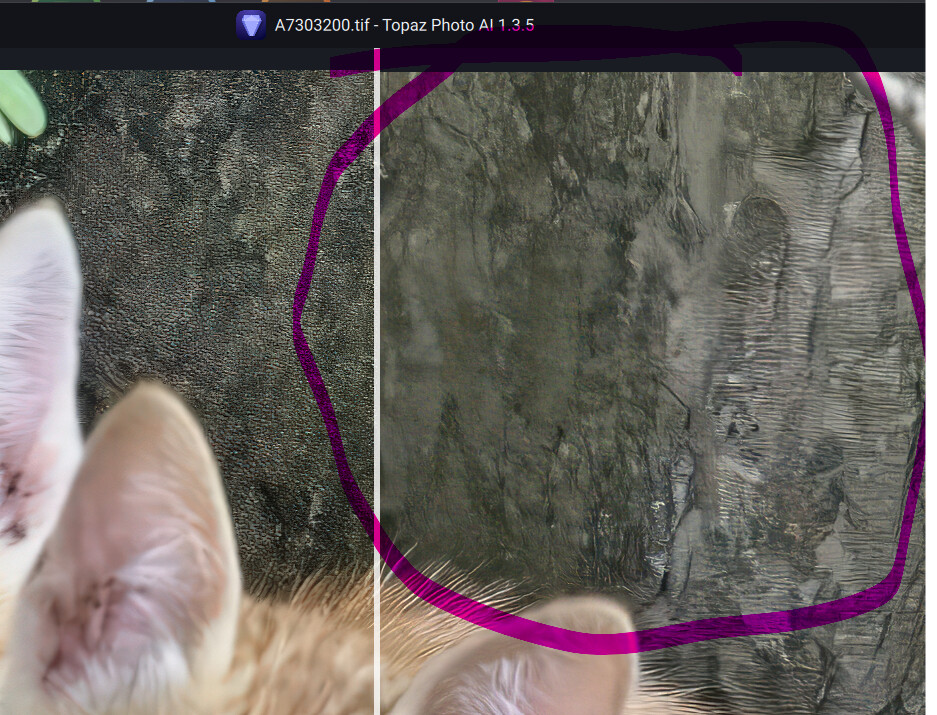
I’m getting some Sony raw pictures rotated in Preview while others are not. I would like a rotate CW or CCW 90 deg function in PAI. The ones that are rotated do not show it in Windows Explorer.
This is a comparison of a Sony ARW raw photo result in preview. It is a small area of the total photo.
Photo with my best manual settings:
Photo using auto settings:
I would like to save several presets using my manual settings so I can easily recall them. They should be listed in a pull down under the auto settings.
Harald - @Harald.De.Luca
Following up on your earlier note re: my processing the museum test image above with a .jpg initially…
I just tried the Sony ARW of the same image. Again, working in PAI Ps (2023) plugin - b/c that’s my workflow for processing.
I opened the Sony ARW (Raw) from inside Ps. It launched into ACR. I clicked Open w/out doing any processing in ACR to open the raw image into Ps. I duplicated the created layer then used that dupl layer to launch into PAI 1.3.5 (commercial) plugin.
The PAI plugin - using the ARW - did Not automatically turn on Denoise like it did when I ran the .jpg. And, it was an equally noisy image to the .jpg.
I had to manually turn Denoise to On to deal with the severe noise, then (like before) I changed from the Std model of Sharpen that was instigated by A.P. and made manual slider changes in both the Denoise & Sharpen settings panels as with the prior .jpg test.
So there you go! PAI behaves (& senses settings needs) differently for the exact same image depending on the format (.jpg vs .ARW/.tiff - or however the .ARW is pkgd to send to the PAI plugin) - vs based on the image content appearance.
I haven’t had the time to run a bunch of diff. images yet (I’m prepping another Ps educ. video for my YouTube channel…). But my sense, for the past several generations of PAI, is that when it turns on Denoise and/or Sharpen, it always defaults to the Std/Normal models (I wish the product’s nomenclature was consistent across tools!). That doesn’t feel especially sensing and “intelligent” (as in AI) to me if it just goes to a “standard” default vs. what’s ‘correct’ (even if via math calcs. vs personal aesthetics) to me…
No you didn’t. As explained before Ps is a pixel editor and can NOT read raw files. When you go from ACR to Ps, ACR, behind the scenes, converts your raw file to either TIFF or PSD depending on your preferences, despite the fact that Ps displays the file extension of .ARW. From this point on your file will never be a raw file again.
Hey Paul, You’re still there!
As I noted in my previous 2 notes to Harald. It was my understanding that Ps cannot pass Raw images to PAI plugin.
I did open my Sony ARW into ACR. Are you saying it’s no longer a Raw image when that ARW is in ACR? If so, I didn’t realize that!
But (also as I mentioned above) my expectation was that once the image was opened into Ps that became a .tiff (or some other format I’m not aware of…) that then would be sent in some fancy tech envelope into PAI to be worked on.
Did I get that mixed up? Was it really sent as a .jpg at that point?
If so, it reinforces my point that the initial format got treated differently for the exact same image in the exact same plugin.
Hope all’s well with you, BTW!
.jpq is a lossy format, it achieves file saving by using less bits where it thinks general human psychovisual perception might not notice - but that very feature of the format creates quantization noise that an algorithm would “see”. That is probably what is triggering the NR algo for that format but not the other format.
Ah ha! So if I’m understanding (& I’m not very tech-y) then it’s a math matter and not that the algo is able to “look” at an image and recognize it visibly is very noisy. Yes/no?
Both of the formats were a noisy disaster - initial .jpg and initial .ARW/.tif.
Well, shoot! I want a program that ‘looks’ at my photos & says (besides, why couldn’t this person afford a faster lens or better camera to handle high ISO), “This is one helluva noisy image. I sure as heck better turn on Denoise (&/or Sharpen)!”
I am absolutely convinced that the auto deciders are not themselves AI (and are instead pilots based on forum ‘feedback’ and ‘experts’). It seems to have no clue if something is film grain or natural noise based on forum complaints of patchy erasing of sand, feathers, etc. So it not knowing the difference between film noise nor quantization noise is not surprising, but it it can see the difference between no noise and noise even if perceptually you cannot tell yourself.
If one image is noisy because film or nature, and another save format adds quantization noise to it because it knows you cannot see noise buried in noise, does not surprise me their algo triggers it as different noise.
Since the most recent update, I seem to be having trouble closing the program. I have to crash Photo AI 1.3.5 using Task Manager.
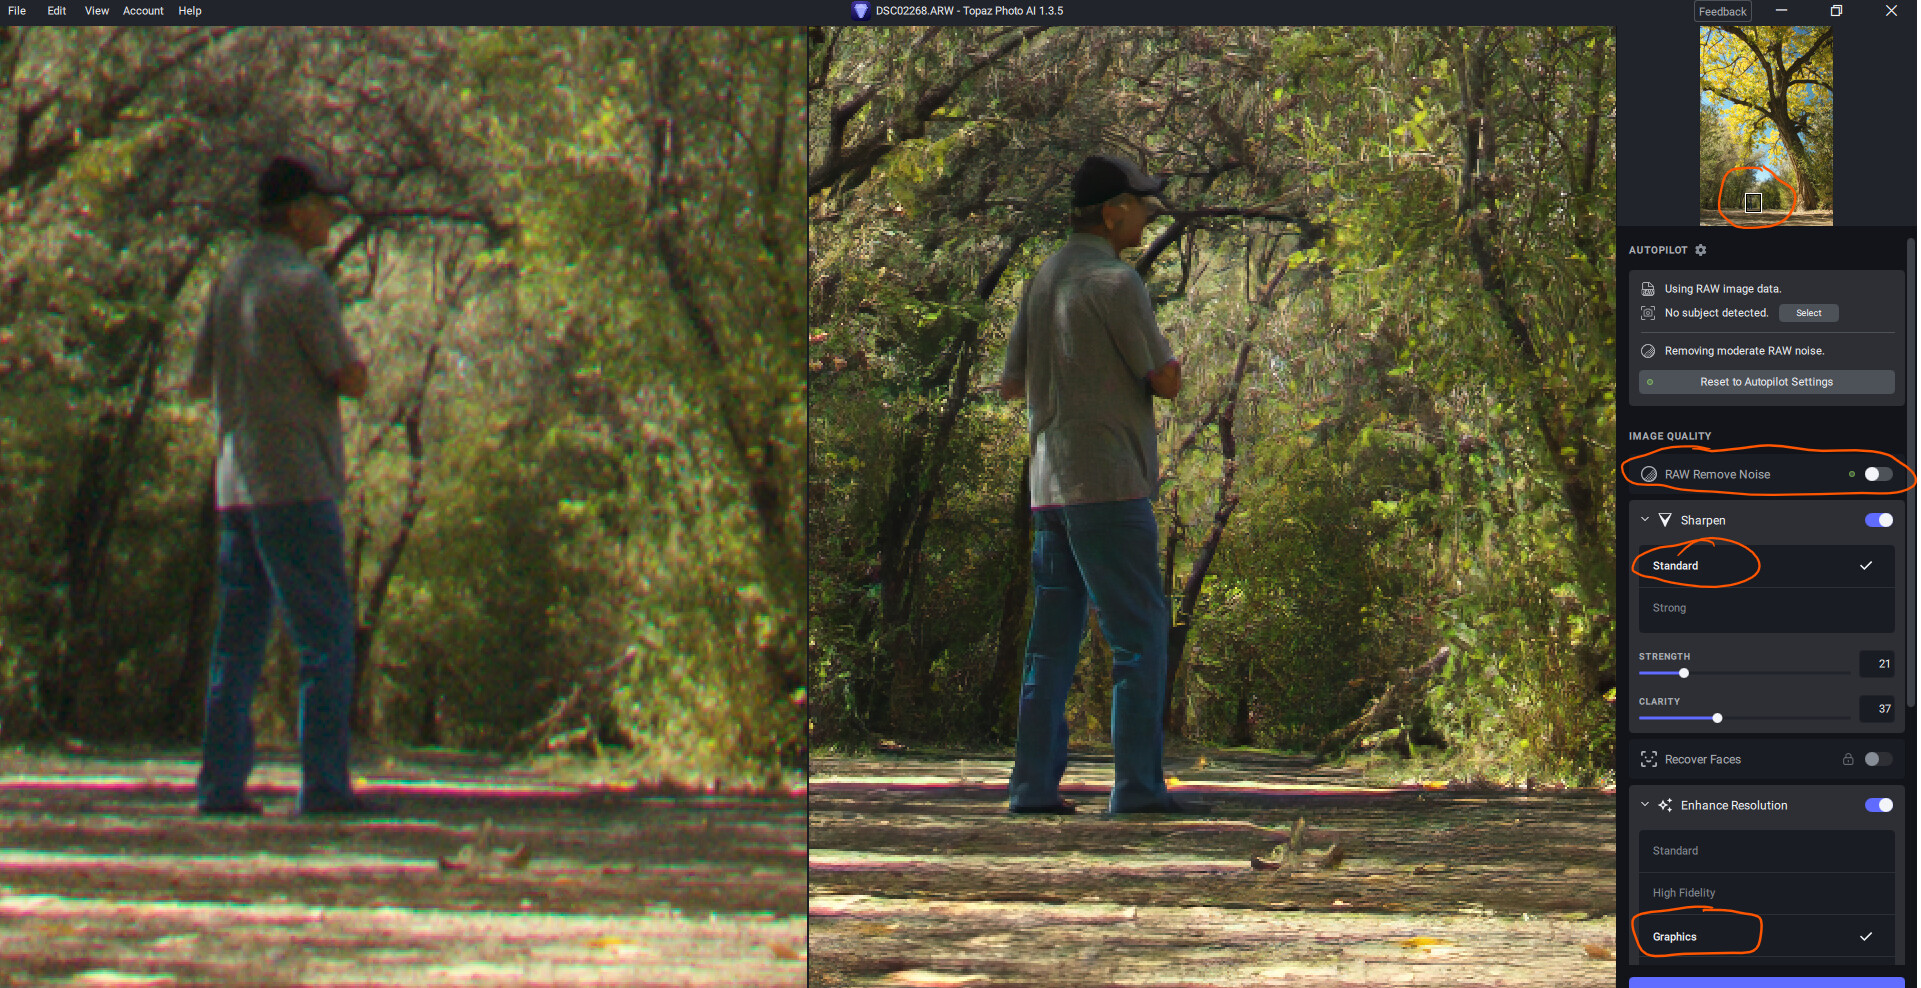
This is a comparison of what Auto Pilot settings do vs my manual settings. As you can see I did turn off the RAW remove noise.
The models, strong & strong v2 beta plus normal v2 beta still destroy texture:
Normal still destroys texture but does retain more than the others.
There is still that saturation problem when you save the image back to Lightroom. The white balance changes a lot to “warm”. The tone of the image is then pretty hard to change back to natural white balance. The white balance does not change when you work inside Topaz AI, but when you save the image back to Lightroom the problem is obvious. I have pointed this out every time a new update has been released, but the problem remains the same and not dealt with.
ok. Speaking of sony, my next camera will be the Sony Bridge RX10 IV. But I’m still waiting for him to lower the price. It still costs a little over 1400€ for the lowest price. In the meantime I still have my old Olympus E510 with only 10 megapixel and 3 zoom. The Sony RX 10 has a 25x zoom. That is 24-600 mm. and 20,1 megapixel.
I always shoot in Raw because jpeg is always too compressed with a huge loss of detail. Worse with smartphones. On my Galaxy S7, I can do Raw in DNG format. So after processing in Lightroom classic and finalization with Topaz, I can get very close to the quality of a good reflex.
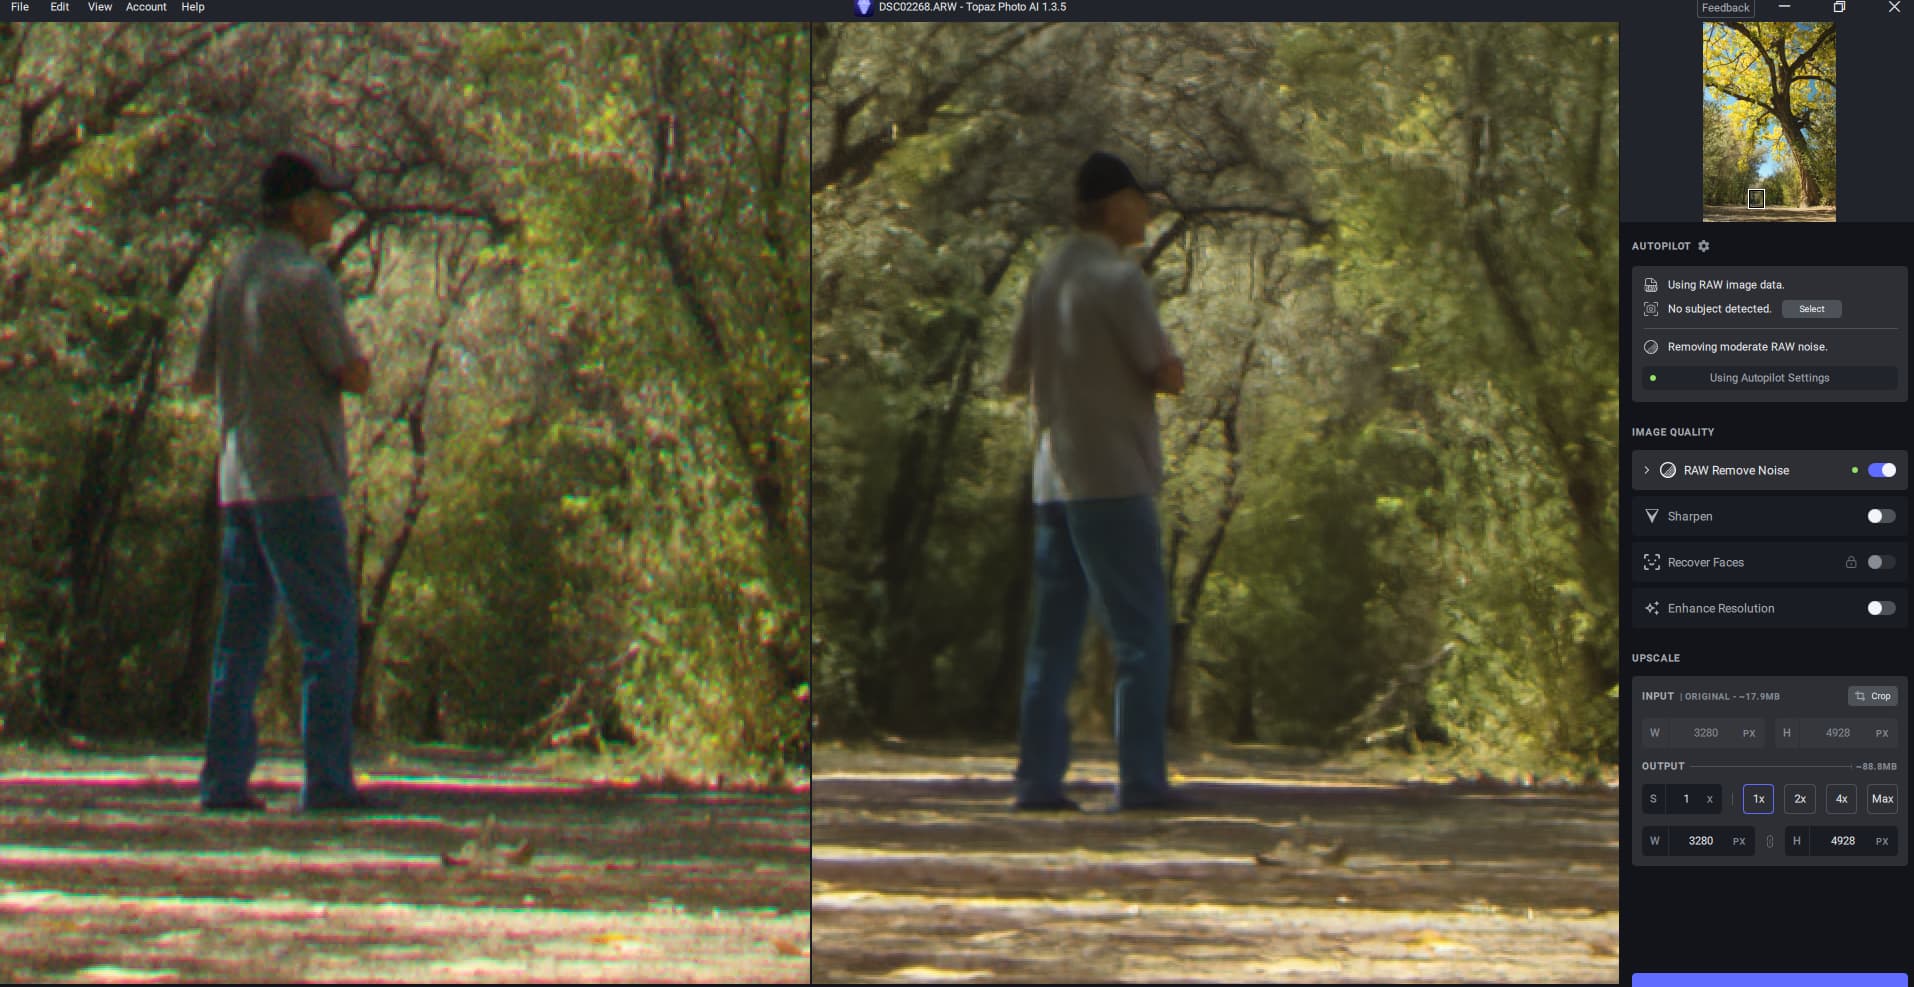
The 2nd image is more blurred. But at least the Red/Cyan fringe is gone. In the first one, it’s sharper but the fringe is also accentuated. It would be nice to also have a button to remove the color fringe like in Photoshop and Lightroom