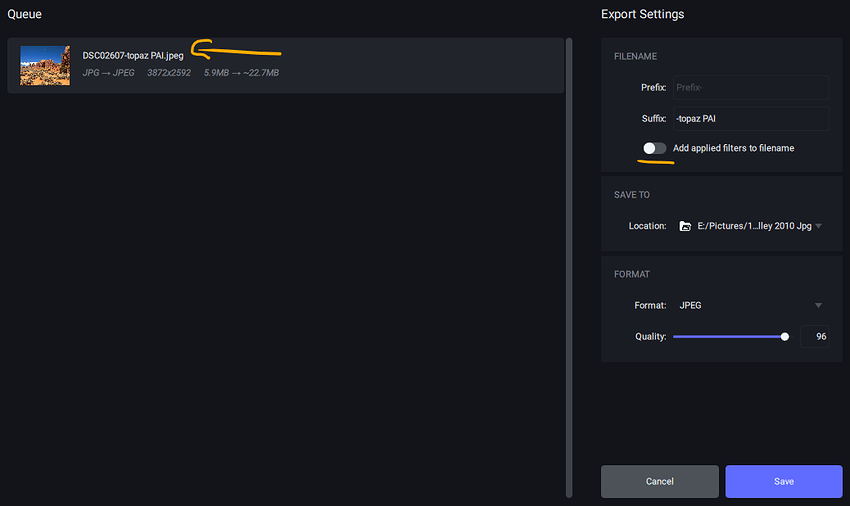
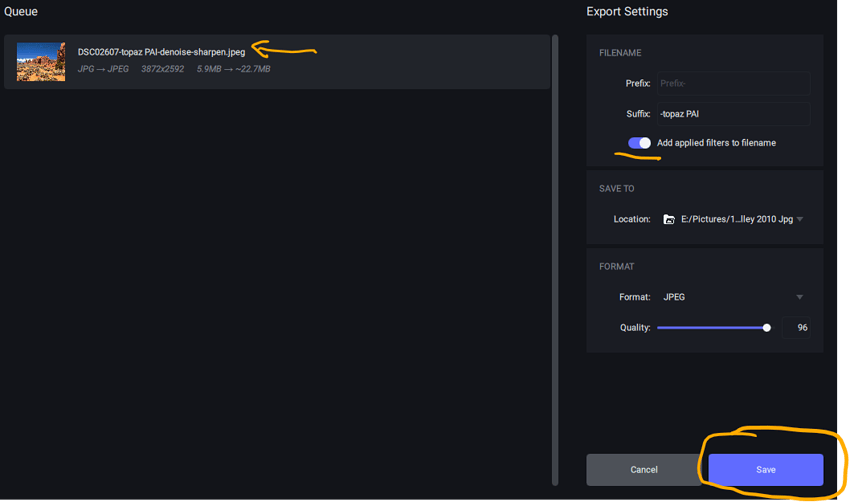
I already sent a screen snip (& follow-up). Plus, description of where to find what they were looking for. I don’t think they followed my recommended steps or looked at my visual snip (which is like the one you’ve now posted also).
At least I didn’t get an ack back (or, a Thx!) that they did so and it helped answer their question that I tried to help solve while taking a break from prepping Ps edu content …
Does Topaz use the Apple Silicon Neural Engine? A little? A lot? Not at all? Does it use the Apple Silicon GPU?
I imagine if you turn off the switch next to Denoise in the righthand settings panel, and move the sliders to your taste (ditto for Sharpen) then you will be at as close to manual (vs Auto) as the product will currently allow you to go. Hope that works for you!
Thank you for responding
everything is off in Autopilot, cannot deactivate denoise in autopilot however.
in the RH Panel unfortunately if the switch for denoise is off there is no access to the sliders - everything is off.
You are correct, I tried that as well once you switch off Denoise or sharpen ,there is no option to move slider at all.
Ah yes. I see that.
But even if you leave the On/Off switch set to on (your only option, apparently, if you want any denoising done) - once you start moving the sliders then you are customizing your settings manually vs using the default A.P. settings (which should be indicated by little green vert lines on the slider bar).
Is that an issue for your application (which is…)?
If yes, then it sounds like what you’re proposing is a new feature for the Product Roadmap (2023) discussion thread for the CEO/devs to consider, which you could spell out there & briefly mention the why/rationale for that wishlist feature.
It sounds like a good thing - to me too - to be able to turn off all Auto functions. But, given the tagline of the product as an “autopilot” (for people who don’t want to be autonomously creative - my editorial opinion in parens)… it may be interesting to see if a suggestion to be able to disable autopilot is addressed.
I’m Using Lightroom Classic as my photo editor and exporting TIFF to Photo AI - and to Sharpen AI for this post.
Background:
I have an ISO 10,000 RAW (Nikon HE*) file
(all files here converted to JPeg for ease of viewing)
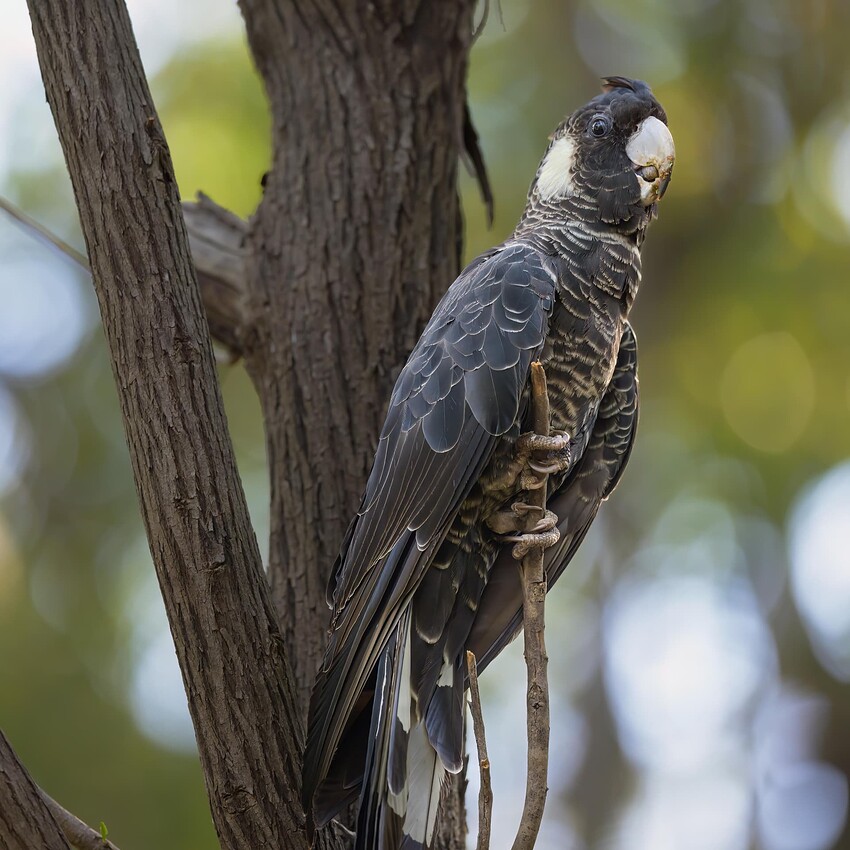
Edited in Sharpen AI - for noise only in this example, I can adjust noise and still retain detail in the feathers:
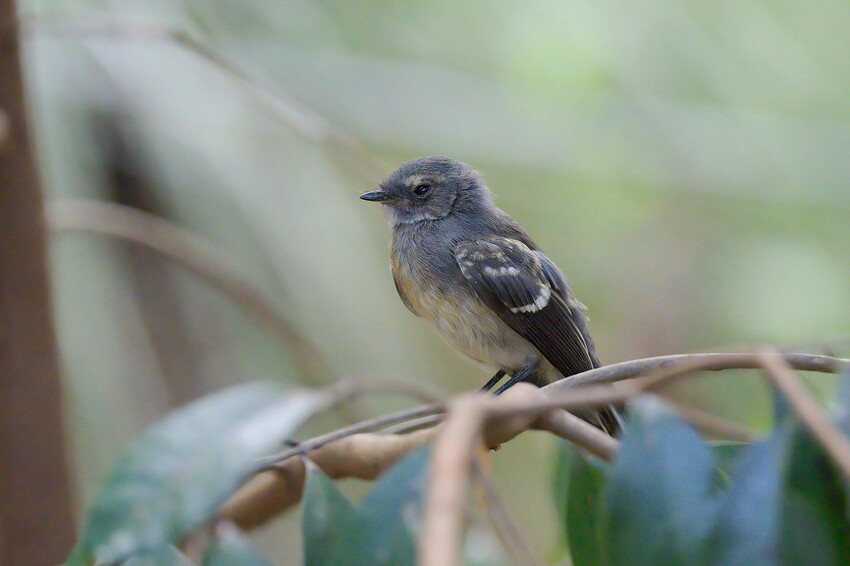
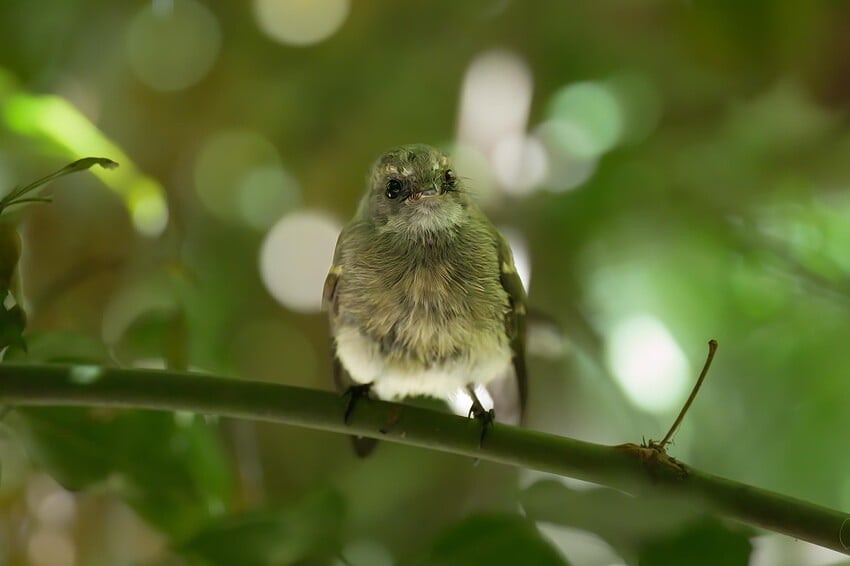
Edited in Photo AI - Autopilot adds noise reduction - I have no way of reducing the level of denoise.
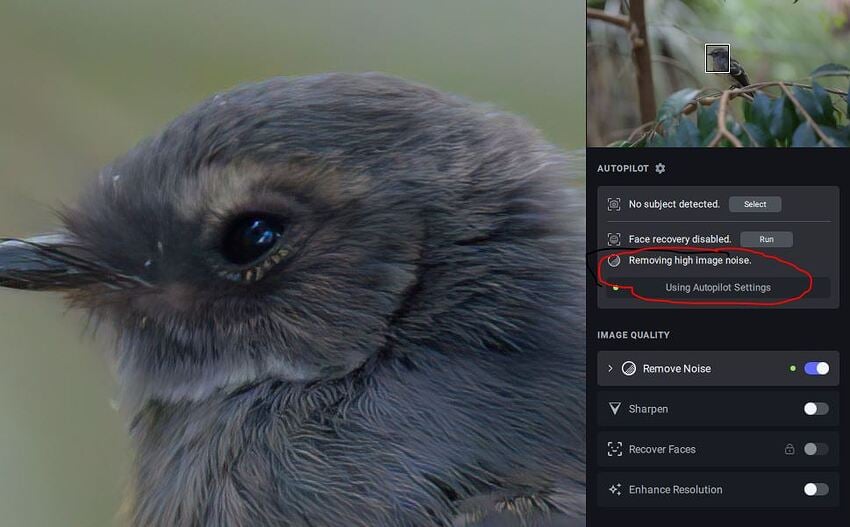
All other Autopilot settings are off - this is what Autopilot is doing:
The level of Denoise is too strong - detail in the feathers is lost.
It would be great if Denoise can be turned off in Autopilot and adjustments using the sliders is allowed.
Many thanks ![]()
I see what you’re saying about losing detail (at the very least, the feathers are softer than they could be - the eye too; which is critical for wildlife photography).
What happens when you run that same image (where you’ve circled “Removing high image noise” in the Settings Panel) & get the result you’ve included a zoomed in result of above - if you go down to the little arrow pointing to “Remove Noise” & you click on that to expand the Settings for Remove Noise. You should be able to manually make your own modifications to the A.P.-selected denoise settings. Are you able to do that? If so - is there enough buffer room on the denoise slider to lessen the amt of denoising somewhat & perhaps pull up the detail or clarity a bit in that same Remove Noise part of the settings panel? Does that help you at all?
Another option to add to that - if it only gets you partway to the level of sharpening (w/out over-sharpening) you need - what happens if you mask just the bird (or some portion of the bird you’d like sharper) and then in the Sharpen area of the settings panel, you turn on the sharpen subject only? You’ll likely have to do trial & error on the sharpening & clarity so the bird feathers don’t become an illustration… Does that approach help at all? Part of the reason I’m suggesting that - besides further sharpening the bird feathers post-denoising - is to ensure your nice shallow DoF isn’t lost in the process of ‘crisping’ up the bird.
Take your time - don’t feel pressured to reply tonight.
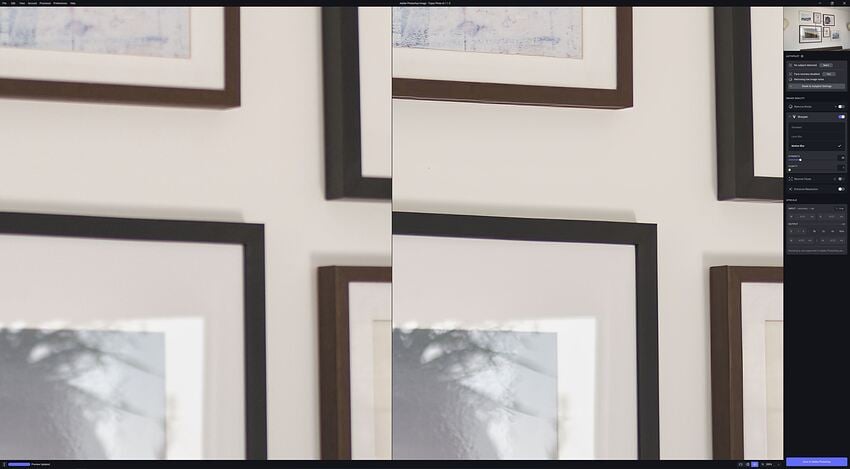
Here are some screen snips showing what I was talking about - I’ve zoomed in to 200%, so if you’re at a more normal viewing zoom level it may look better. You’ll have to play with settings to see if you can achieve what suits your taste.
Denoise & Sharpen Settings Panels Expanded to show Manual Settings:
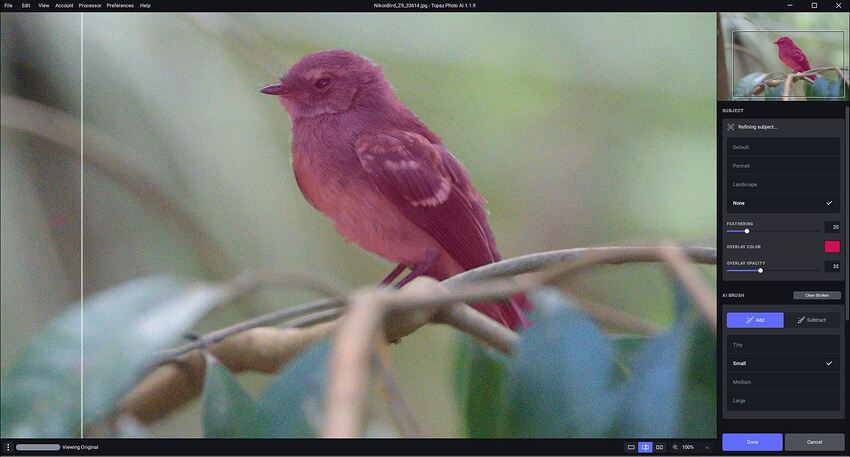
Manual Masking of Just the Bird (from the Select Subject part of the Settings Panel - I’m not a fan of the AI ‘brush’, but that’s neither here nor there):
The bird with the Sharpen Subject Only switch turned on (so just the masked - ie, red overlay - area of the image gets sharpened).
Using Topaz Adjust 5:
Sorry, I should have expanded that panel - the strength slider has been reduced to 1 on this image, the auto setting was around 11 I think, but even at 1 it’s too strong.
Thanks for this suggestion, I’ll have a go at it later. I will make a couple of observations:
With the smoothness in the whole image as a result of the noise reduction process the background looks fake as well as the bird.
I would much prefer to get the image looking better after the application of noise reduction than fixing the image.
I’ll see if playing with selective sharpening helps.
Many thanks for your guidance, it is appreciated
Others have posted the same observations & opinions as you.
I’ve been posting about this since the very first release months ago, and it’s the first reply posted in this thread as well.
controling the denoising area and amount are essentials and seem urgent to me.
Strangely they prefer spending energy on cropping which should not be the focus of the program.
A long standing problem still shows, realy visible halos when using Sharpen with Lens Blur / Motion Blur, on the GPU vs CPU. RTX4090 / 5950X.
The quality of the model is extremely bad on the GPU with these modes.
Thanks in advance for looking into this!
Bogdan
when batch processing images it stops unexpectedly at around 300+ images… I have tried several times and it processed 600+ on one attempt and 479 on another.
in past versions, I could process 1500 + images in a batch with no issues as it would run overnight and in the morning everything was done.
I know this has been an issue with the MAC version, I am using Windows 11 and previously had no problems processing large batches of images. Please let me know if there is a fix.
Turns out that good old Microsoft has shot us in the foot again.They updated windows security and added a new feature - controlled folder access which was blocking a shed load of apps from writing to folders on the system. I had to add each app laboriously to the exceptions so that programs would work correctly - Grrrrrrrrr.
This is on Windows 11 - not sure if this also applies to windows 10 also - you peeps may need to check if you get these issues.
Hope this helps.
Mark
Maybe you should give details of which folders on your PC it couldn’t have access. Seems unusual as I have no issues and it doesn’t seem anyone else has reported this problem.
Note that this feature, designed to stop ransomware attacks, can be completely turned on or off in the Virus and Threat Protection settings.
I’ve edited a couple of images, a lower noise image shot at ISO1800, and another at ISO9000 and run them both through PhotoAI.
The results of the image at ISO1800 is quite good. PhotoAI detected low noise and Autopilot made a reasonable go at removing the noise and sharpening the image. I did need to reduce the denoise strength slider from 14 to 3, but I am happy with the result.
Image was finally edited in LRC.
Second image at ISO 9000 PhotoAI detected High Noise and used strong denoise to remove it.
I couldnt reduce the strength low enough to reduce the excess noise reduction (as per images posted yesterday - plasticky background and lost detail) Final image edited in LRC
Conclusion - PhotoAI is fine with images with low noise. Once noise gets to a higher level such that Autopilot applies strong denoise, image quality suffers.
Need the ability to manually adjust denoise - ie override Autopilot please!
Same when using Affinity Photo 2, crashes when using as a plugin on Mac
Just downloaded TP AI version 1.1.9. Now when editing from Lightroom Classic into AI the Tiff image is edited ok in AI, but when saving back to lightroom all metadata is lost.
