You should not create one - there should have already be a models folder in your computer.
Are you on a Windows or Mac OS?
You should not create one - there should have already be a models folder in your computer.
Are you on a Windows or Mac OS?
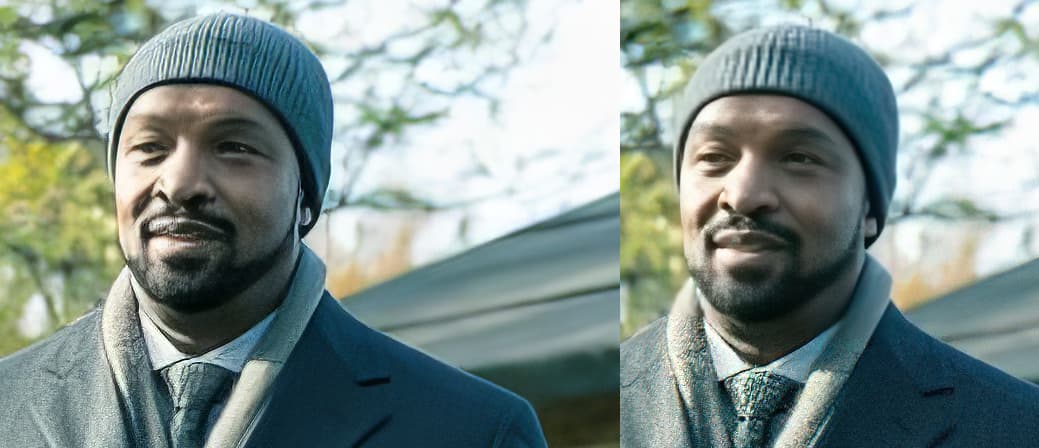
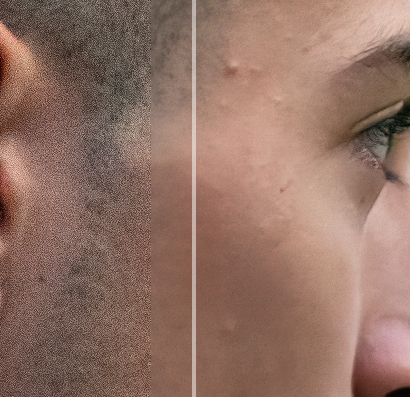
Perhaps this is a work in progress, but I am still not seeing an improvement in Photo AI’s face recovery. On the left is Photo AI, low resolution, upscaled 4x from a 627x418 image - with the subject fairly far from the camera. On the right, Gigapixel ‘standard’ 4x upscale face recovery at 100. Photo AI’s eye restoration is not good. Gigapixel’s is quite acceptable. The results are worse with faces even further from the camera. Once face recovery in Photo AI matches or exceeds Gigapixel, then the software is closer to being on the right track.
Seems that ver 1.1.0 doesn’t make any lens correction while processing a raw file and the returned dng file when processing through Lightroom can’t be corrected by Lightroom, at least not in my case.
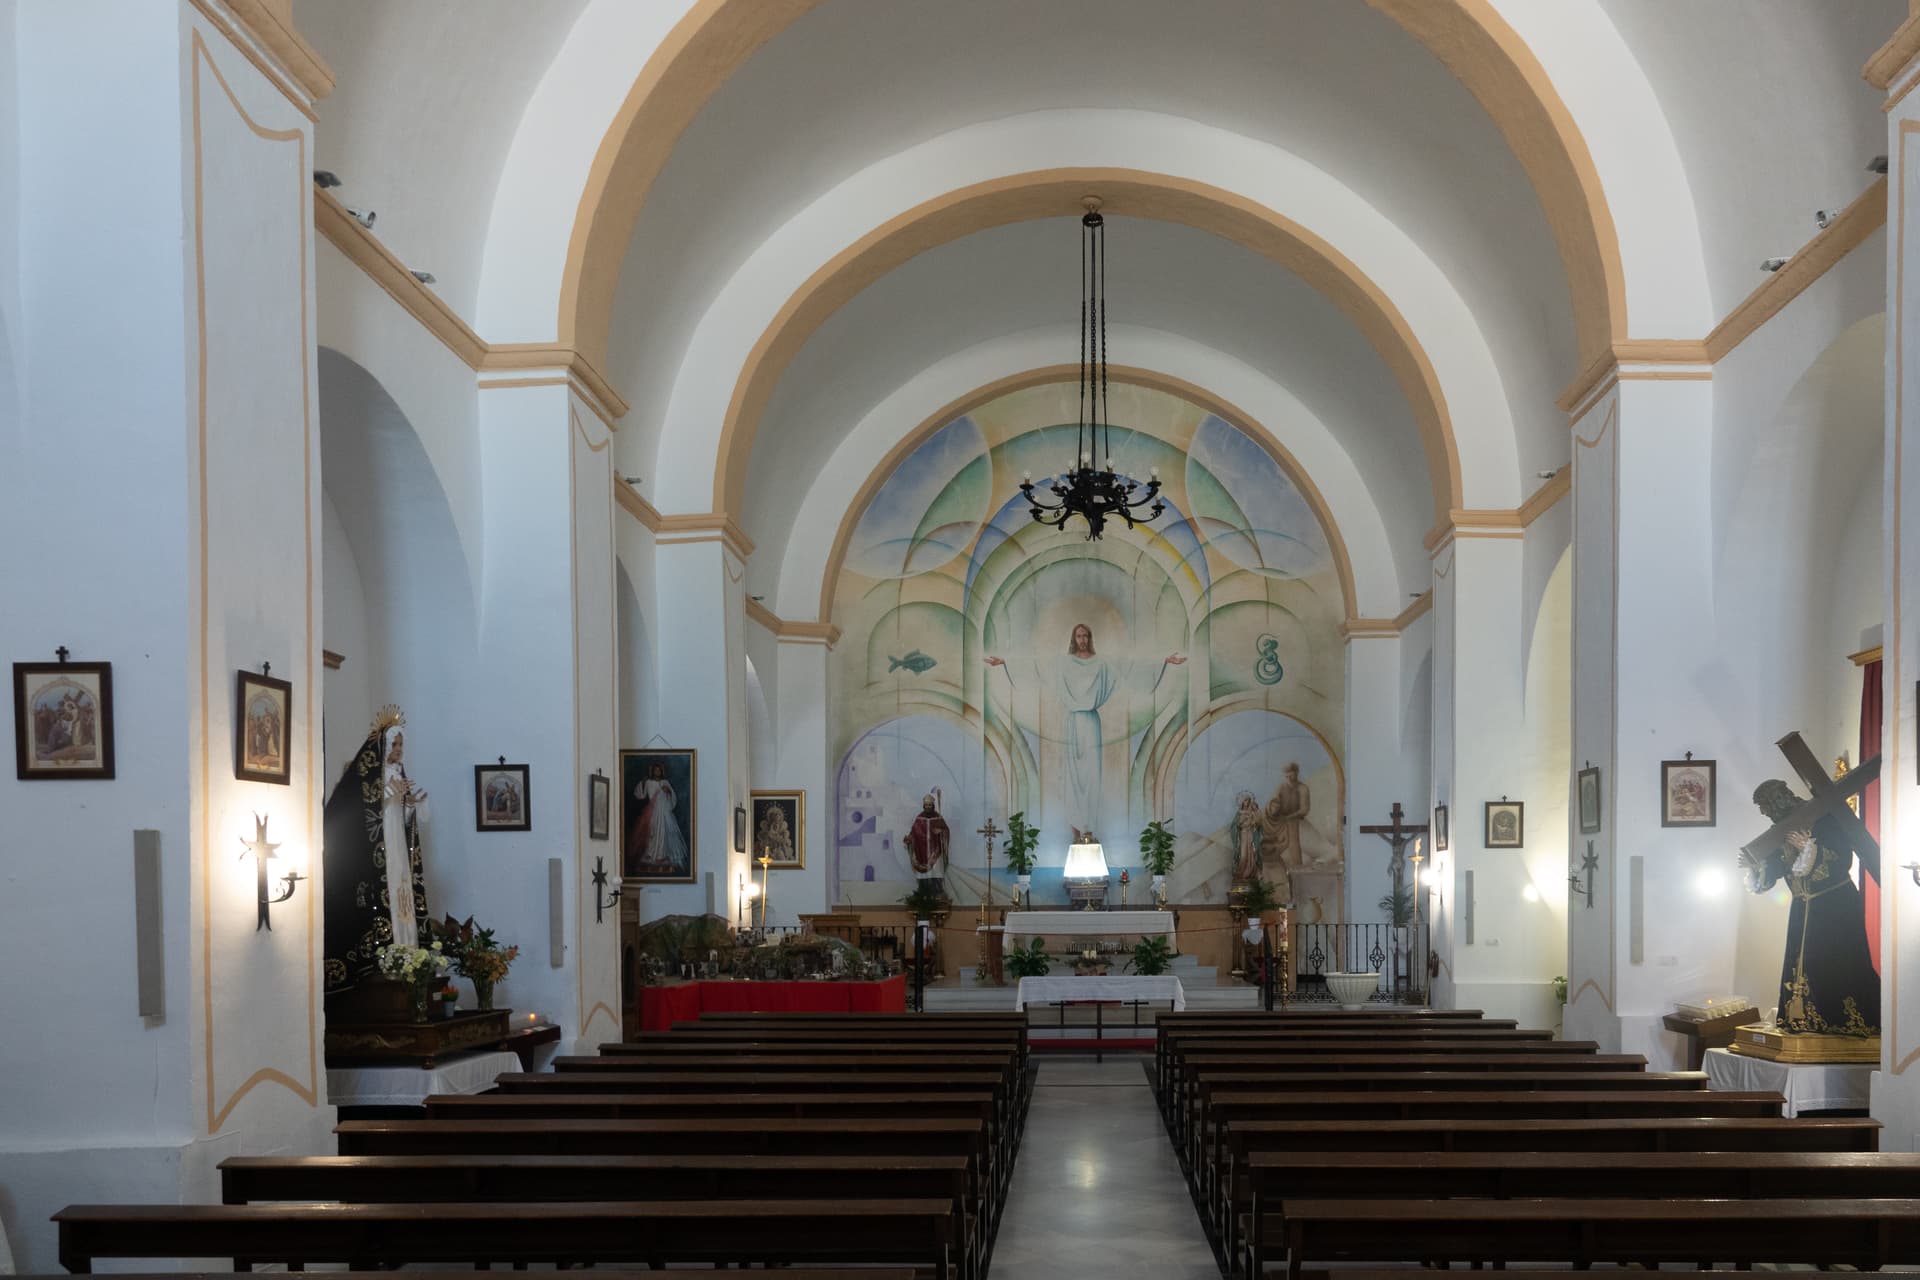
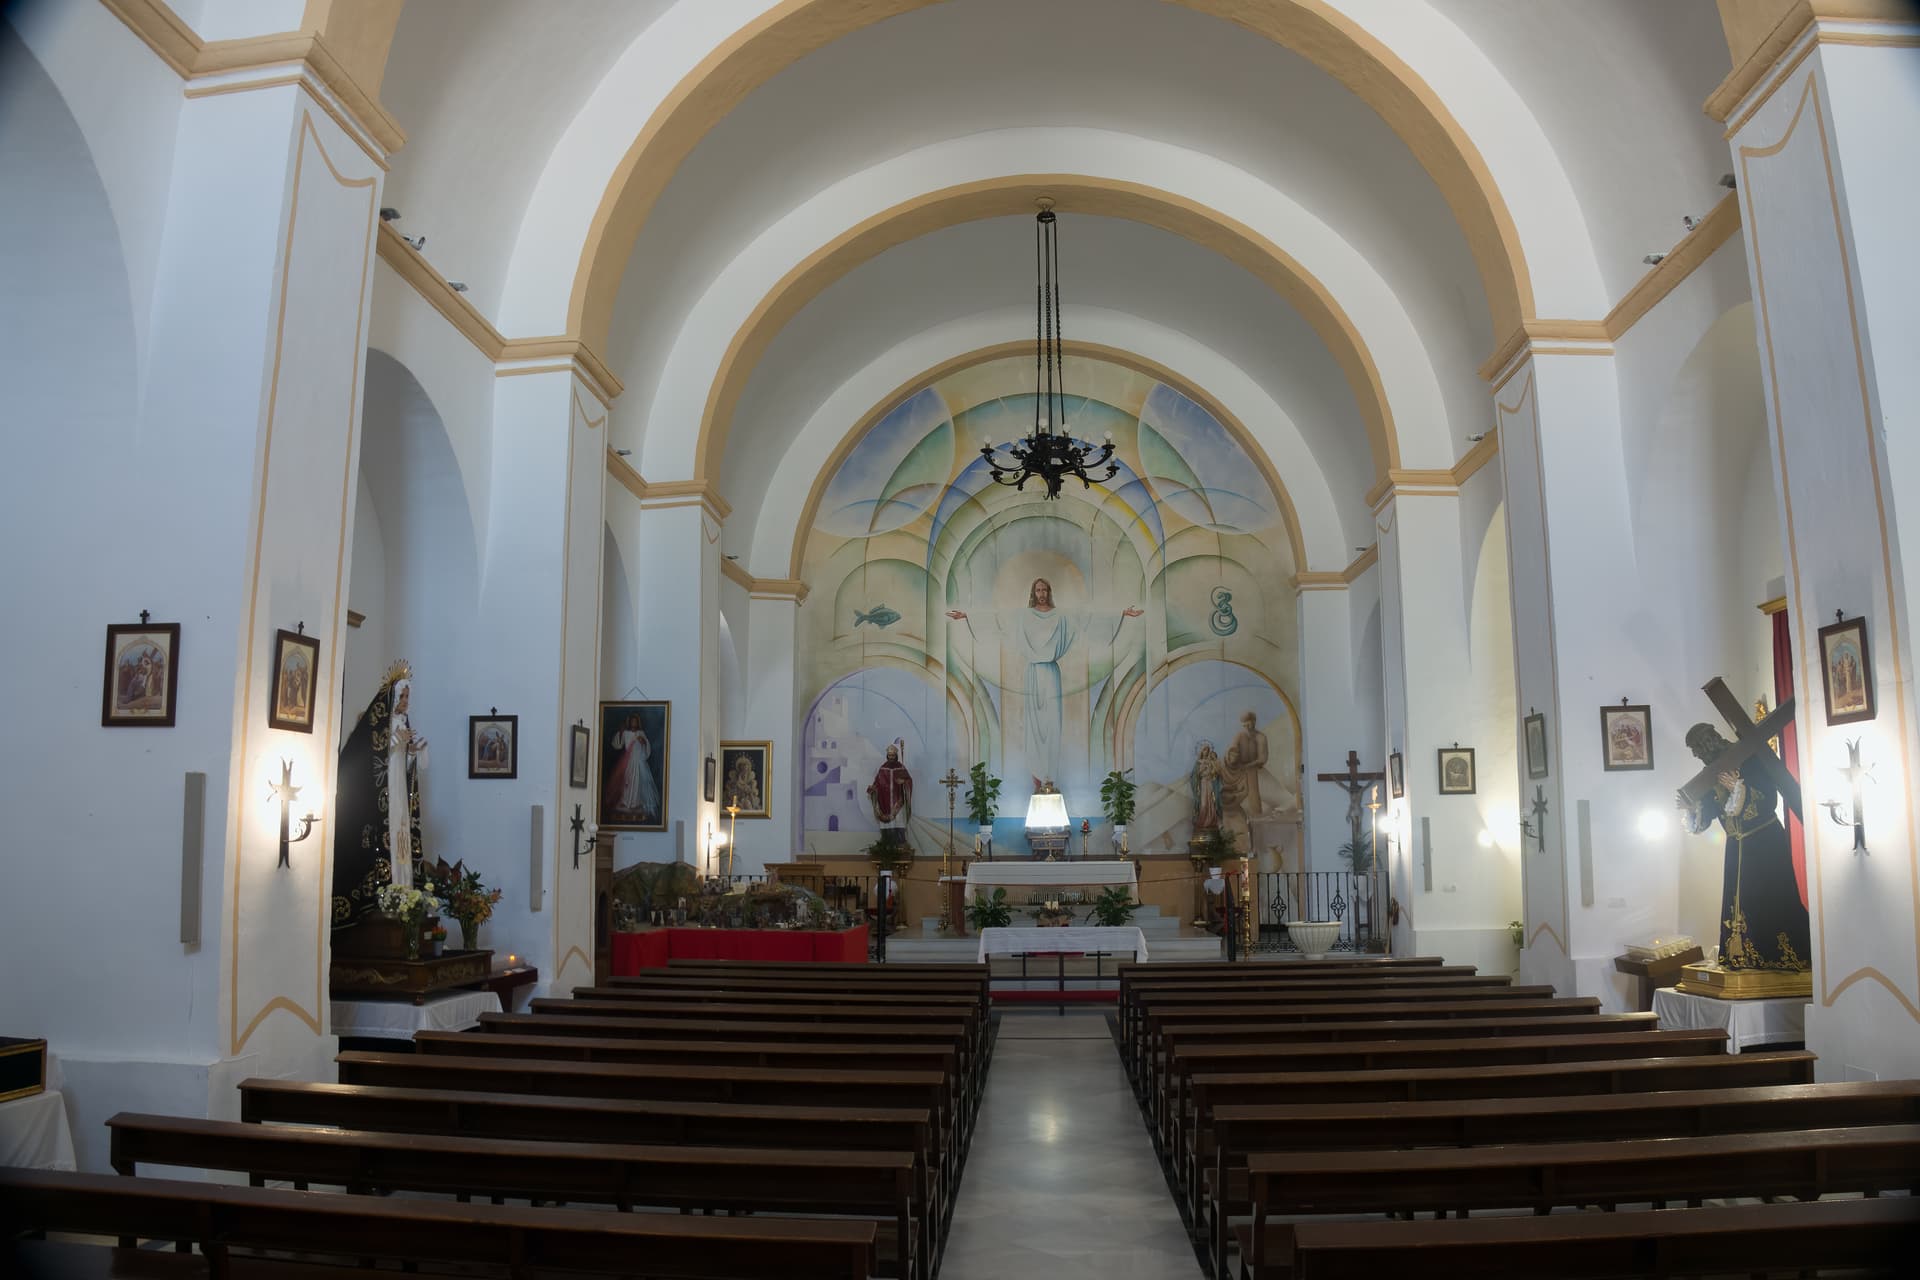
I shot the enclosed pic in raw by my Sony RX10M4. The camera has inbuilt lens correction profile, which is used by Lightroom, but apparently not by Topaz Photo AI. Enclosed are one version, with no corrections done in Lightroom and the other processed by Topaz through Lightroom.
You can clearly see that the Topaz processed picture has no lens correction done and as Lightroom can’t correct the returned dng file, it becomes useless.
Thanks Rob,
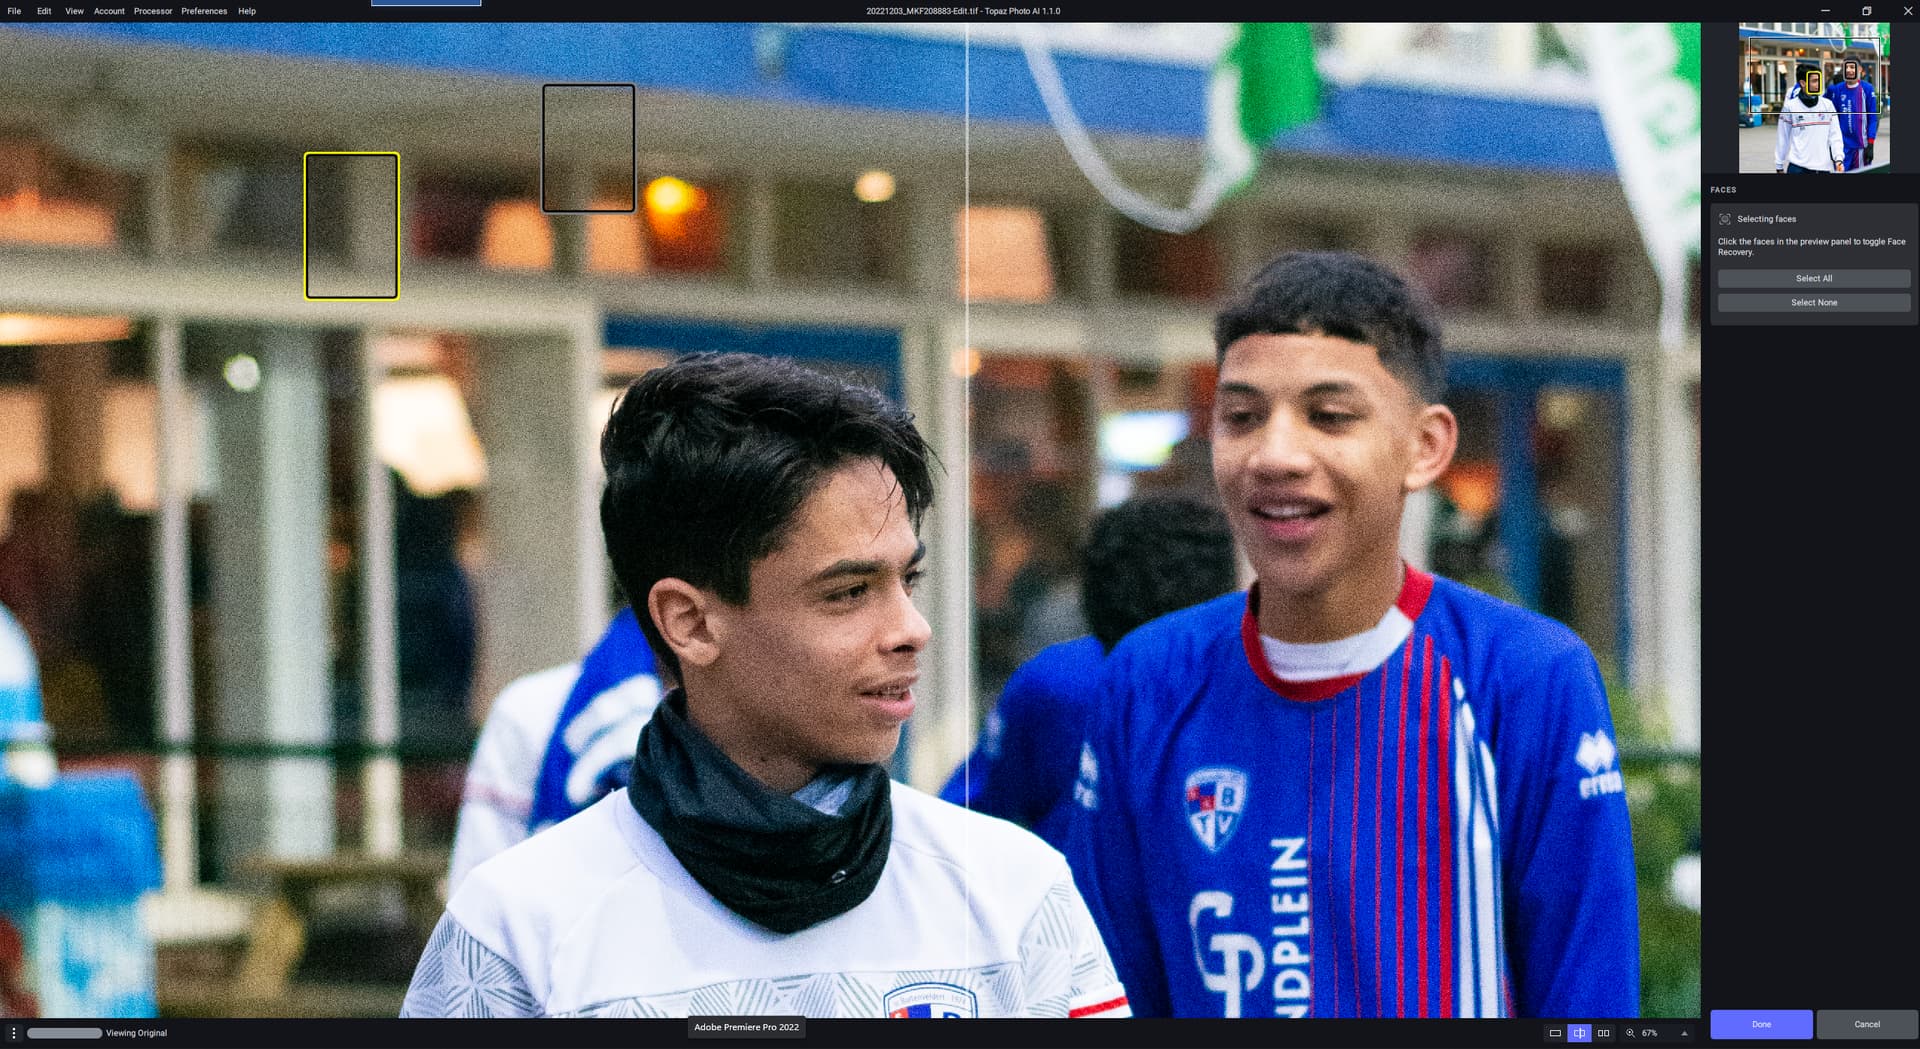
I was too zoomed in as well and didn’t understand why I couldn’t select/deslect one of the faces.
So I had to either do all or none.
Zooming out helps for now.
Also, the line dividing before and after is not on top of the changed area.
The further you move it to the left, the more to the left of the line is already showing the after.
If you move it to the right, the before is showing right of the dividing line.
Notice the noise has already been removed on part of the left side of the line.
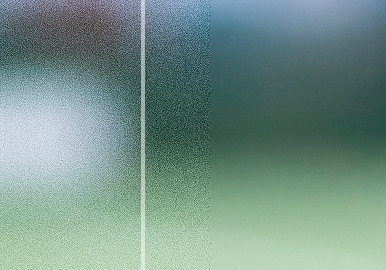
And moving to the right the noise appears right of the line.
Would that not be the goal? The lighting result on the right is much more accurate than the left, imo.
Trouble with something like that, it’s taking creative control away from the user. It’s baking in a “robot’s” idea of what is right.
If we shoot Raw we want to take an unprocessed result (other than denoise & maybe a light sharpening) then adjust brightness, contrast, whts/blks, highlights/shadows to taste.
It’s the same reason real photographers don’t (typically) shoot in full Auto. No control over achieving the look you want to dial in.
precisely, that is the whole point of raw, i don’t want a processed raw in terms of colour. the only processing is that which removes noise and improves detail. I decide how i want it to be processed, not Topaz. it also creates a problem with colour matching if you are using different programs.
Every RAW converter applies a profile when interpreting the sensor data giving its RAW conversion. If you don’t want PhotoAI or even DeNoise AI to process it’s version of RAW conversion do the conversion in another application and pass a TIFF, DNG, PNG or JPEG to Photo AI for processing.
The reason the processed image is not as bright in DeNoise is that it uses a Linear profile for the RAW conversion.
It doesn’t take creative control away. ALL RAW converters, such as PS/LR, (and any other RAW converter) does this in the initial conversion by applying a profile or choice of a profile.
This is how applications that convert RAW files, which are only sensor data, work.
Not so. My raw images in other programs, only change after I’ve brightened or added exposure or contrast or changed settings for whts/highlights or blks/shadows, vibrance or saturation. Or, added profiles (which I don’t do b/c it’s destructive).
Not if I only sharpen or denoise.
Every RAW converter applies a profile otherwise you see nothing. What you are changing is the image produced by the RAW converter and NOT the original RAW file.
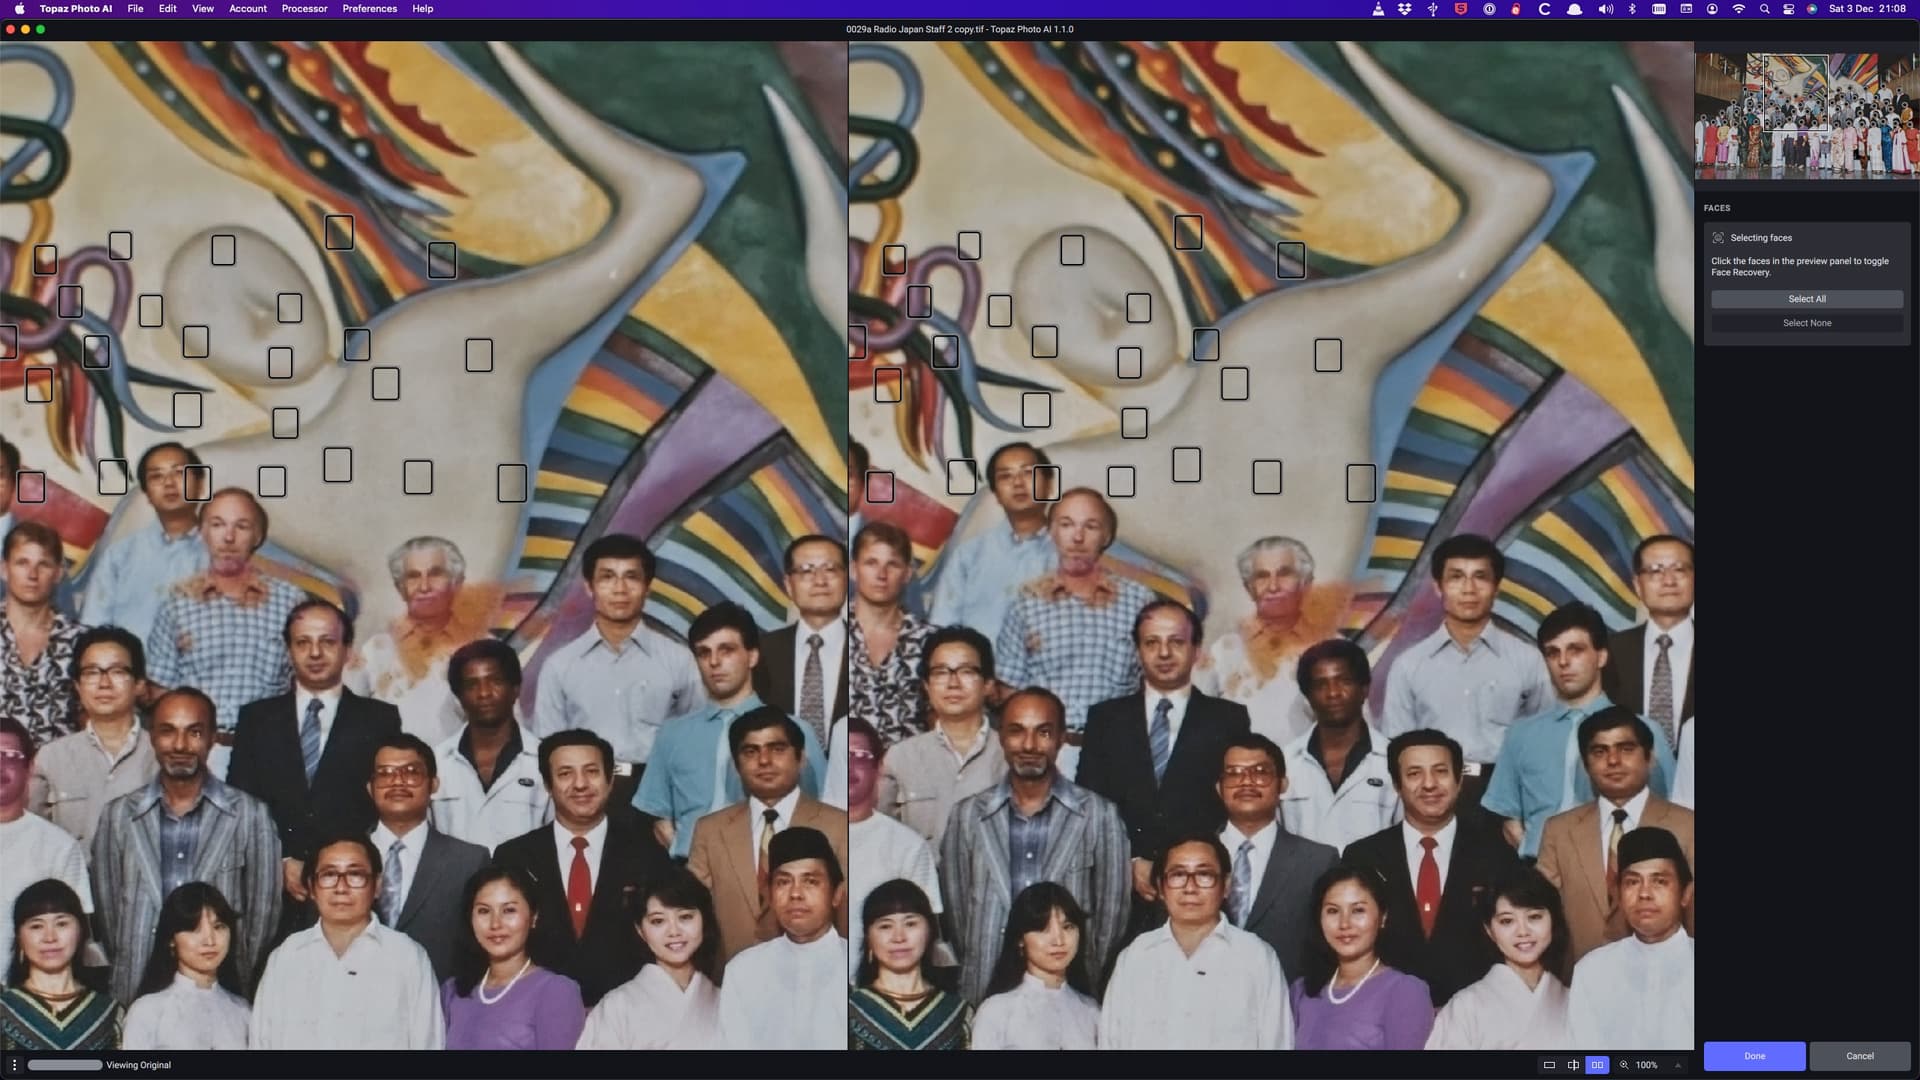
So the standalone has major problems for me on my M1 Mac Mini, how about using the Send To function from On1 PR2023? I thought I’d try a group shot: it’s a fairly high res scan (actually I just pointed my camera at it, since I don’t have a flatbed) of a colour print. I downsized it slightly to 4k and set face recovery. The result was completely haywire, as can be seen from these two screenshots. Unusable.
Did you apply a profile in Affinity Photo?
at best you can expect 150-200% unless it is a cartoon or a drawing. that’s with the old app. New is <<<
Also it can’t hold on to highlights anywhere near as well.
So then there needs to be a choice of profiles. From linear all the way to vivid which is pretty much what that example is and I could swear it is clipping some colour in addition to weird sharpening effects, while it really could do with sharpening the whole image. I would go Sharpen AI, lens blur 20%. That would sort it for good
no. its raw file and direct PAI export
So sadly, I paid to be a beta tester for this unstable program that practically works as the demo version because it keeps crashing, and I’m getting no response from anyone… and I see LOTS of people having similar issues to mine, plus several other issues.
Just to keep documenting, here are a couple other things besides the constant crashing/losing my work and weird face features warping:
Edit: Adding PhotoAI’s interpretation of a human ear, warping straight steel in background, and adding forehead artifacts.