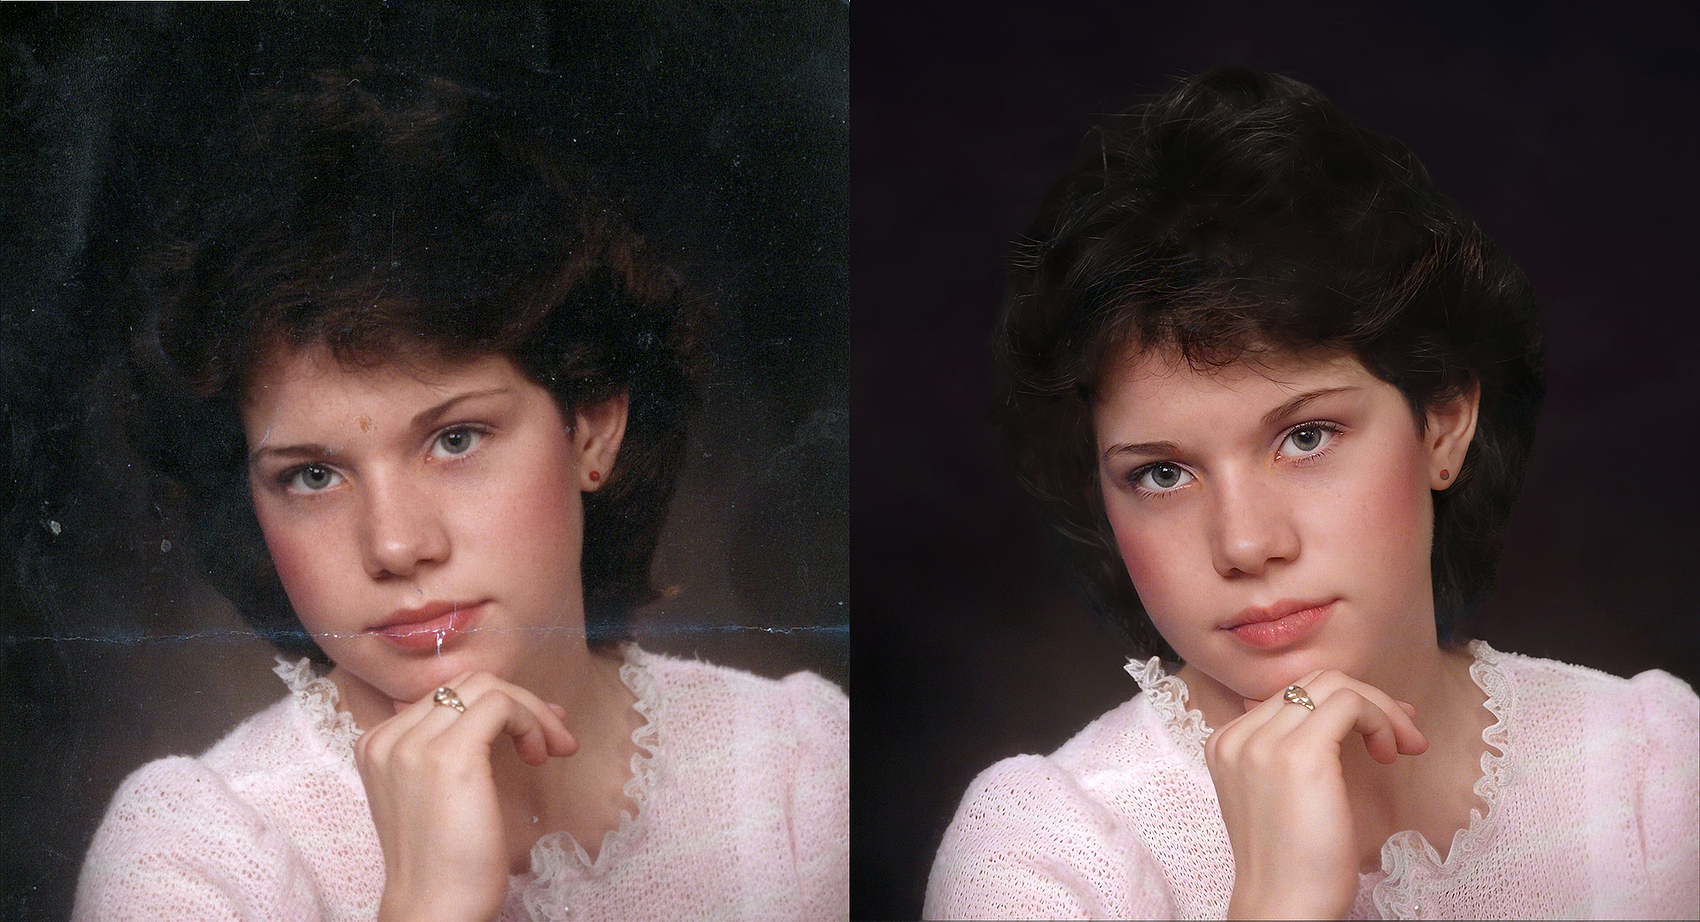
Hi everybody it’s alright for me to sit here and judge everyone else so, it’s only fair I should have a go myself therefore, here’s my effort

I used a similar process as my other Restoration example here’s the image and link below

We have seen what Luminar can achieve applying an automatic filter so, as before sticking mainly with the Topaz Studio Apps and then, fine tuning with Photoshop.
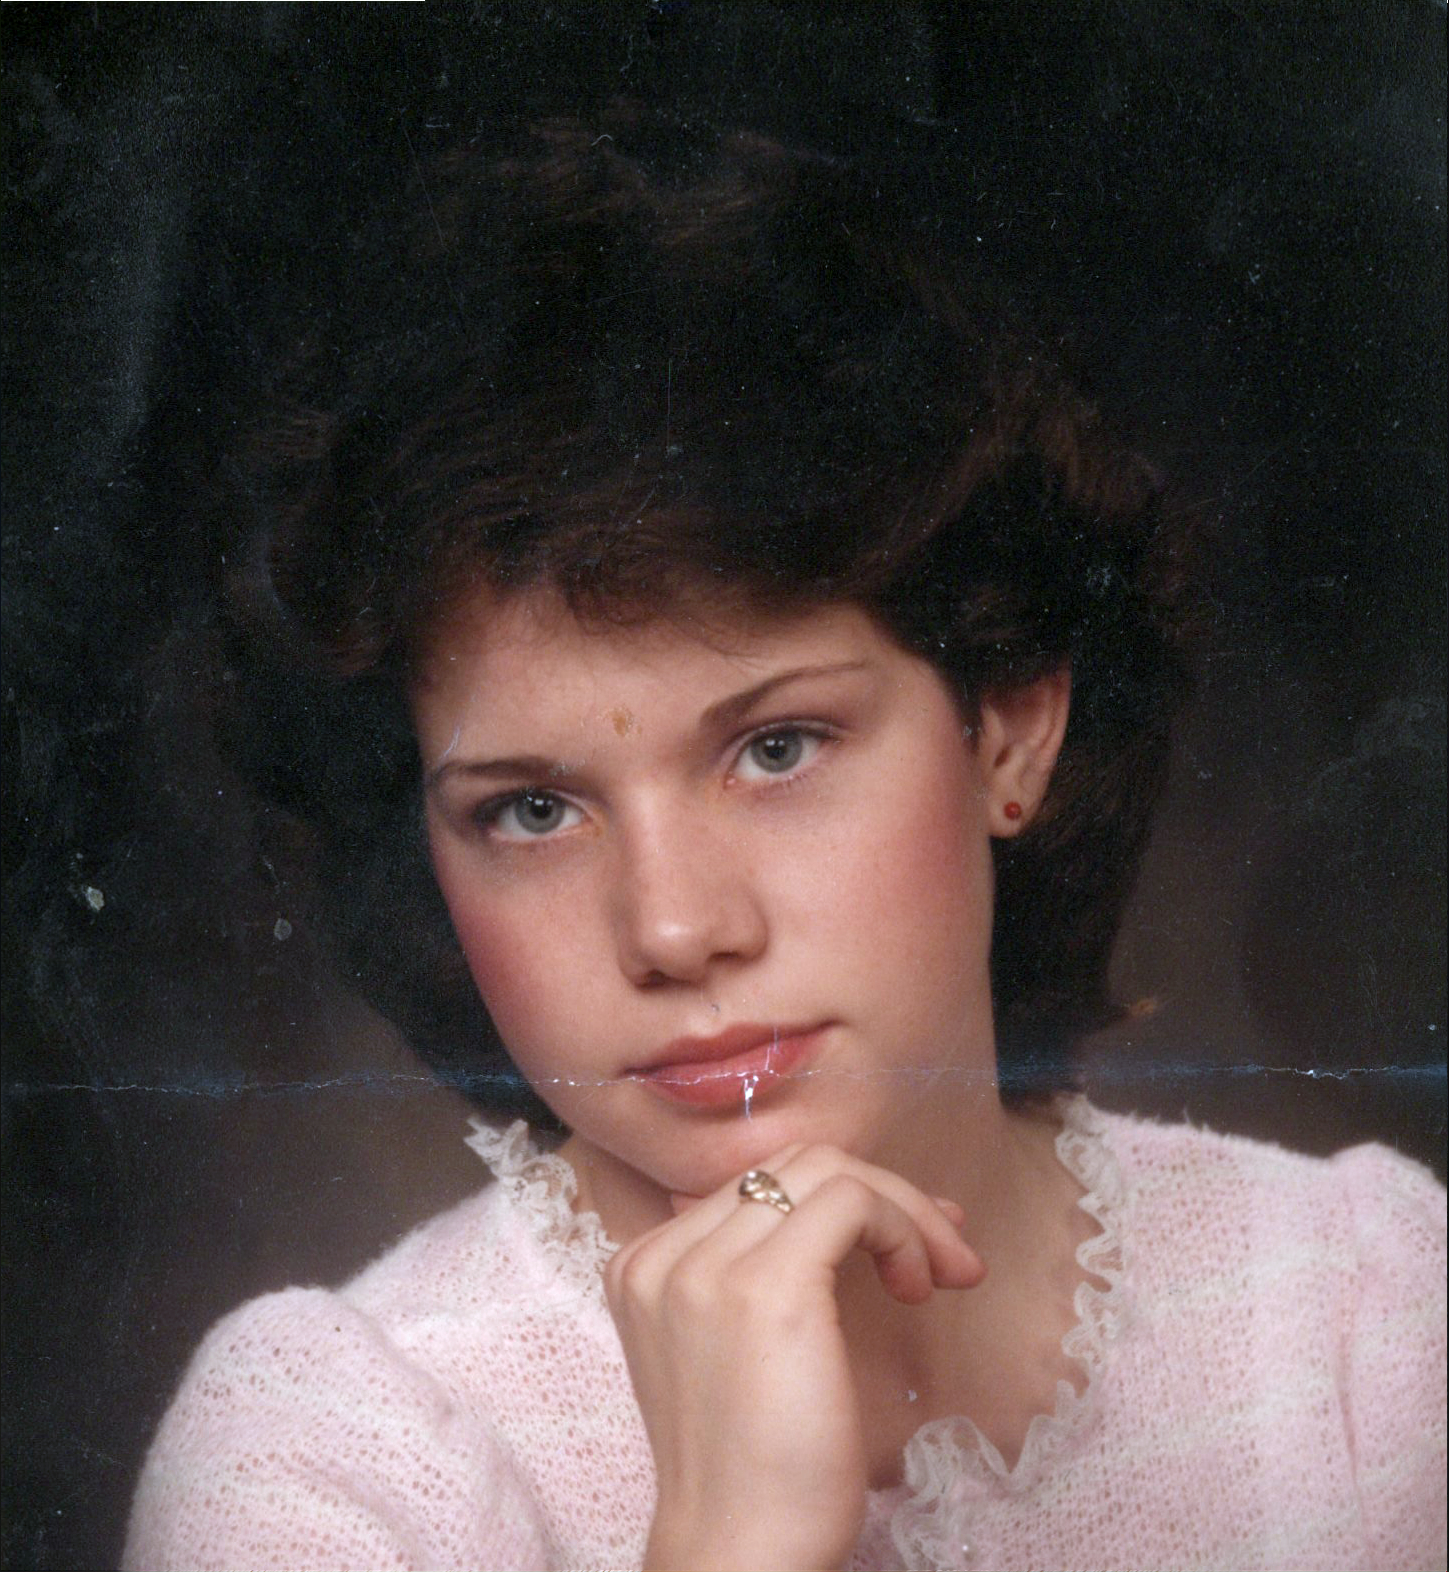
I started of in Topaz Photo and applied Ballance Colour and Adjust Lighting 3. I decided not to use Dust & Scratch for this image because, there’s only minor damage and from my experience unless you Sharpen the image first with Super Focus then, I know the Filter has a tendency to ruin the Lace around her neck.
Tip: when using Topaz Dust & Scratch despite it’s best efforts it can’t always distinguish between fine details and damage therefore, if you Sharpen the image first to increase detail in these areas then apply the Dust & Scratch Filter it will have a better chance of detecting the Lace is part of the image
In my other example, I only used the Topaz Mosaic Recoloured option for the colour information however, when you use Mosaic you are presented with two examples an automatic Restored version and a version that has been Recoloured for this image I chose the Restored option because, Balance Colour and Adjust Lighting had done a decent job in Topaz Photo
Here’s the Topaz Mosaic image
Pretty good don’t you think, although not perfect as with the Luminar’s version it’s a pretty good start to be getting on with.
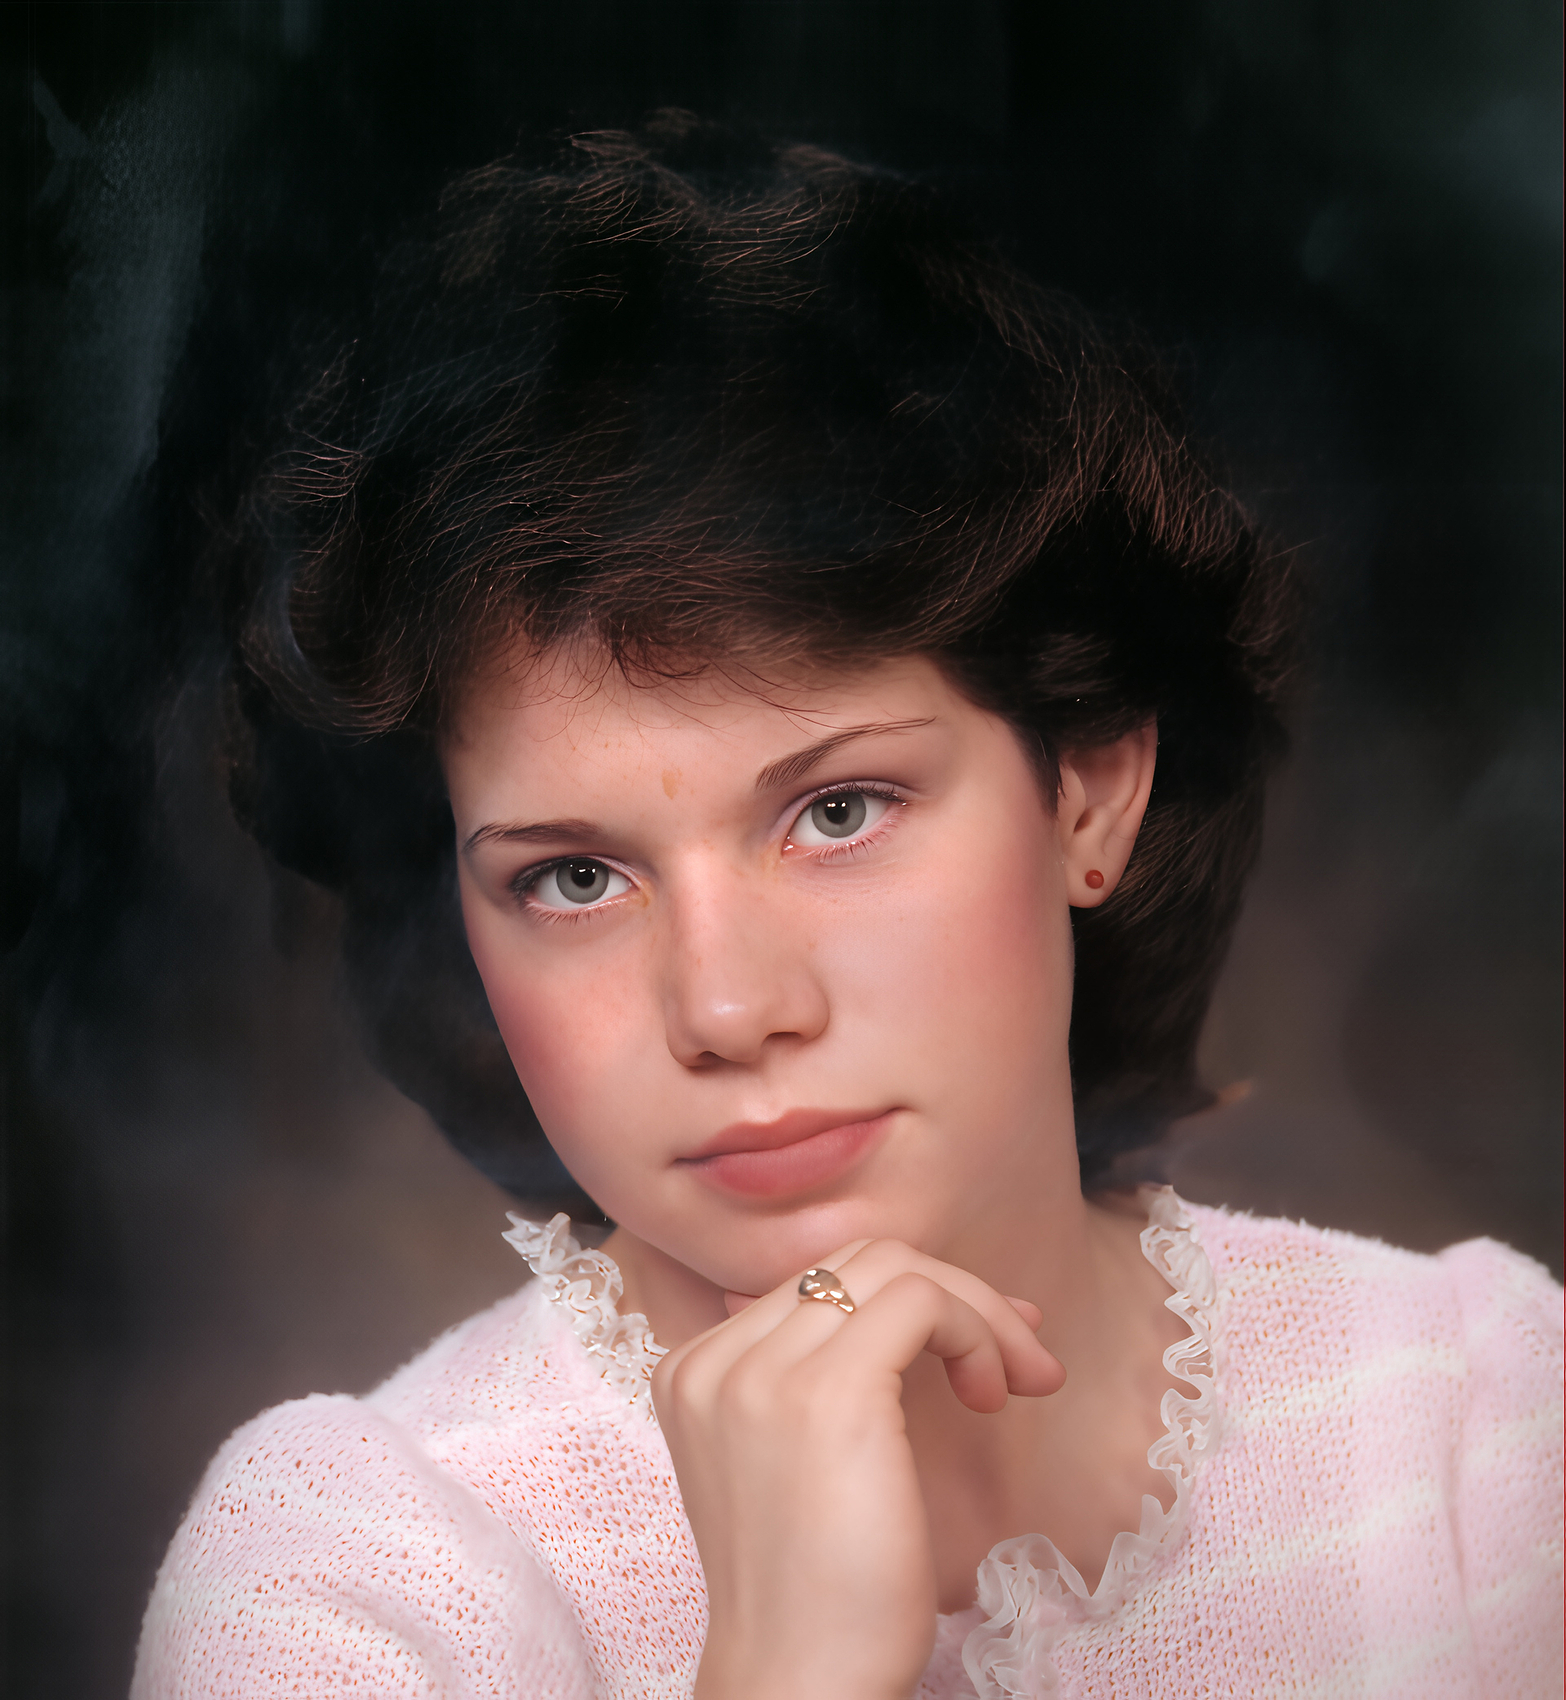
Next, I took the Topaz Photo image I had Exported earlier into Topaz Bloom I selected the Realism Model and as before created three examples Subtle, Low and Medium versions and saved them
Then, I Imported the three Bloom images along with the Topaz Photo and Mosaic versions onto Photoshop for Compositing into the final image you see below
Well that’s it I hope you had as much fun reading this as I did making it.
Thank you for your time