Photo Restoration Project and Plan:
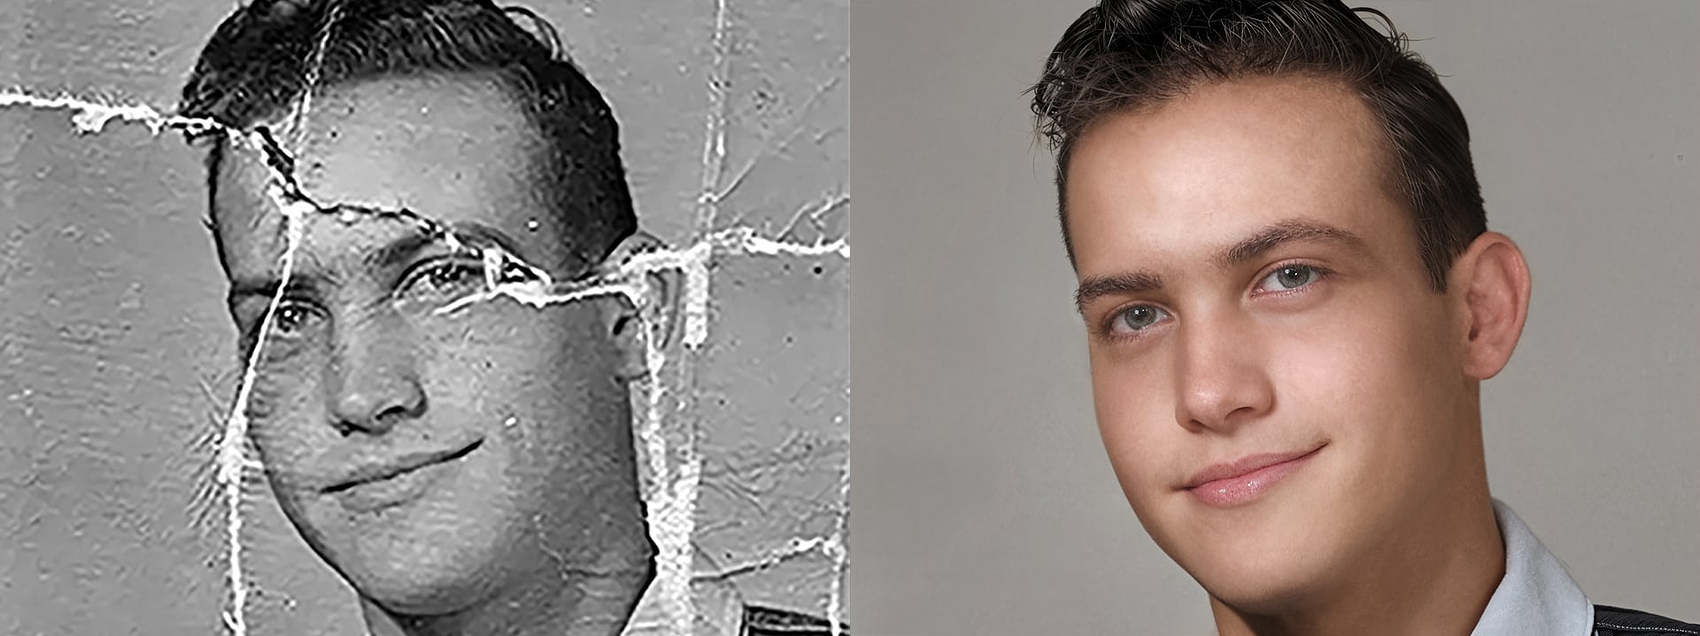
There’s no denying, in this age of Nano Banana Text Prompts and the like, it’s so, easy to fix an image in a matter of seconds with a simple text prompt and why not these are incredible tools we have at our disposal for example I’ve seen some impressive demonstrations including those from this community with Inkjacky and others using third party AI apps.
So, this got me wondering, what could I achieve restoring an old photograph using the power of the Topaz Studio Apps and a little hint of Photoshop just for blending without using Nano Banana or those aforementioned Prompts and third party apps.
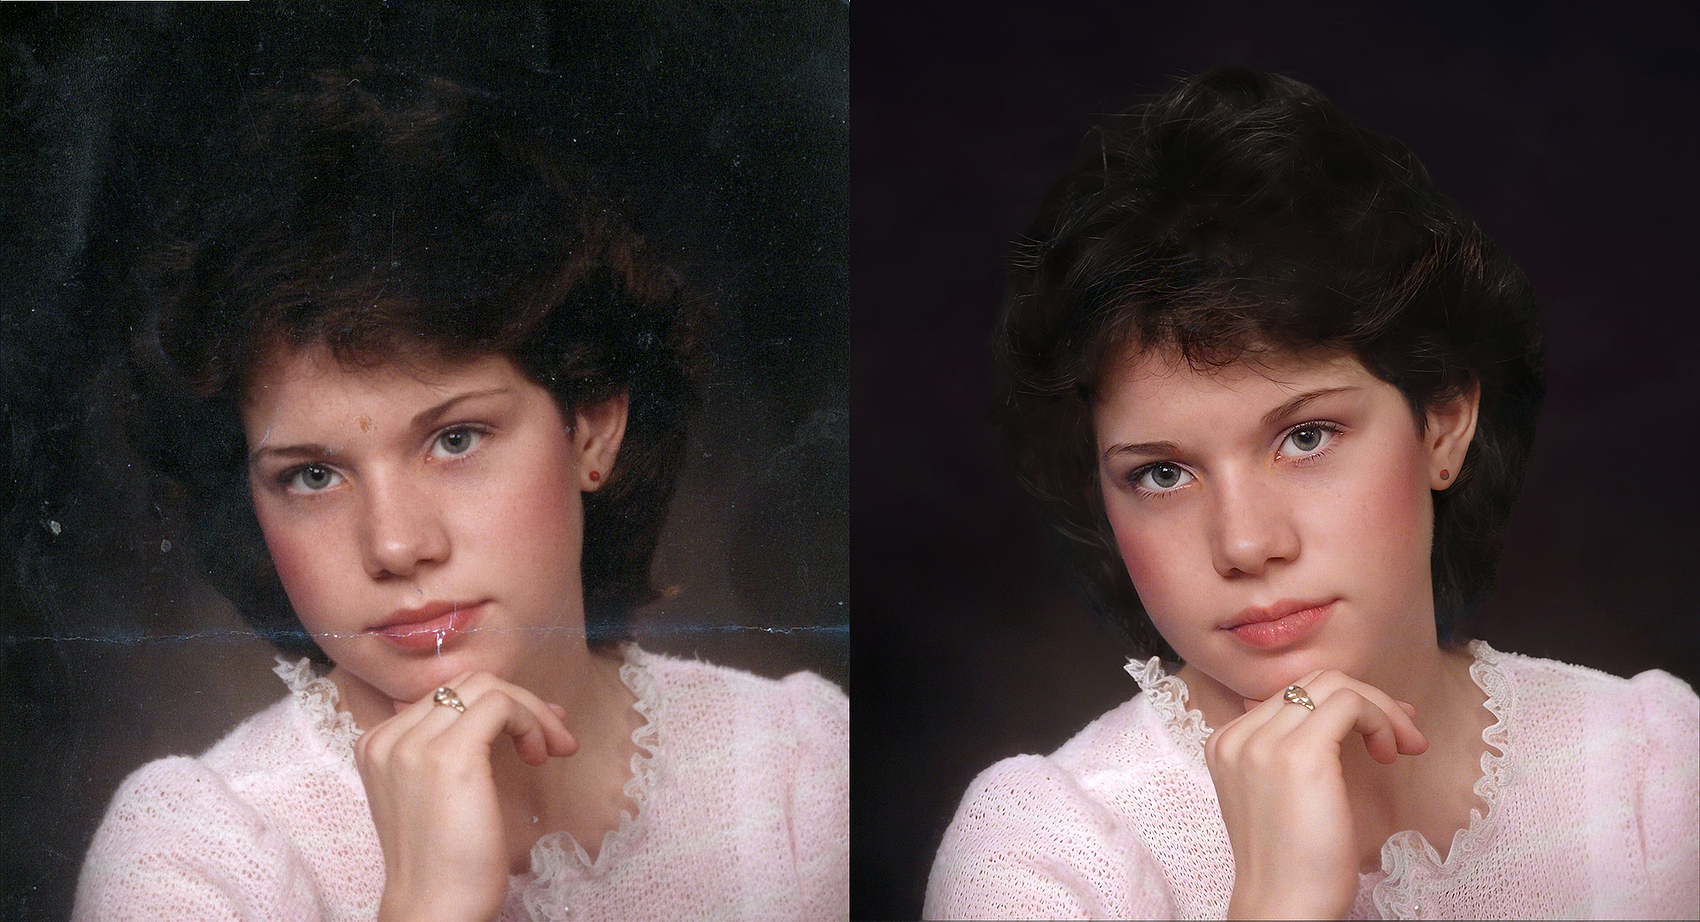
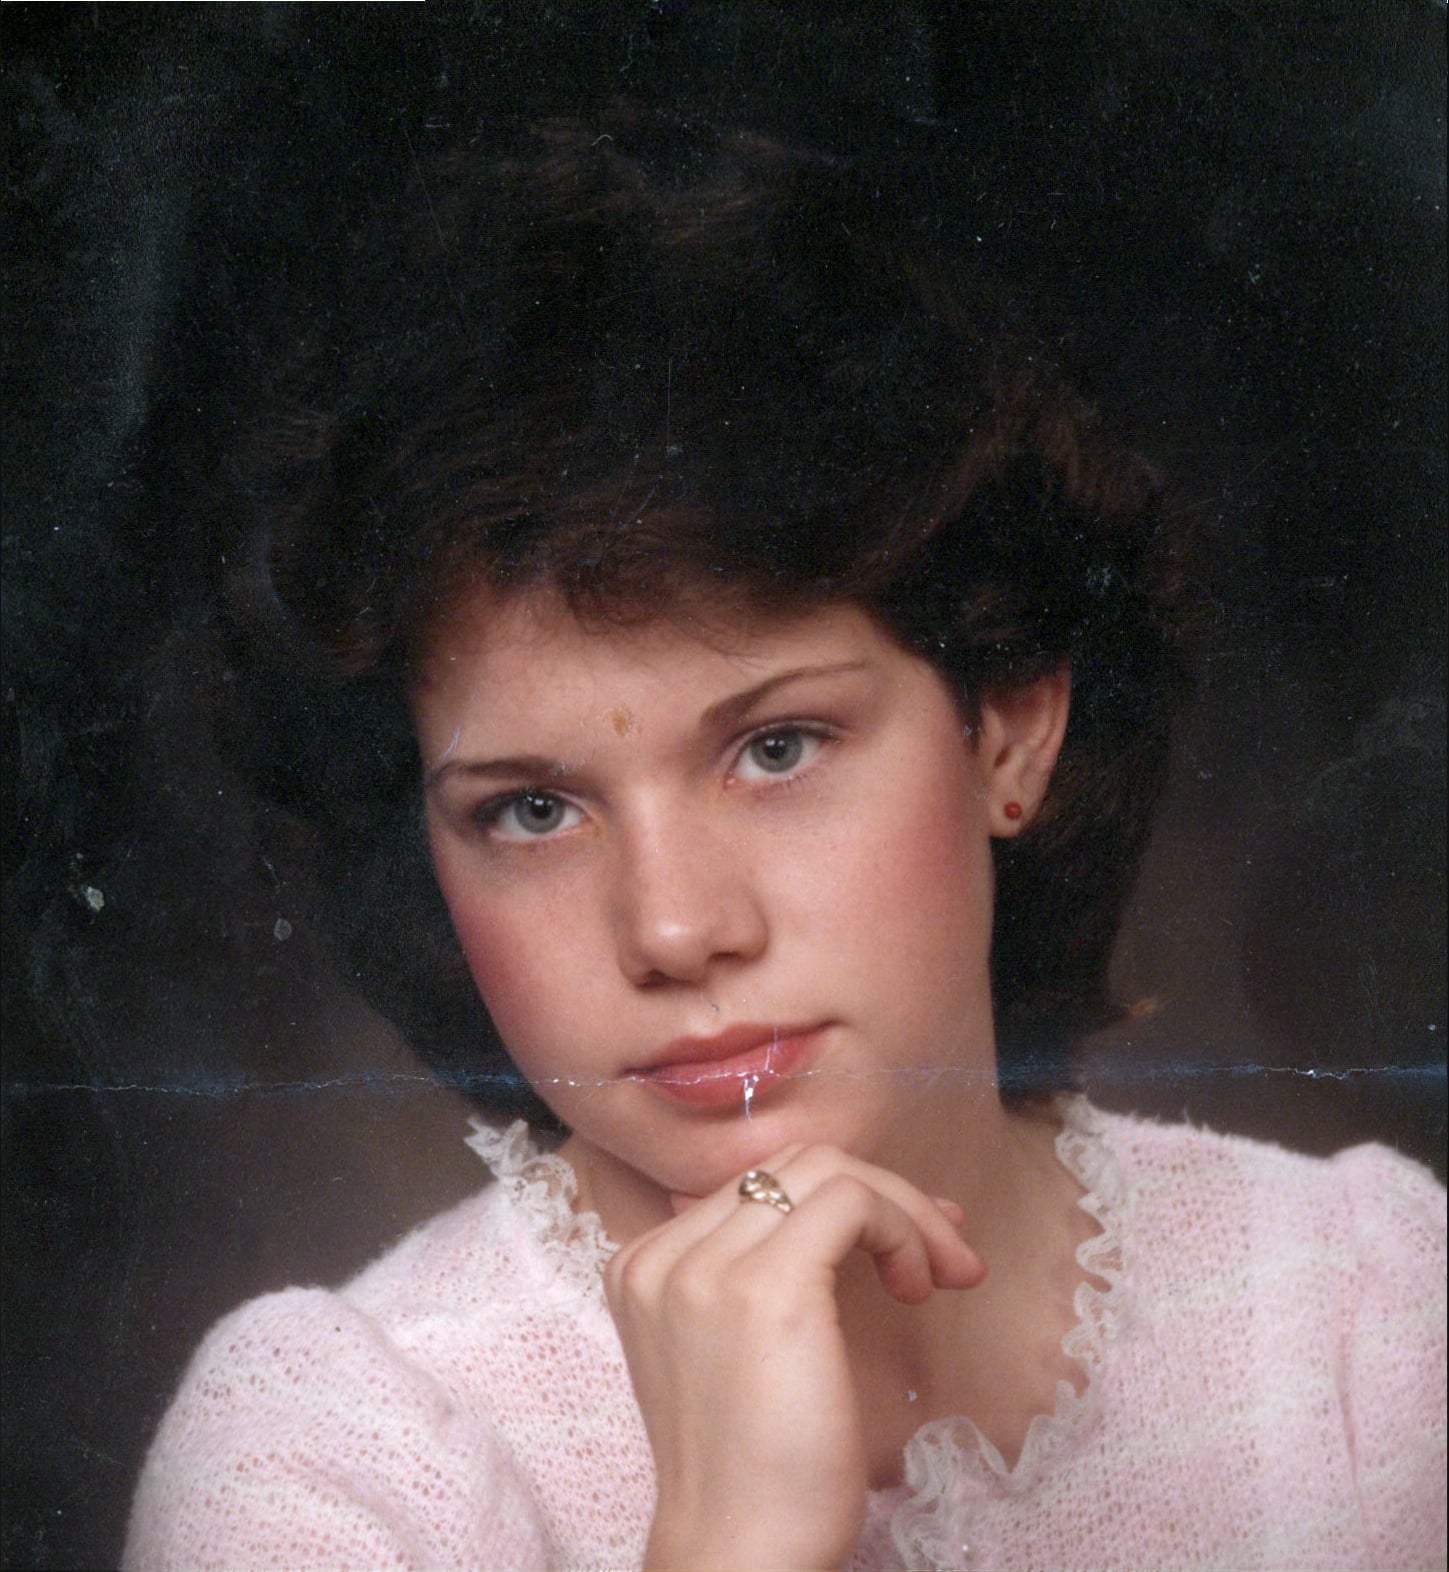
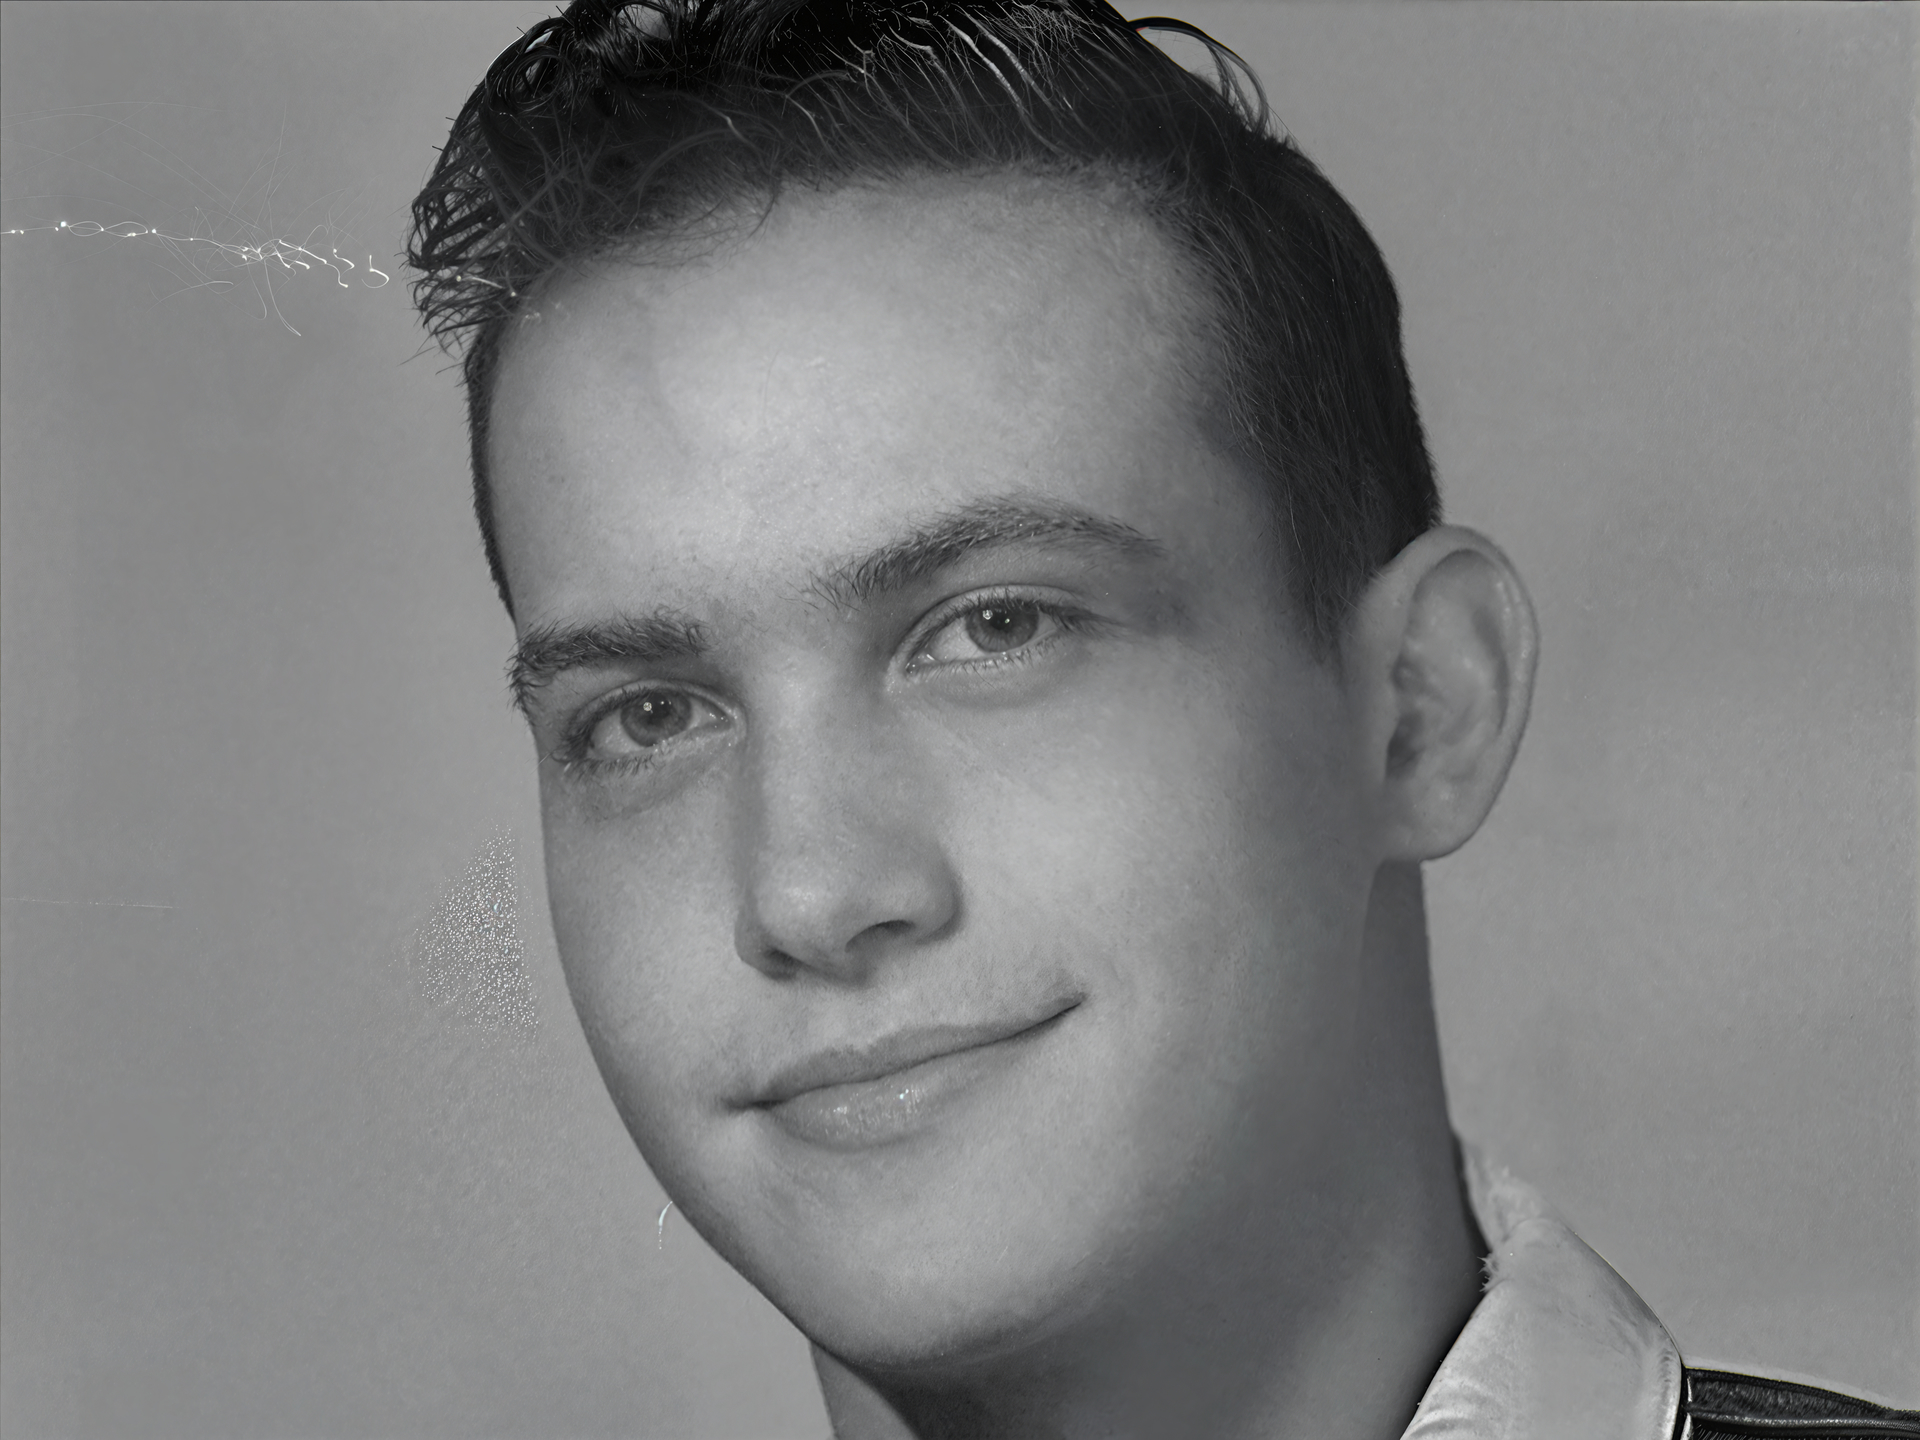
The Original Image:
I thought this image had enough damage to be a good candidate for this Topaz Studio Restoration.

Firstly, I evaluated the image to assess the damage and what needed to be done with the Topaz Studio Applications to repair the image and bring it back to it’s former glory
Assessment of Applications and Enhancements:
Topaz Photo - Dust and Scratch V2, Recover Faces, Recover V3, Adjust Lighting and Final Sharpening
Although I didn’t use Gigapixel I could have achieved similar results with Face Recovery and Redefine
Topaz Bloom Realism - Low, Medium and Max
Topaz Mosaic - Colourize and colour adjustments
Photoshop or similar - Compositing and Blend Modes
Topaz Photo - Dust & Scratch V2 & Recover Faces:
I opened the original image in Topaz Photo and applied the Dust & Scratch V2 Filter without selecting Autopilot or the other Enhancements.
I have to admit, I was more than, pleasantly surprised with the Dust & Scratch results although not perfect the Dust & Scratch Enhancement has removed much of the original damage and certainly made the image a lot clearer than I was expecting.
Next, I had to Export then, Reimport the image back into Topaz Photo because, I wanted to use Recover Faces and Topaz Photo doesn’t allow you to use the Recover Faces directly after applying the Dust & Scratch Enhancement.
Recover Faces Realistic has done a great job however, I wasn’t particularly happy with the eyes
Topaz Photo - Recover Faces and Recover V3:
Then, I applied Recover Faces again but, this time I used the Creative model because, although it tends to soften the face Creative, can often delivers a more natural look to the eyes.
With the previous image I felt the subject facial definition was beginning to look soft and applying Recover Faces Creative, further increased that softness so, to get around this I next applied Recover V3 because, using either Recover V3 or Wonder V2 are excellent for subtly restoring skin texture giving the skin a more realistic look.
Topaz Bloom Realism - Low, Medium and Max:
I like the results, with Recover V3 but, I felt it needed a bit more I could have reapplied Recover V3 or Wonder V2 however, for this image I would use Topaz Bloom and choose the Realism option.
Because, I knew I was going to be Compositing the images together later in Photoshop I wanted to Render three versions of the image with different strength settings in this case Bloom Realism, with a strength setting of Low, Medium and Max.

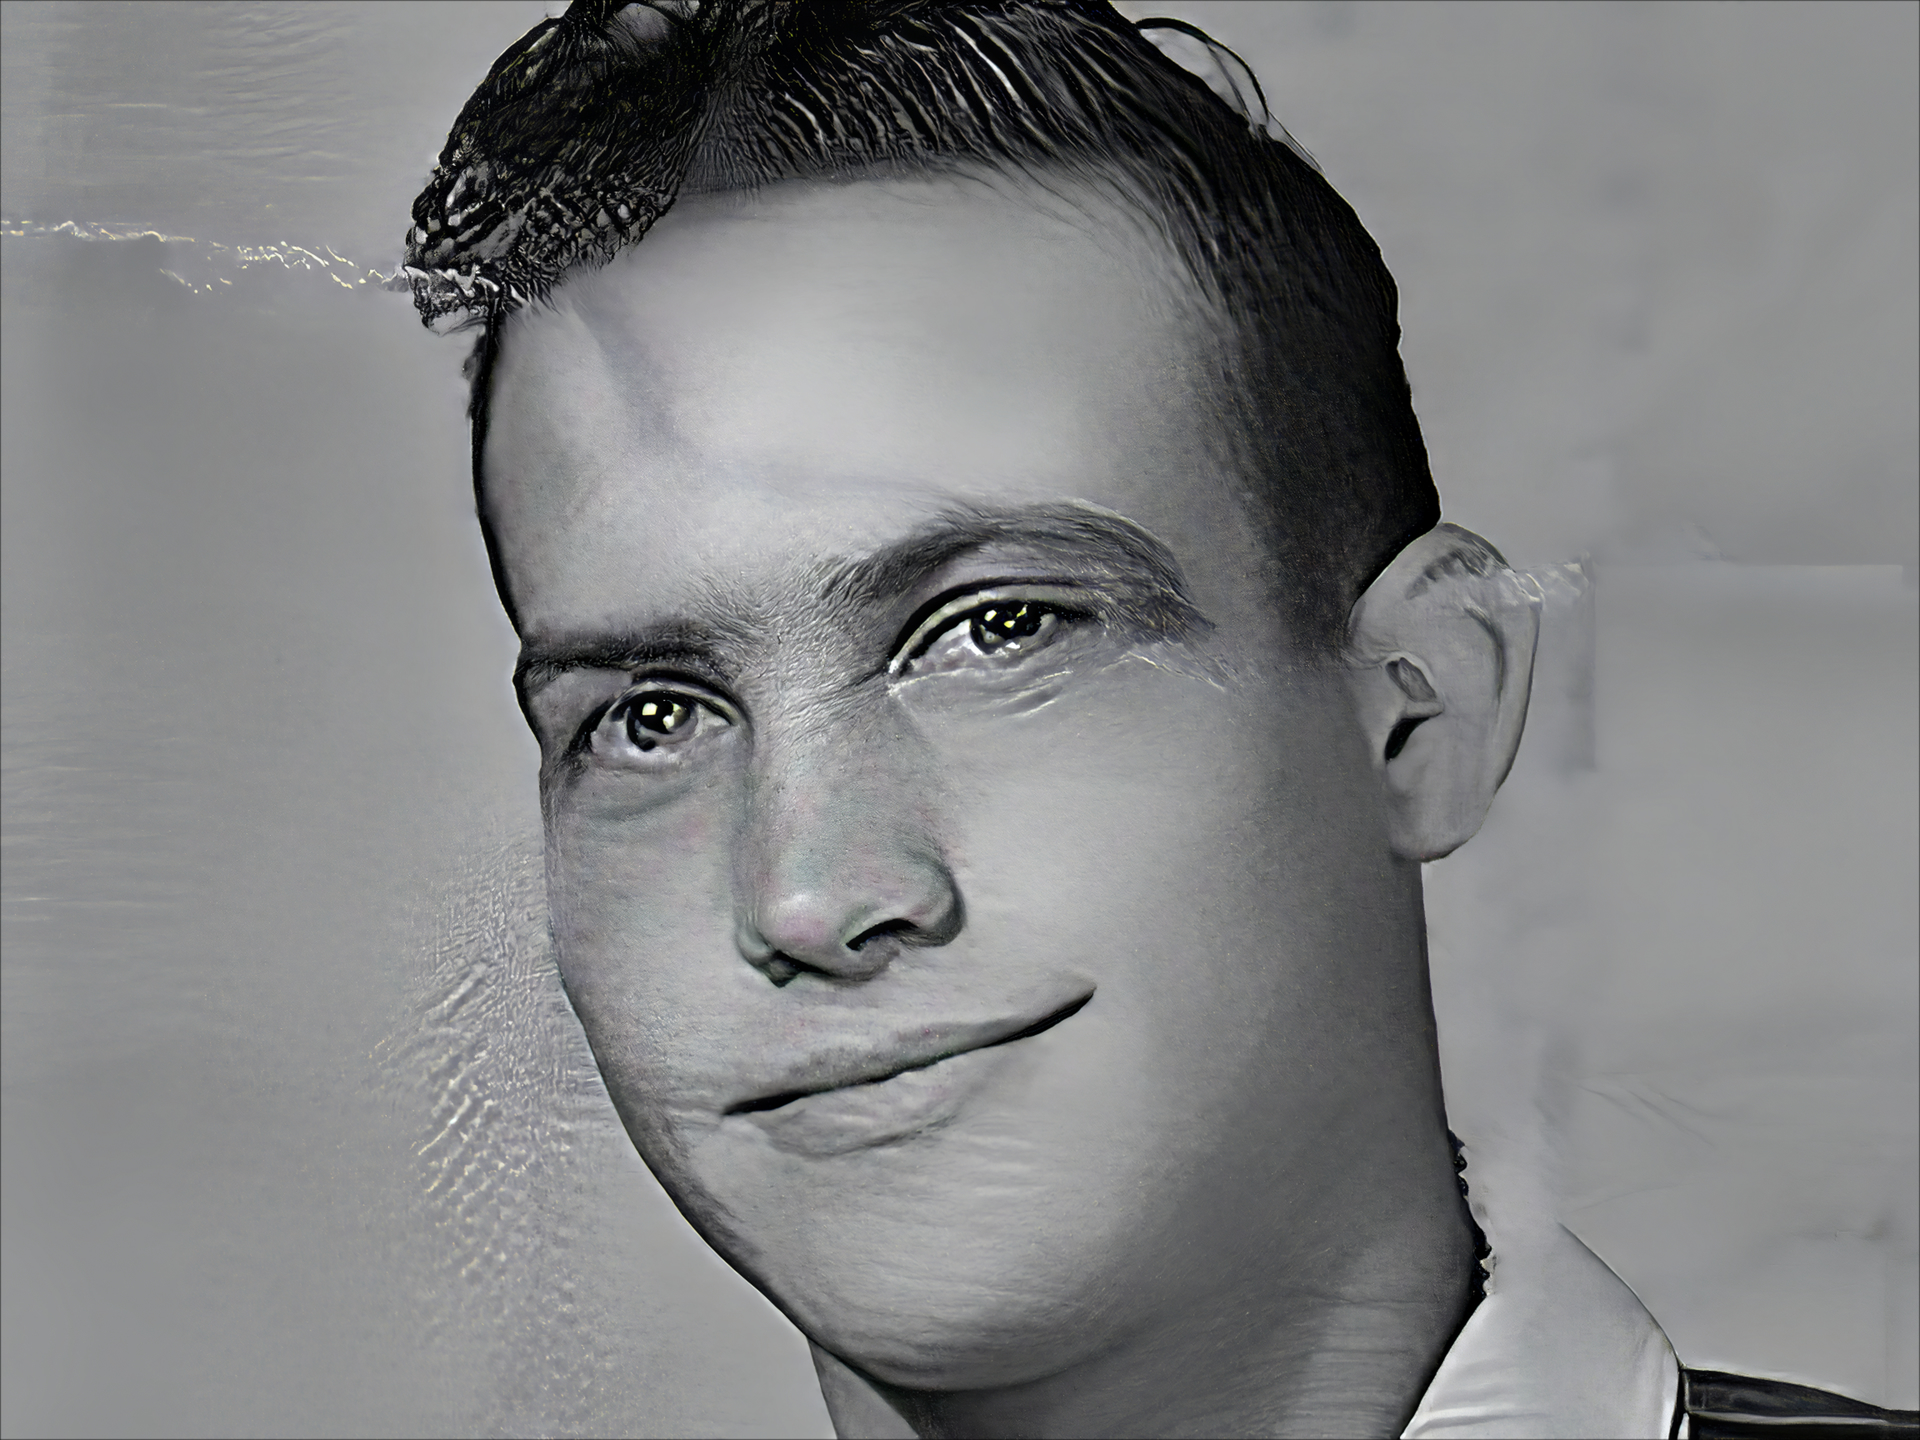
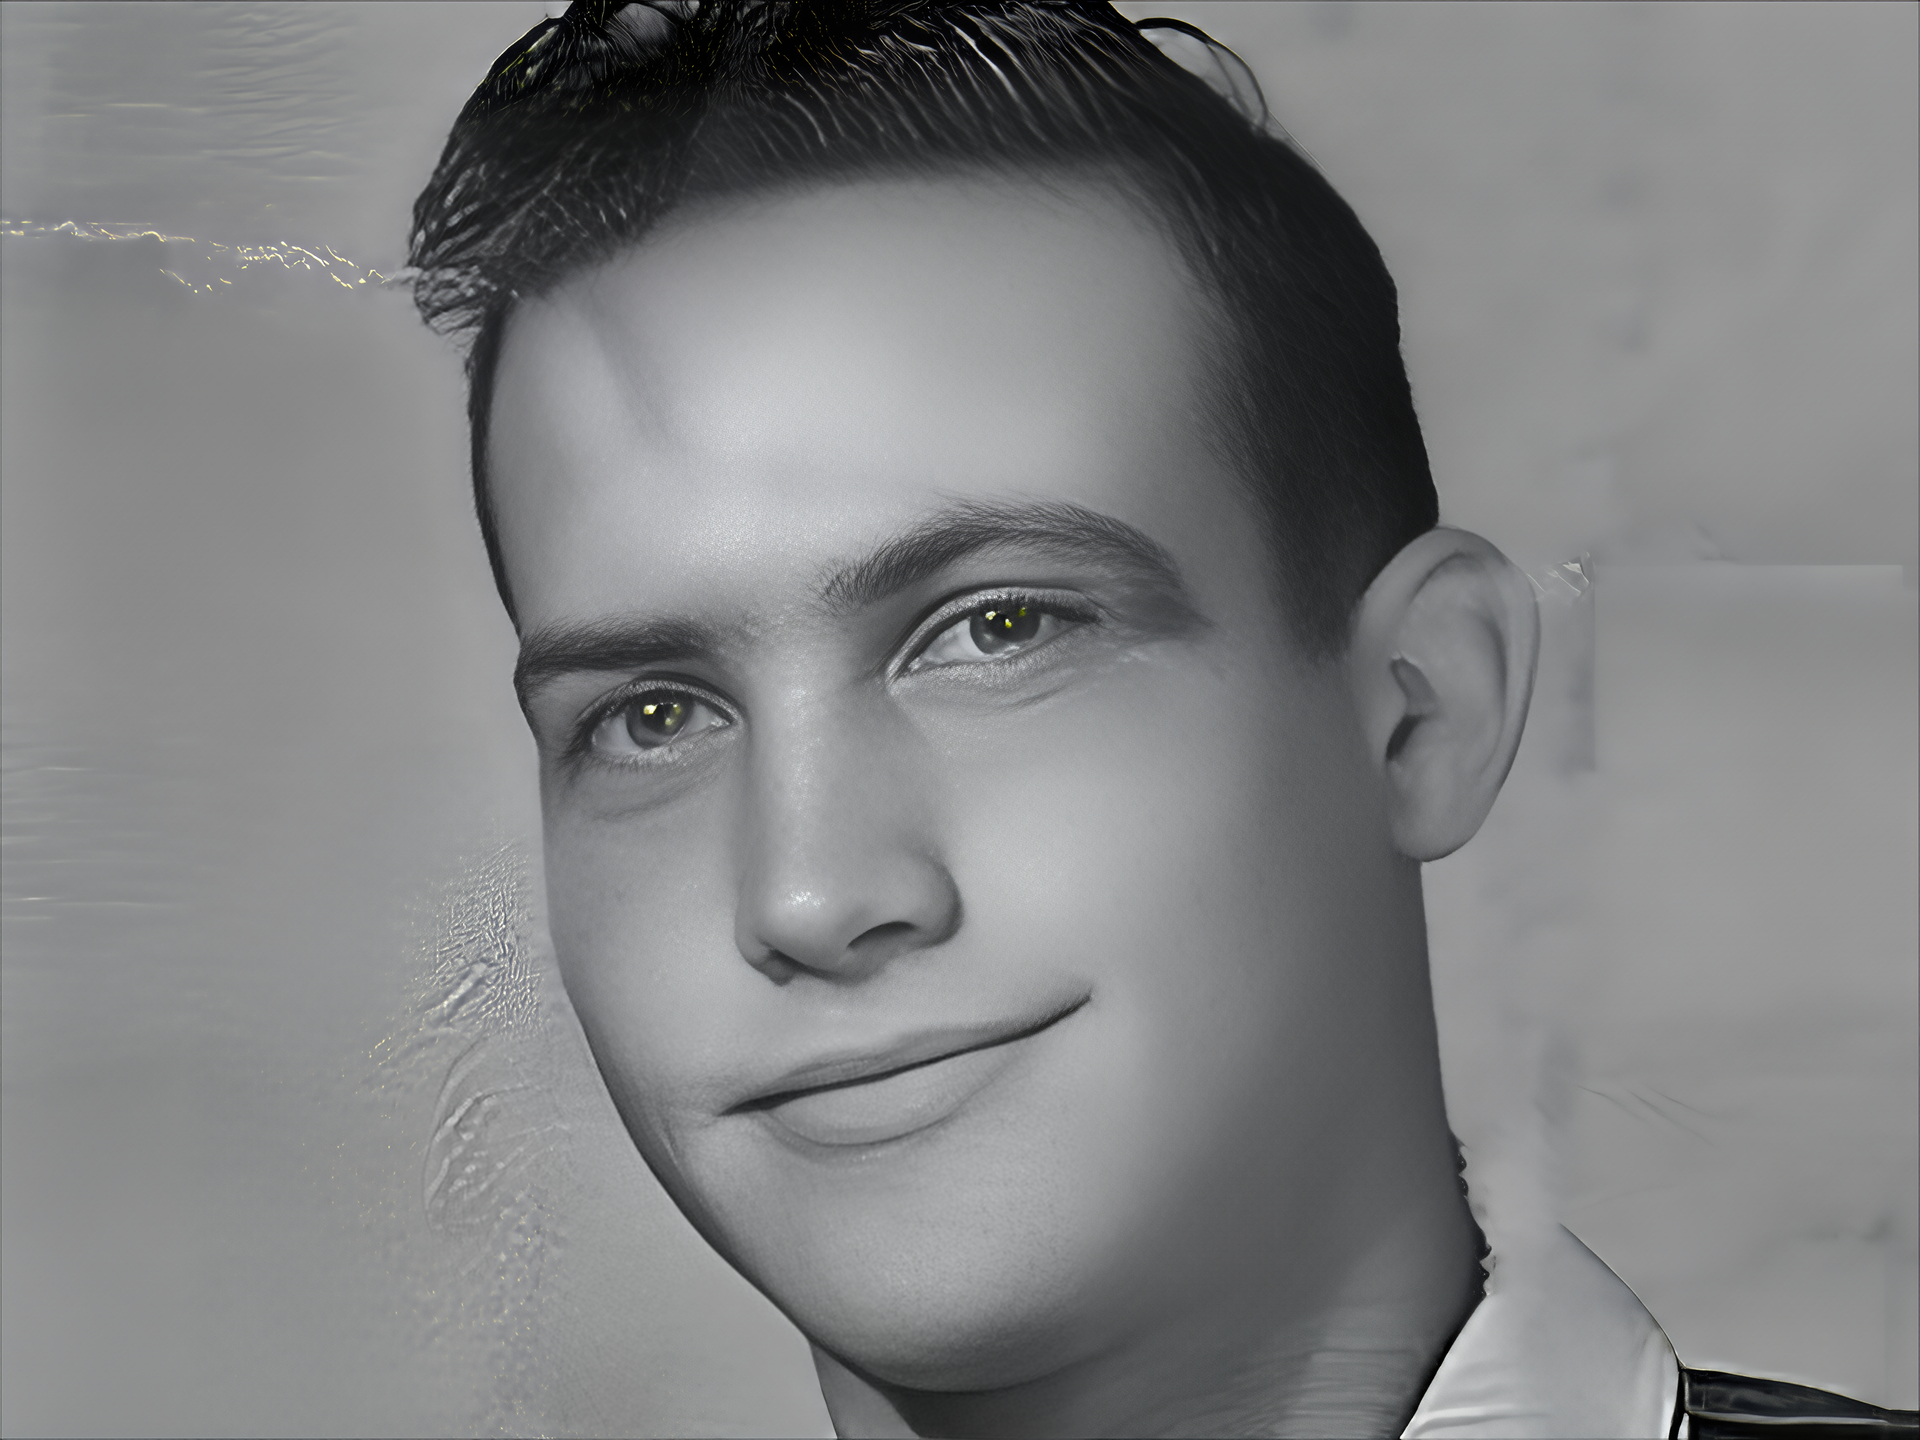
Above is the result from using Topaz Bloom Realism on a Low Setting for a natural looking skin texture
Above is the Topaz Bloom Realism on a Medium Setting for increased texture and like Low it doesn’t change the original image details
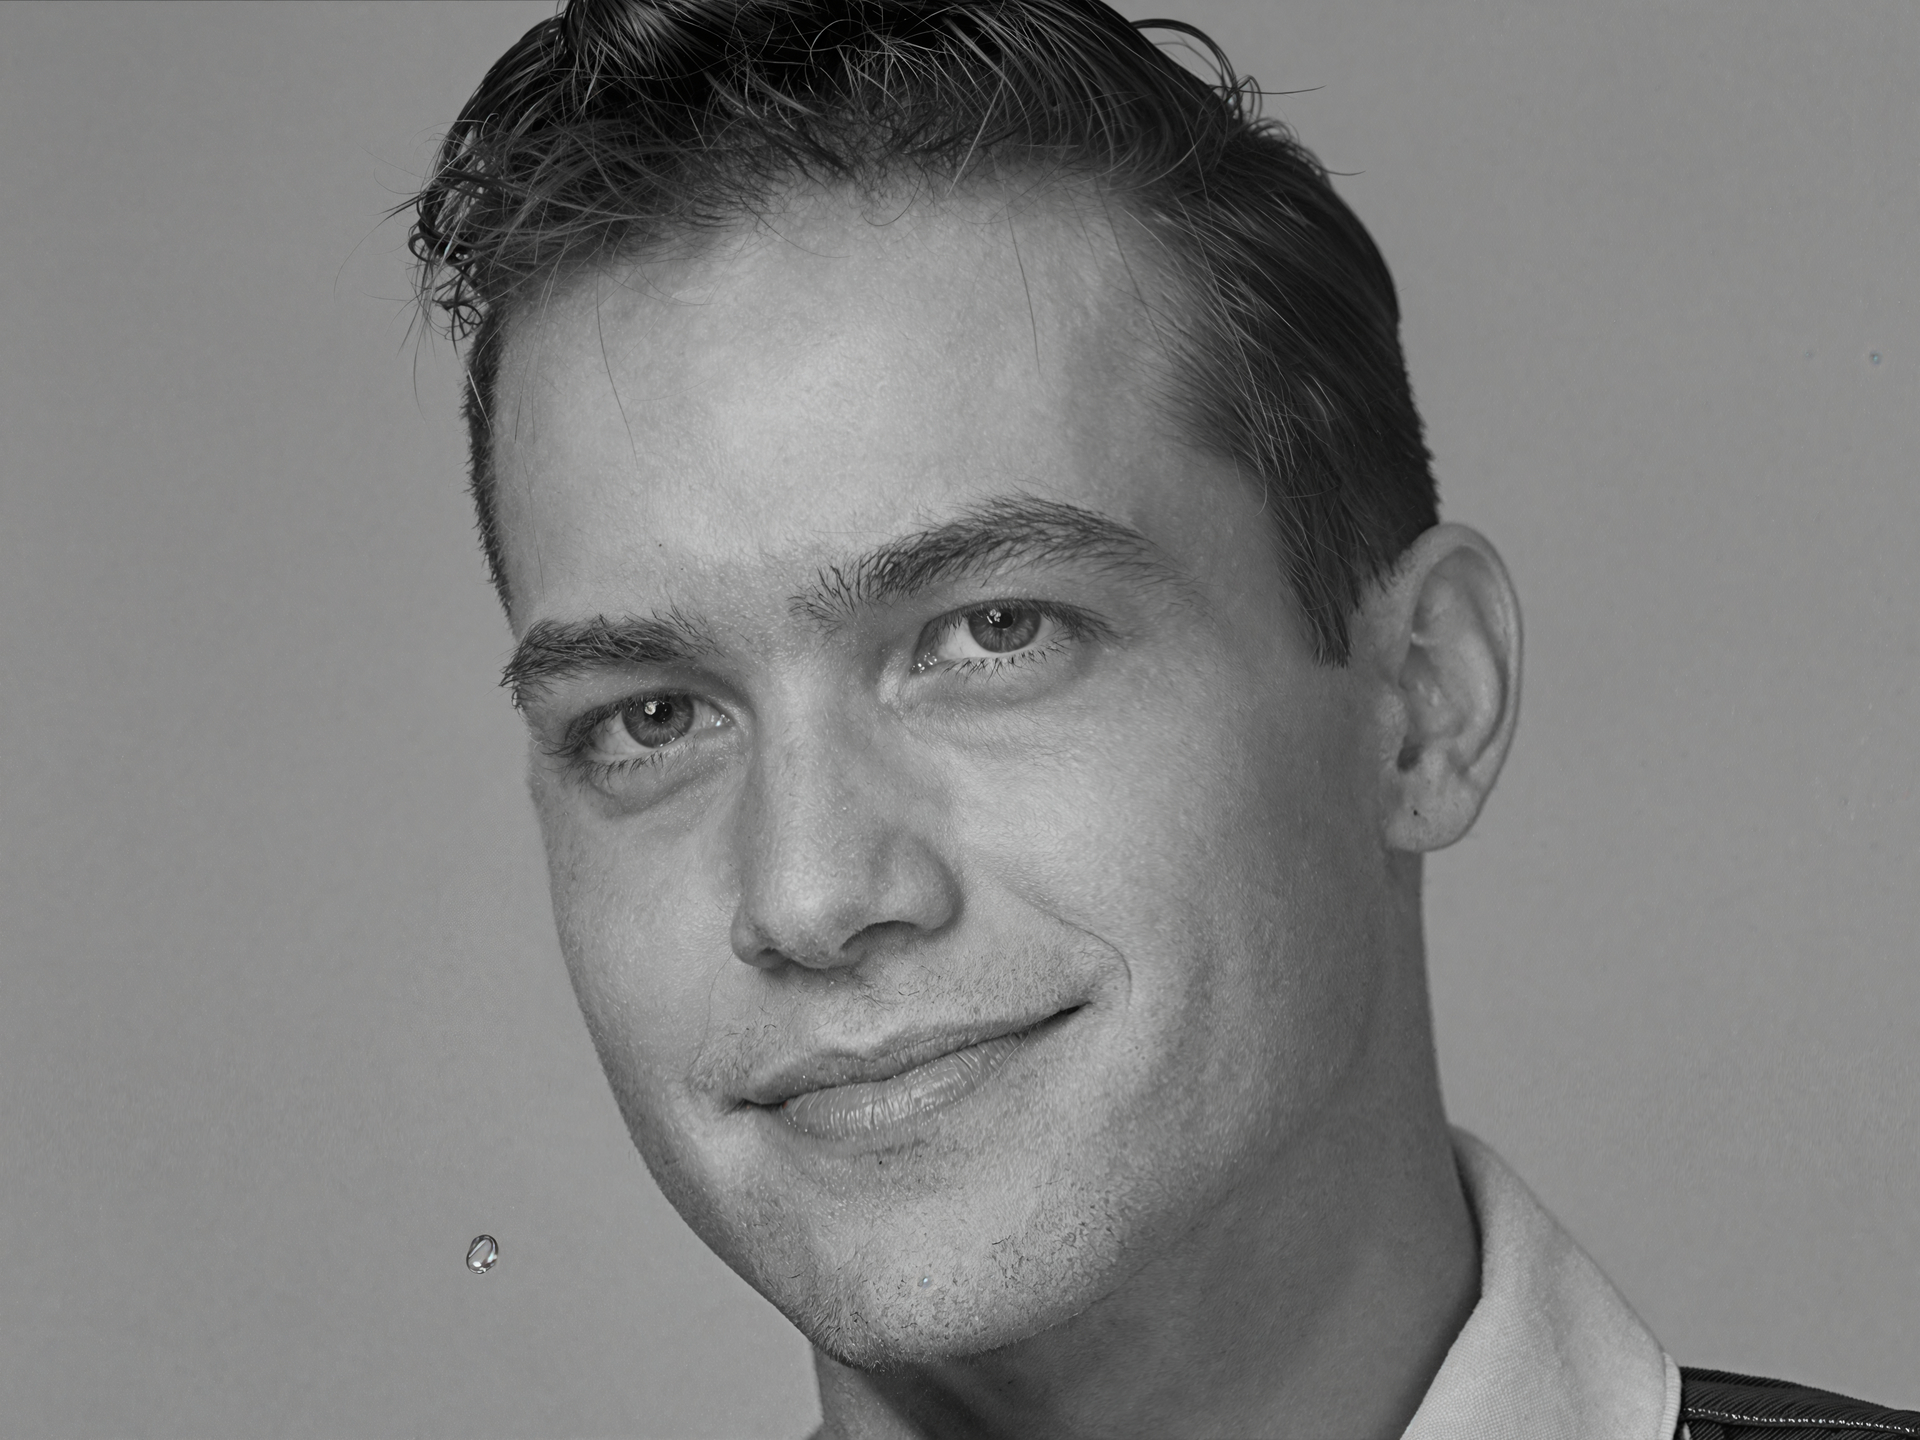
Above is the Topaz Bloom Realism on the Max Setting which made the subject appear older however, in a similar way to using Gigapixel’s Redefine Creative at a high level the Max setting can do wonders with hair plus, as an added bonus, notice how the background and the collar of his shirt has been restored and cleaned up nicely in the process.
Photoshop or similar - Compositing the images:
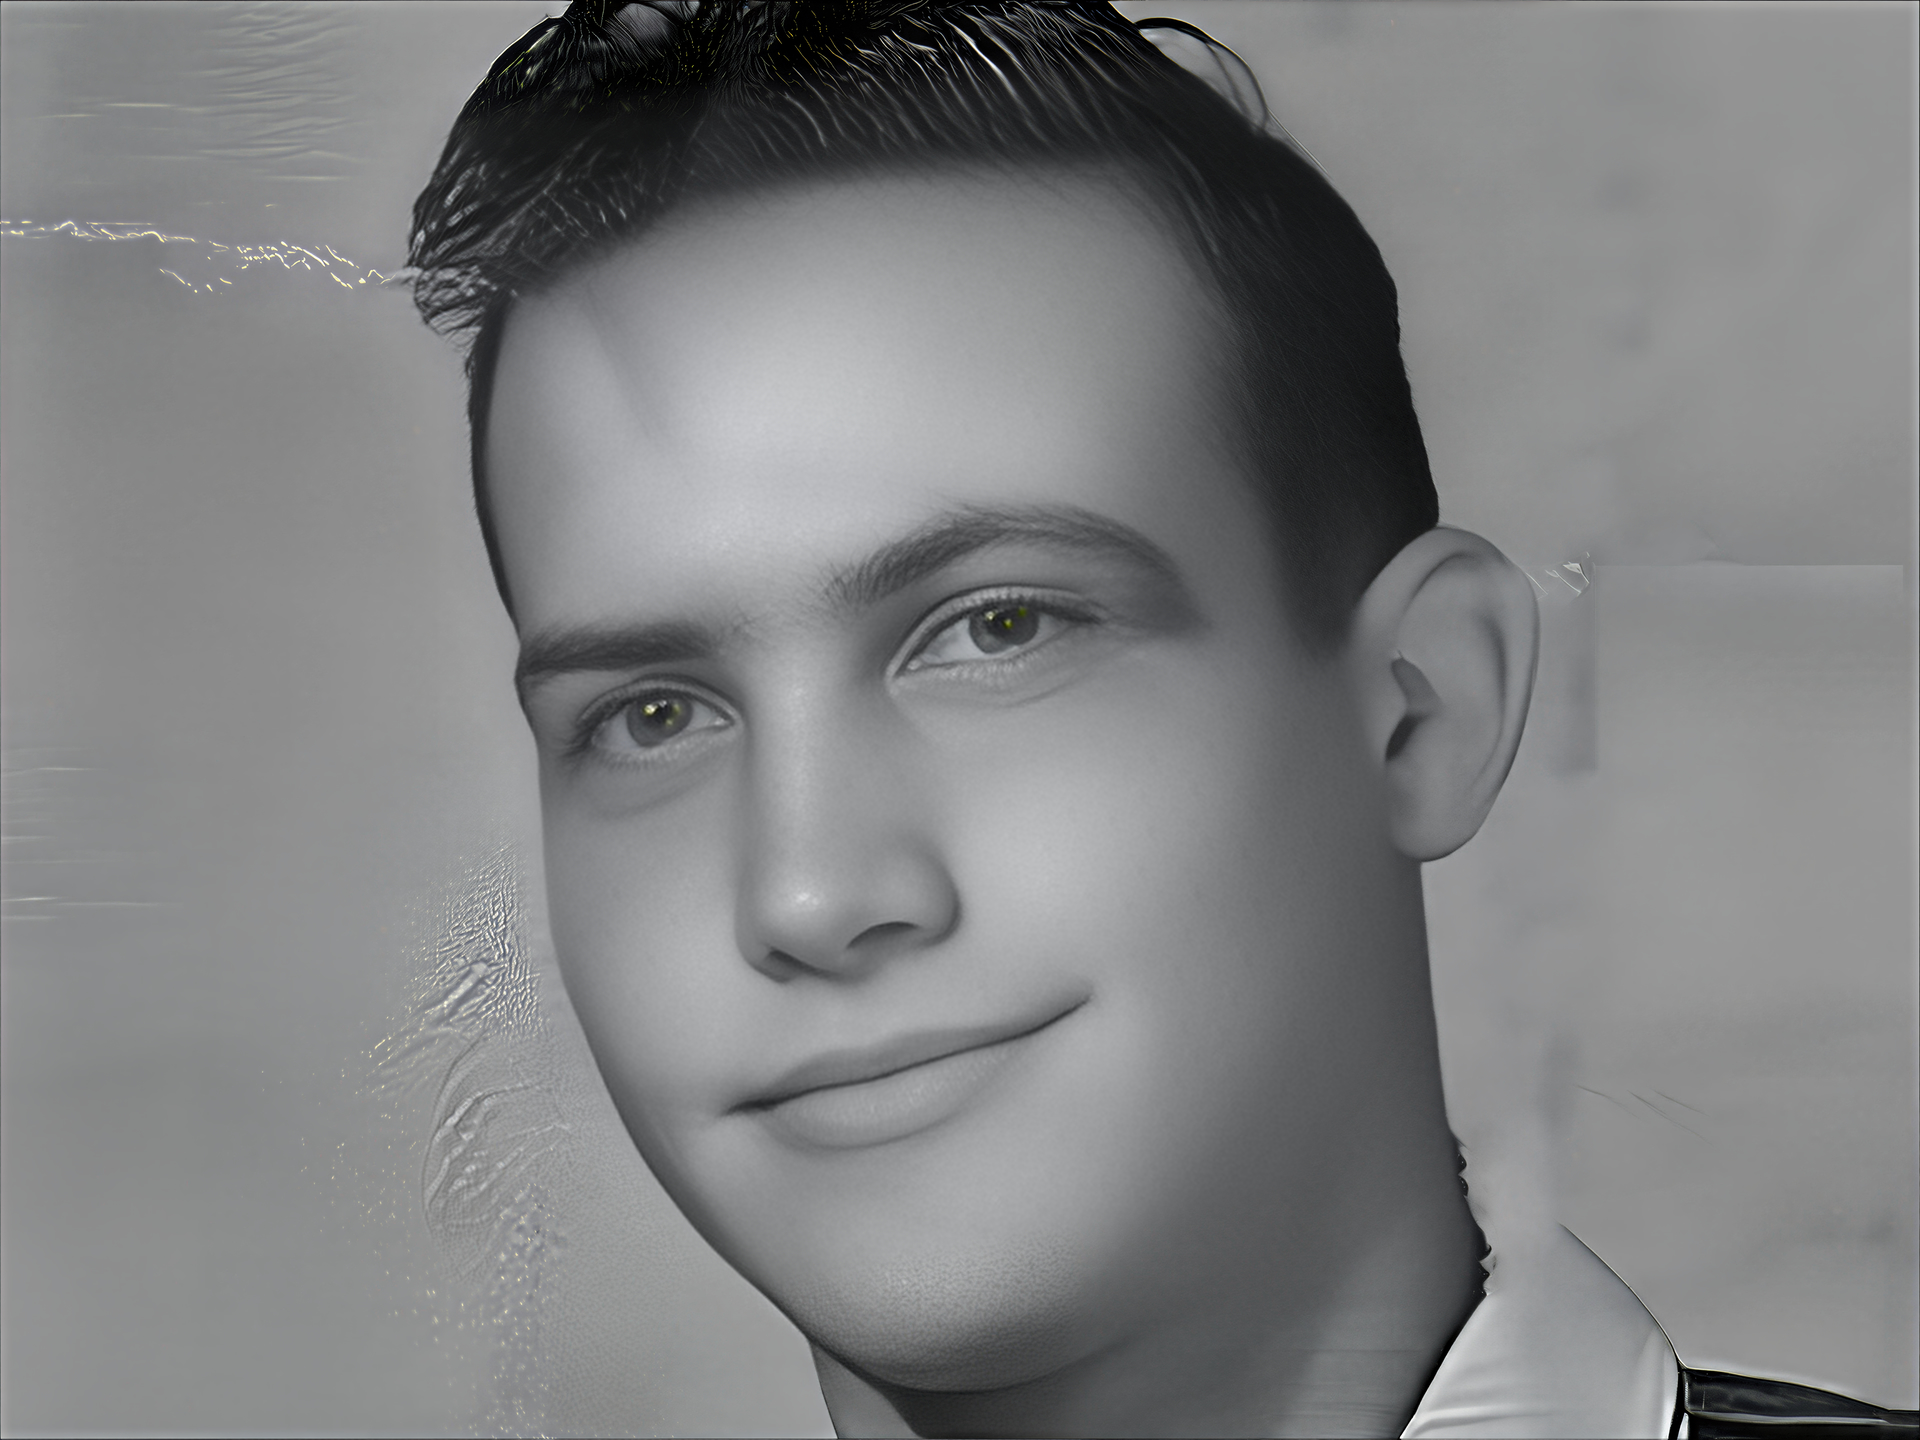
Here’s the final composite after blending elements from each of the three images in Photoshop.
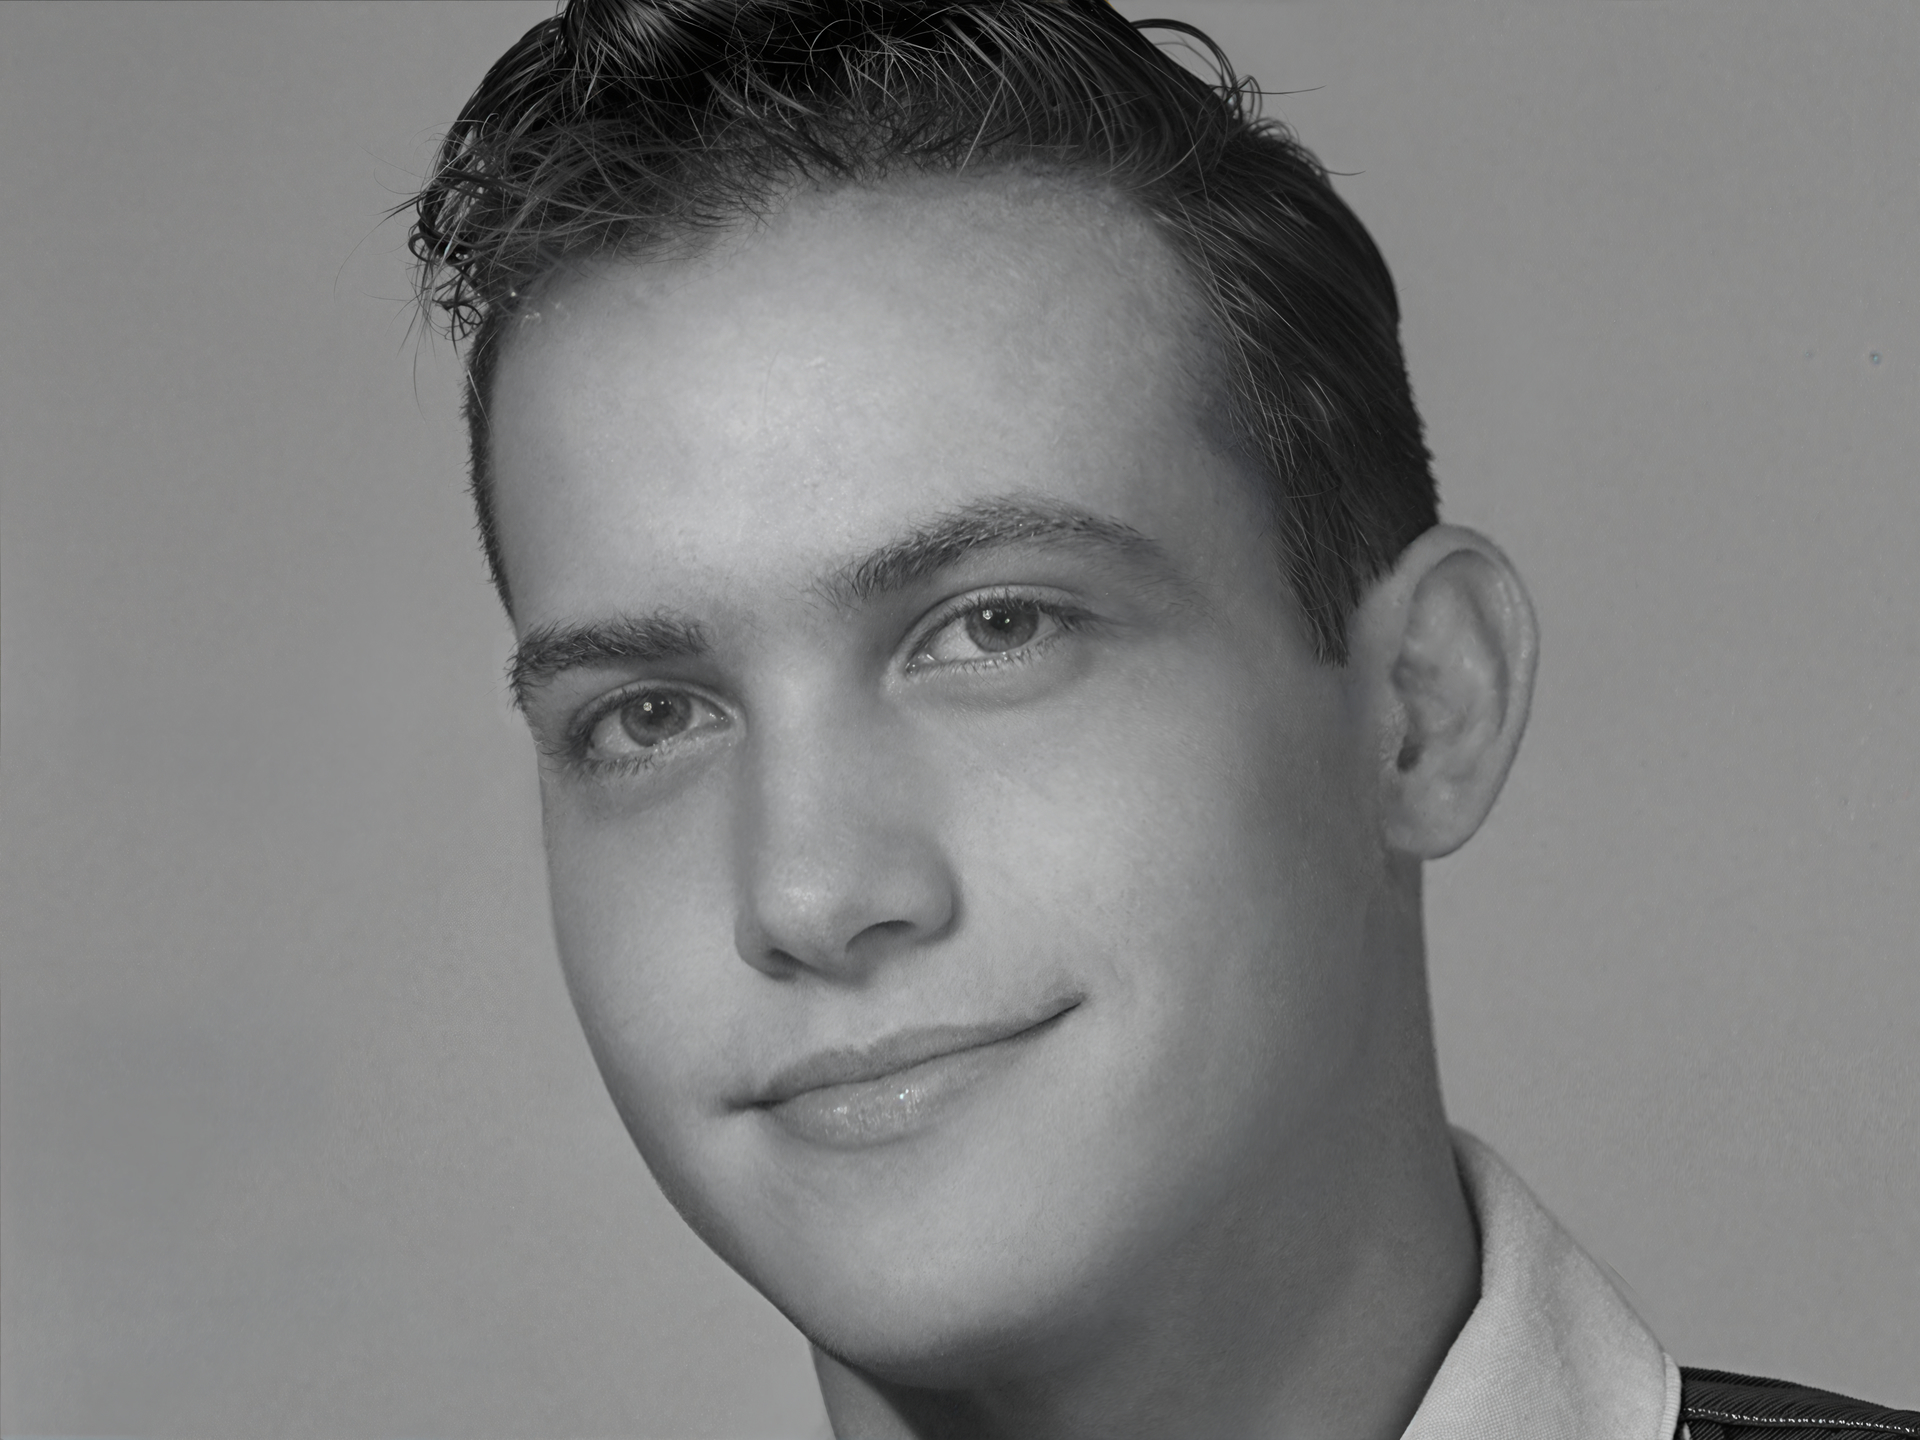
I used the Bloom Low image as my basis then, borrowed skin textures from the Bloom Medium image and finally replaced the Hair, textiles and Background with those from the Bloom Max image.
Topaz Mosaic - Colourize and Colour Adjustments:
Mosaic, is a powerful little jem from Topaz that can also, be used for Restoring old images and Colouring them in the process.
In addition, you can even use the Colourize Feature on new colour images to remove strong colour casts or extreme colour casts you get from stage lighting.

I liked the mottled background effect I think it gives an impression of a School Photograph and normally I would have probably kept it but, not for this example.
I have found on occasion when using Topaz Mosaic to colour Black & White images it tends to add too much colour and make the images oversaturated.
Mosaic has this handy adjustment where you can add or reduce Vibrancy or change the Colour Temperature depending on your personal tastes. So l lowered the saturation and cooled the image a little
Here’s a video explaining more about Topaz Mosaic which is included with the Topaz Studio Collection.

Continuing on, another effect Mosaic has on images during the restoration is it smooths the subjects skin texture and as a result removing the lovely textures that had been created earlier using Topaz Bloom.
Mosaic does offer the ability to add Film Grain which isn’t the same as keeping the fine skin texture.
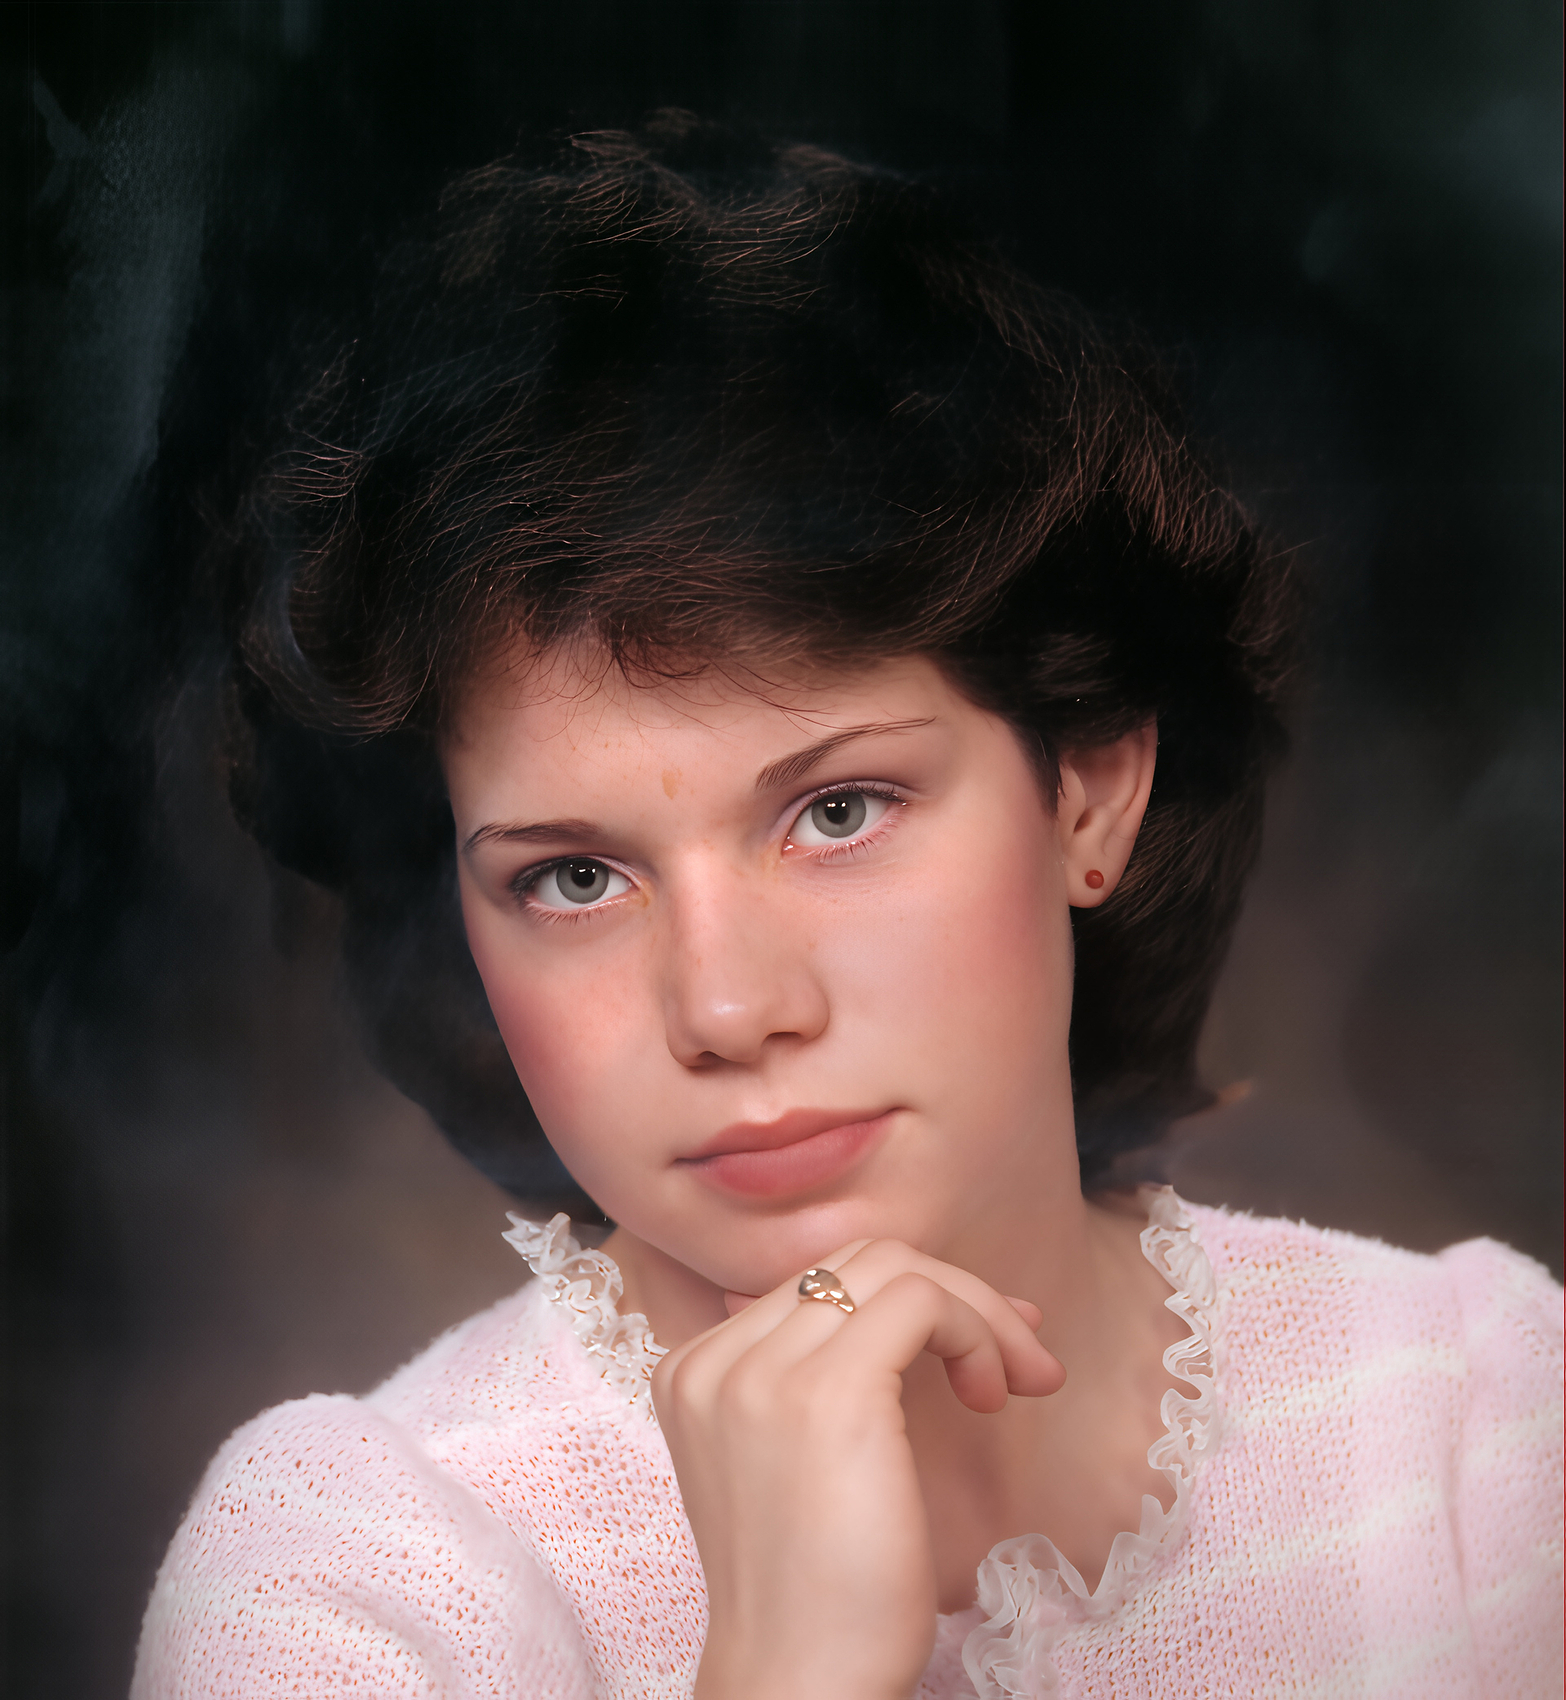
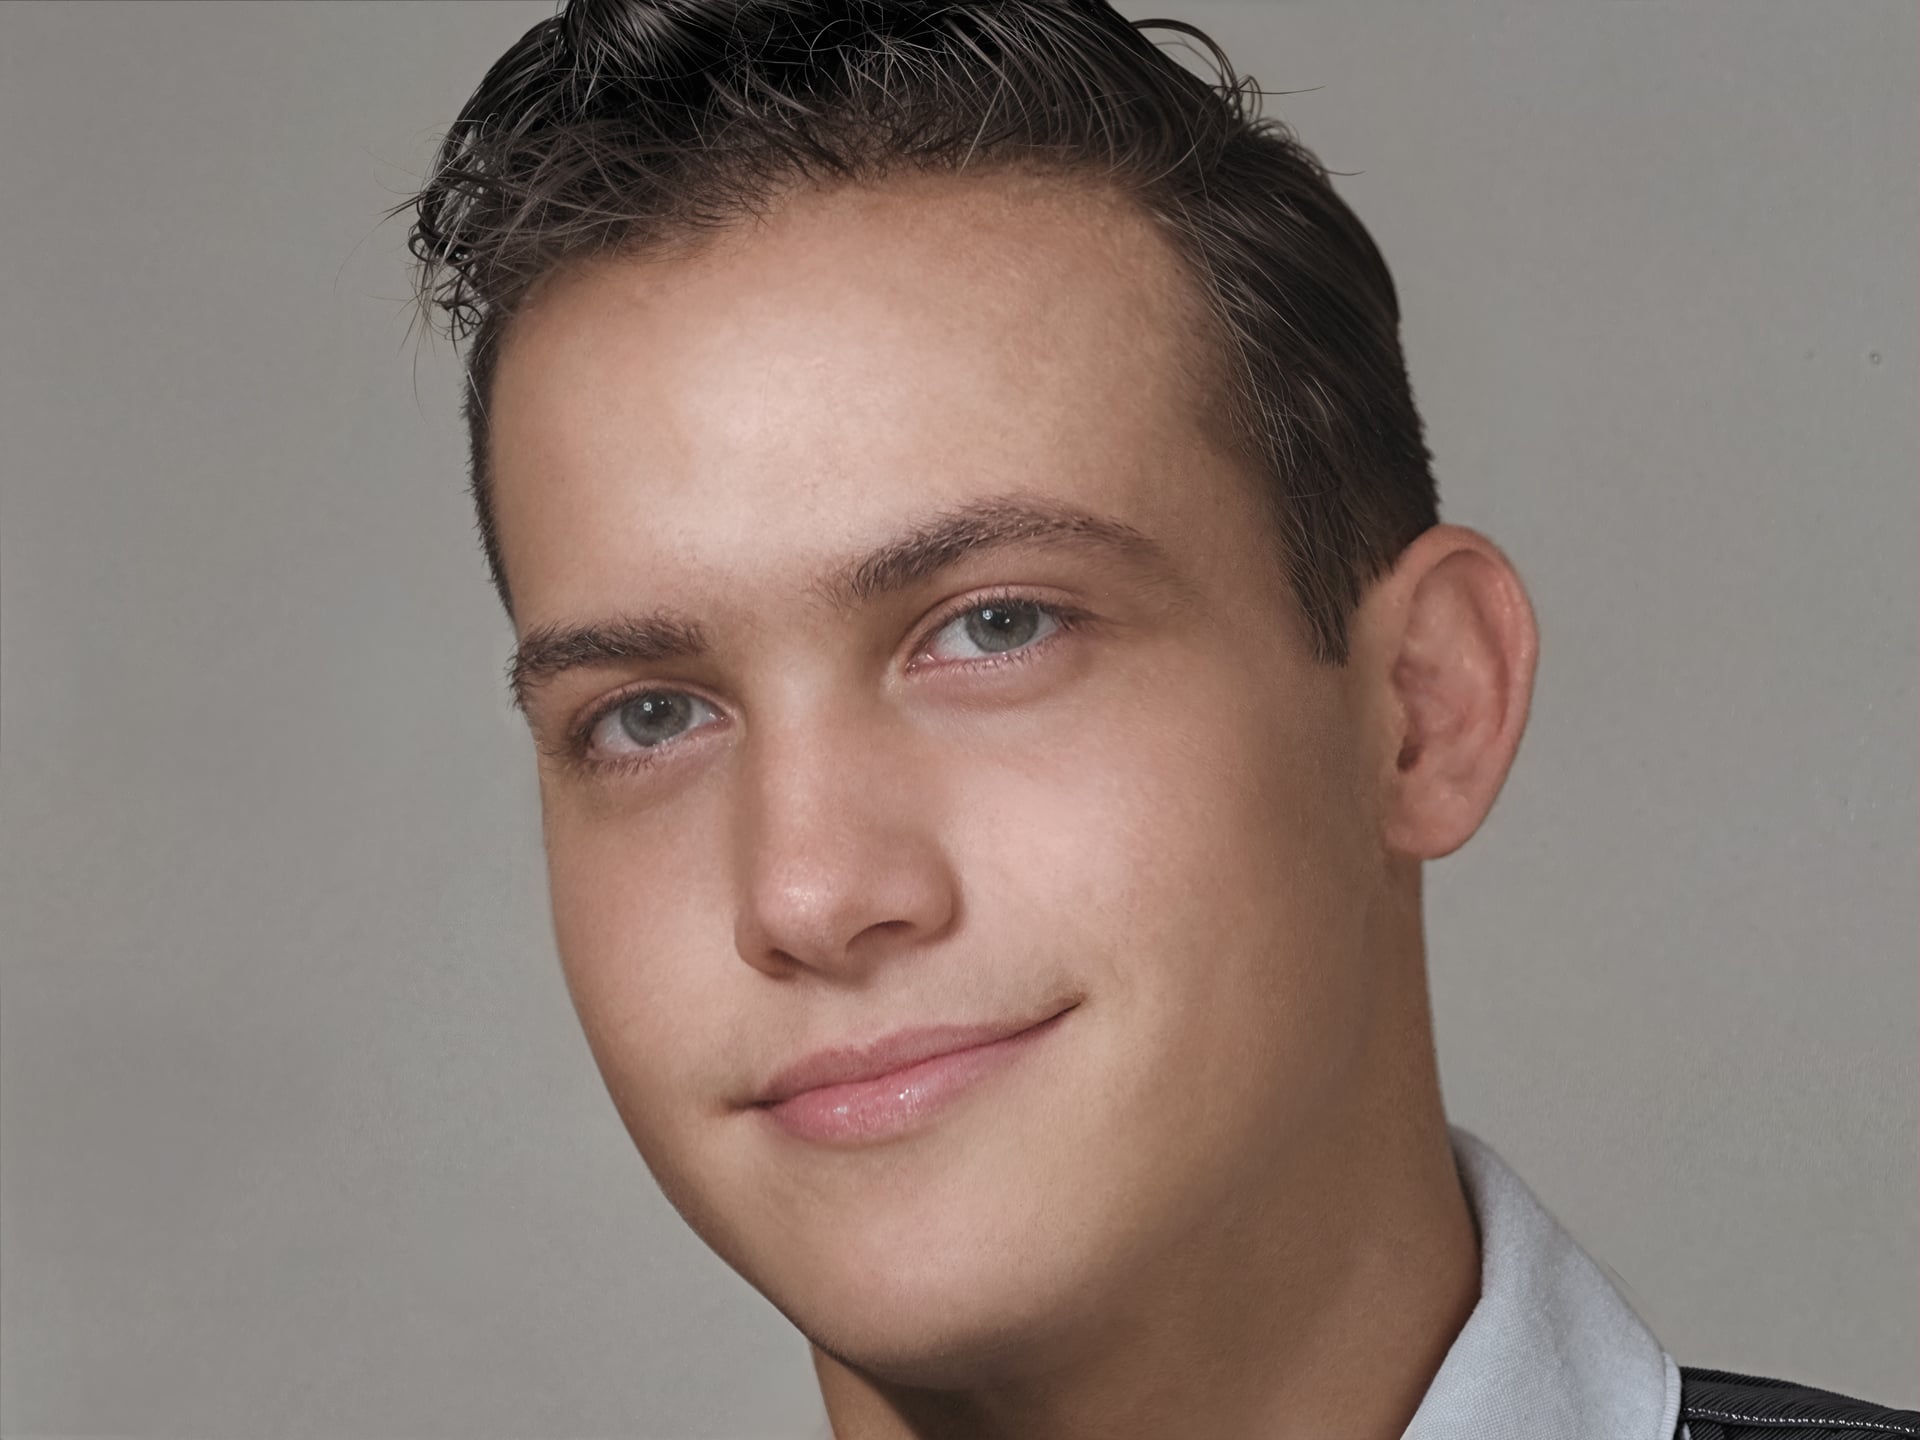
Blending the Bloom and Mosaic images together:
The image below, has the Colourizing effect from Topaz Mosaic and the skin texture from the earlier Black & White Topaz Bloom composite.
This was achieved by Downloading the colour version from Topaz Mosaic and pasting the image inside the same Photoshop document as the Black & White composited version as a new Layer.
Then moving the Layer to the top of the Layer Stack and changing the Blend Mode to Colour.
This has the effect of transferring only the colour information from the Mosaic version to the Layers below so, retaining the textures from the other Layers and effectively making a Colour Map Layer.
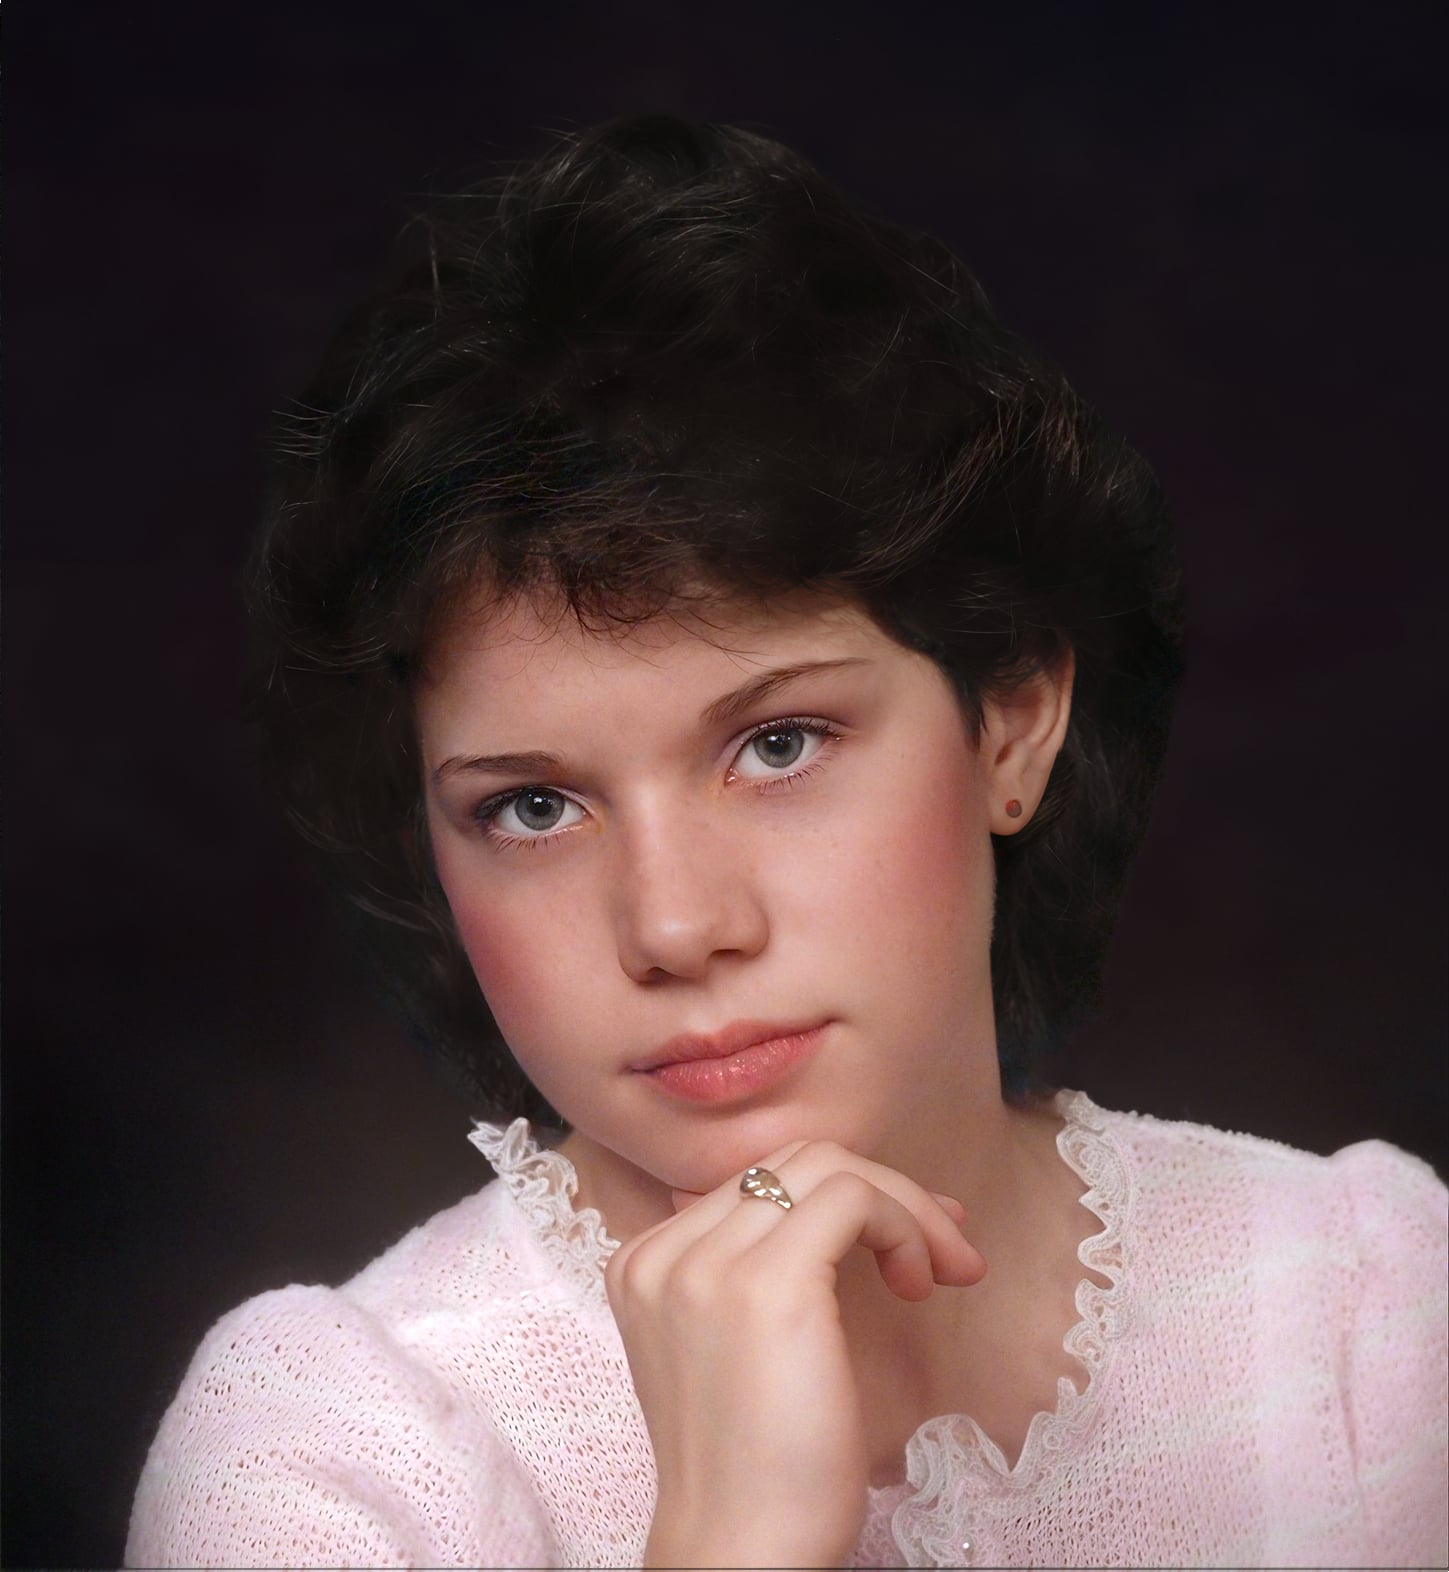
Topaz Photo - Adjust Lighting and Final Sharpen:
As I was already in Photoshop I could have easily finished these final lighting adjustments and sharpening using Curves or Levels and anyone of Photoshop’s numerous Sharpening Methods.
However, I very much prefer the Topaz Sharpening over Photoshops and as this tutorial is mainly focused on using the Tools and Apps that Topaz has to offer then, it would be only fitting if I started with Topaz Photo then I should really end with it as well.
I first created a Merge Layer version of the whole Image within Photoshop and sent that Layer via the Automate Method to Topaz Photo.
Once in Topaz Photo I applied the Adjust Lighting V3 Enhancement which overly brightened the image for my liking so, I reduced the Exposure maintaining the Highlights then, I applied a small amount of Portrait Sharpening to the eyes, lips and hair to finish.
Final Thoughts:
Considering, most of the heavy lifting was completed using the Topaz Studio Applications with minimal usage of Photoshop I’m very pleased with the final outcome and to be honest I thought it was going to be harder to complete than I expected.
Dust & Scratch done and excellent job removing most of the damage then, as always Recover Faces never fails to impress even with an image like this.
Recover Faces, got me ninety percent there then, of course came Topaz Bloom and Mosaic two excellent additions to the Studio Collection Topaz Bloom for giving us incredible Realism and Topaz Mosaic for breathing new life into old and new images and the beauty is you don’t need an extra Subscription or get charged Credits every time you use them.
As I mentioned most of the heavy lifting was completed with Topaz Studio and at this point, I think it’s time to stop there.
Because, from here on in, any further adjustments would be carried out in Photoshop or similar image editor and yes, you can continue tweaking the image using for example, the Liquify or Transform Controls and so on…..
Remember it’s not what I did but, how I went about it that counts so, a little tweak here and there applied to your own images can help you transform your images into something special.
I hope you enjoyed this and thank you for your time.
Image Before Topaz Restoration:
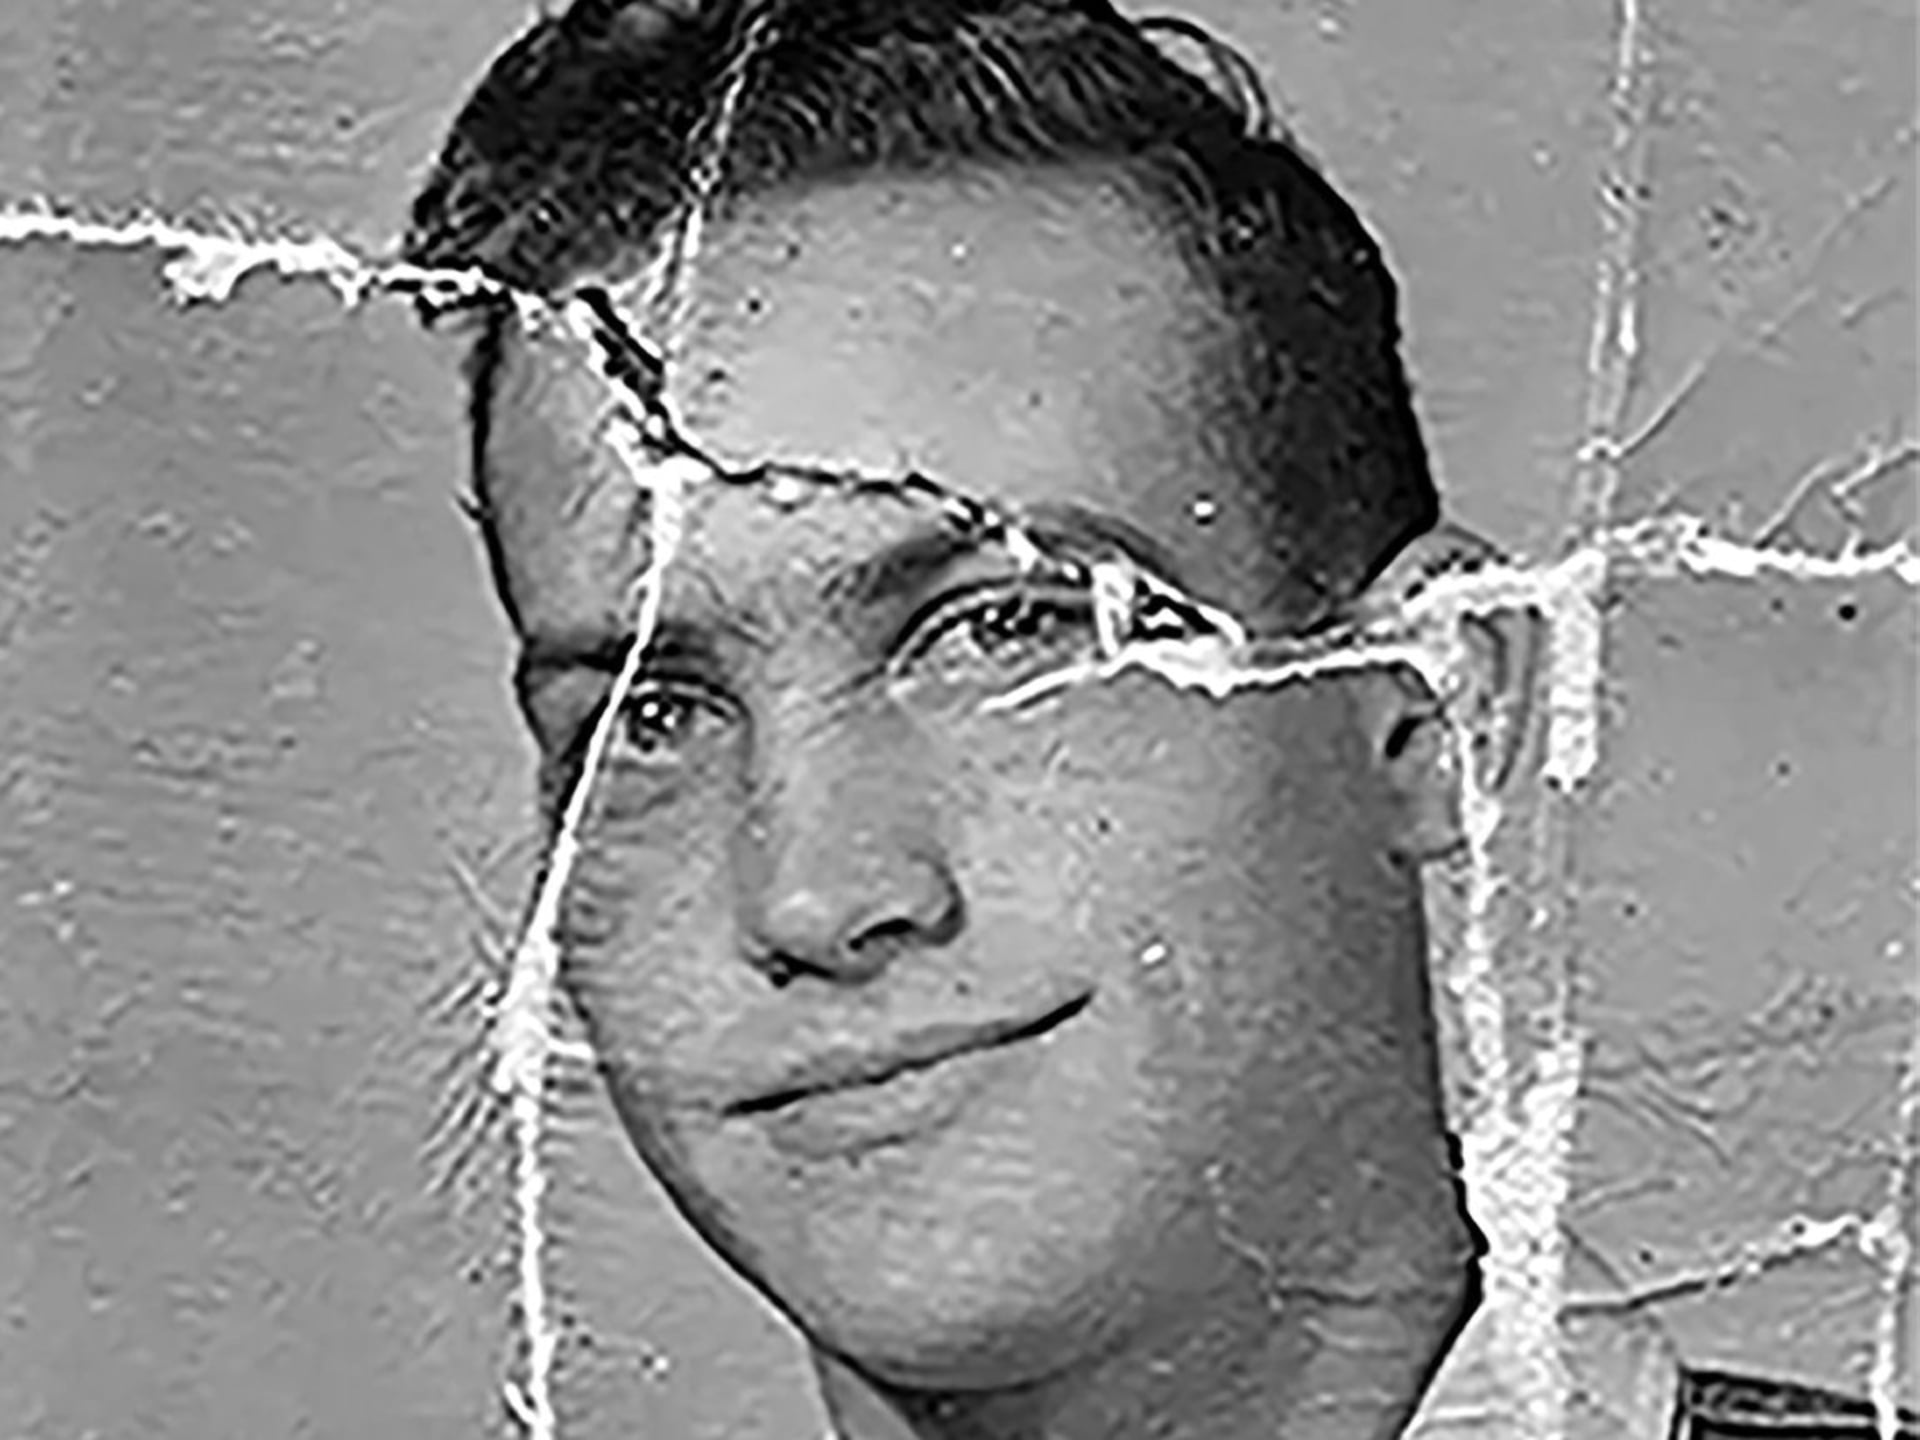
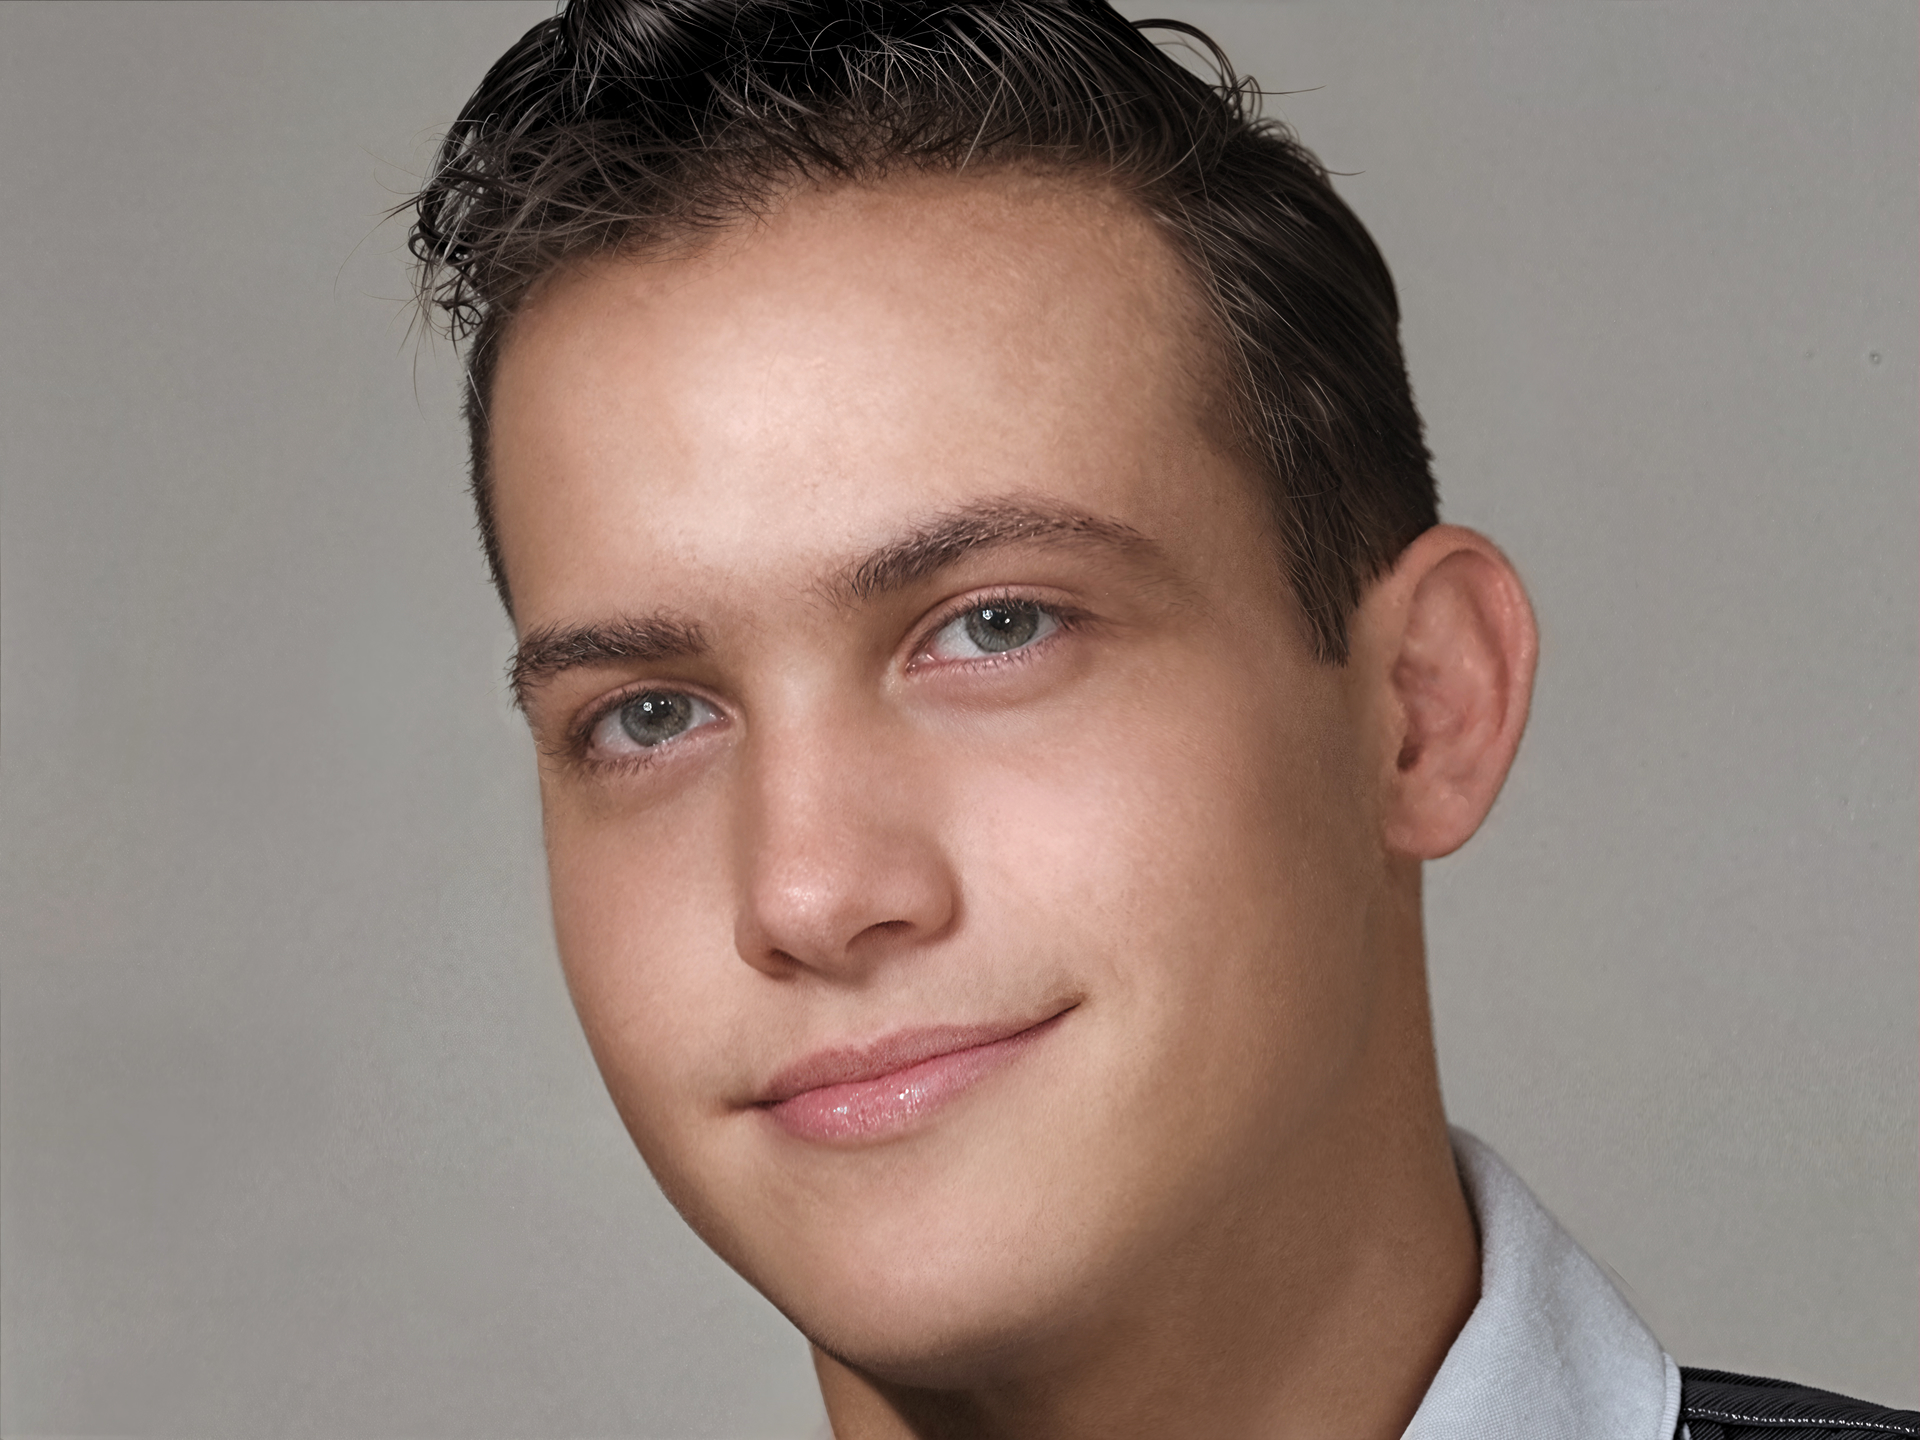
Image After Topaz Restoration:

Andy