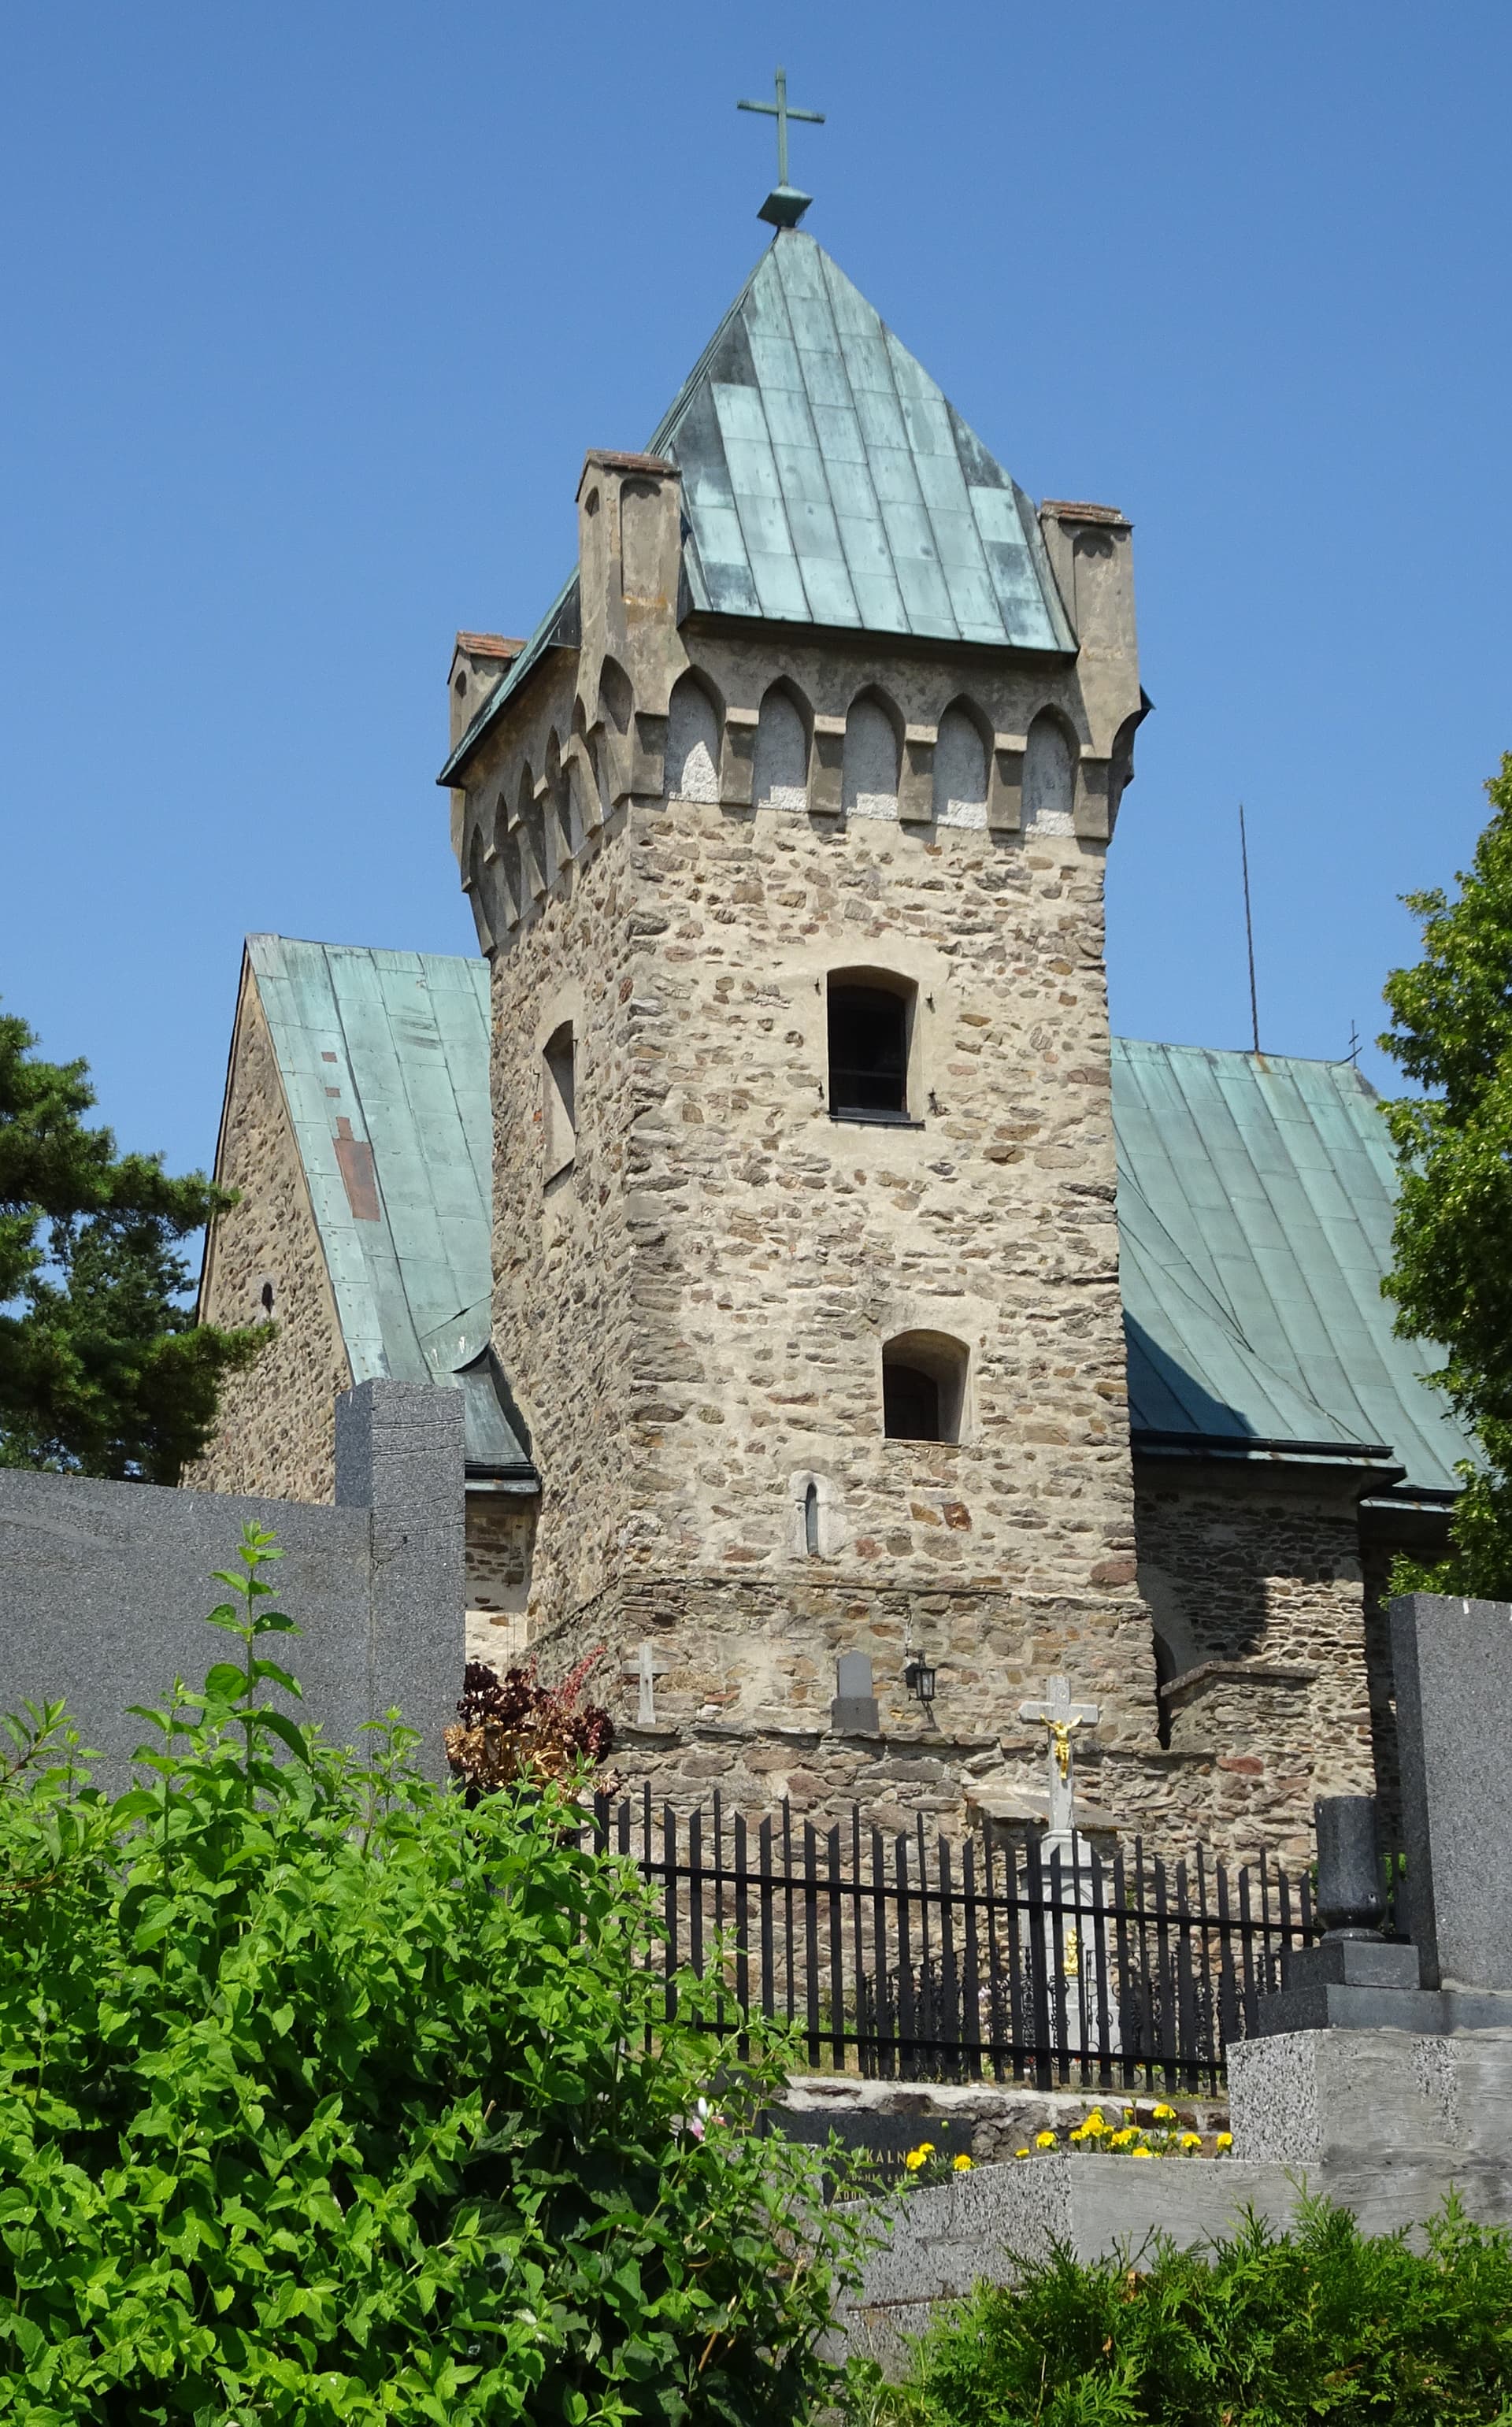
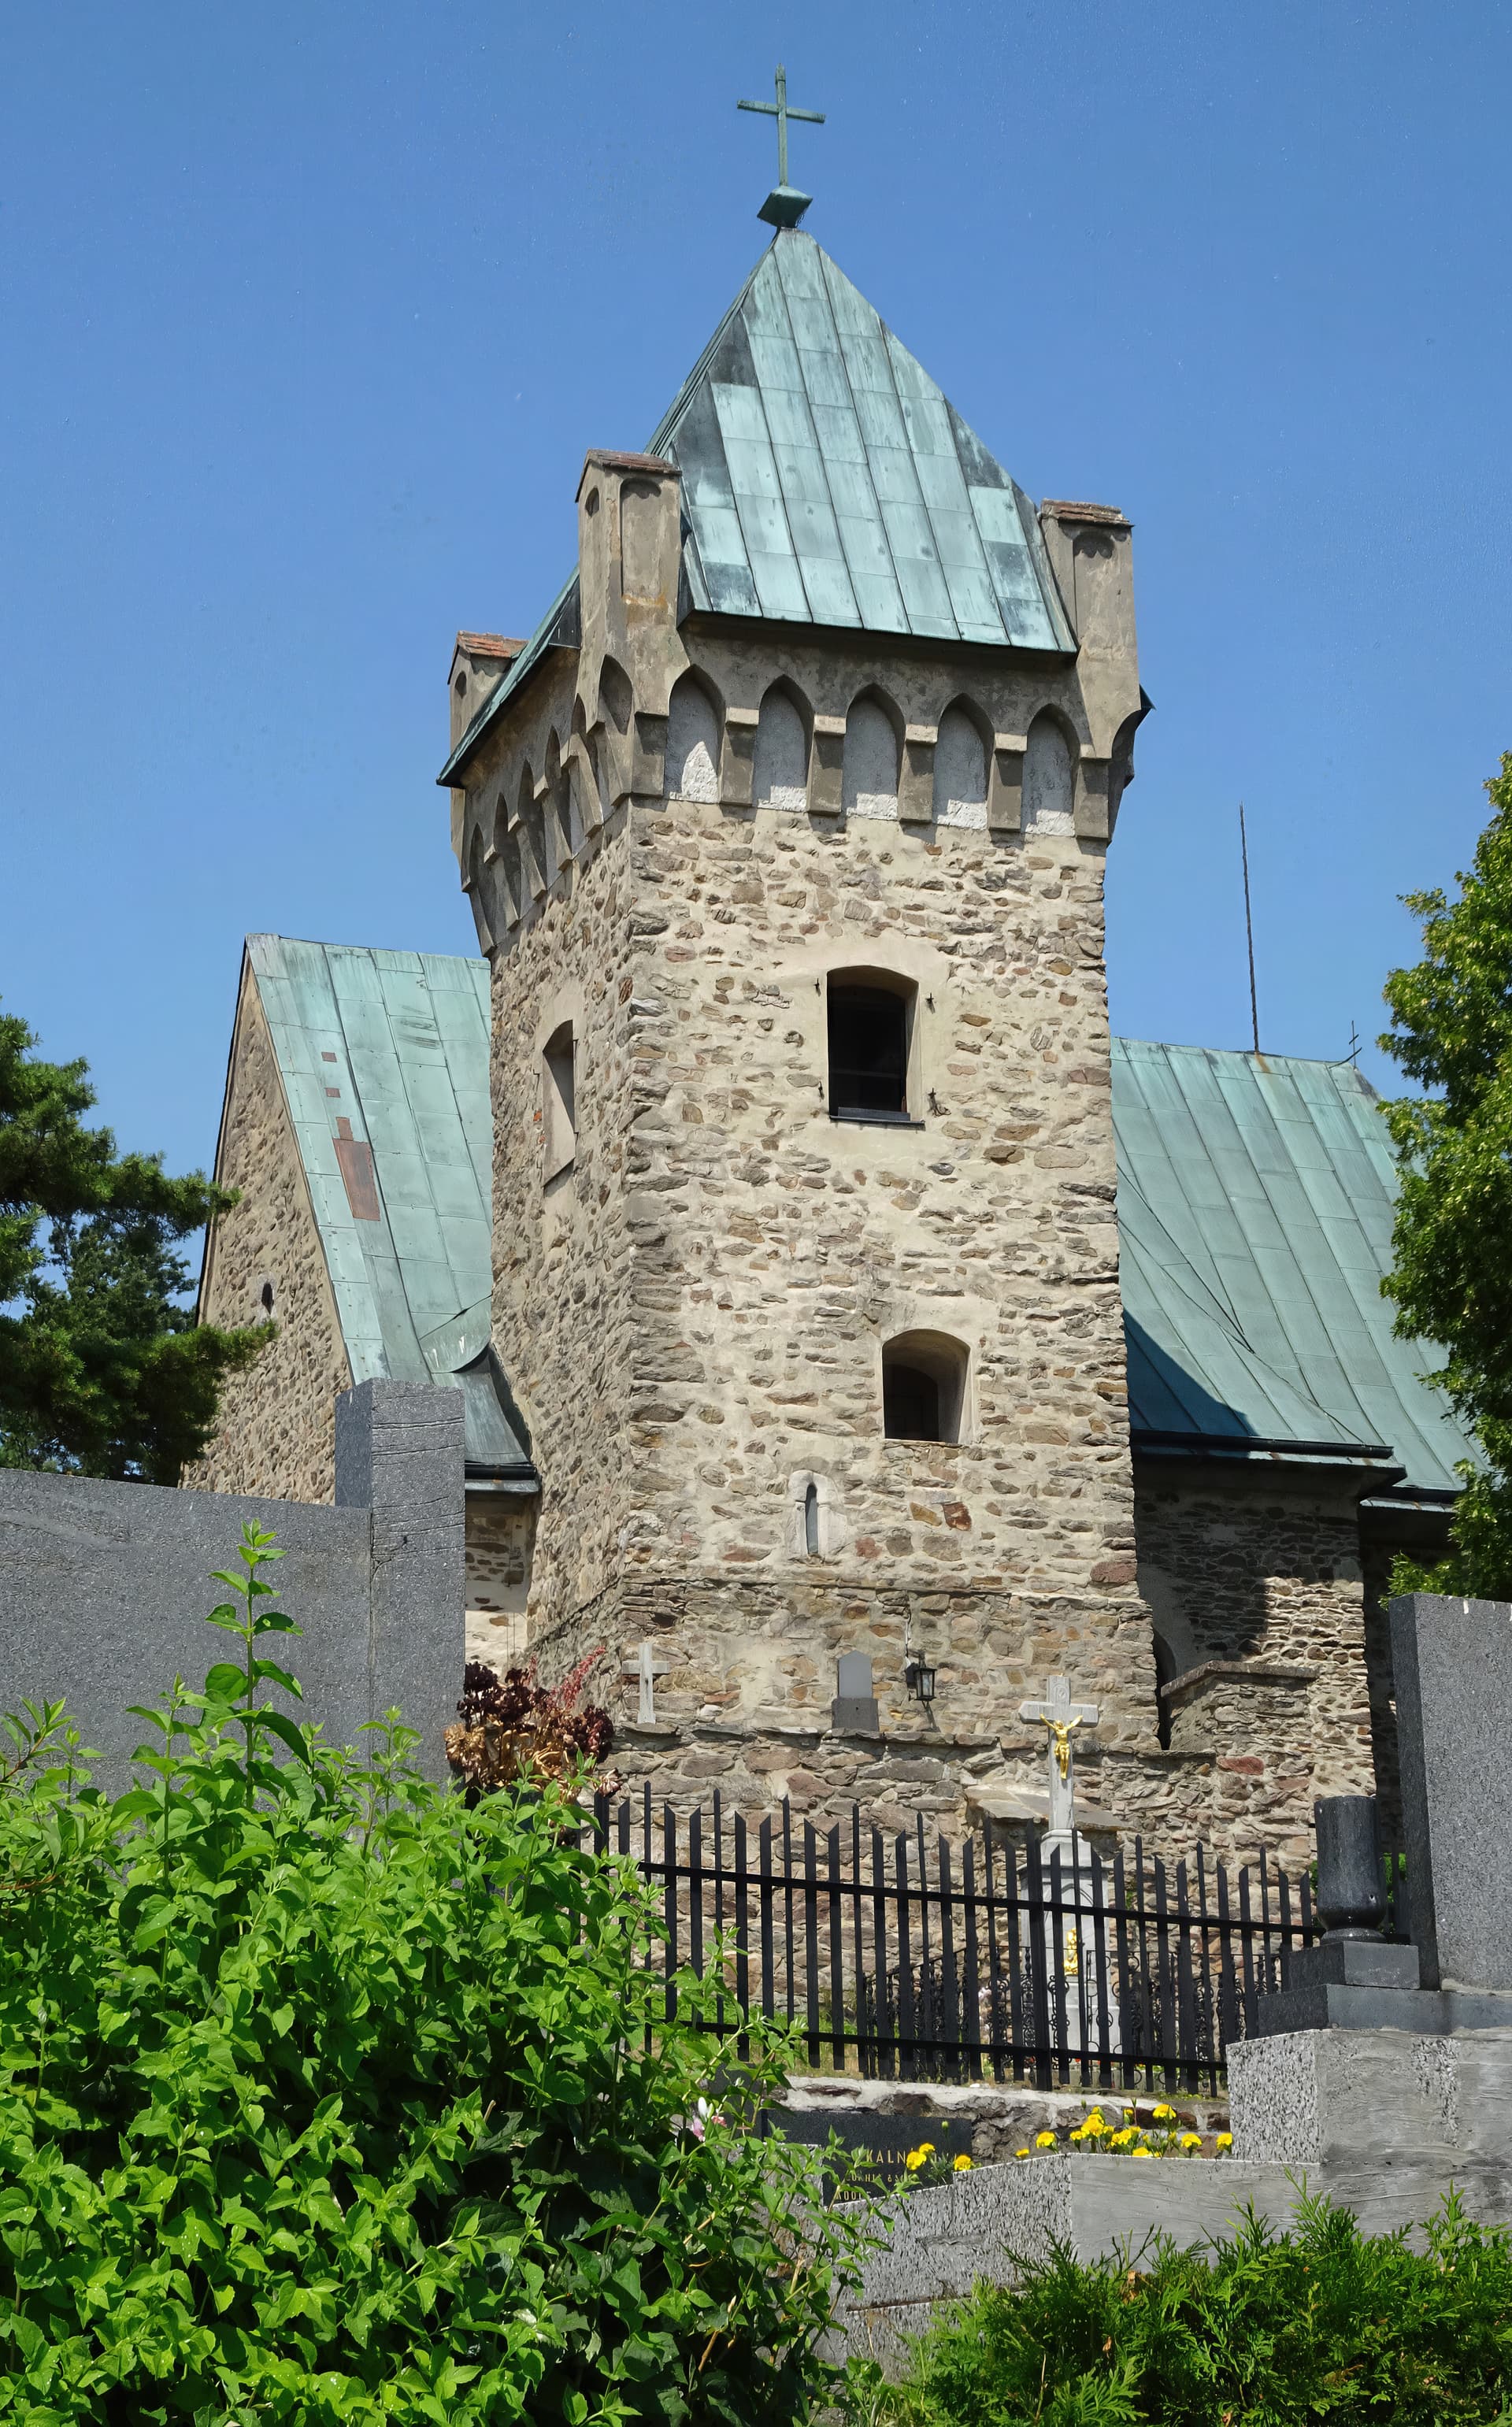
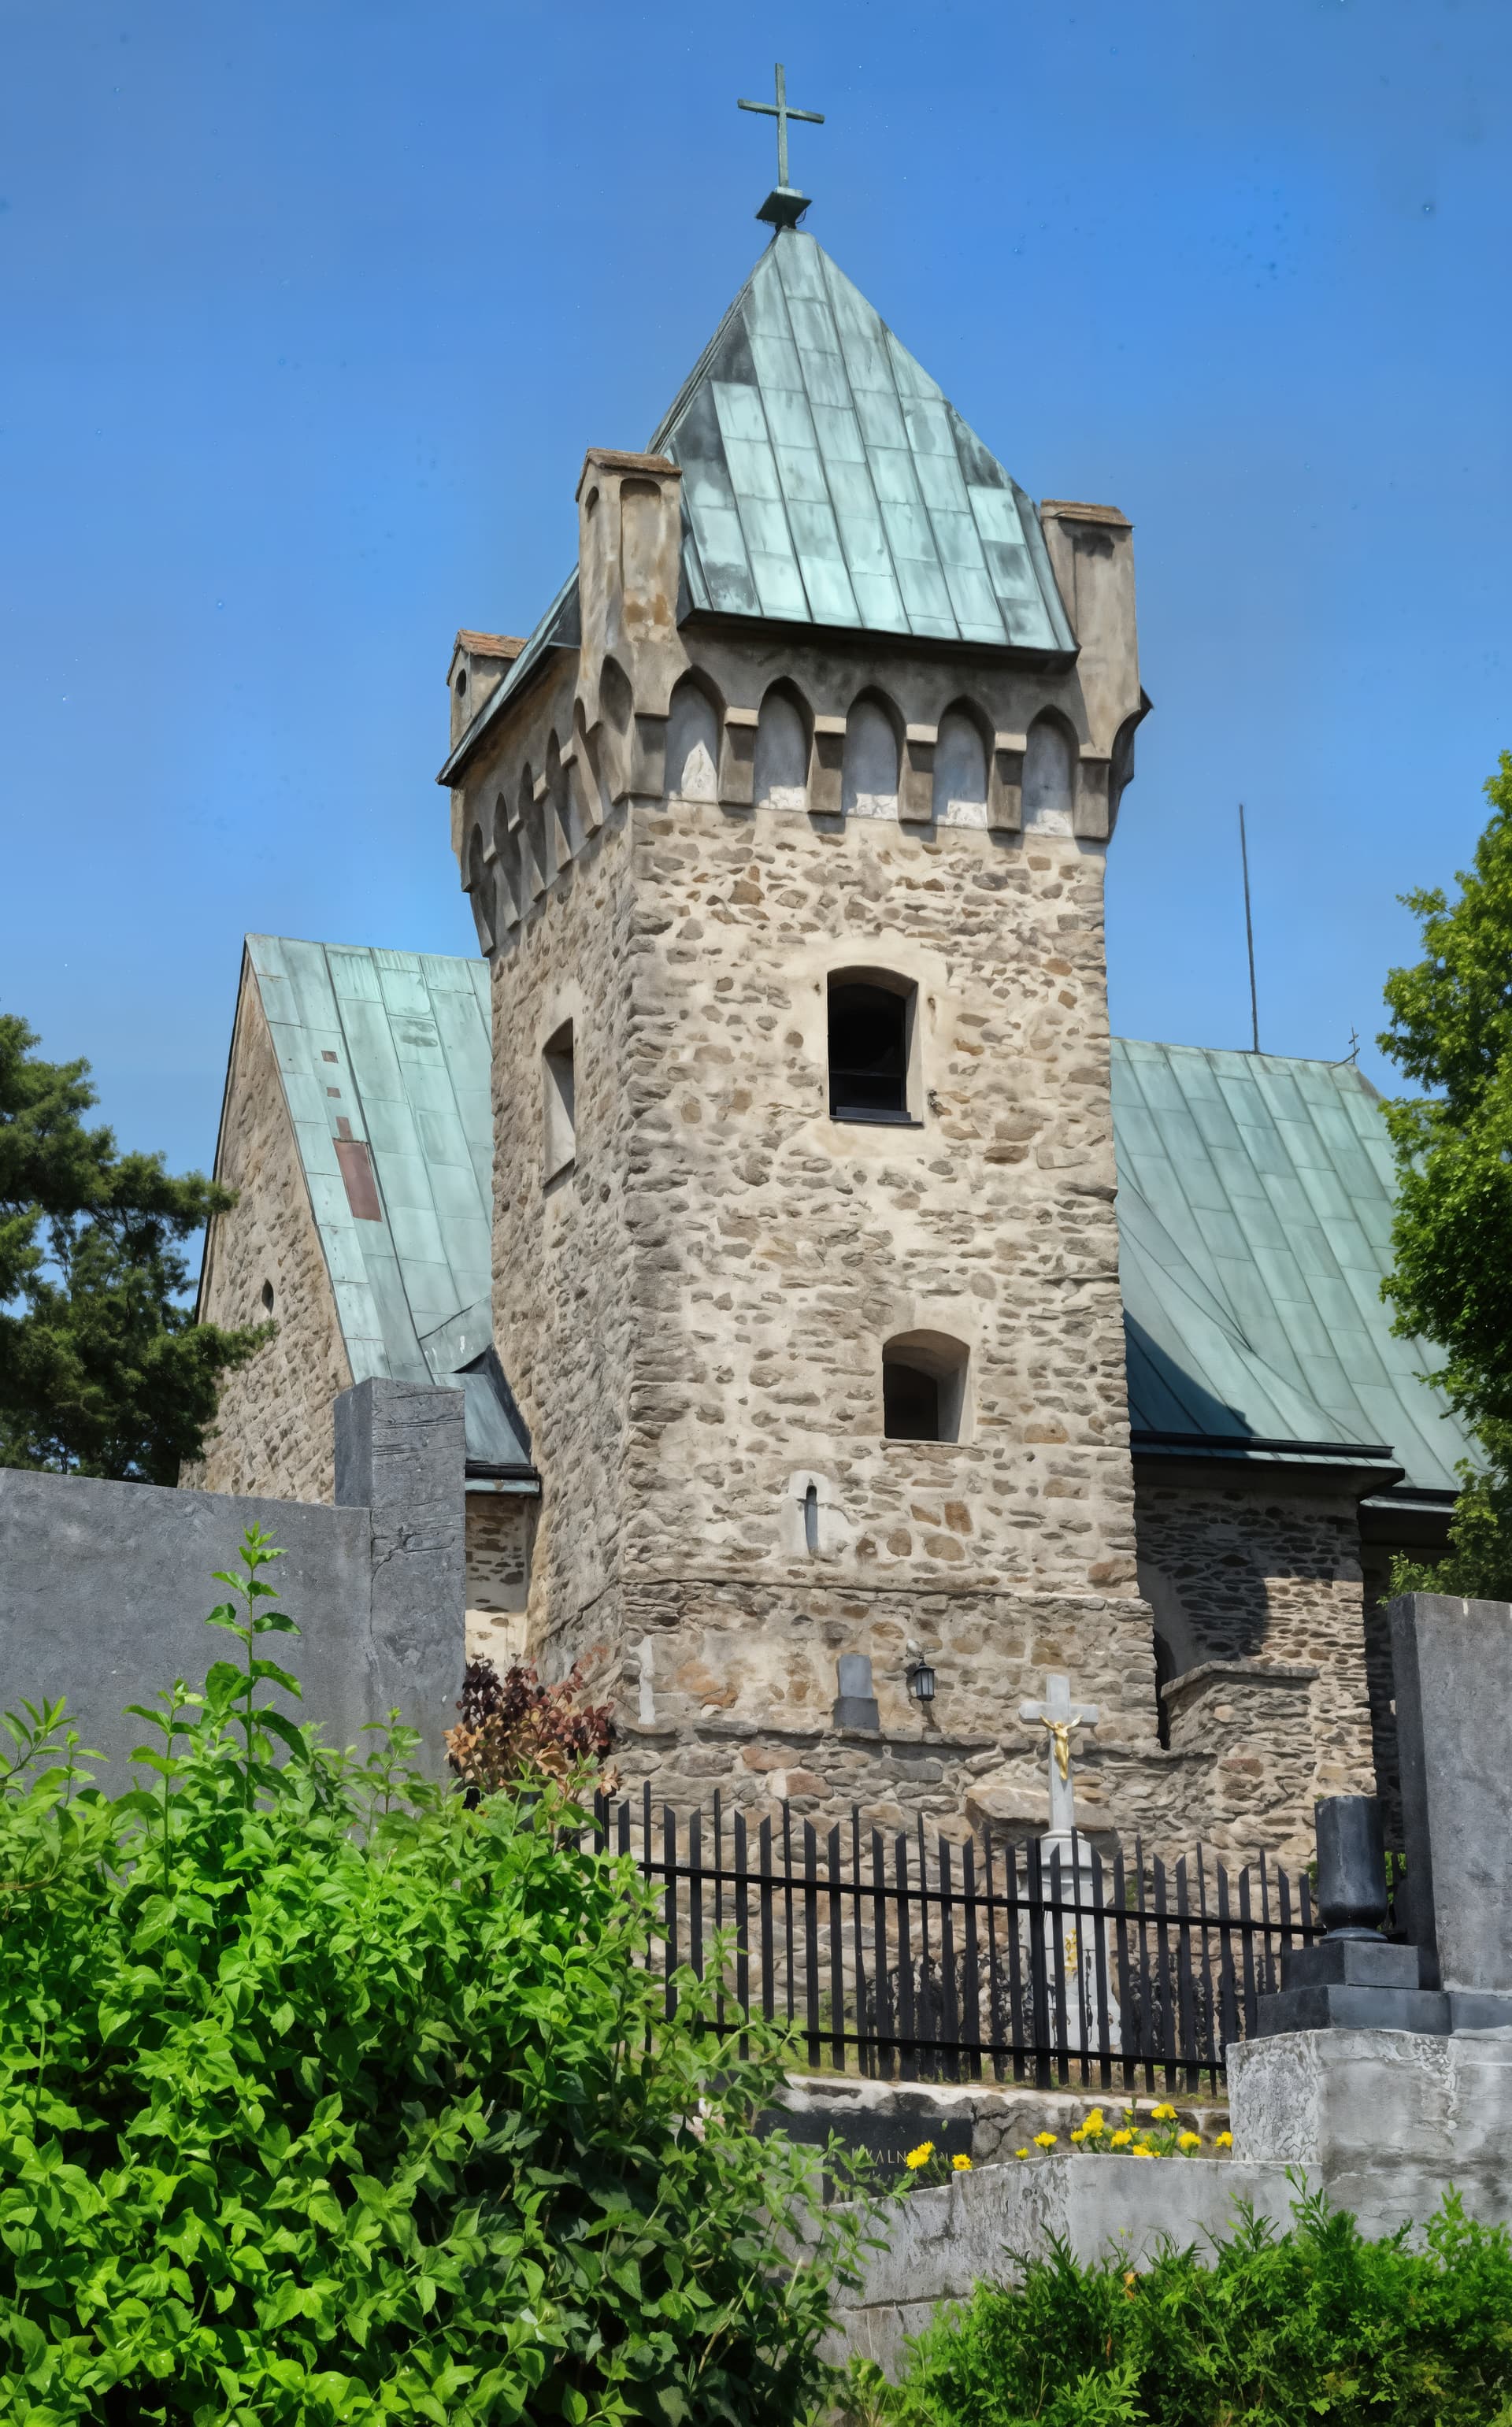
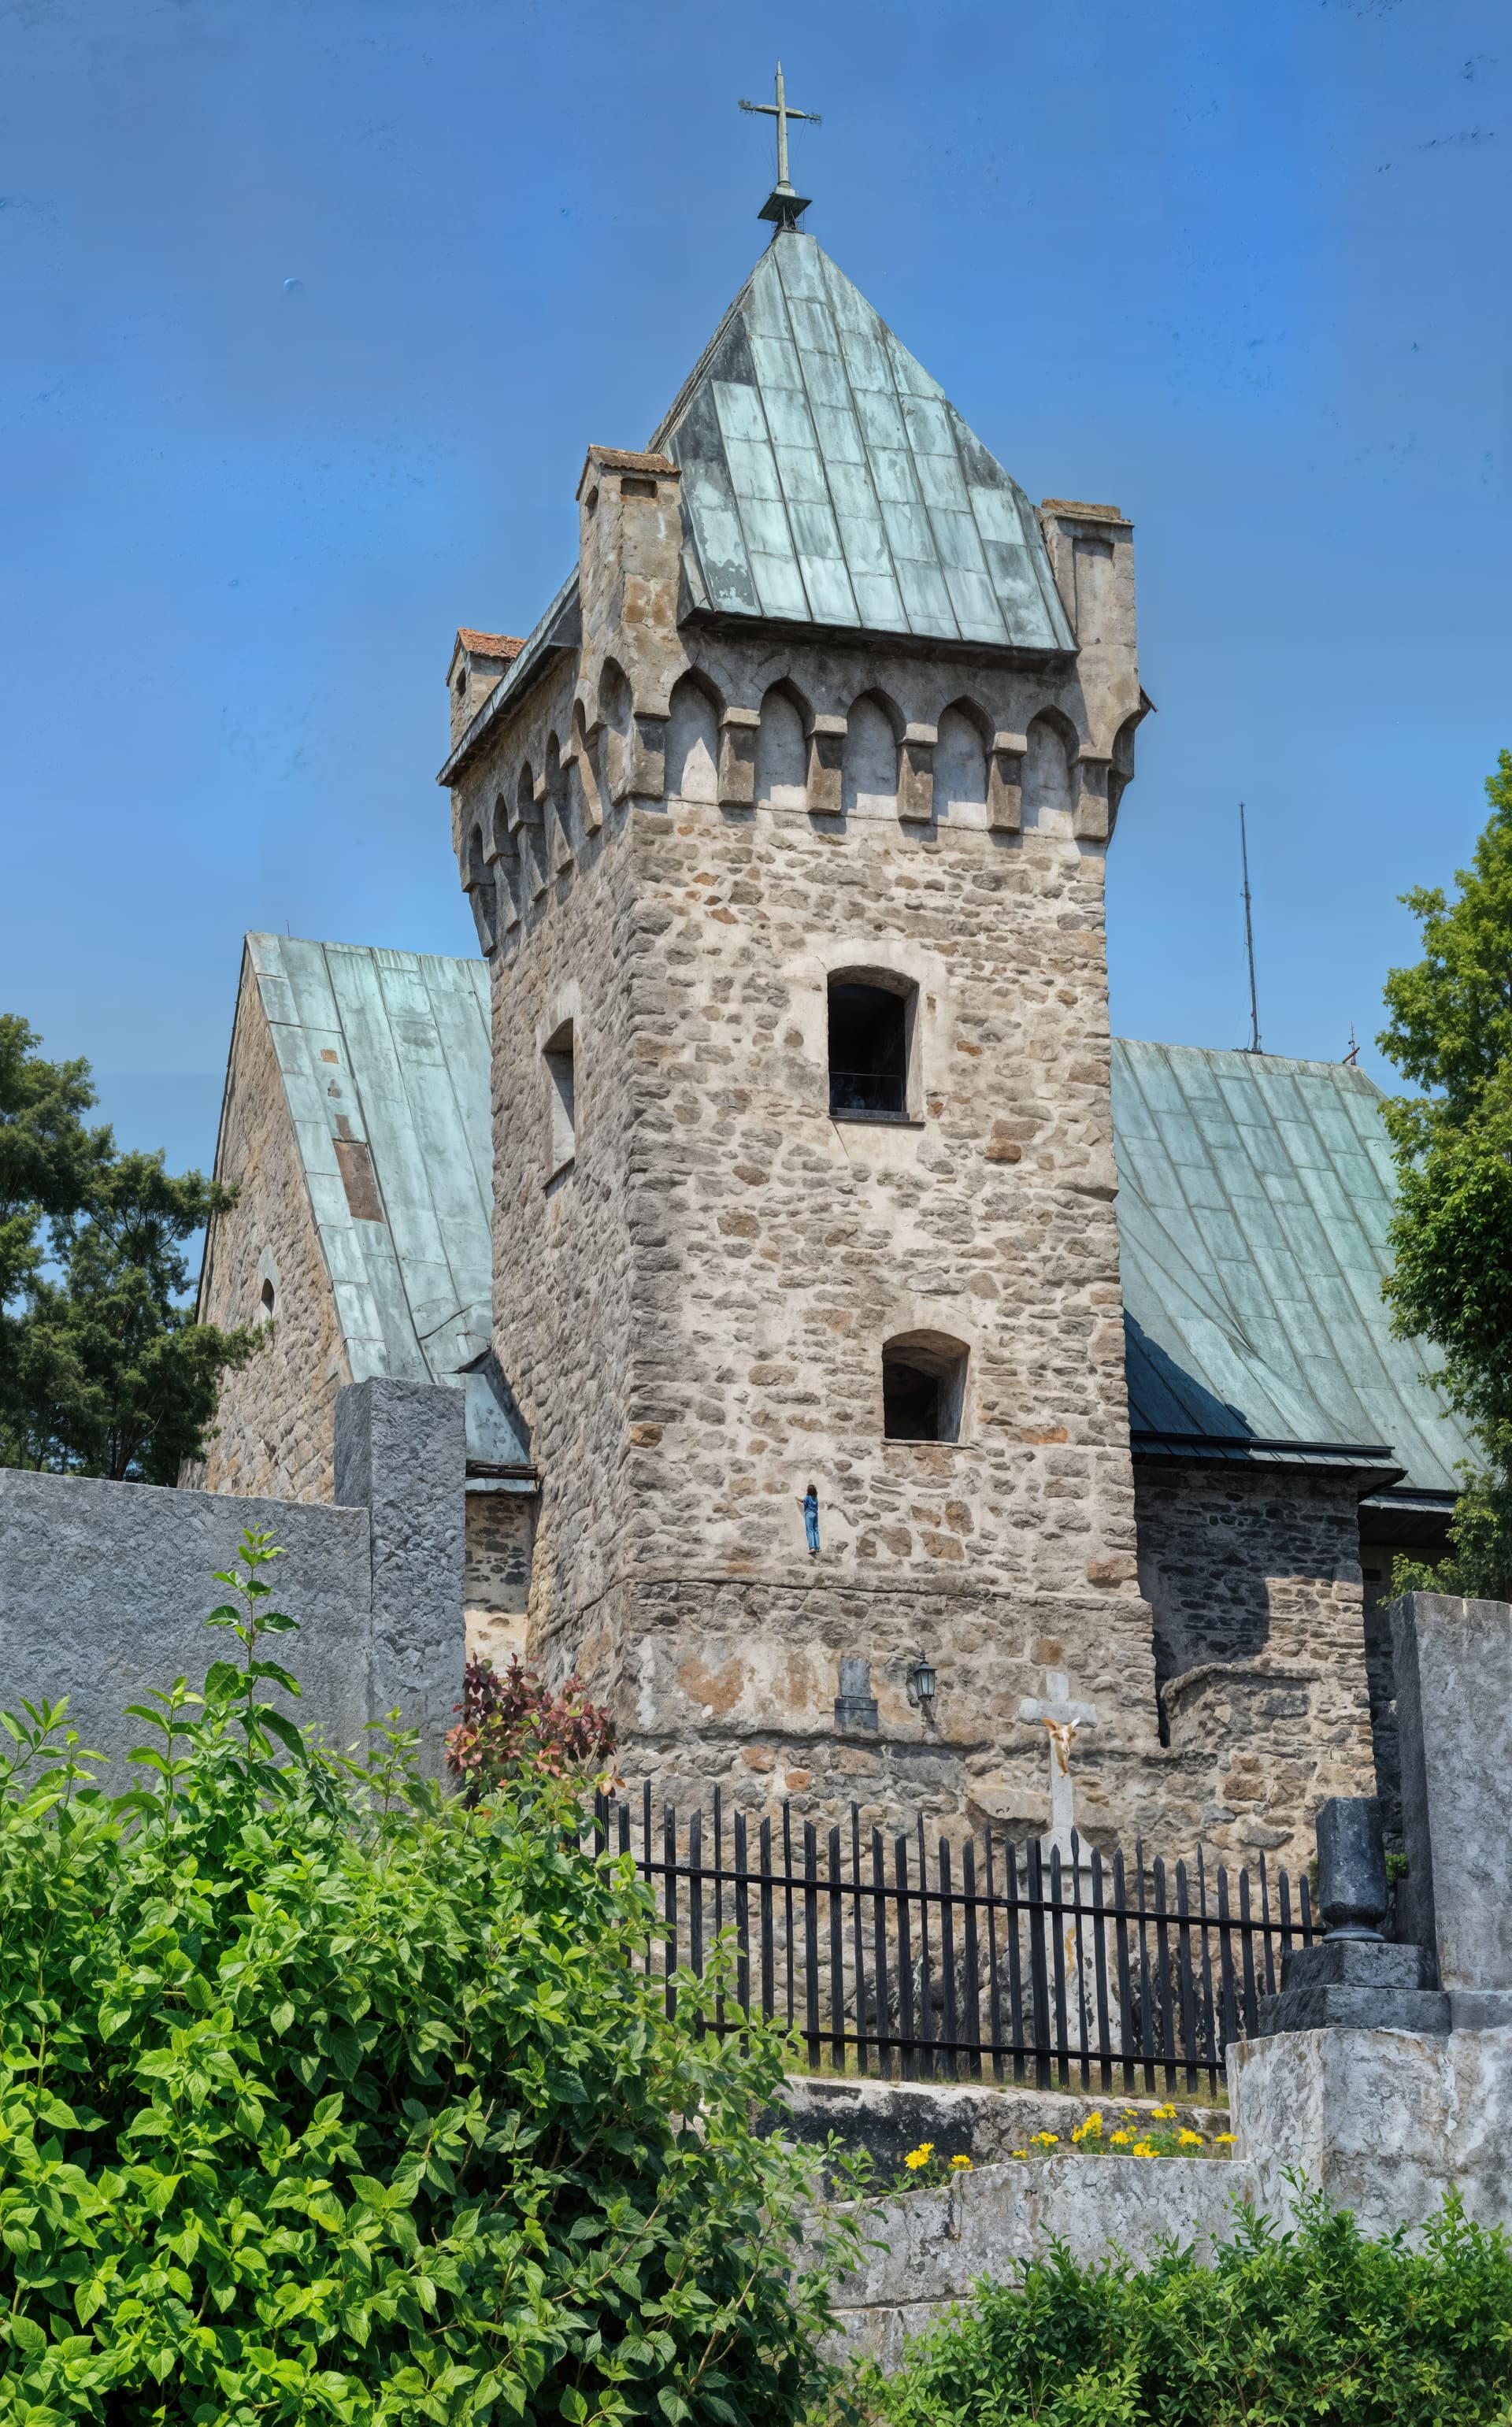
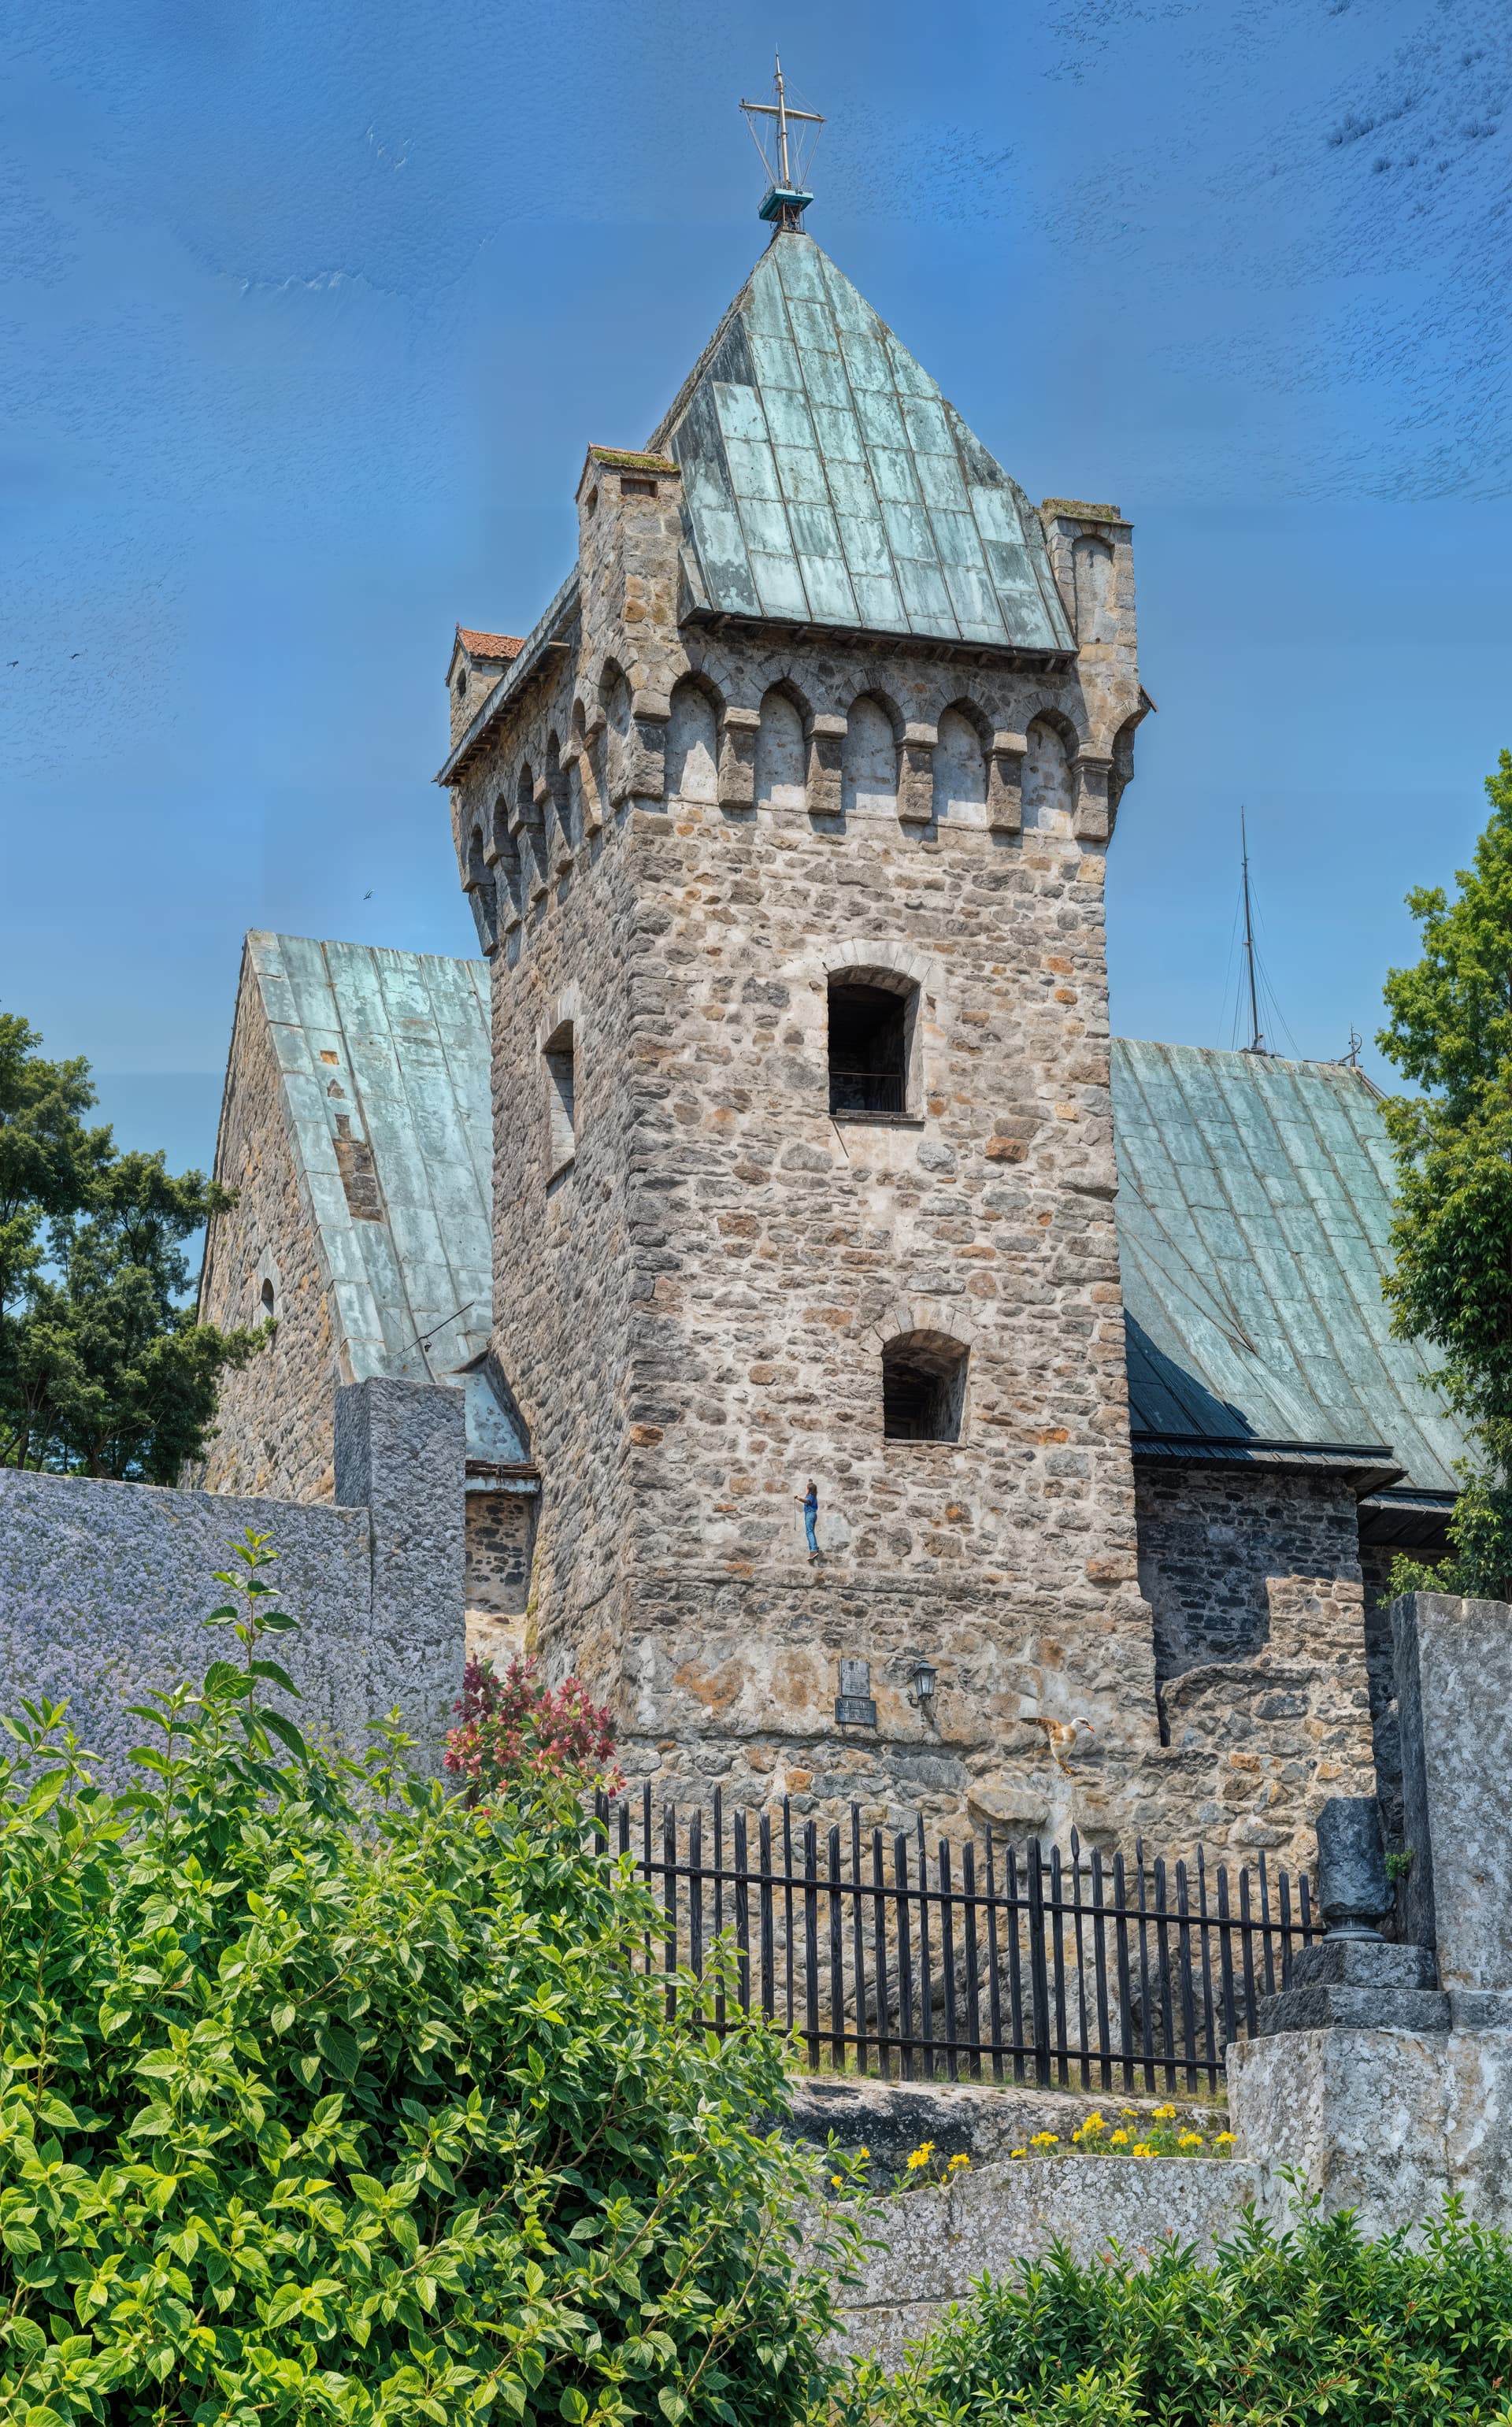
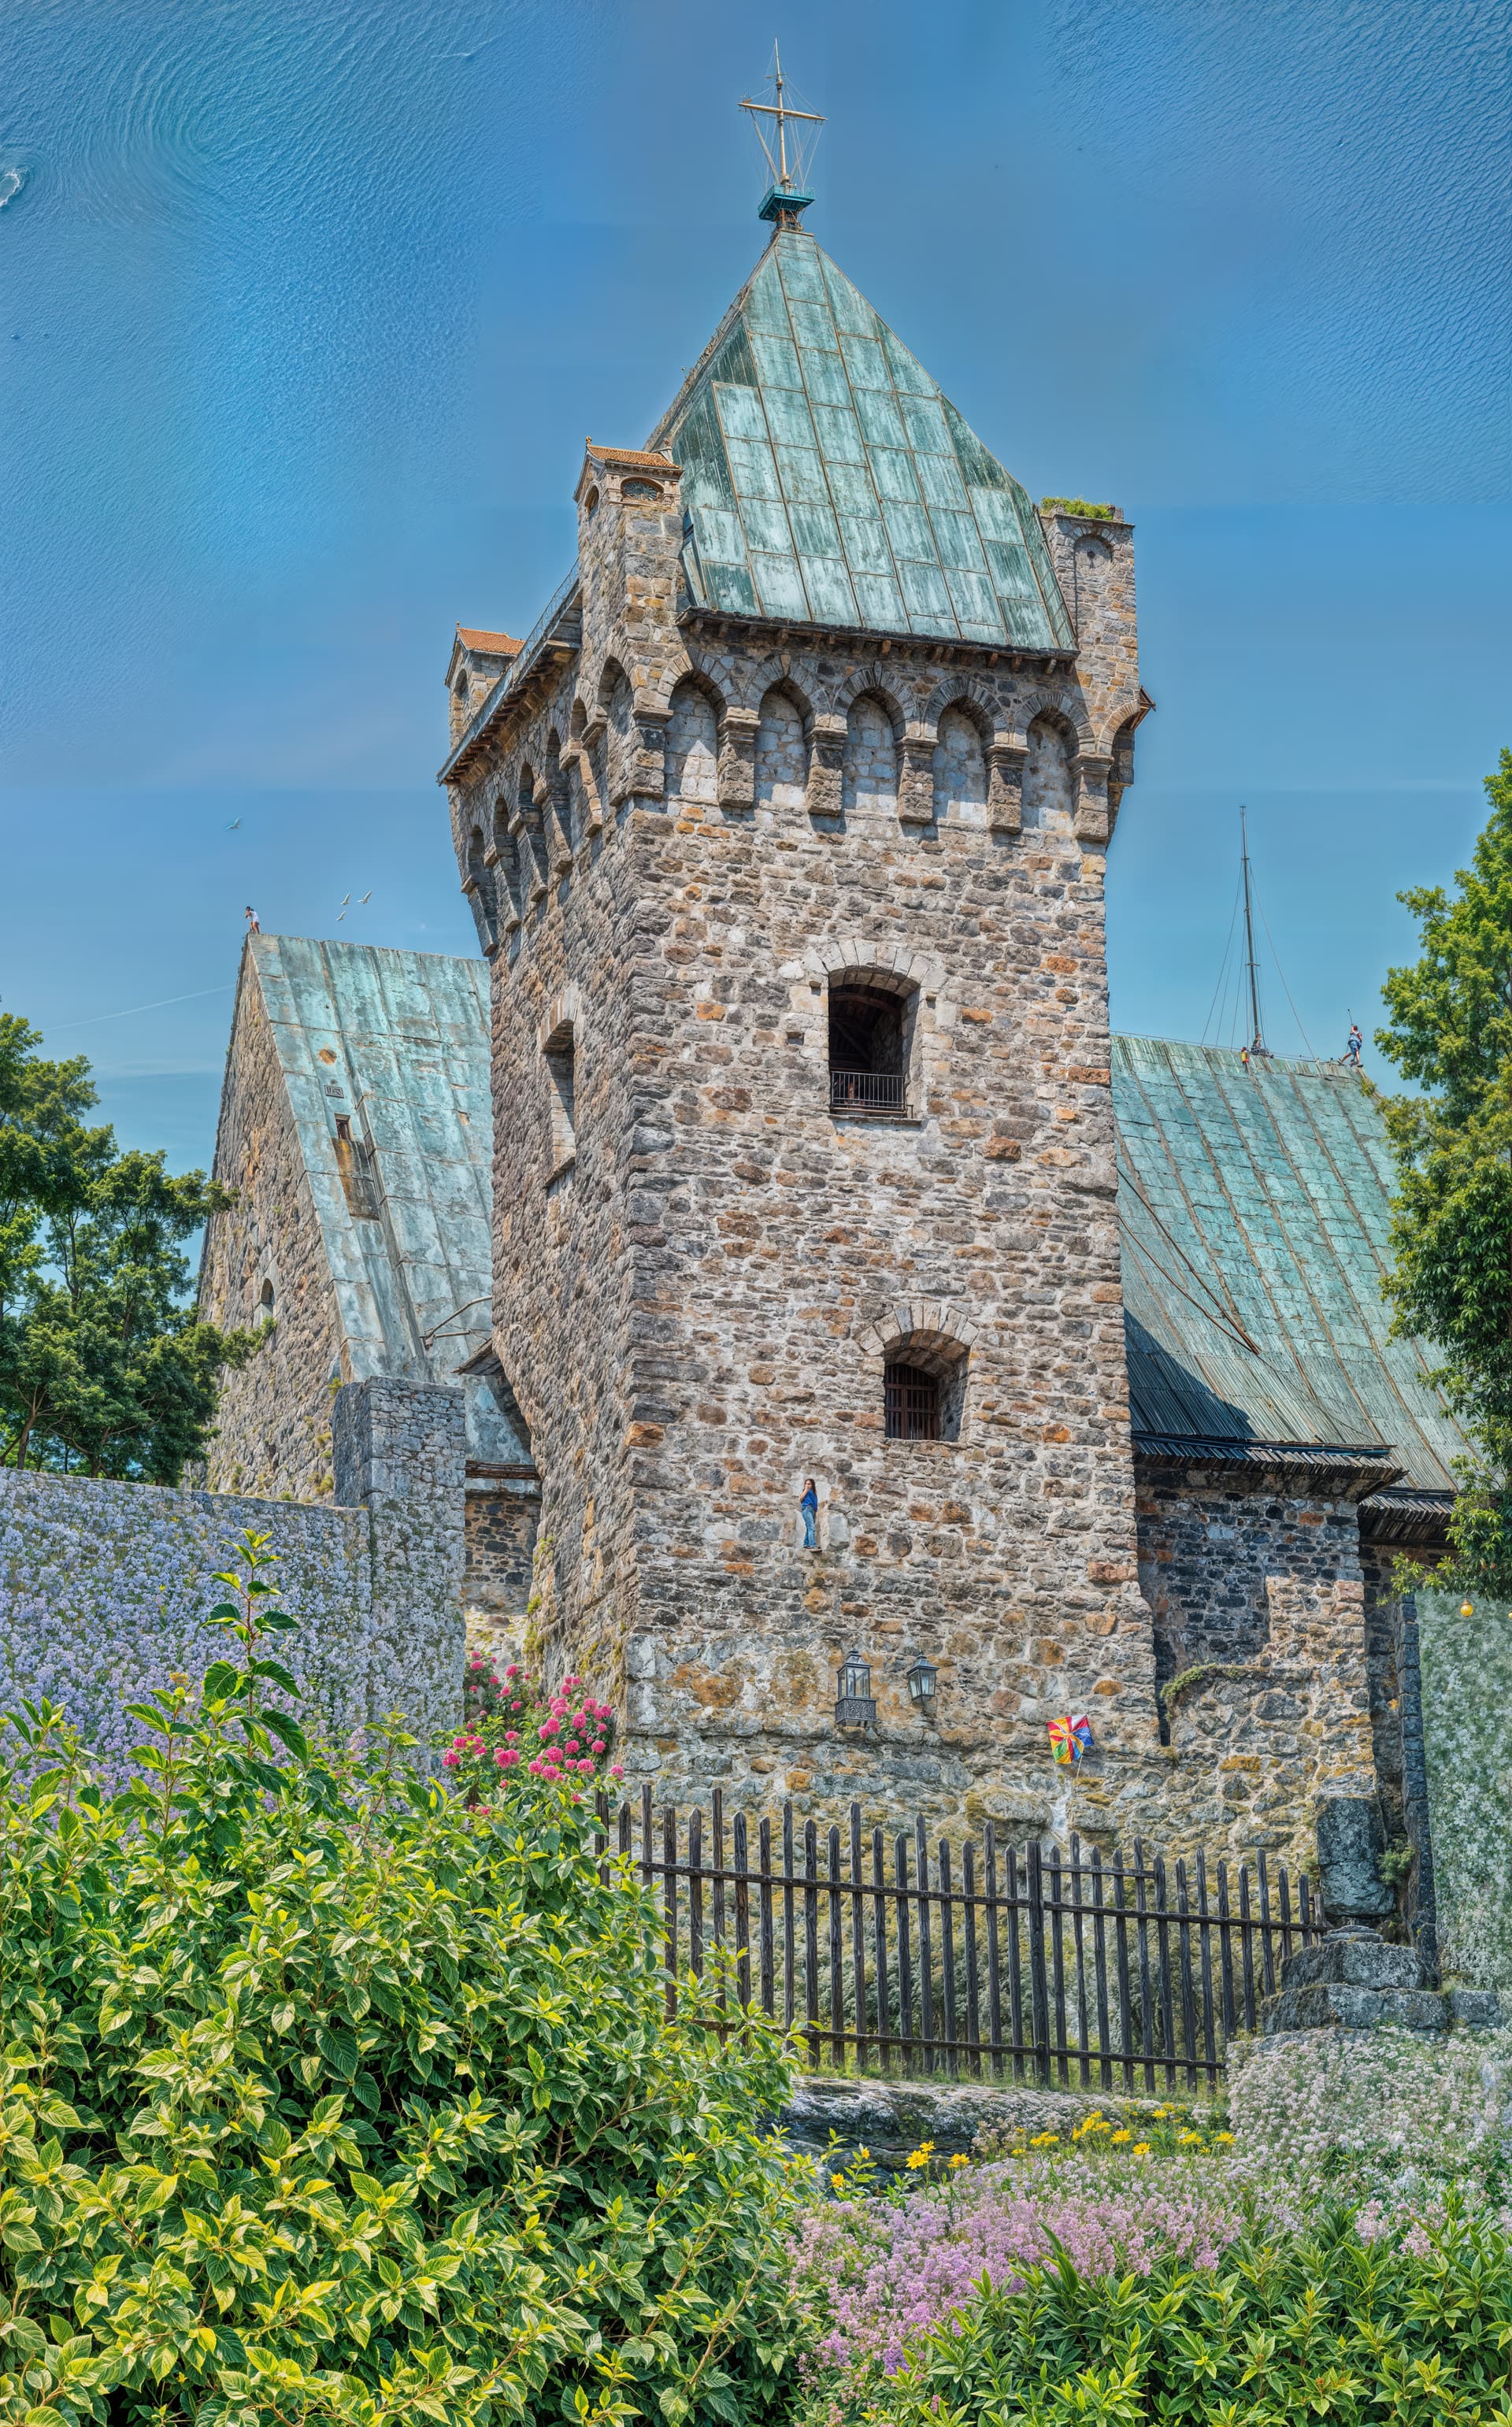
Some influence of Creativity level = 1 to 6 on the result. (I sincerely apologize for taking up so much space.) The first is my original photo of a Romanesque church, which I’m trying to improve a bit now, so I’m using that. The following are the outputs of Redefine 1…6, there were no other adjustments. Levels 1 and 2 are quite negligible changes (improved sharpness, etc.). But from level 3 on, they suddenly become quite large. Note, for example, the changes in the position of the building stones forming the tower wall, or the beginning of the transformation of the narrow window at the bottom of the tower. Level 4 already generates the popular ugly artifacts (not a bug, it’s a feature ) in the sky (top right, for example); the narrow window (unintentionally by me!) turns into a female figure (I guess Topaz Girl). Level 5 reinforces all of this and level 6… yes, it’s Topaz Girl, she turned to face us (trust me, it really wasn’t my catty intention! ).
I’m not sure why there’s such a jump (and a general one at that) between 2 and 3, but it’s been discussed several times before and I haven’t heard any explanation, at least not to my ears.
And what is the appropriate definition of redefinition?
I do remember punch cards even if DIY computers as a “normal” thing to do were before my time… And, I had a Compaq. Would love to see the floppies in it handle GAI & PAI.
Note that if you combine all the results obtained into a single image, taking only the best parts of each, you can obtain a very detailed and natural image.
In the end, I managed to do my rendering. But once I was satisfied with my settings, I had to export directly. The rendering still took a little over 3h00. And then, 2 hours later, I made 3 other variants with a combination of different models. With different parameters and scaling for each model, until I reached the maximum value of 14043 pixels on the longest side.
I have a total of 5 variations that I’ll combine later in Photoshop, taking only the best parts of each.
If you like, I’ll show the before and after from the source image.
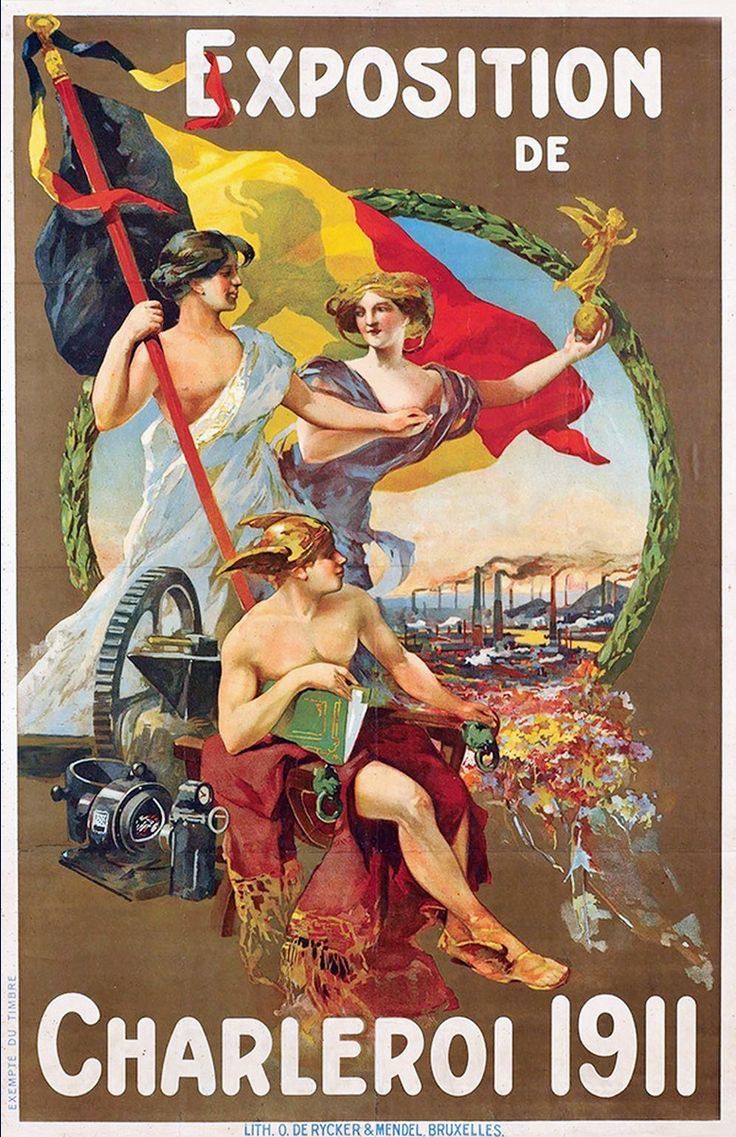
The original image, in the best quality found on the net, is only 736 x 1137 pixels.
Yes, I agree that blending different versions is often the best solution, even though Redefine rendering takes for ever o the M-series Macs!
We also need a version of Redefine that handles “characterful” faces better and doesn’t smooth them out or glamourise them.
My experience seemed to indicate that Face Recovery with Redefine made no difference. But since everything takes so damn long, I can’t be absolutely sure of that.
I’ll take another look at that image however and post back.
Your iOS version is comparable to low-res I guess. On the whole, I am finding Redefine achieves better results, with the exception of faces.
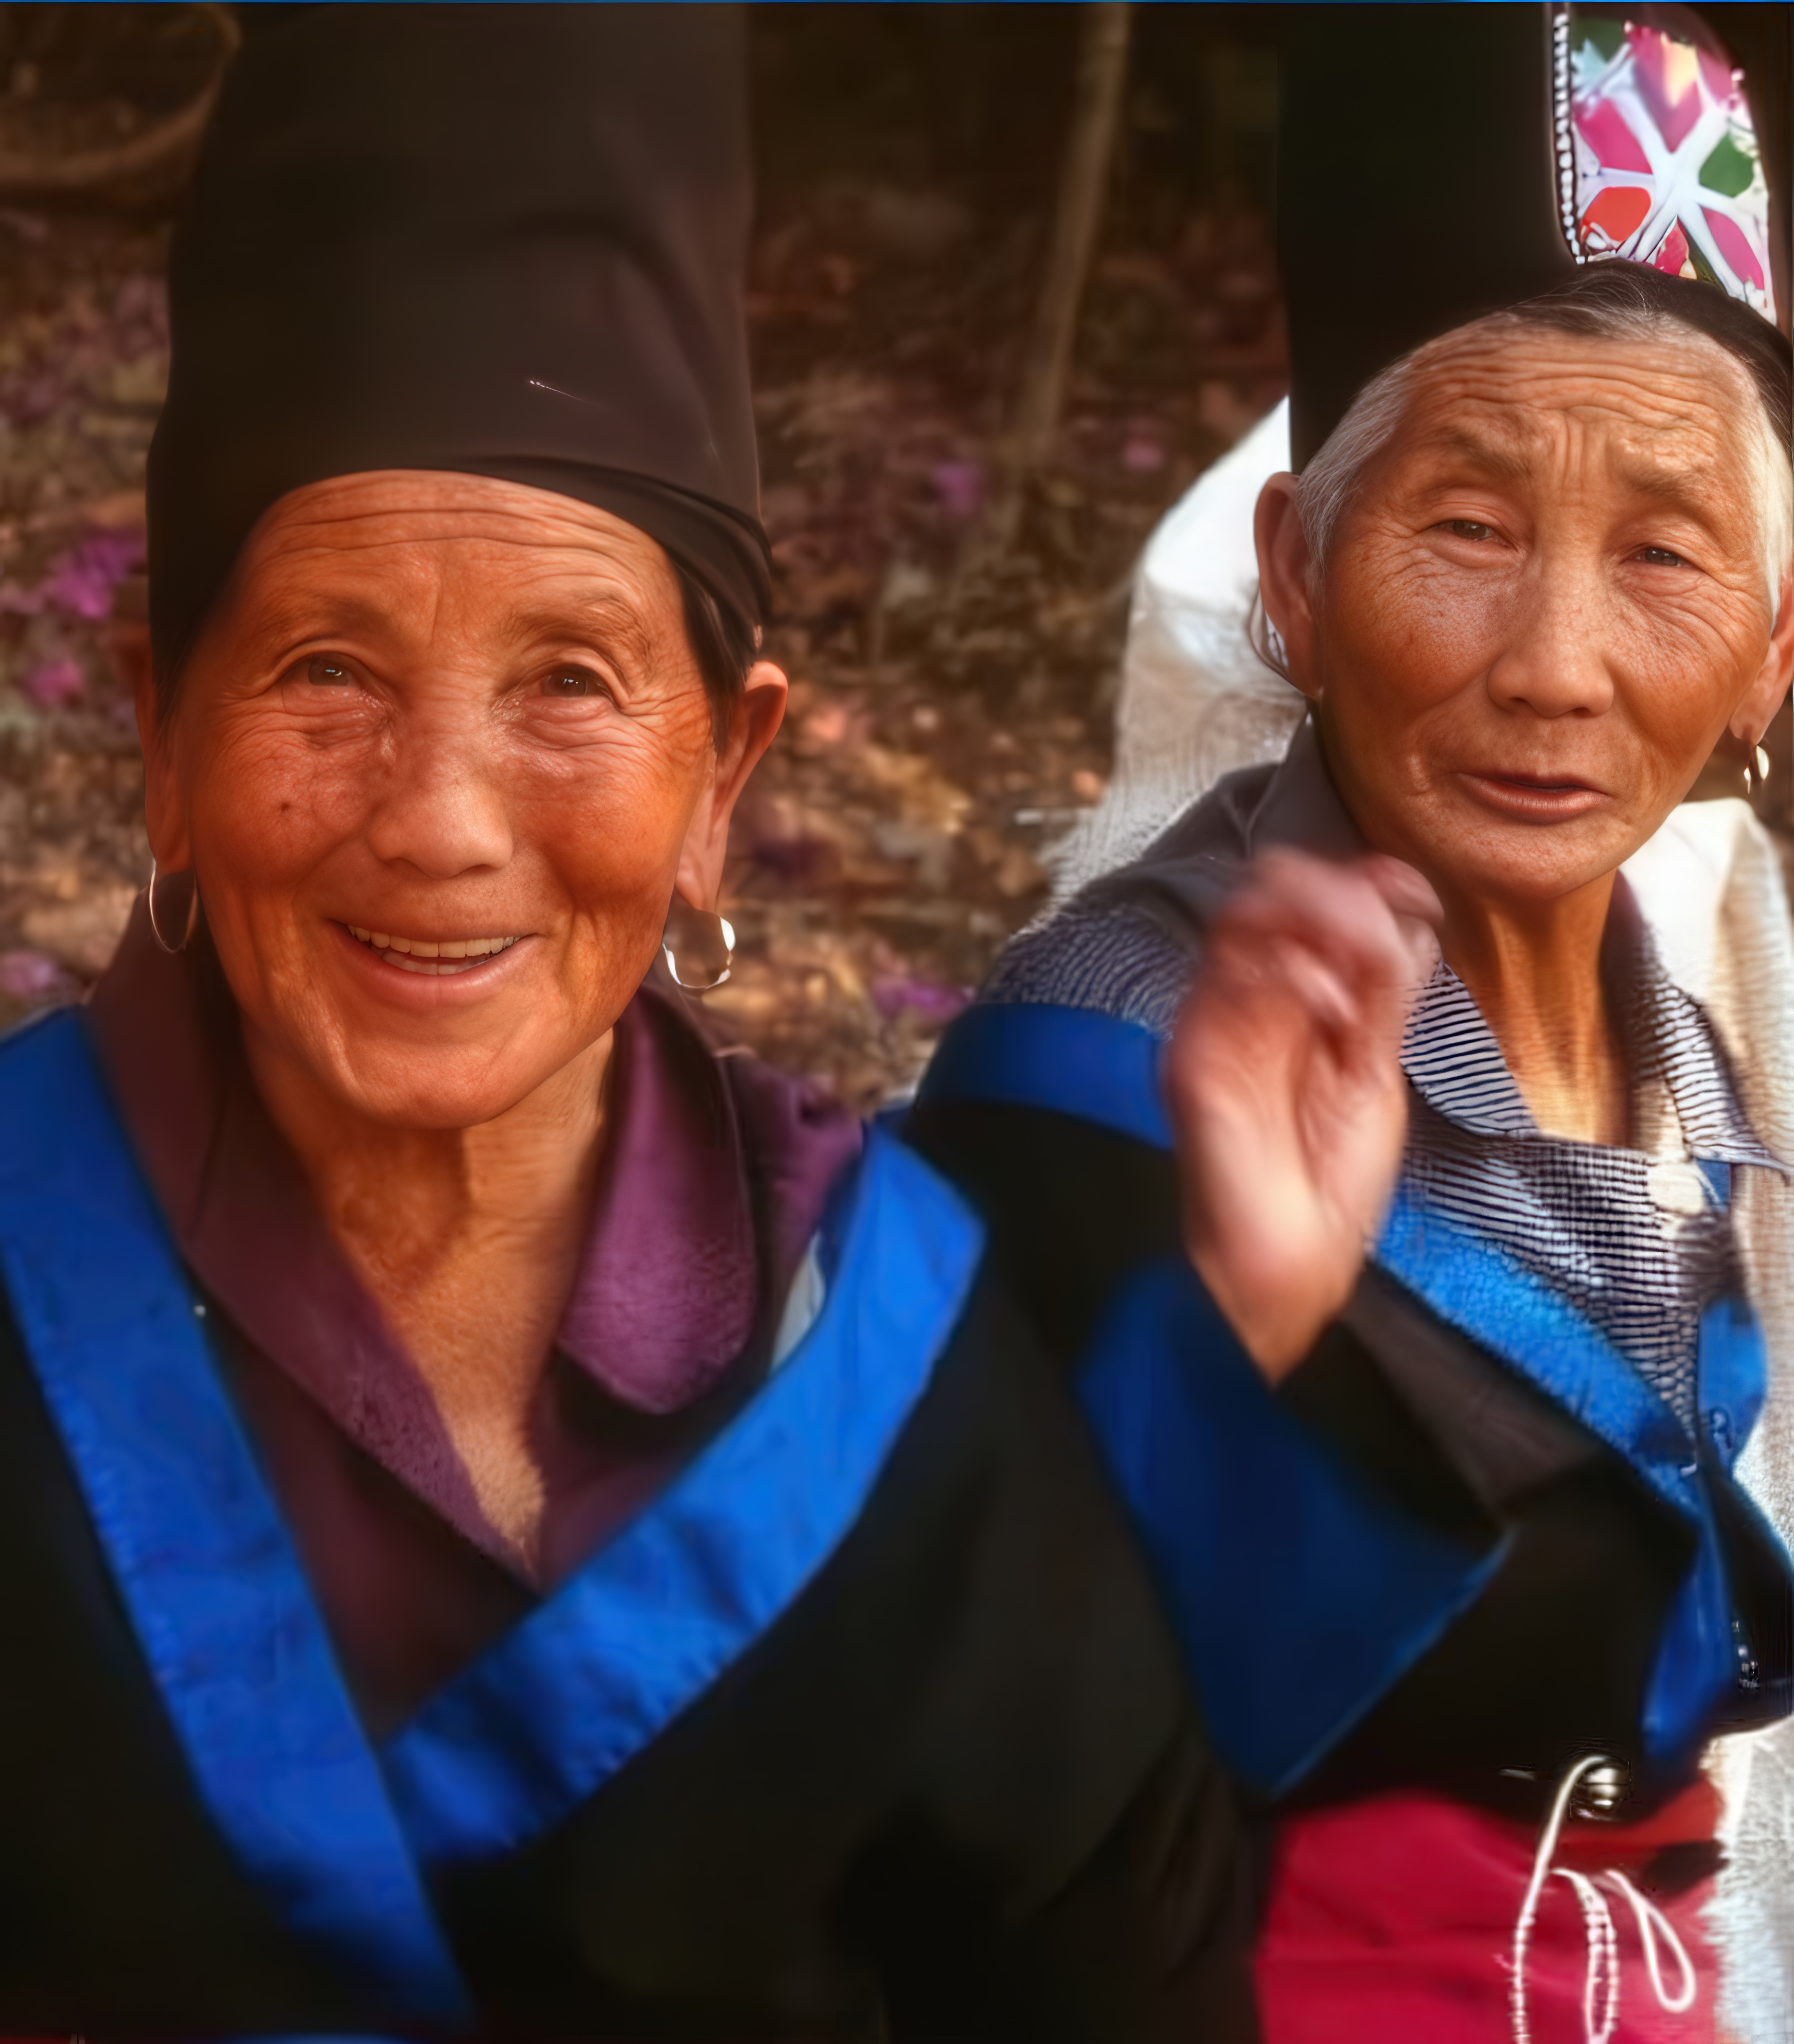
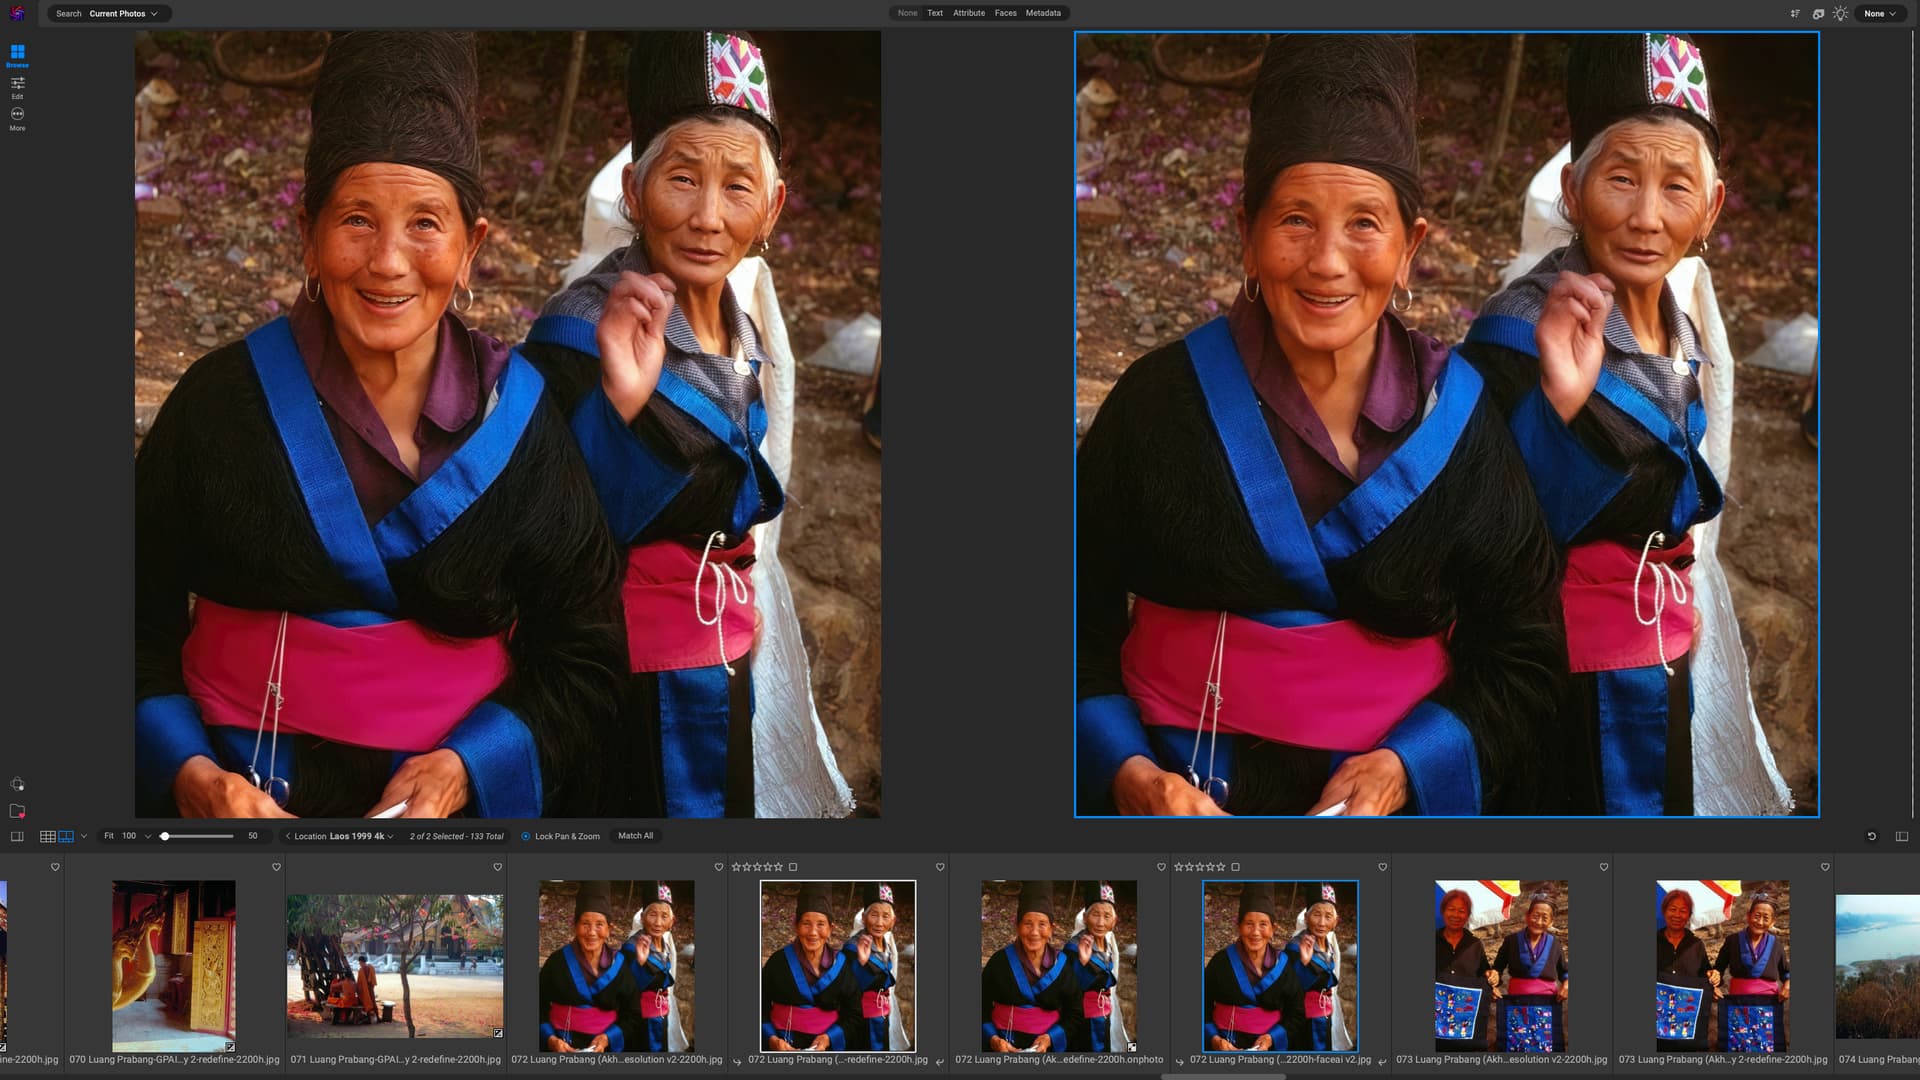
I see. They’re 10-15 years younger with features that are bizarre, to say the least. And all the black parts have become hair or fur. Weird. It makes the image very unnatural. Very artificial.
I can confirm that Face Recovery does not work at all — at least not on my Mac.
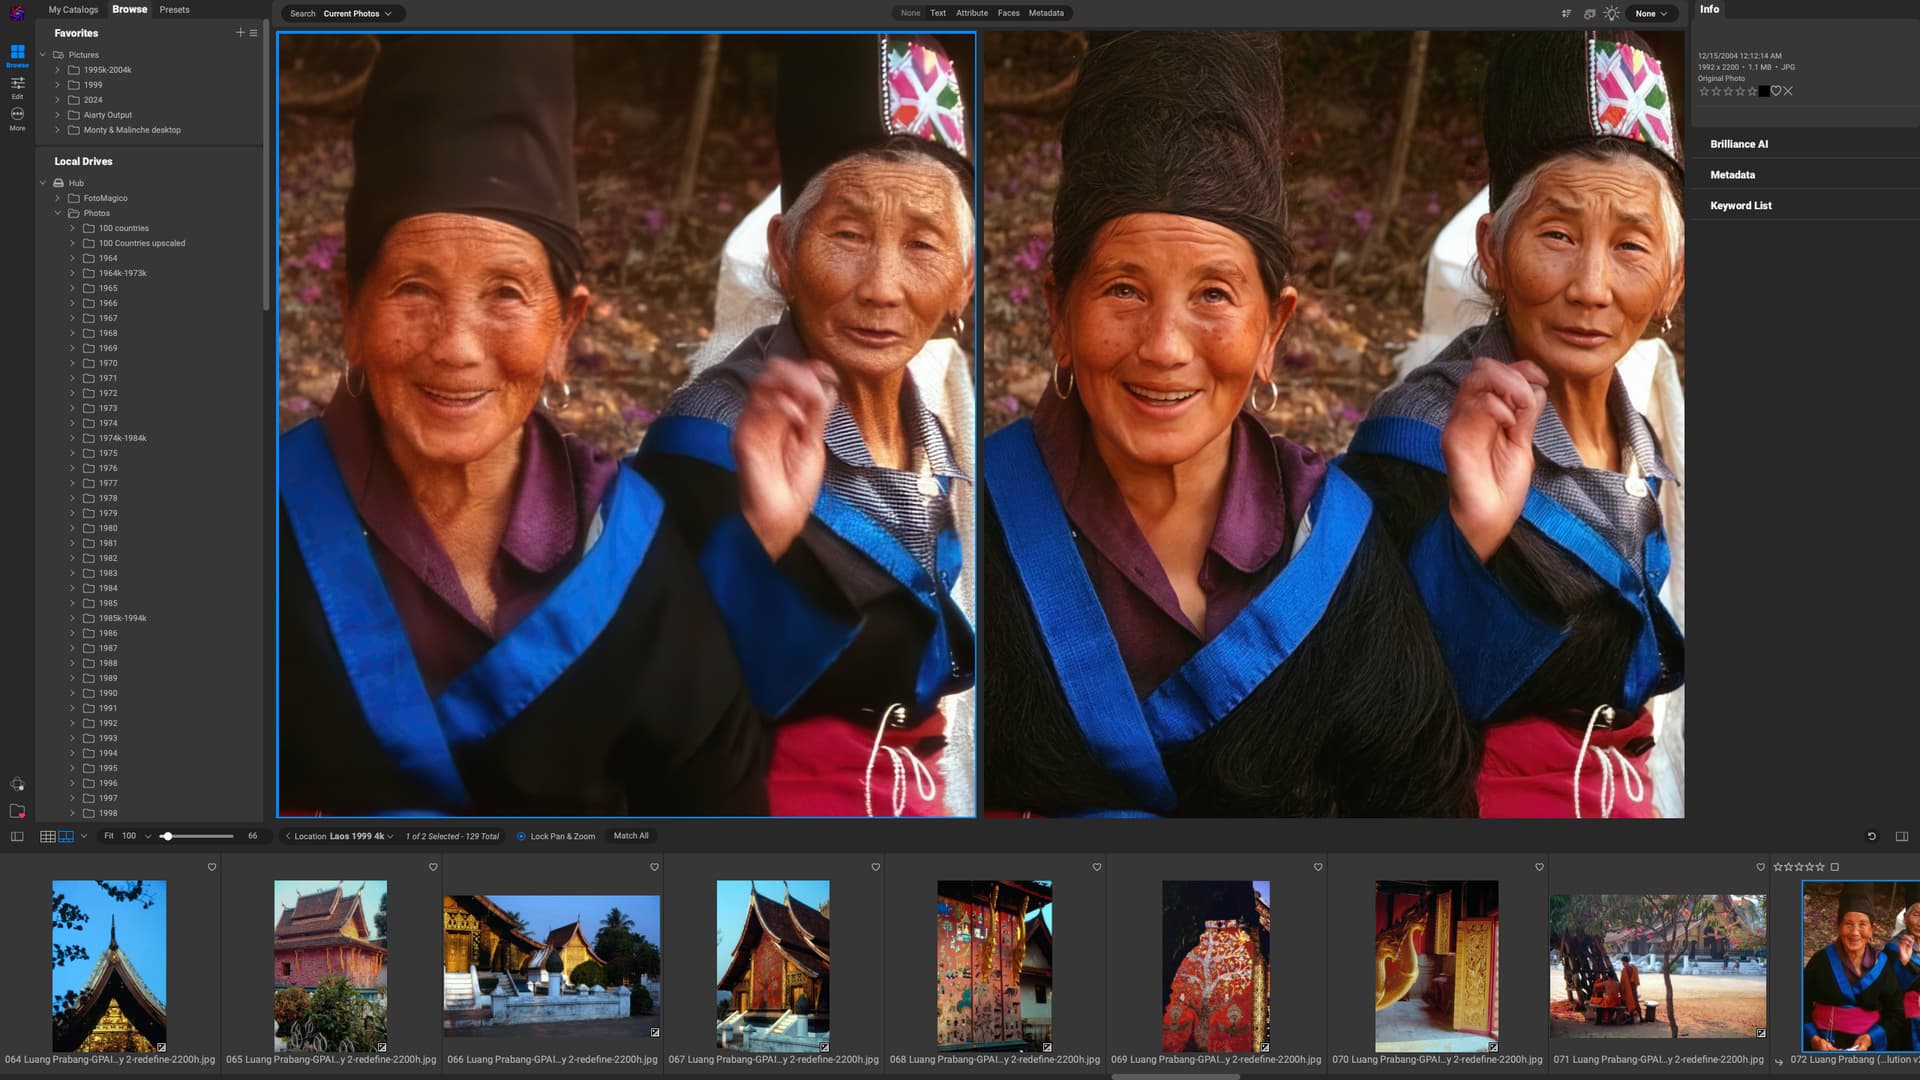
As you can see, there is essentially no difference between these 2 images. The one on the right had Face Recovery set to Gen2 beta, realistic @30.
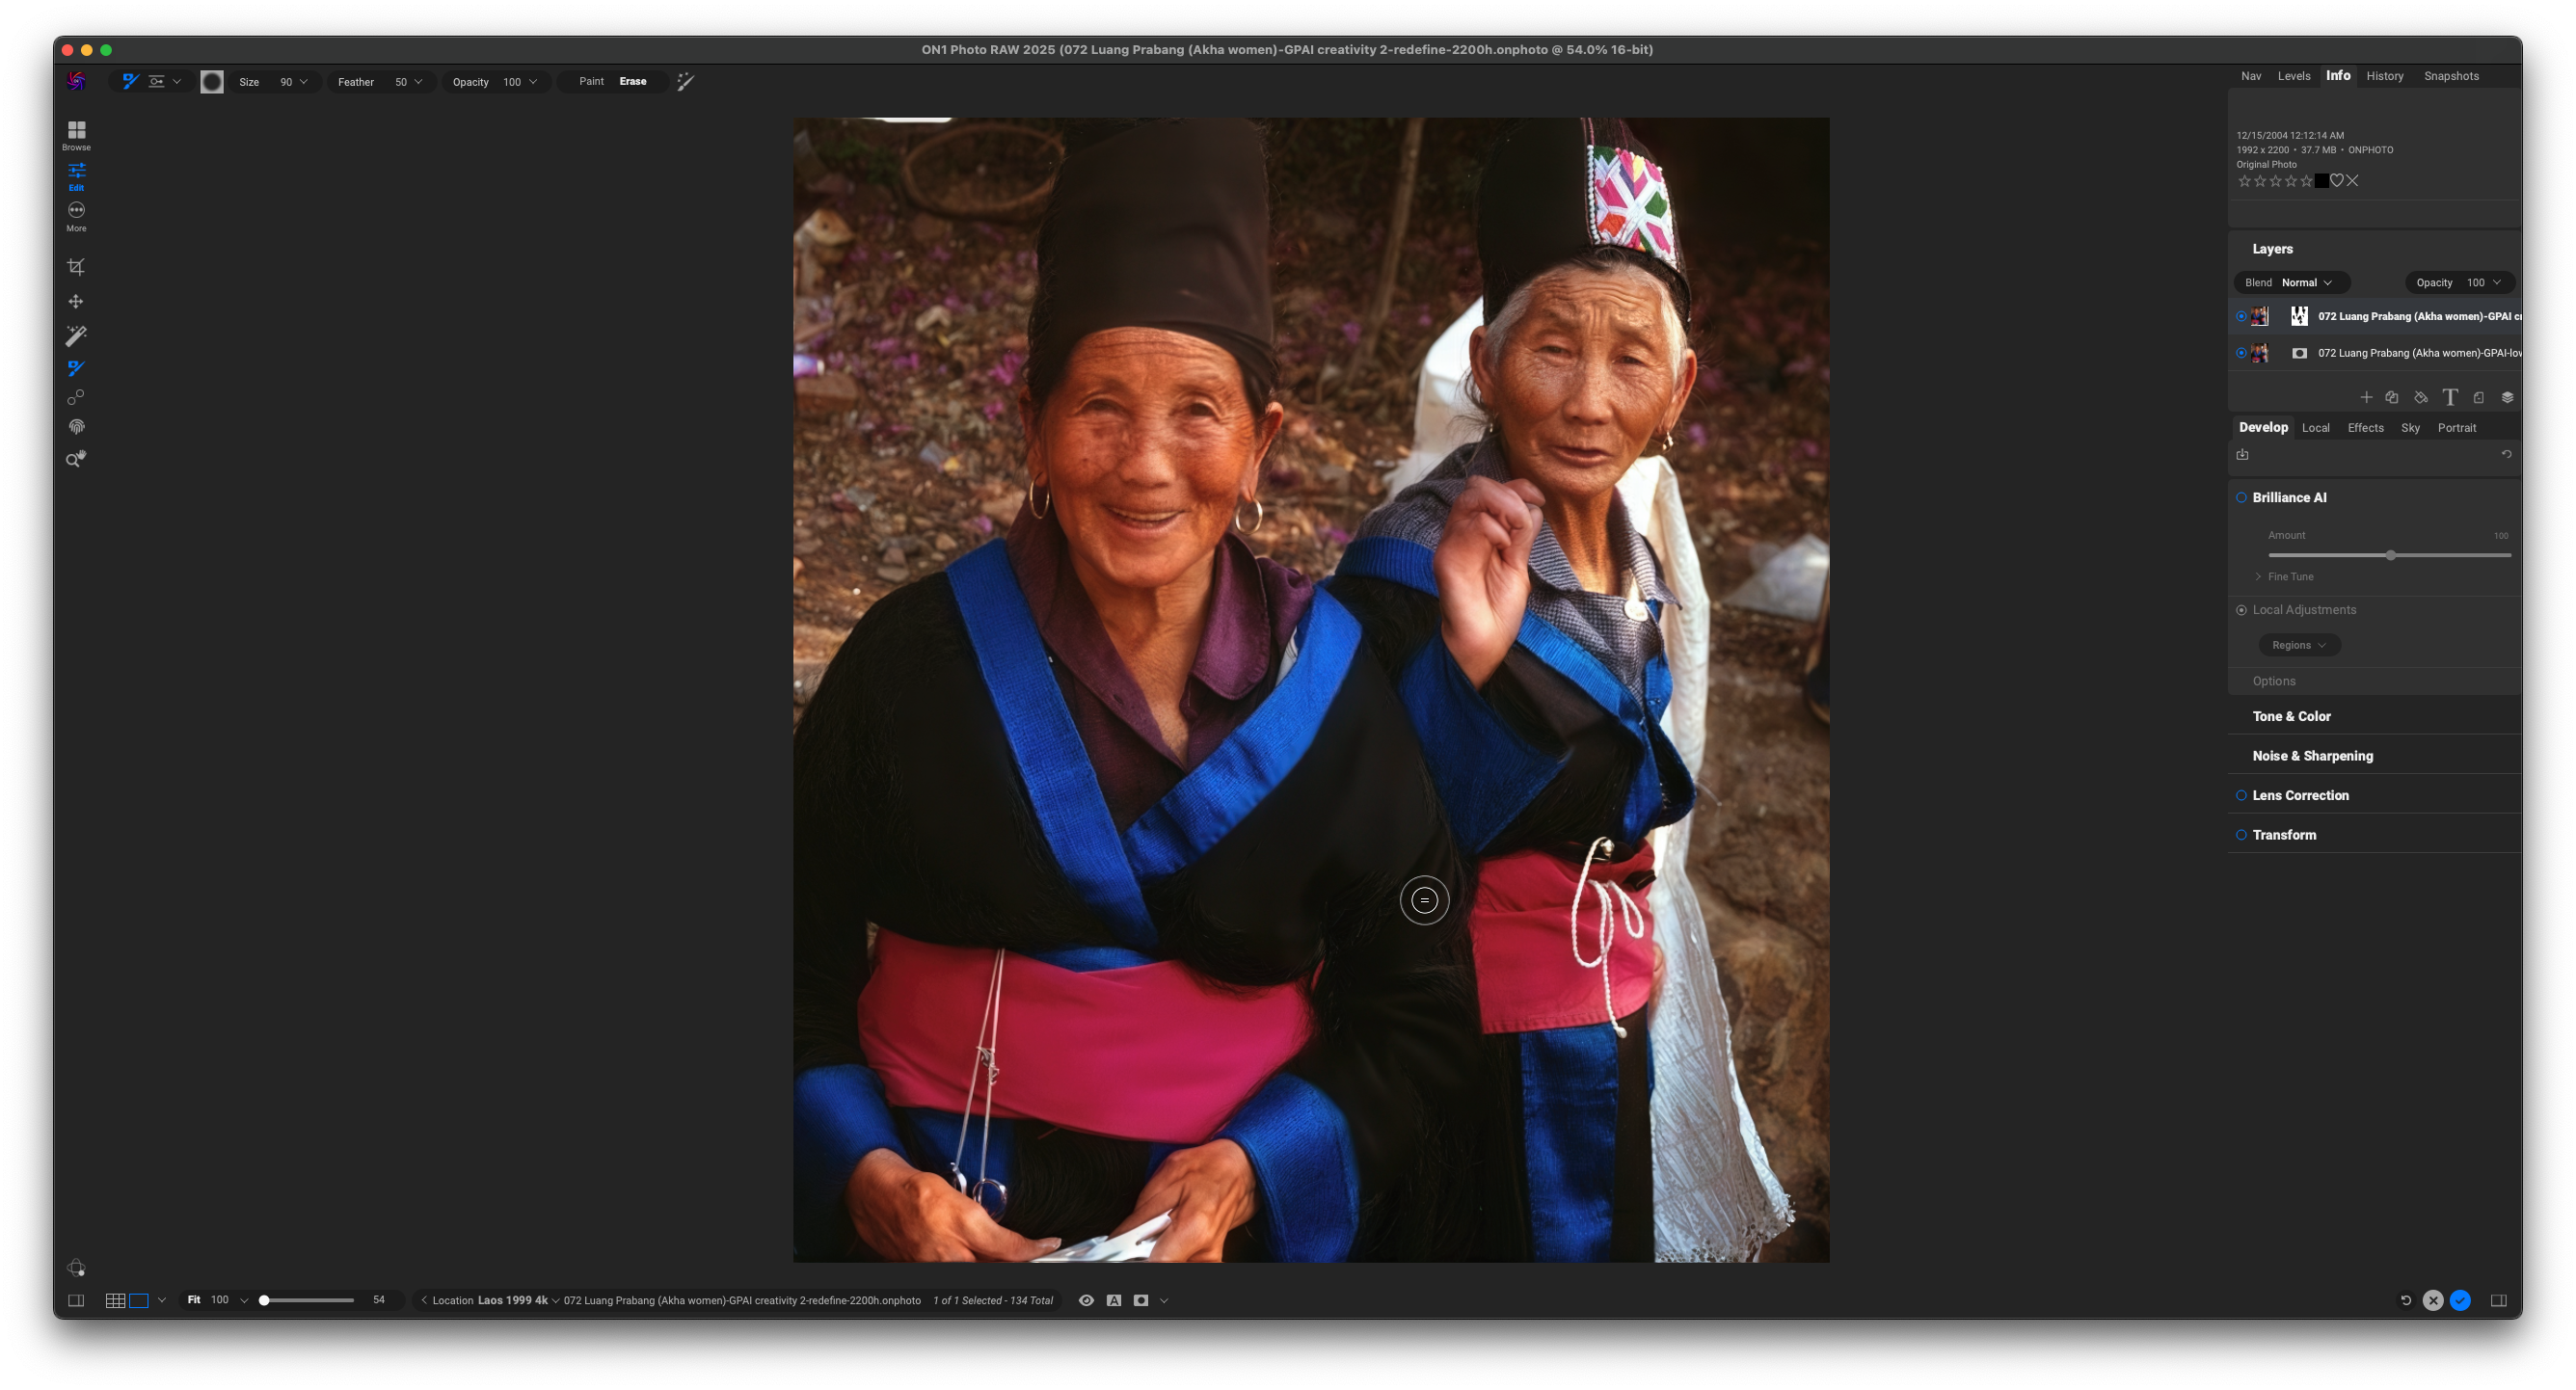
The only way I have found to do justice to these old ladies’ faces is to merge with a low-res rendering. Similarly with other images from Asia, where young men have been turned into girls and faces “Europeanised”.
Face Recovery does indeed work, though to varying degrees. M2 Mac Mini.
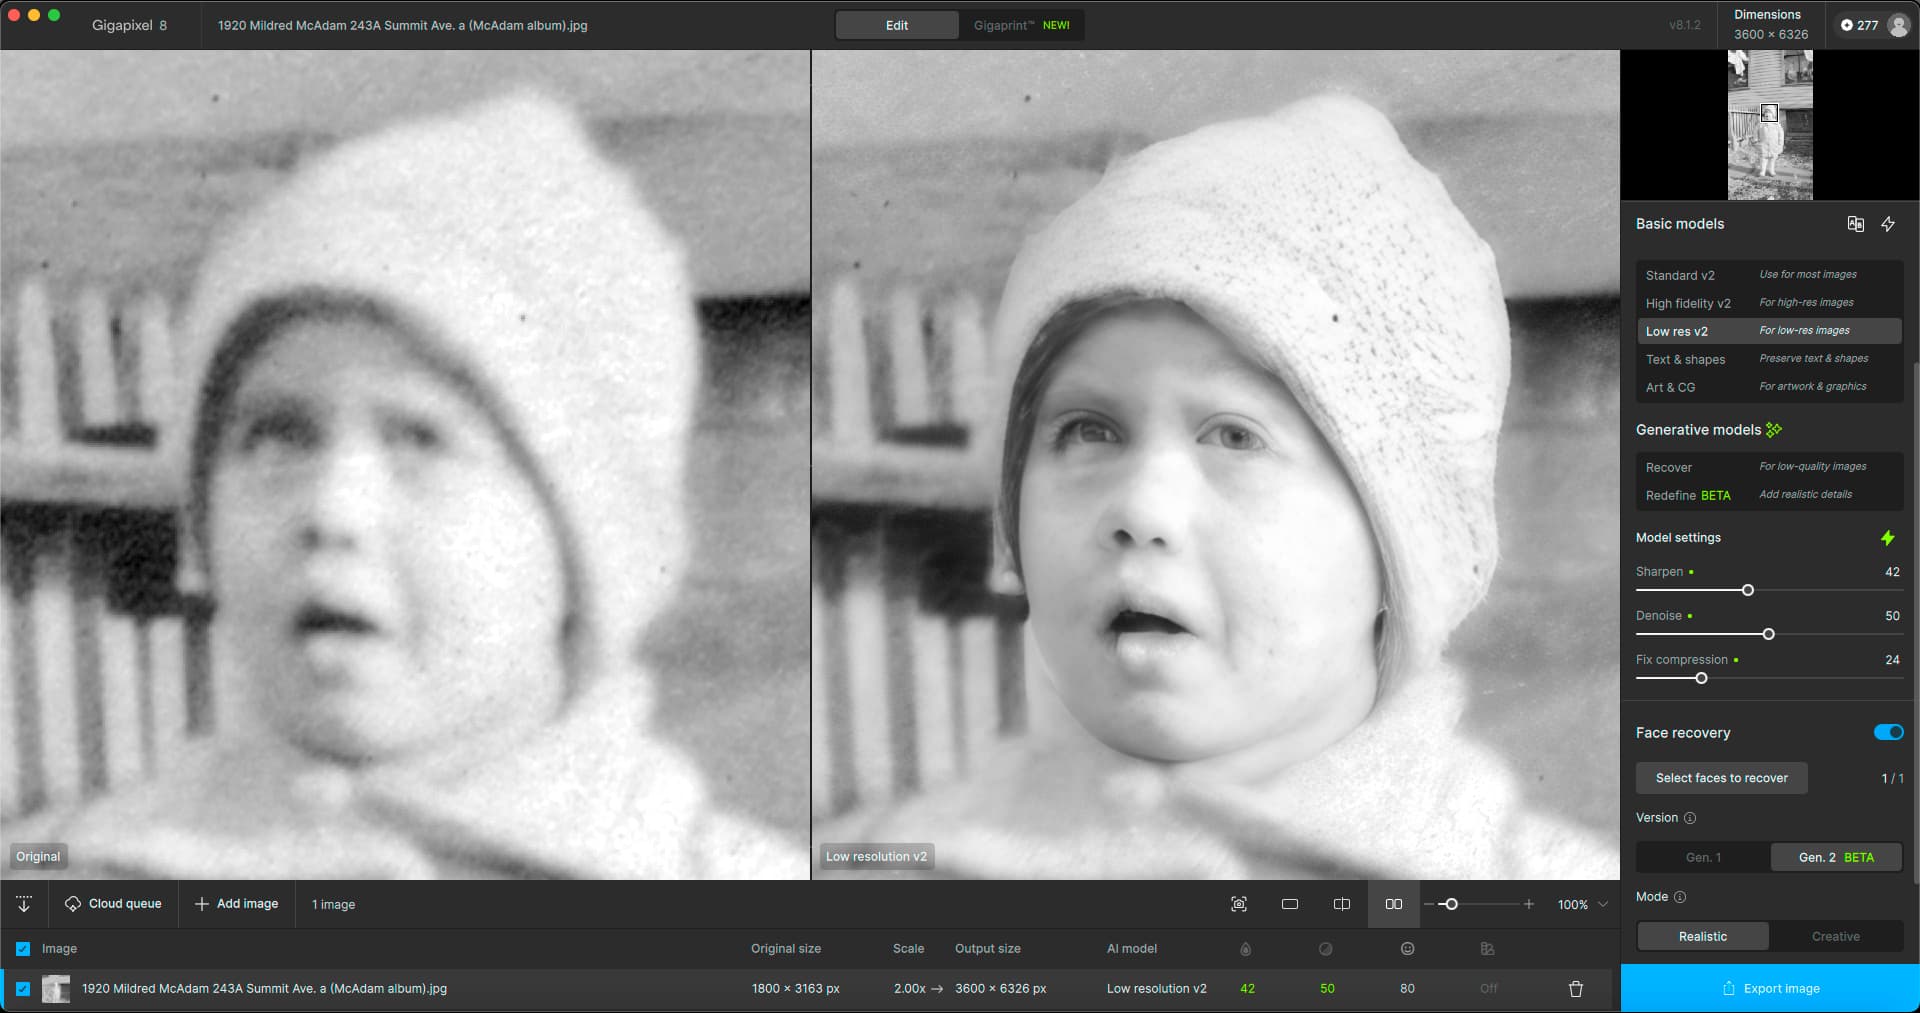
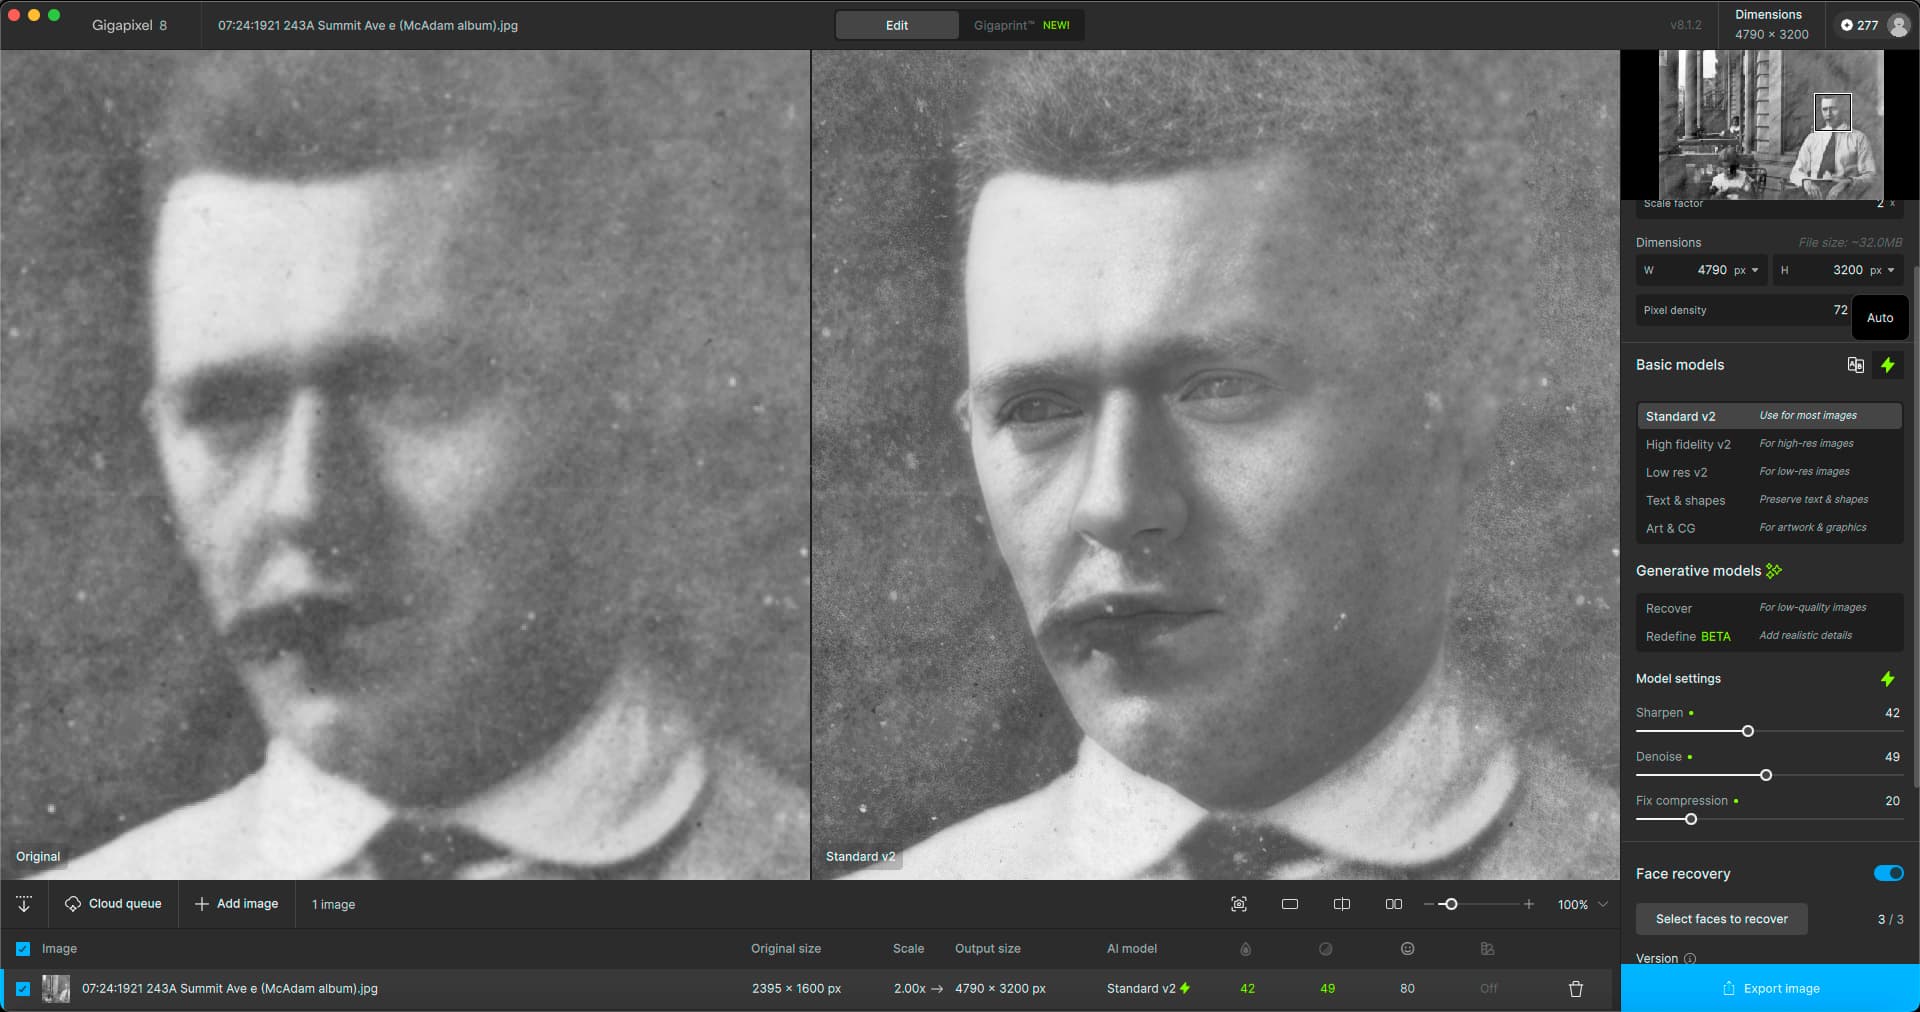
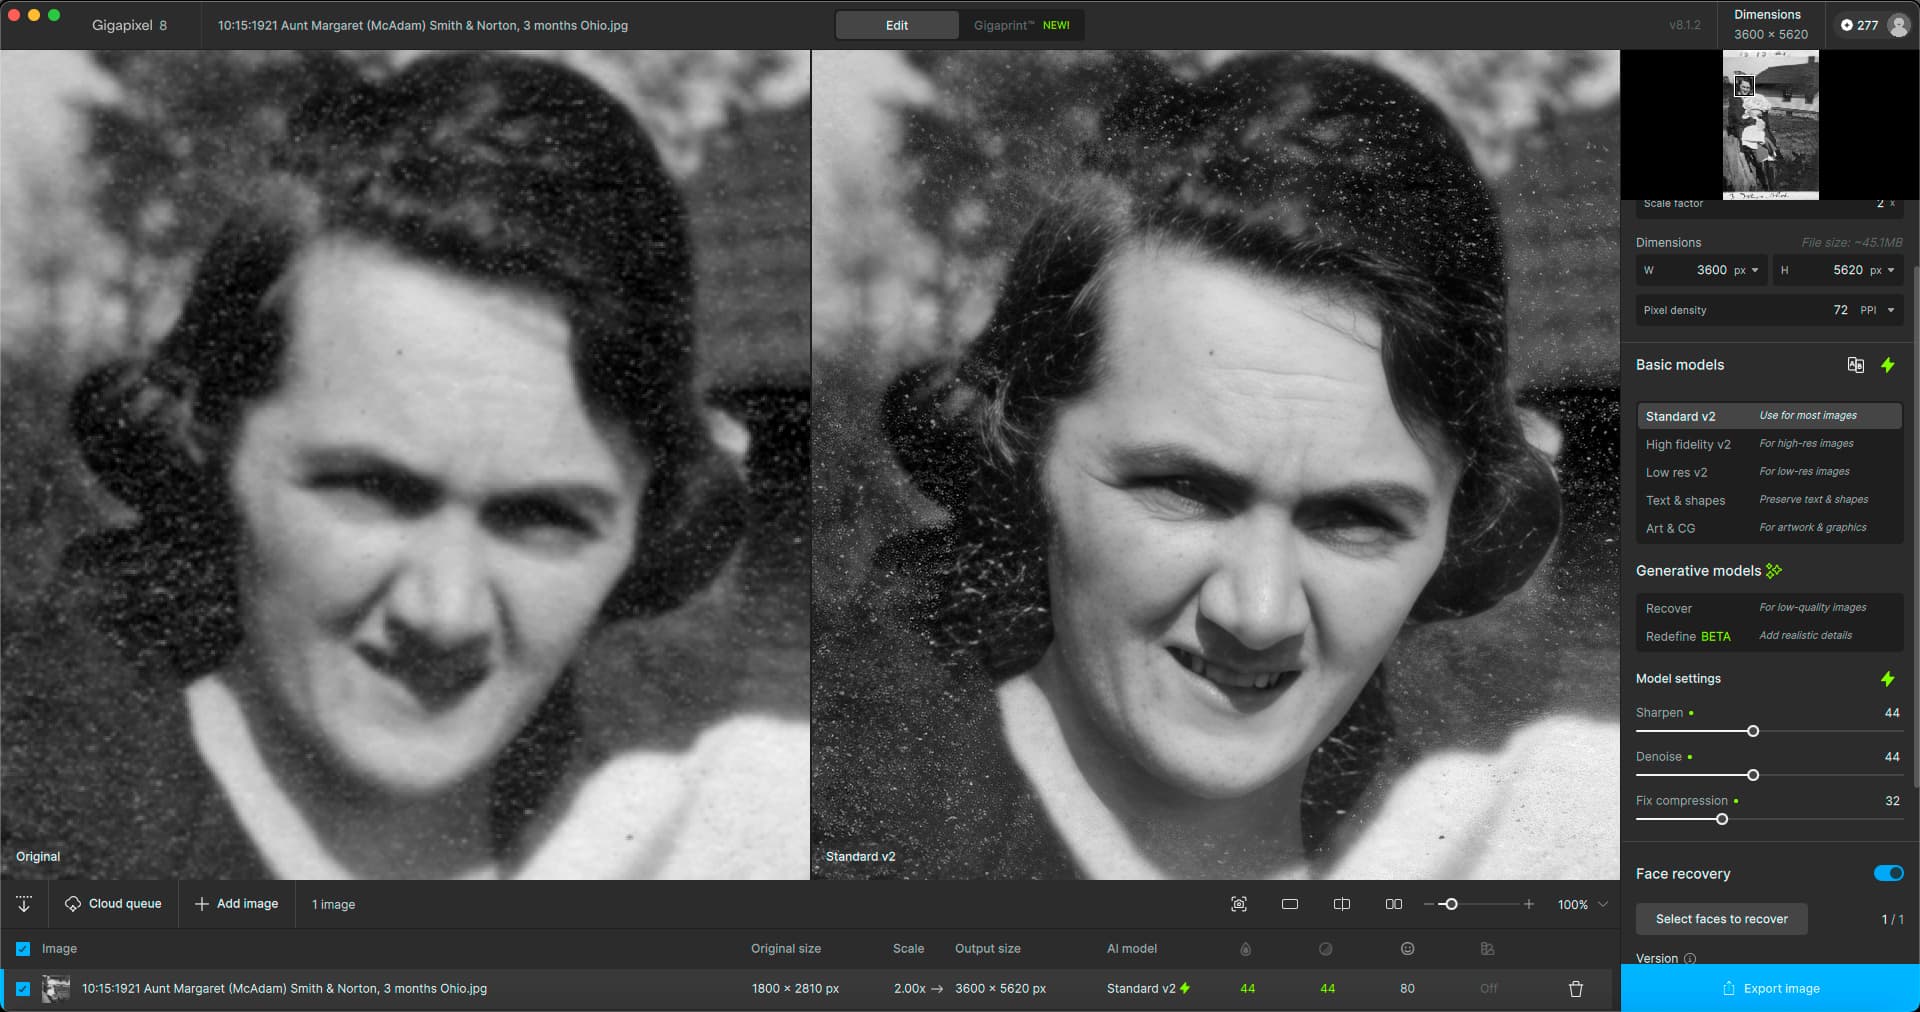
Here are some challenging early 1920s family photos.
The Mr. Potato Head effect (obvious replacement of original features) is evident in these first two. In the second the man’s cigar is not recognized as such:
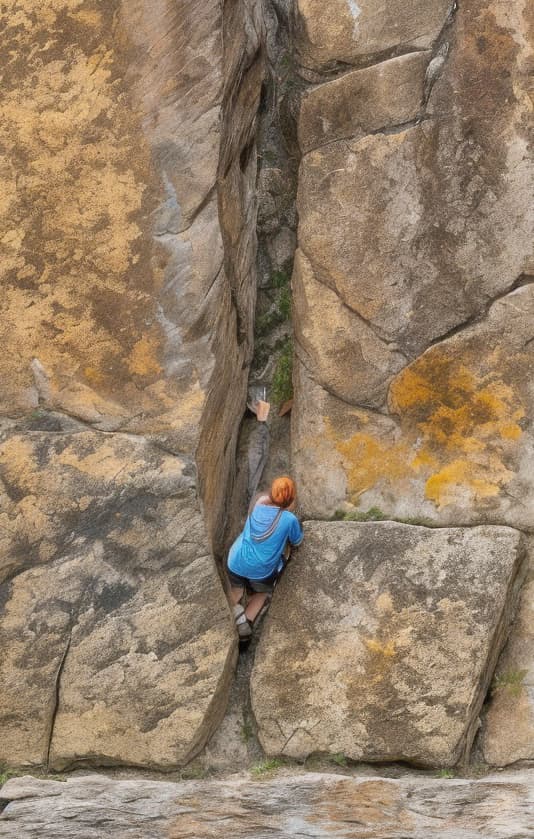
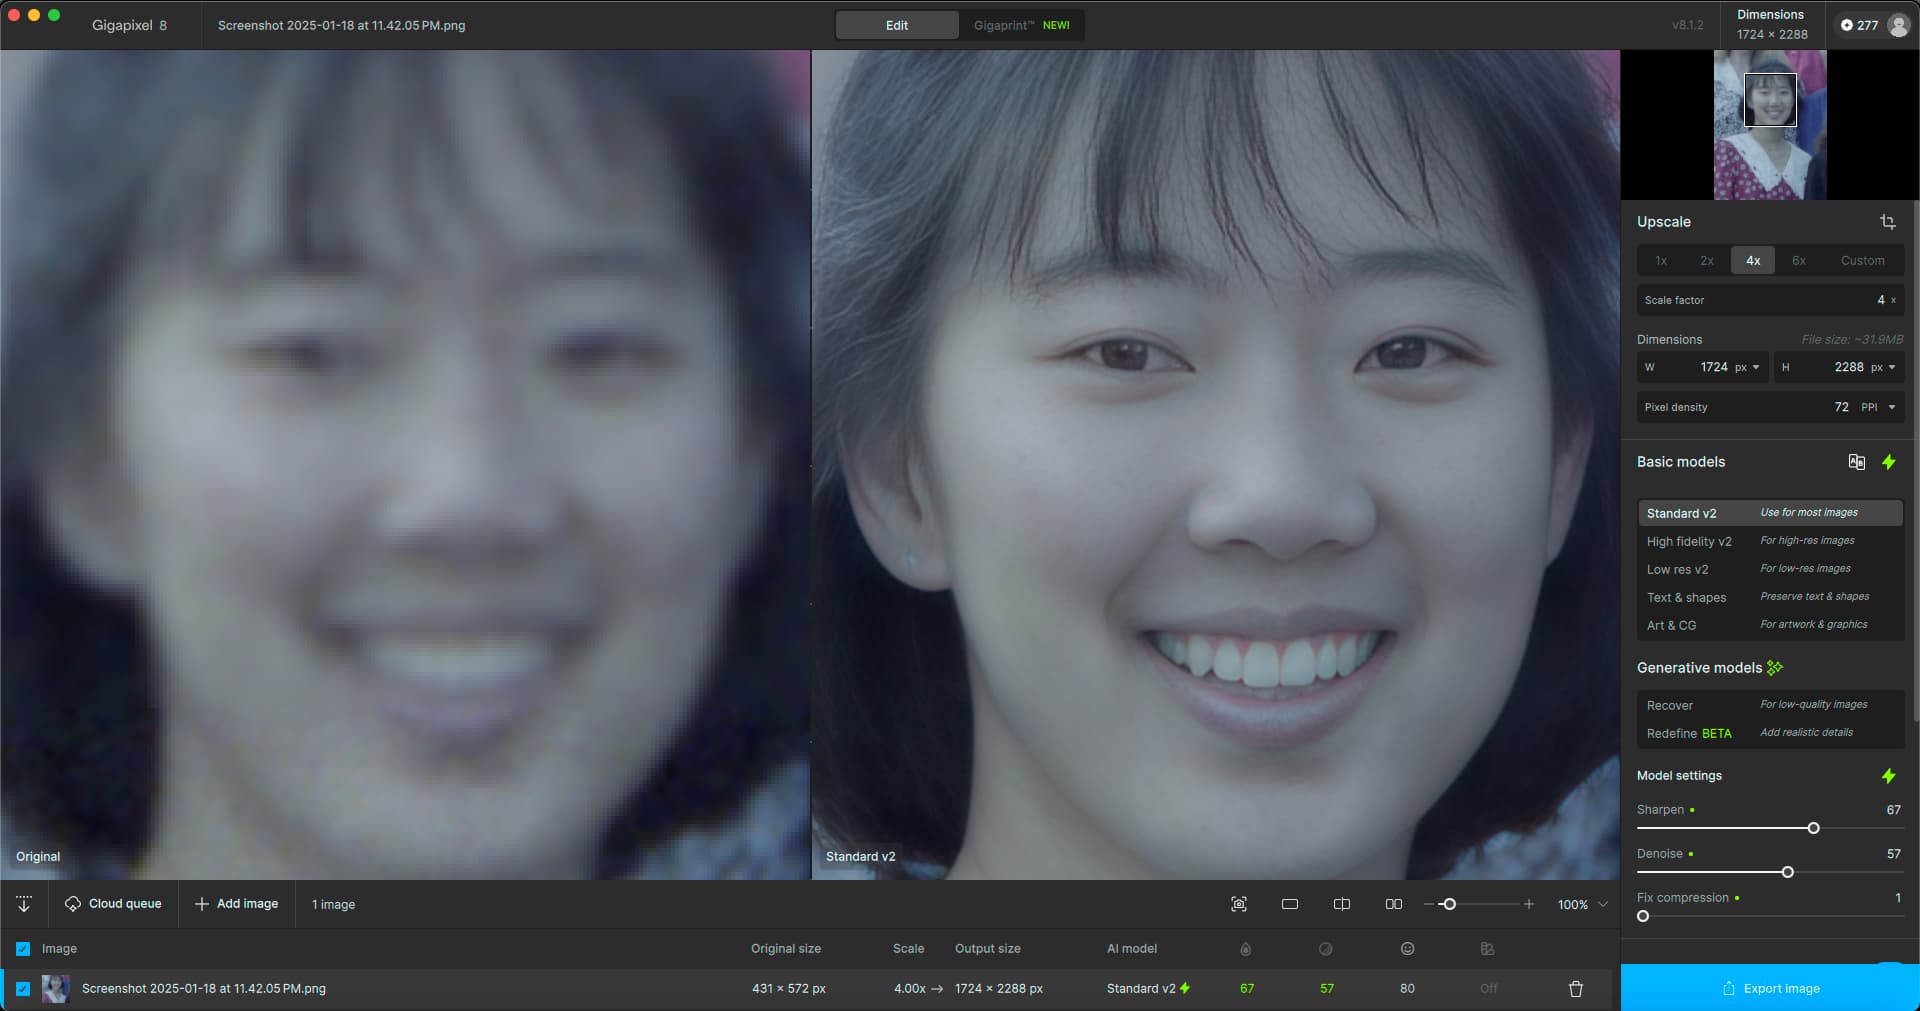
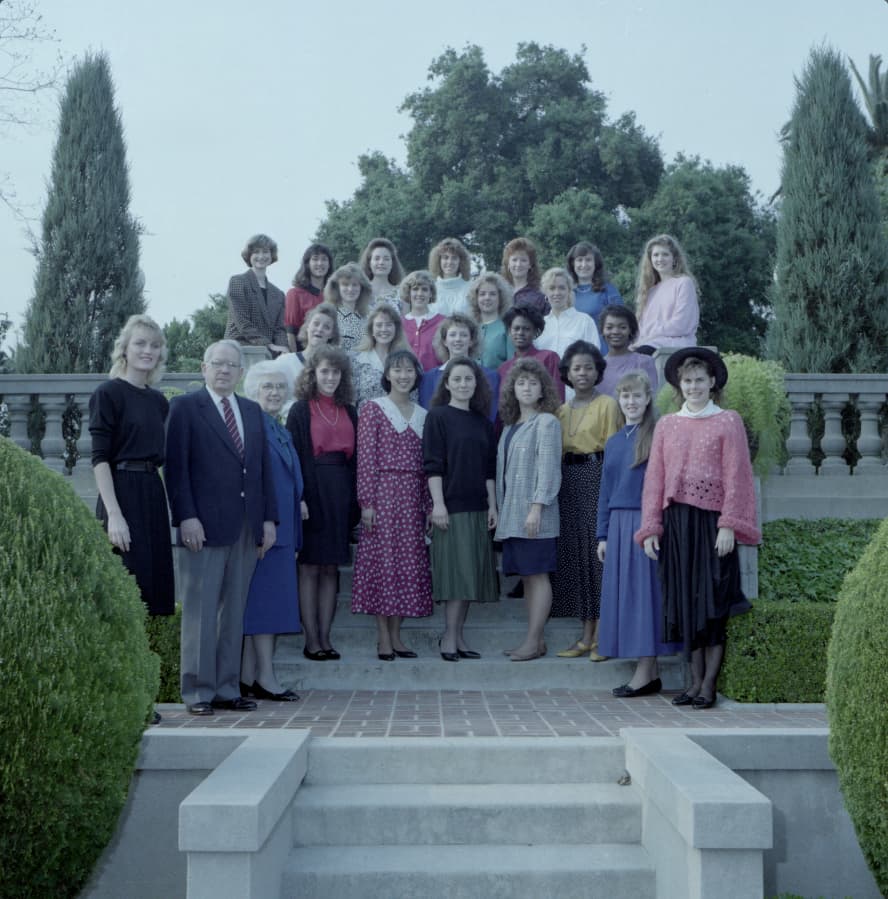
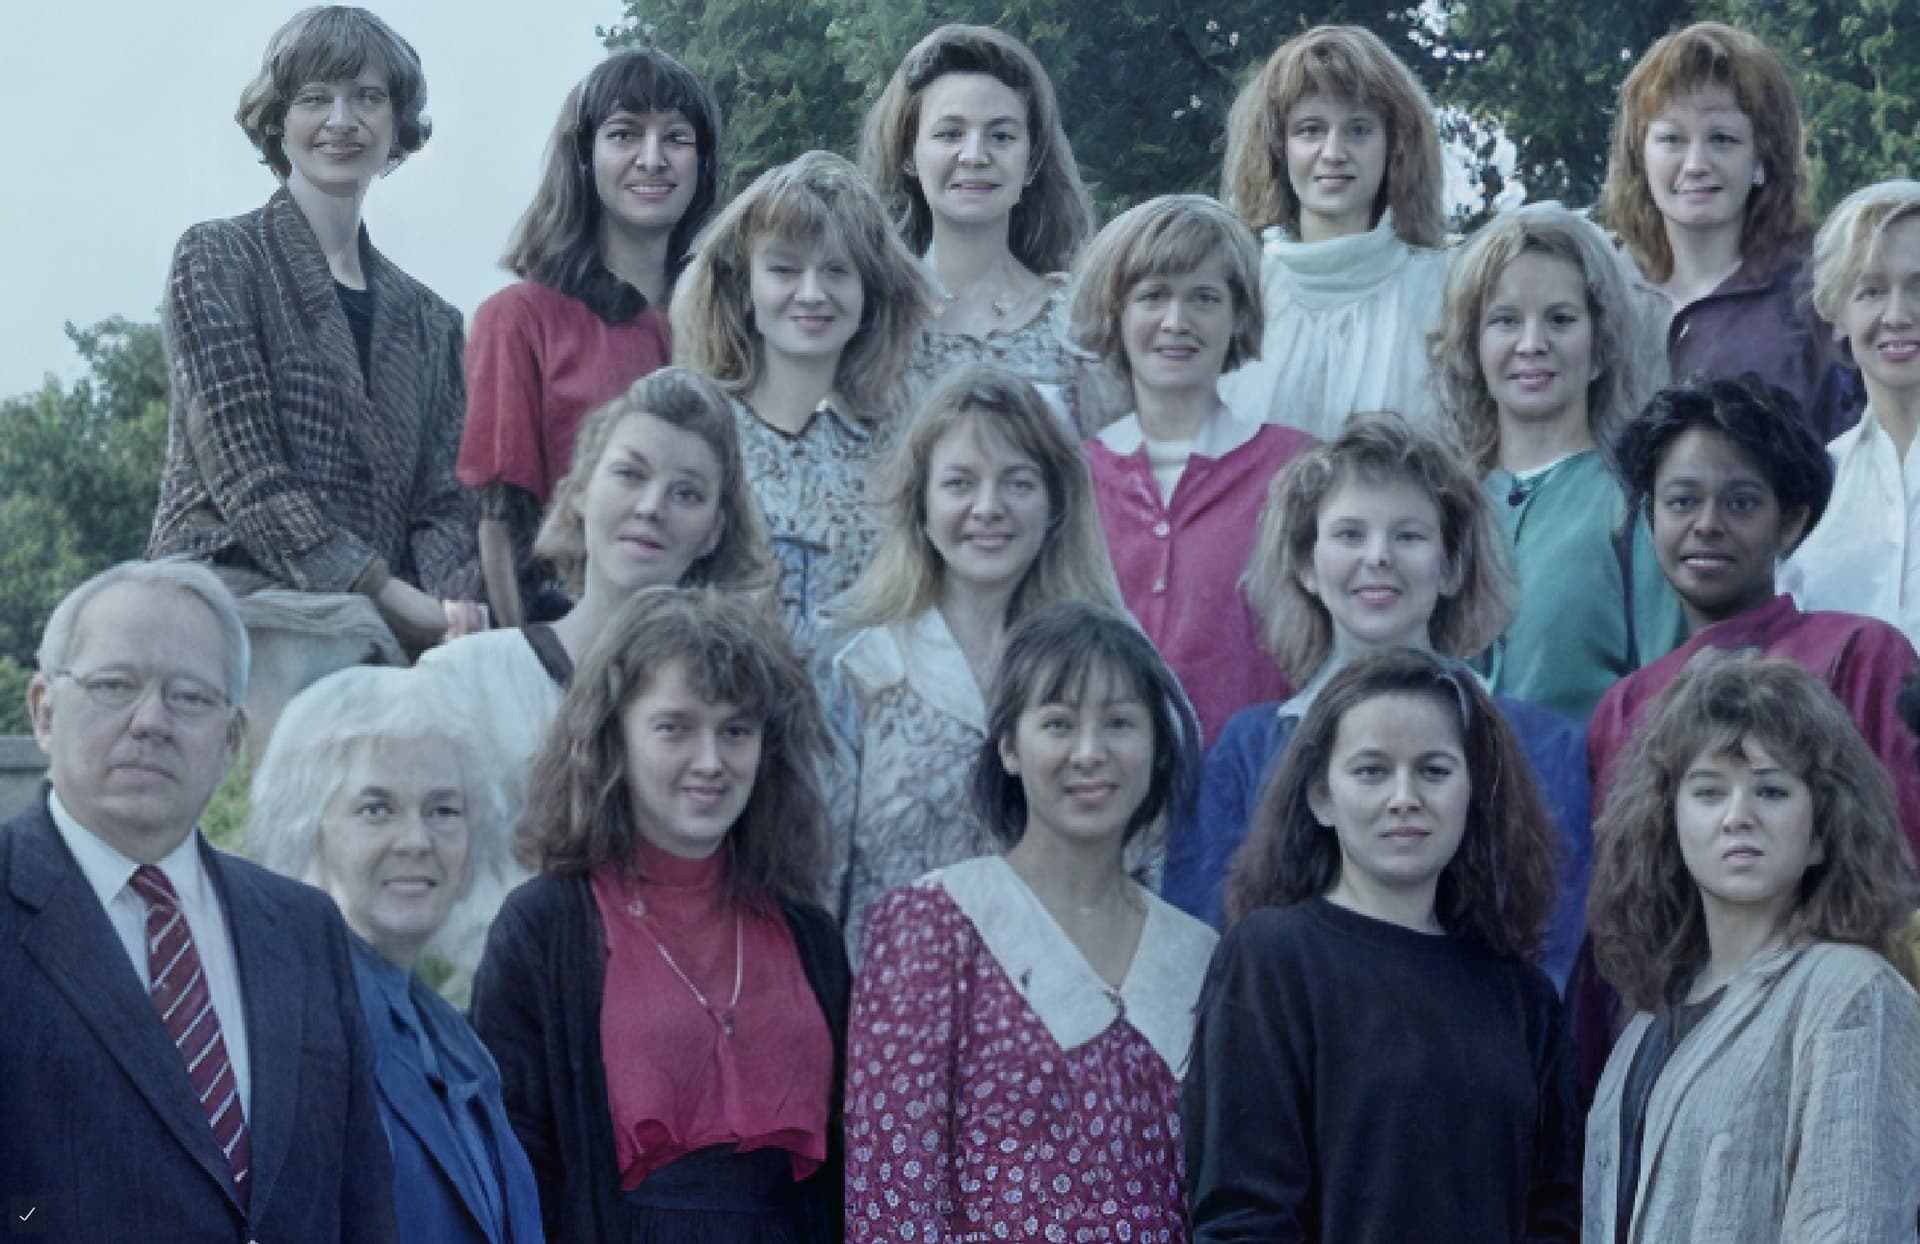
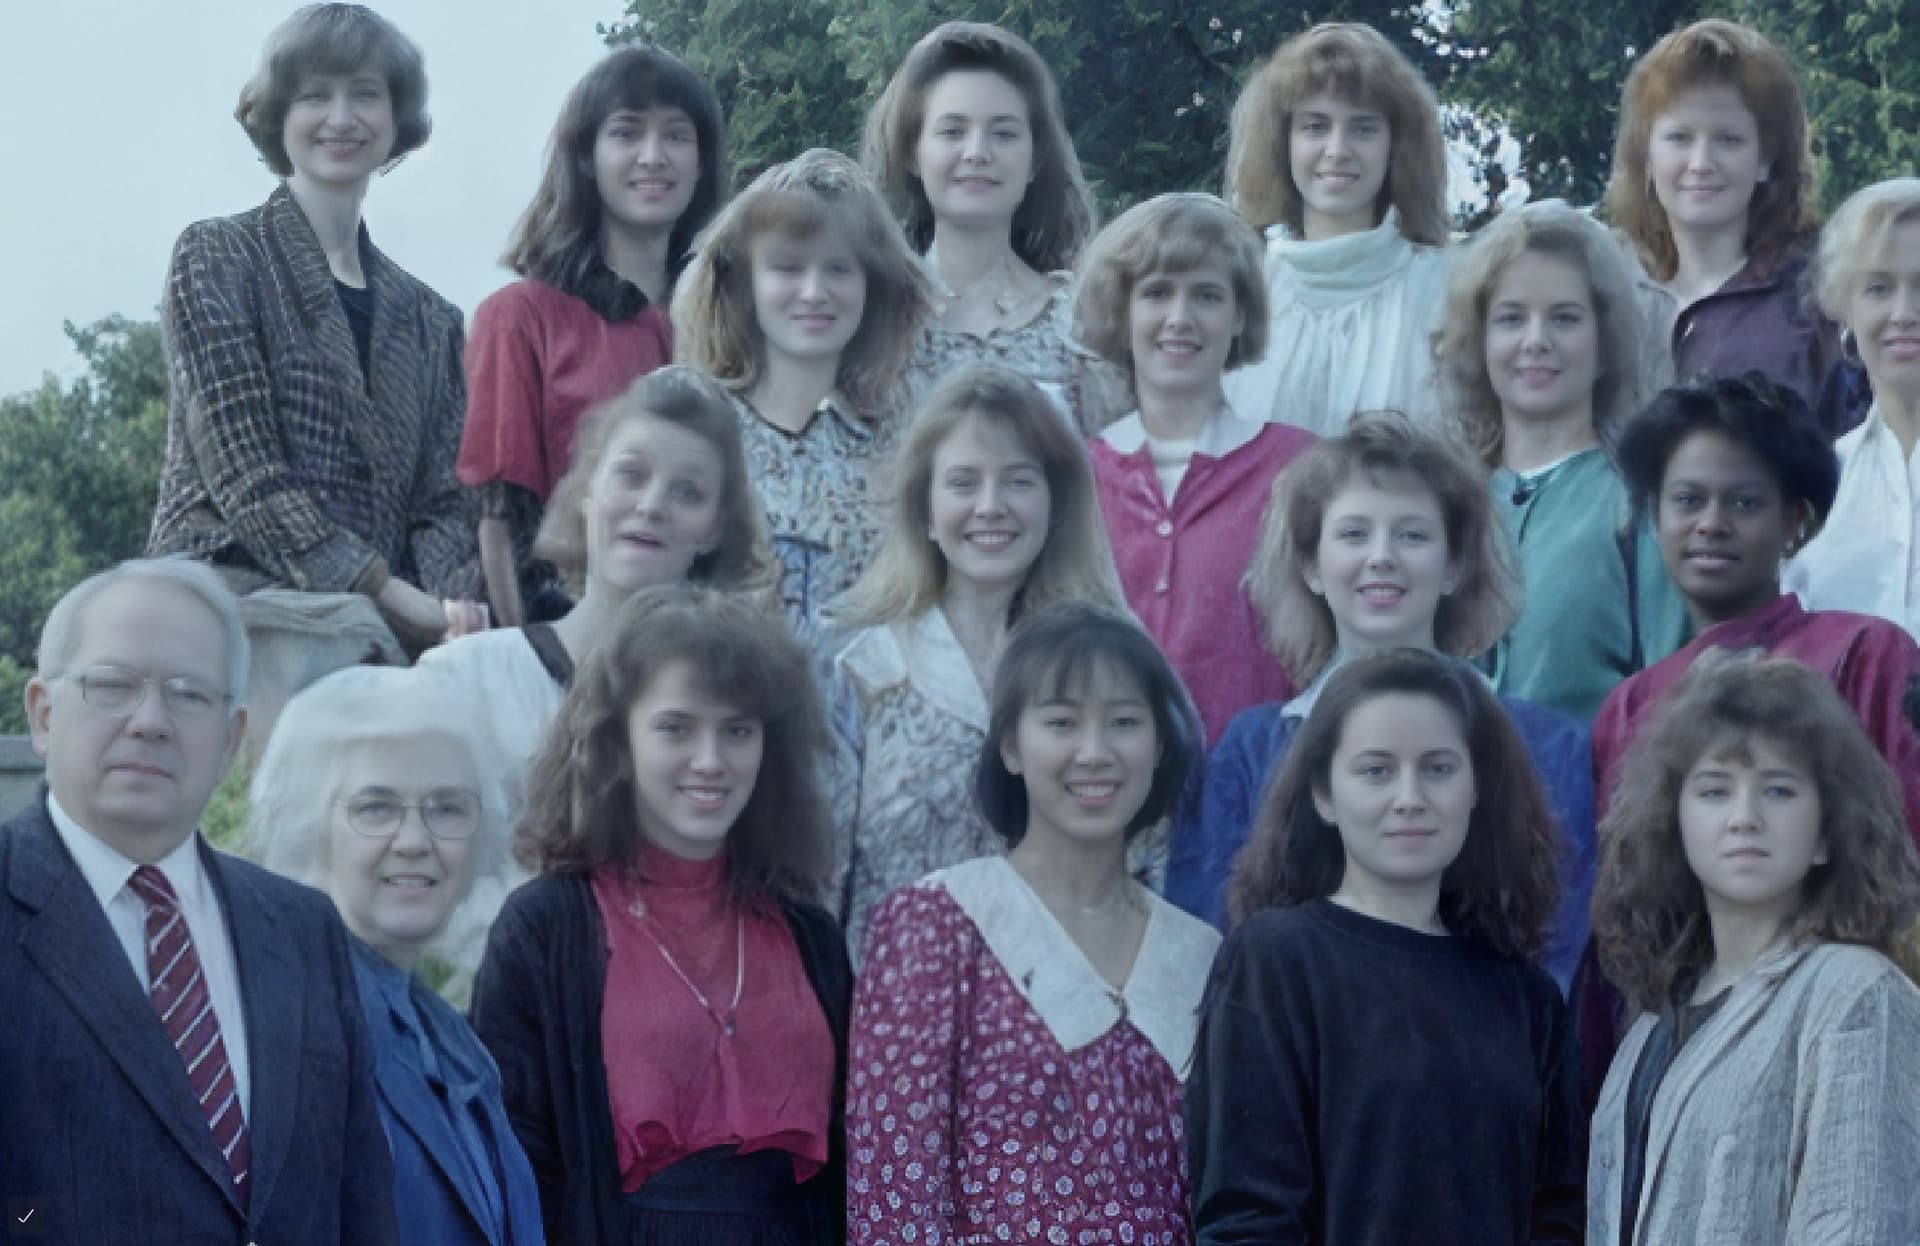
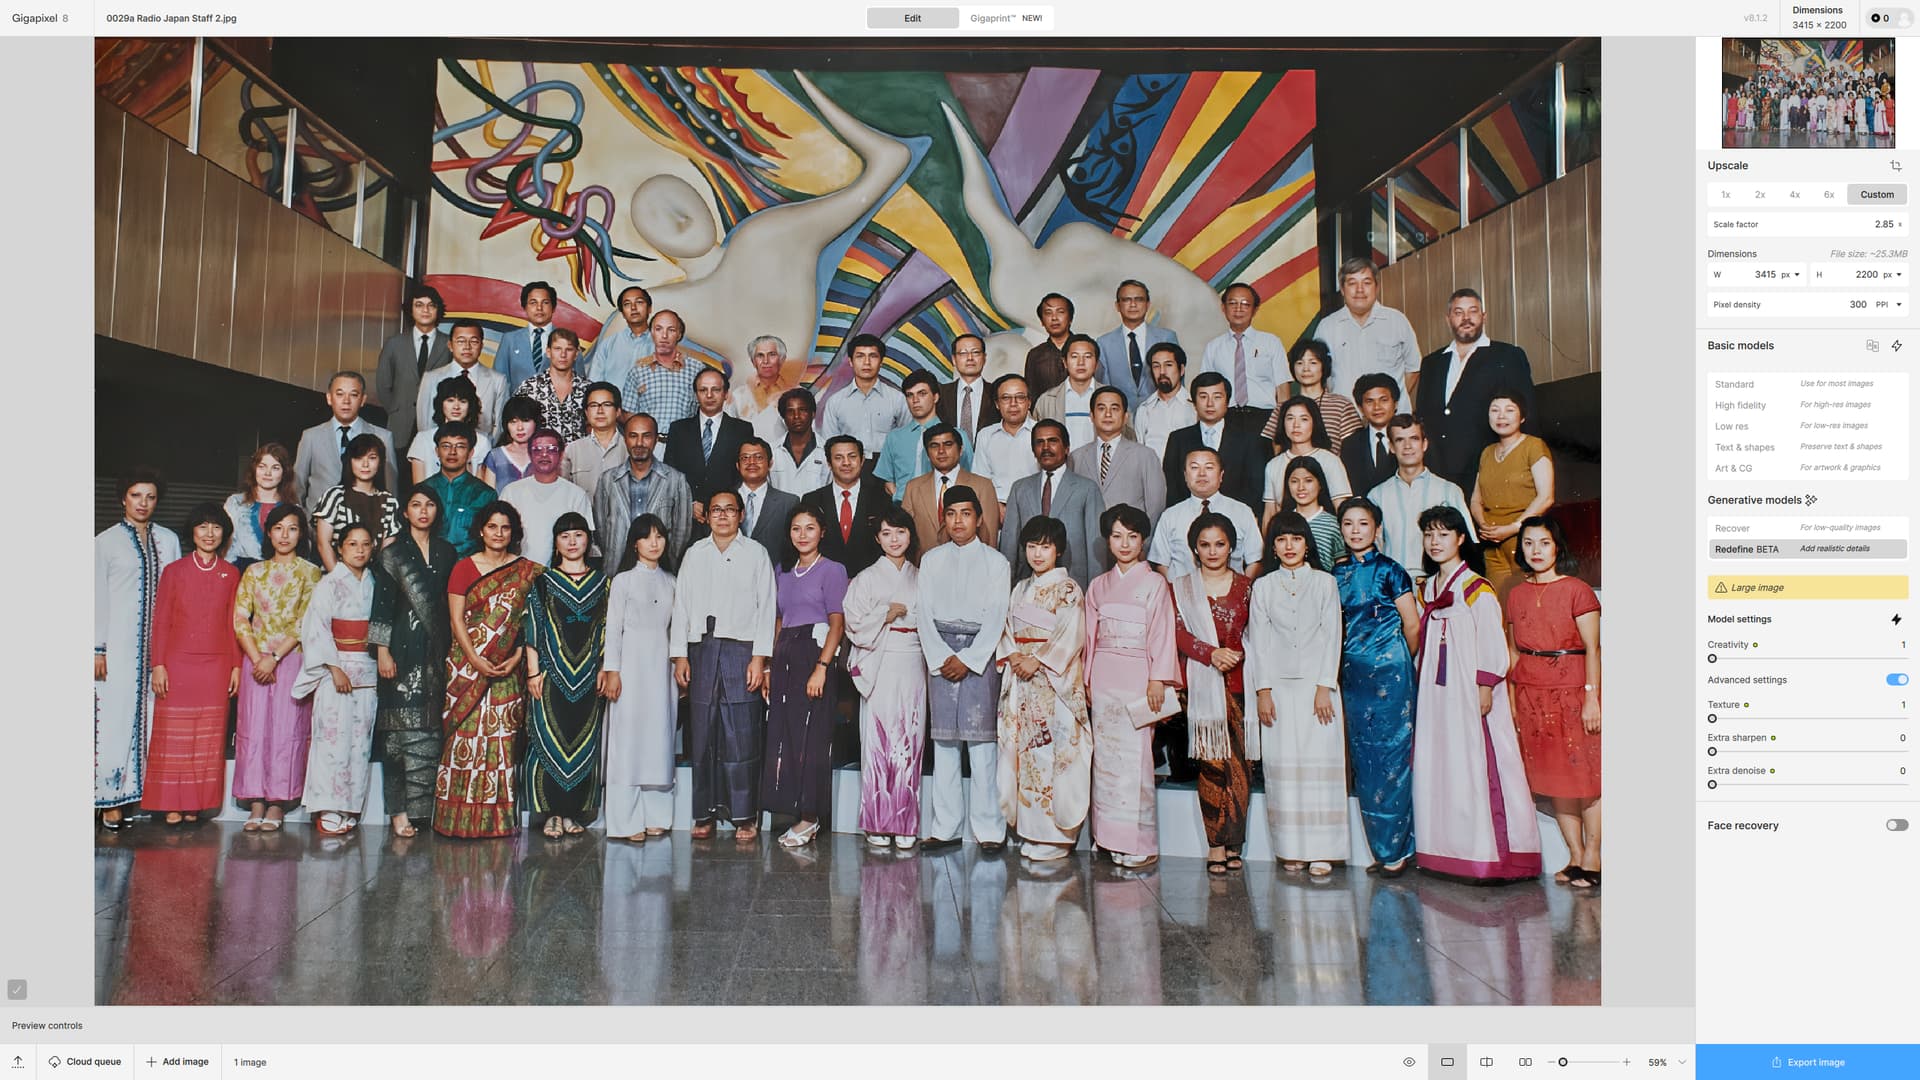
Since you mentioned Asian faces in particular, I found one in my stash (a crop from a hi-res scan of a late 1980s medium-format group shot negative) and it worked very well:
In all examples, Face Recovery was at 80% with other settings as shown.
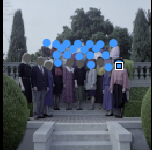
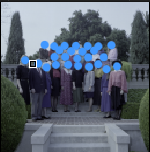
I decided while I was at it to run that whole group shot through Face Recovery (defaulting to 1.78% enlargement). At first, not all people were recognized but the preview made it easy to select the additional faces:
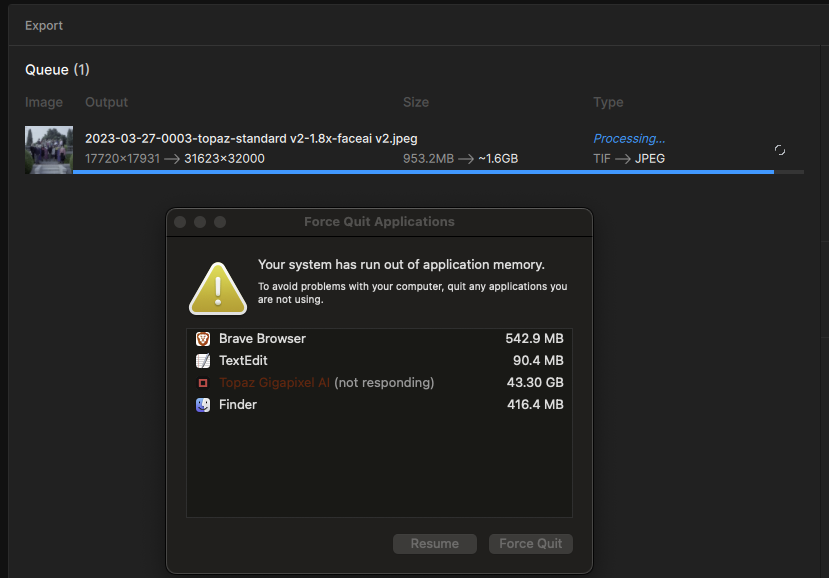
Oh-oh! Hit the wall on my 16 GB RAM… I haven’t seen this lately if ever:
Thanks for that.
Maybe the examples I selected were not in need of face recovery.
Two questions:
Did you also run the recovery WITHOUT face recovery and was there any difference?
Are you able to get a preview of what face recovery would like like once you hit the Apply button?
I have found a group shot with lots of Asian faces and am going to test it now.
5):
-now this is much better, albeit still some quirks (but given the low res input I think this is about the most you can get while still staying true to the original).
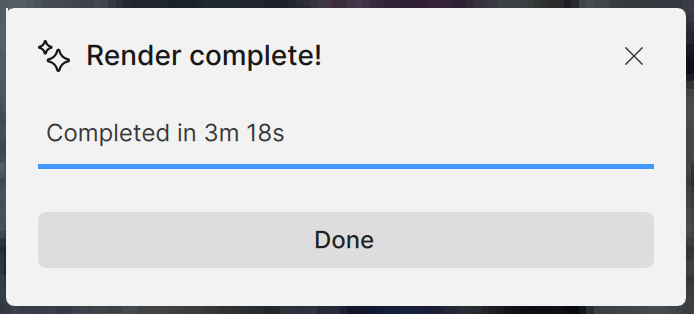
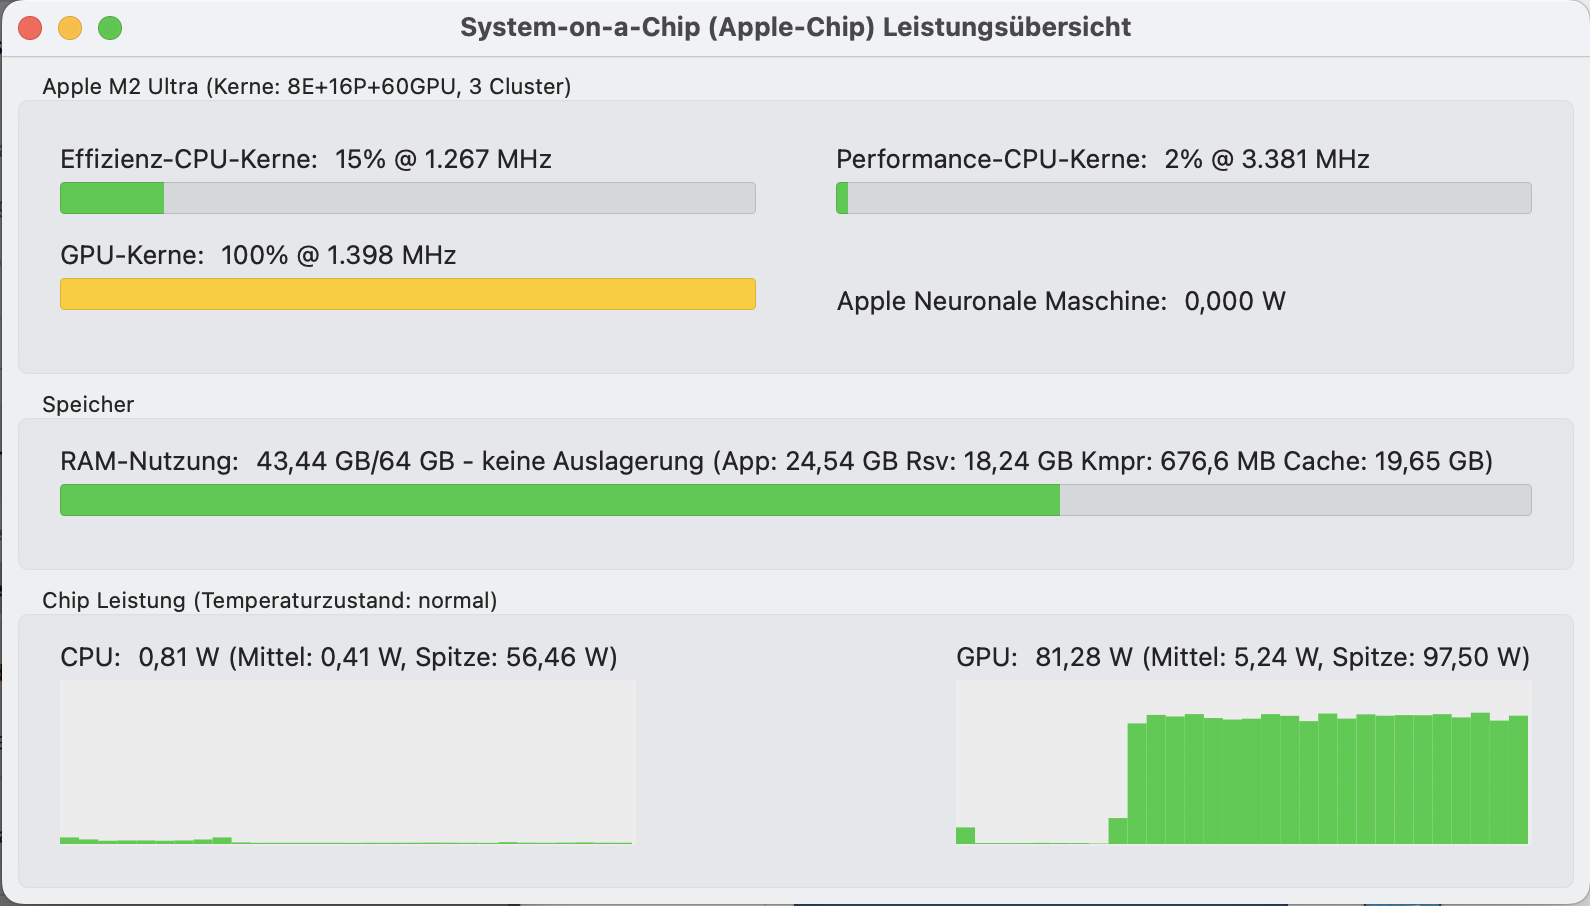
Rendering time for that was 3 mins 18 secs which isn’t great but bearable. And it did use the GPU most of the time:
For what it’s worth, I have been working on scans of old colour slides where I have set Creativity to 2. I suspect some sort of face recovery is therefore being applied (Lingyu: can you confirm?)
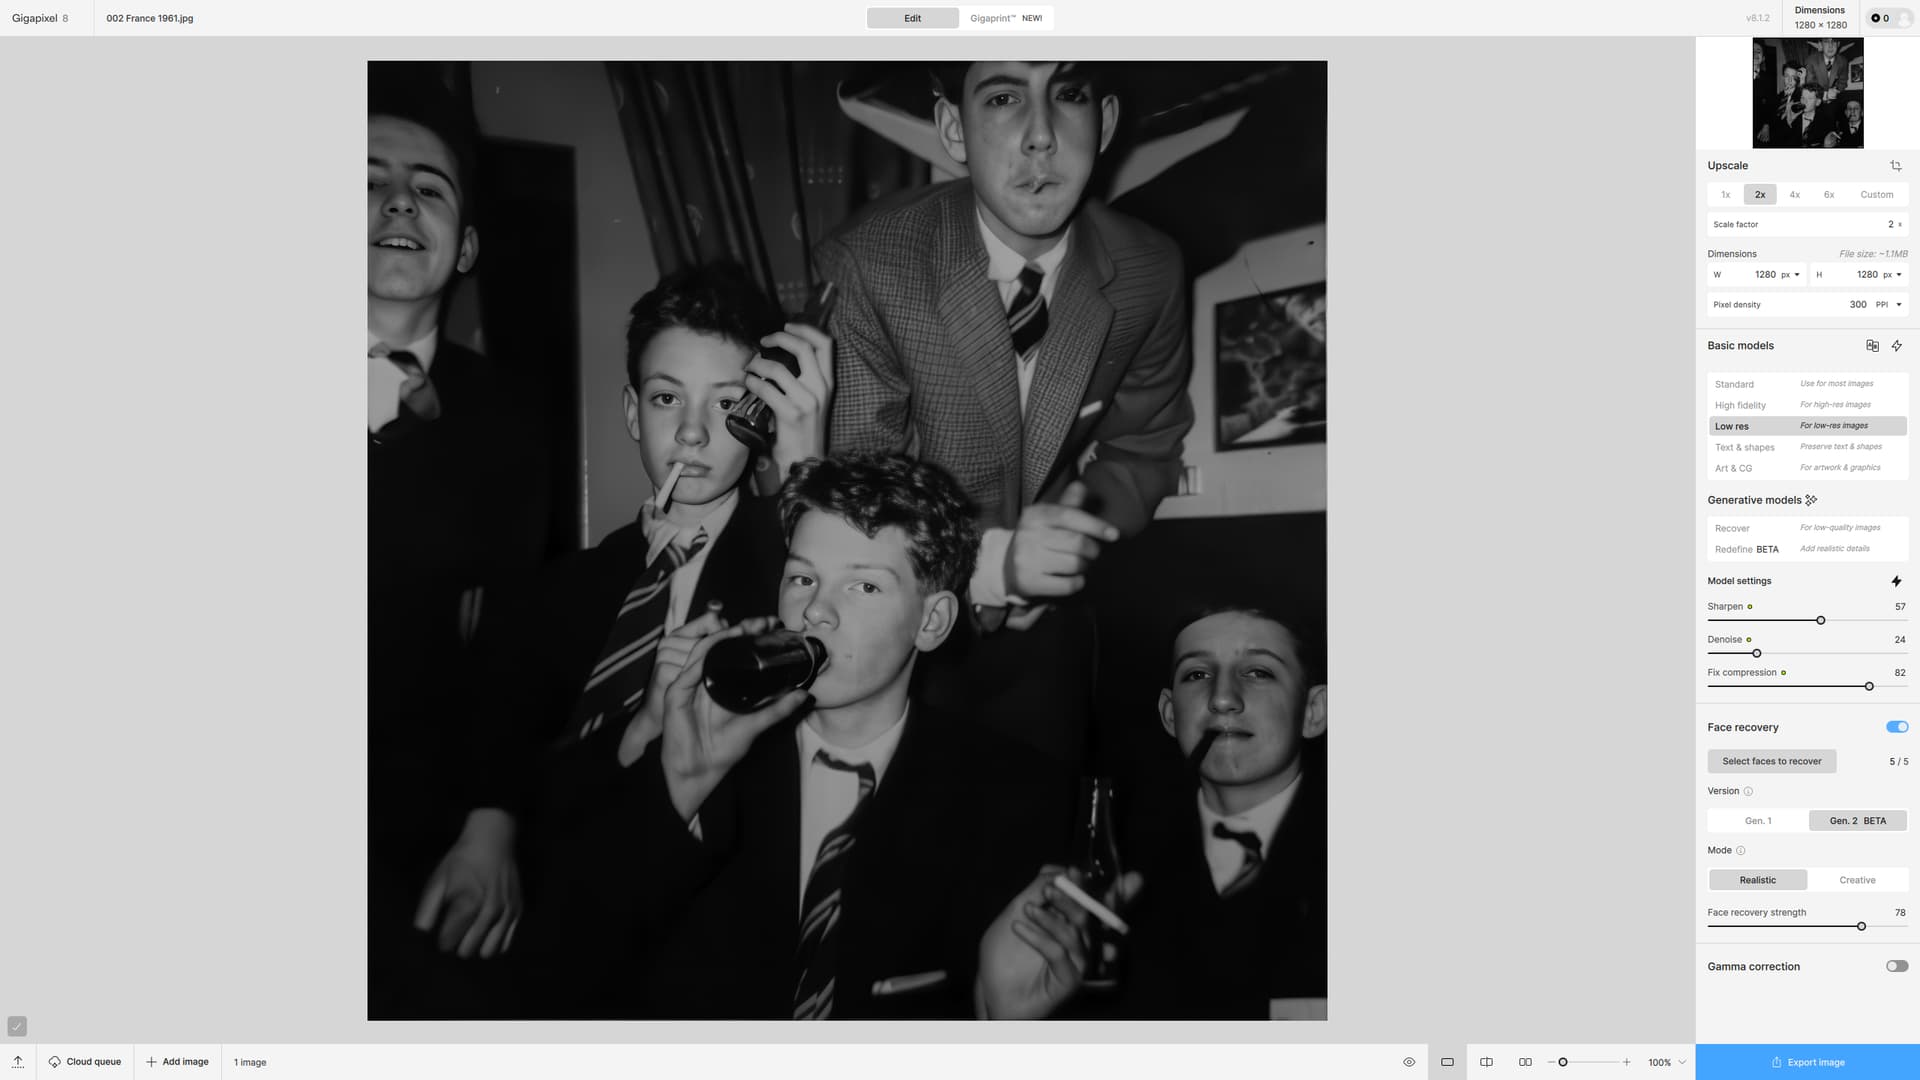
So here’s my group shot with Creativity at 1 and face recovery on:
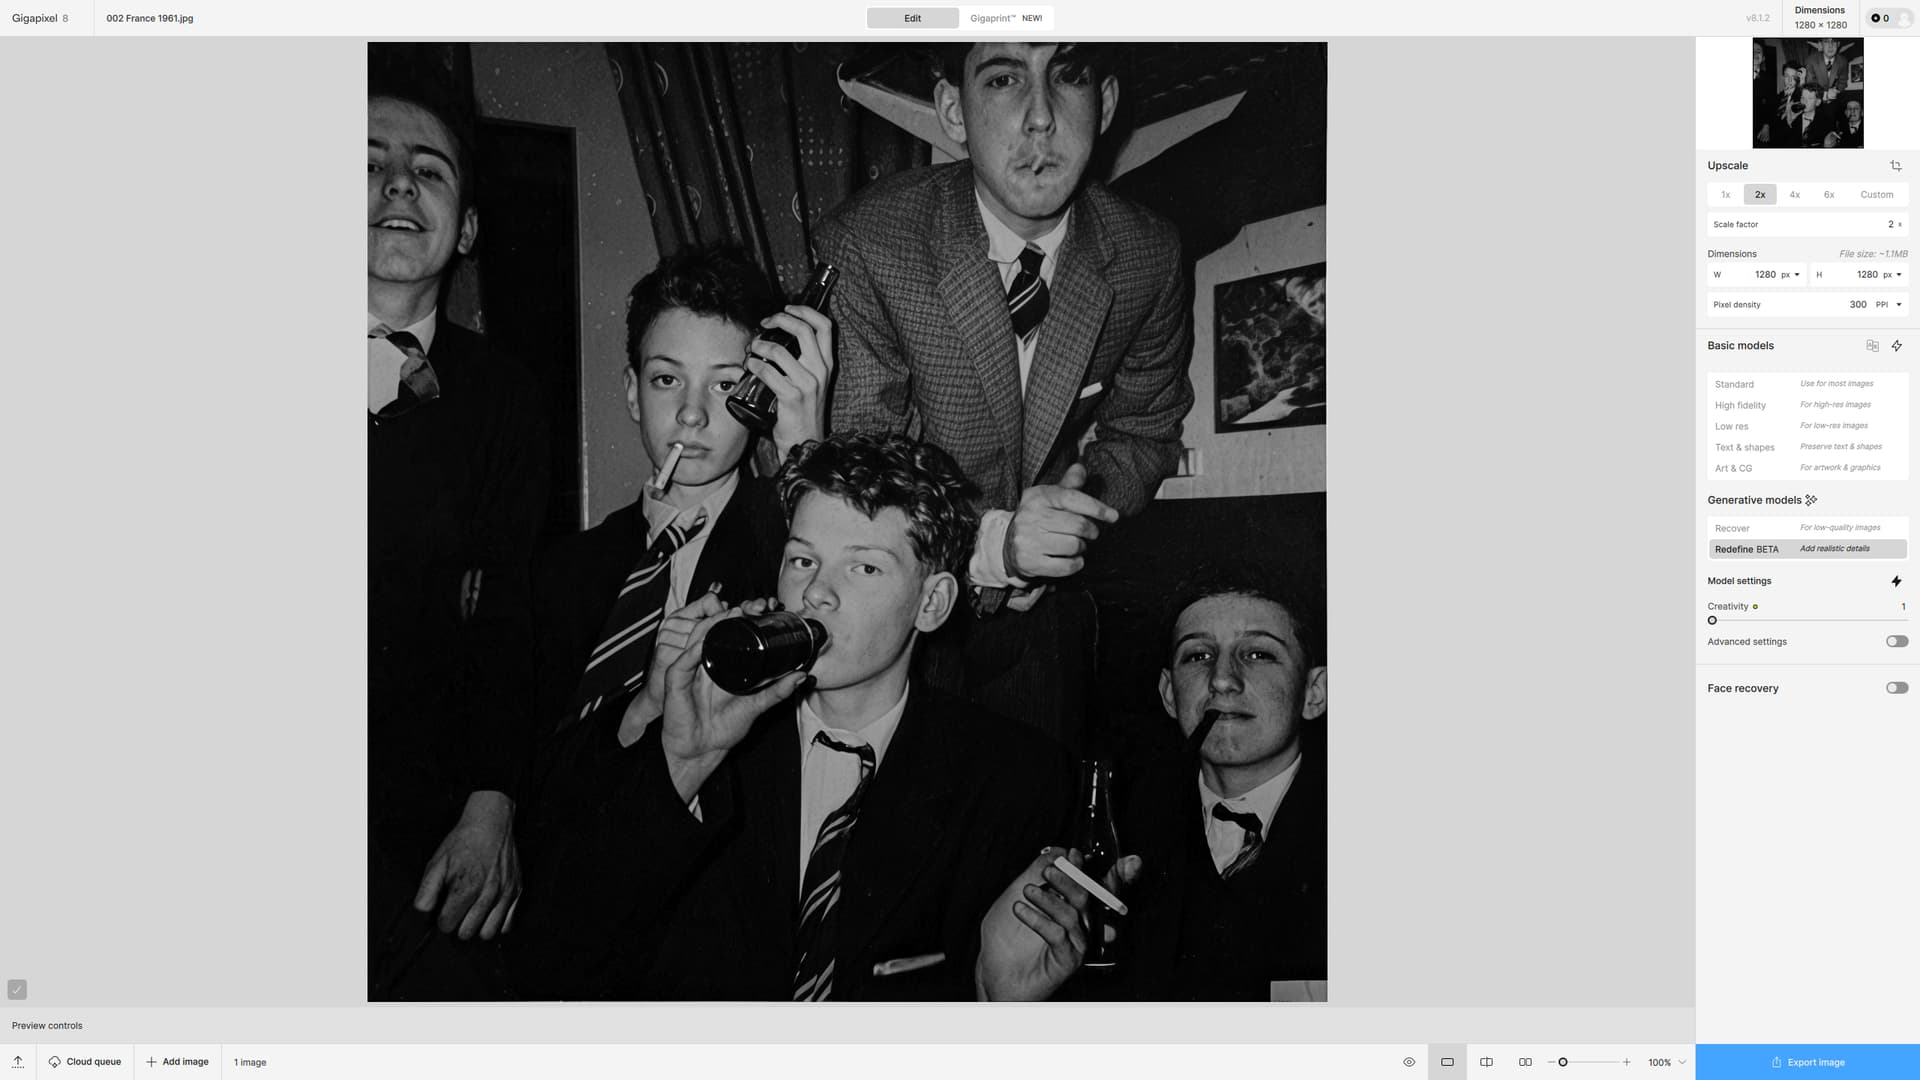
In both your screenshots the face recovery button is turned off ?
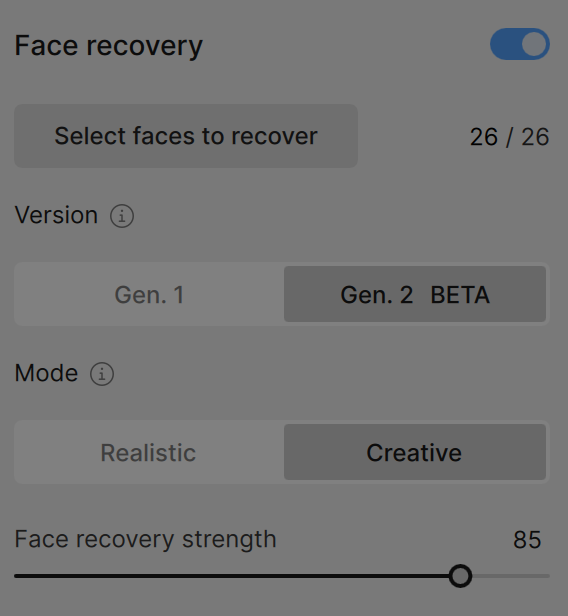
And: be sure to use the Gen 2 creative model, e.g. like that:
Also do make sure that the respective faces are selected for recovery (“select faces to recover”).
I must have saved the screenshots incorrectly.
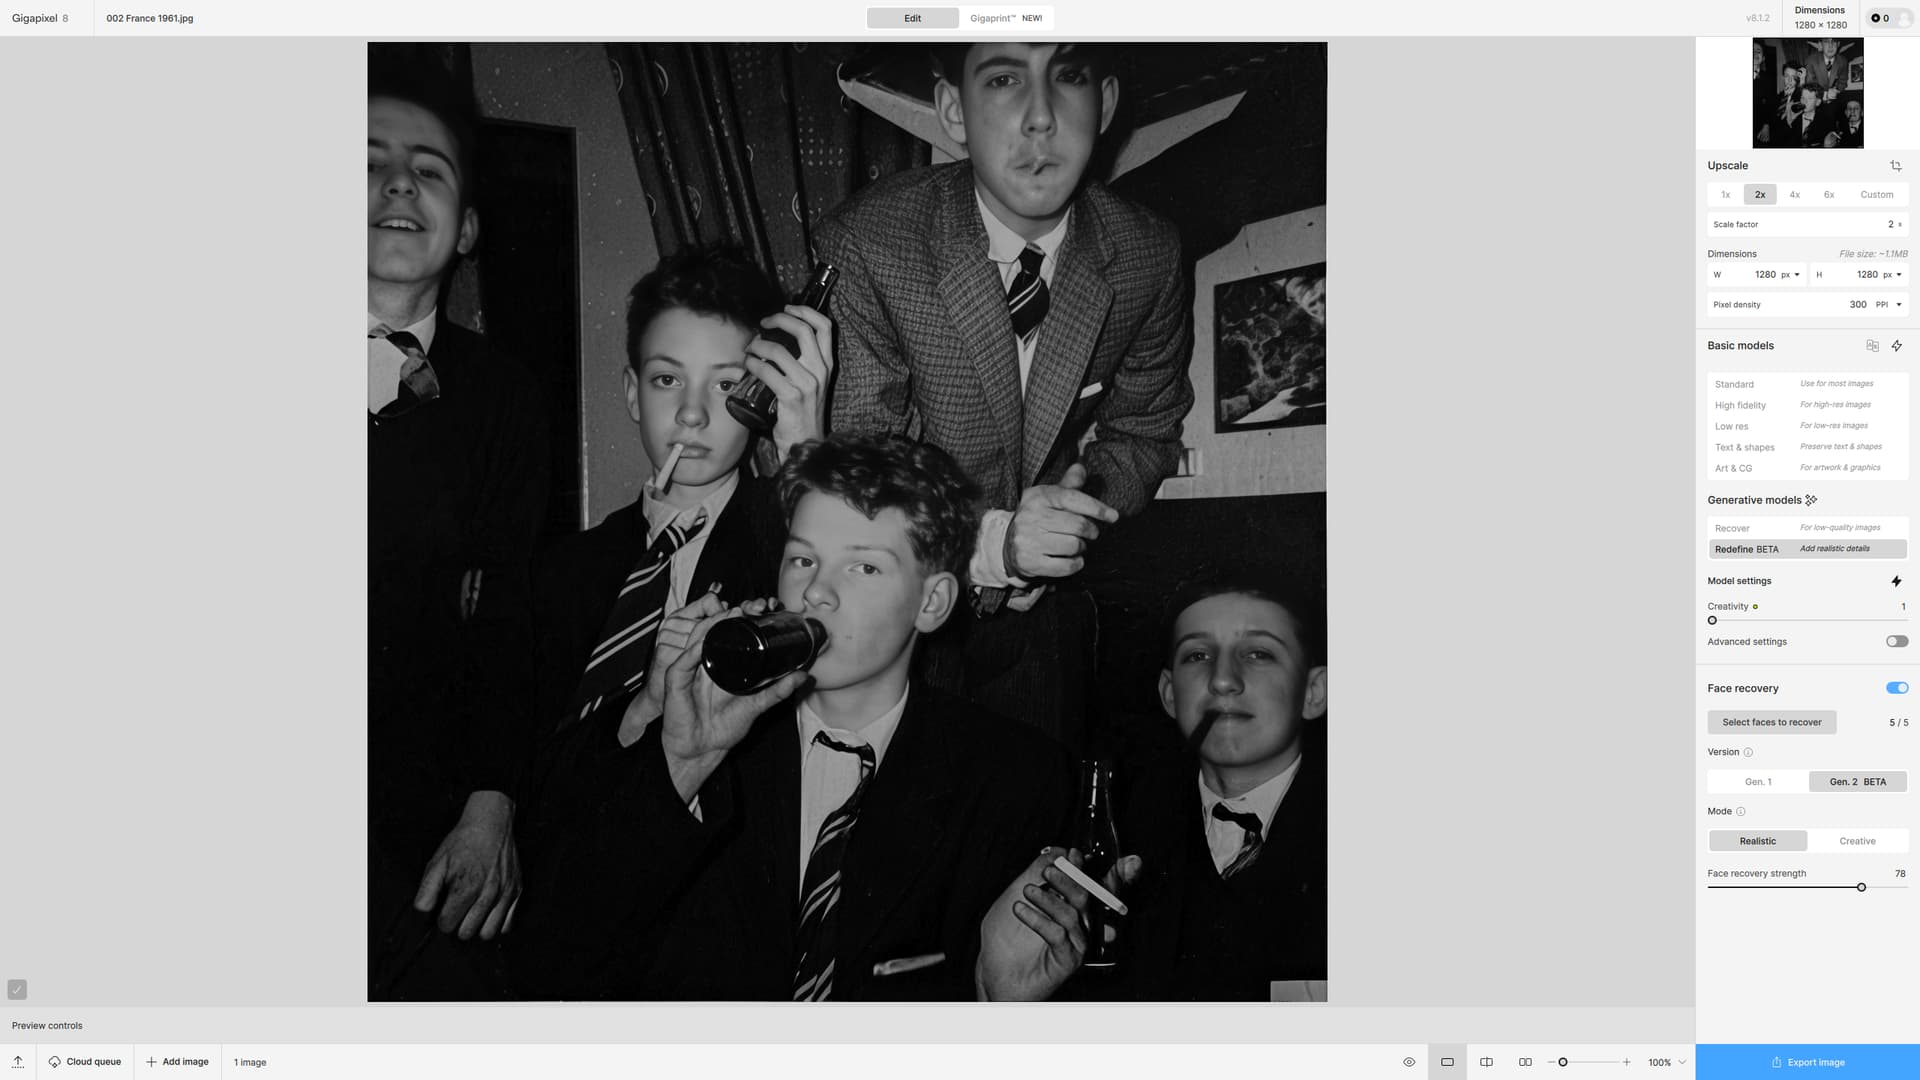
I hope this is a better example, and yes here Face Recovery DOES make a difference. I used Realistic rather than Creative however:
Face on:
 ) in the sky (top right, for example); the narrow window (unintentionally by me!) turns into a female figure (I guess Topaz Girl). Level 5 reinforces all of this and level 6… yes, it’s Topaz Girl, she turned to face us (trust me, it really wasn’t my catty intention!

 And, I had a Compaq. Would love to see the floppies in it handle GAI & PAI.