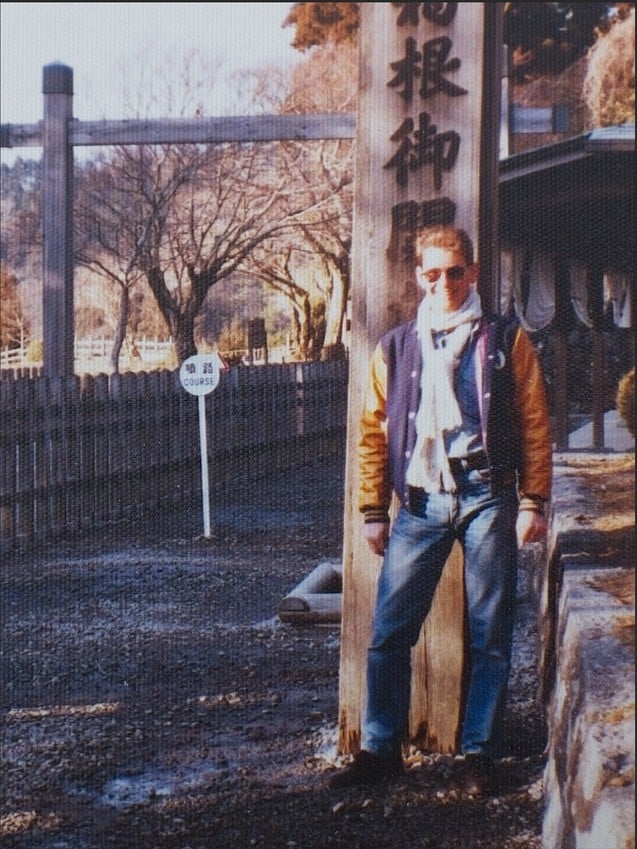
Text is always a problem. I can see in the original that the bottom part of that round panel says “COURSE”. That is probably Japlish for “route”, but my own Japanese is too rusty to interpret the two kanji above that. It is obviously beyond the capability of Ai at this juncture.
I should add that some of my other experiments with getting something from this 40-year-old photo also fared hopelessly on the much more legible kanji on the post behind me.
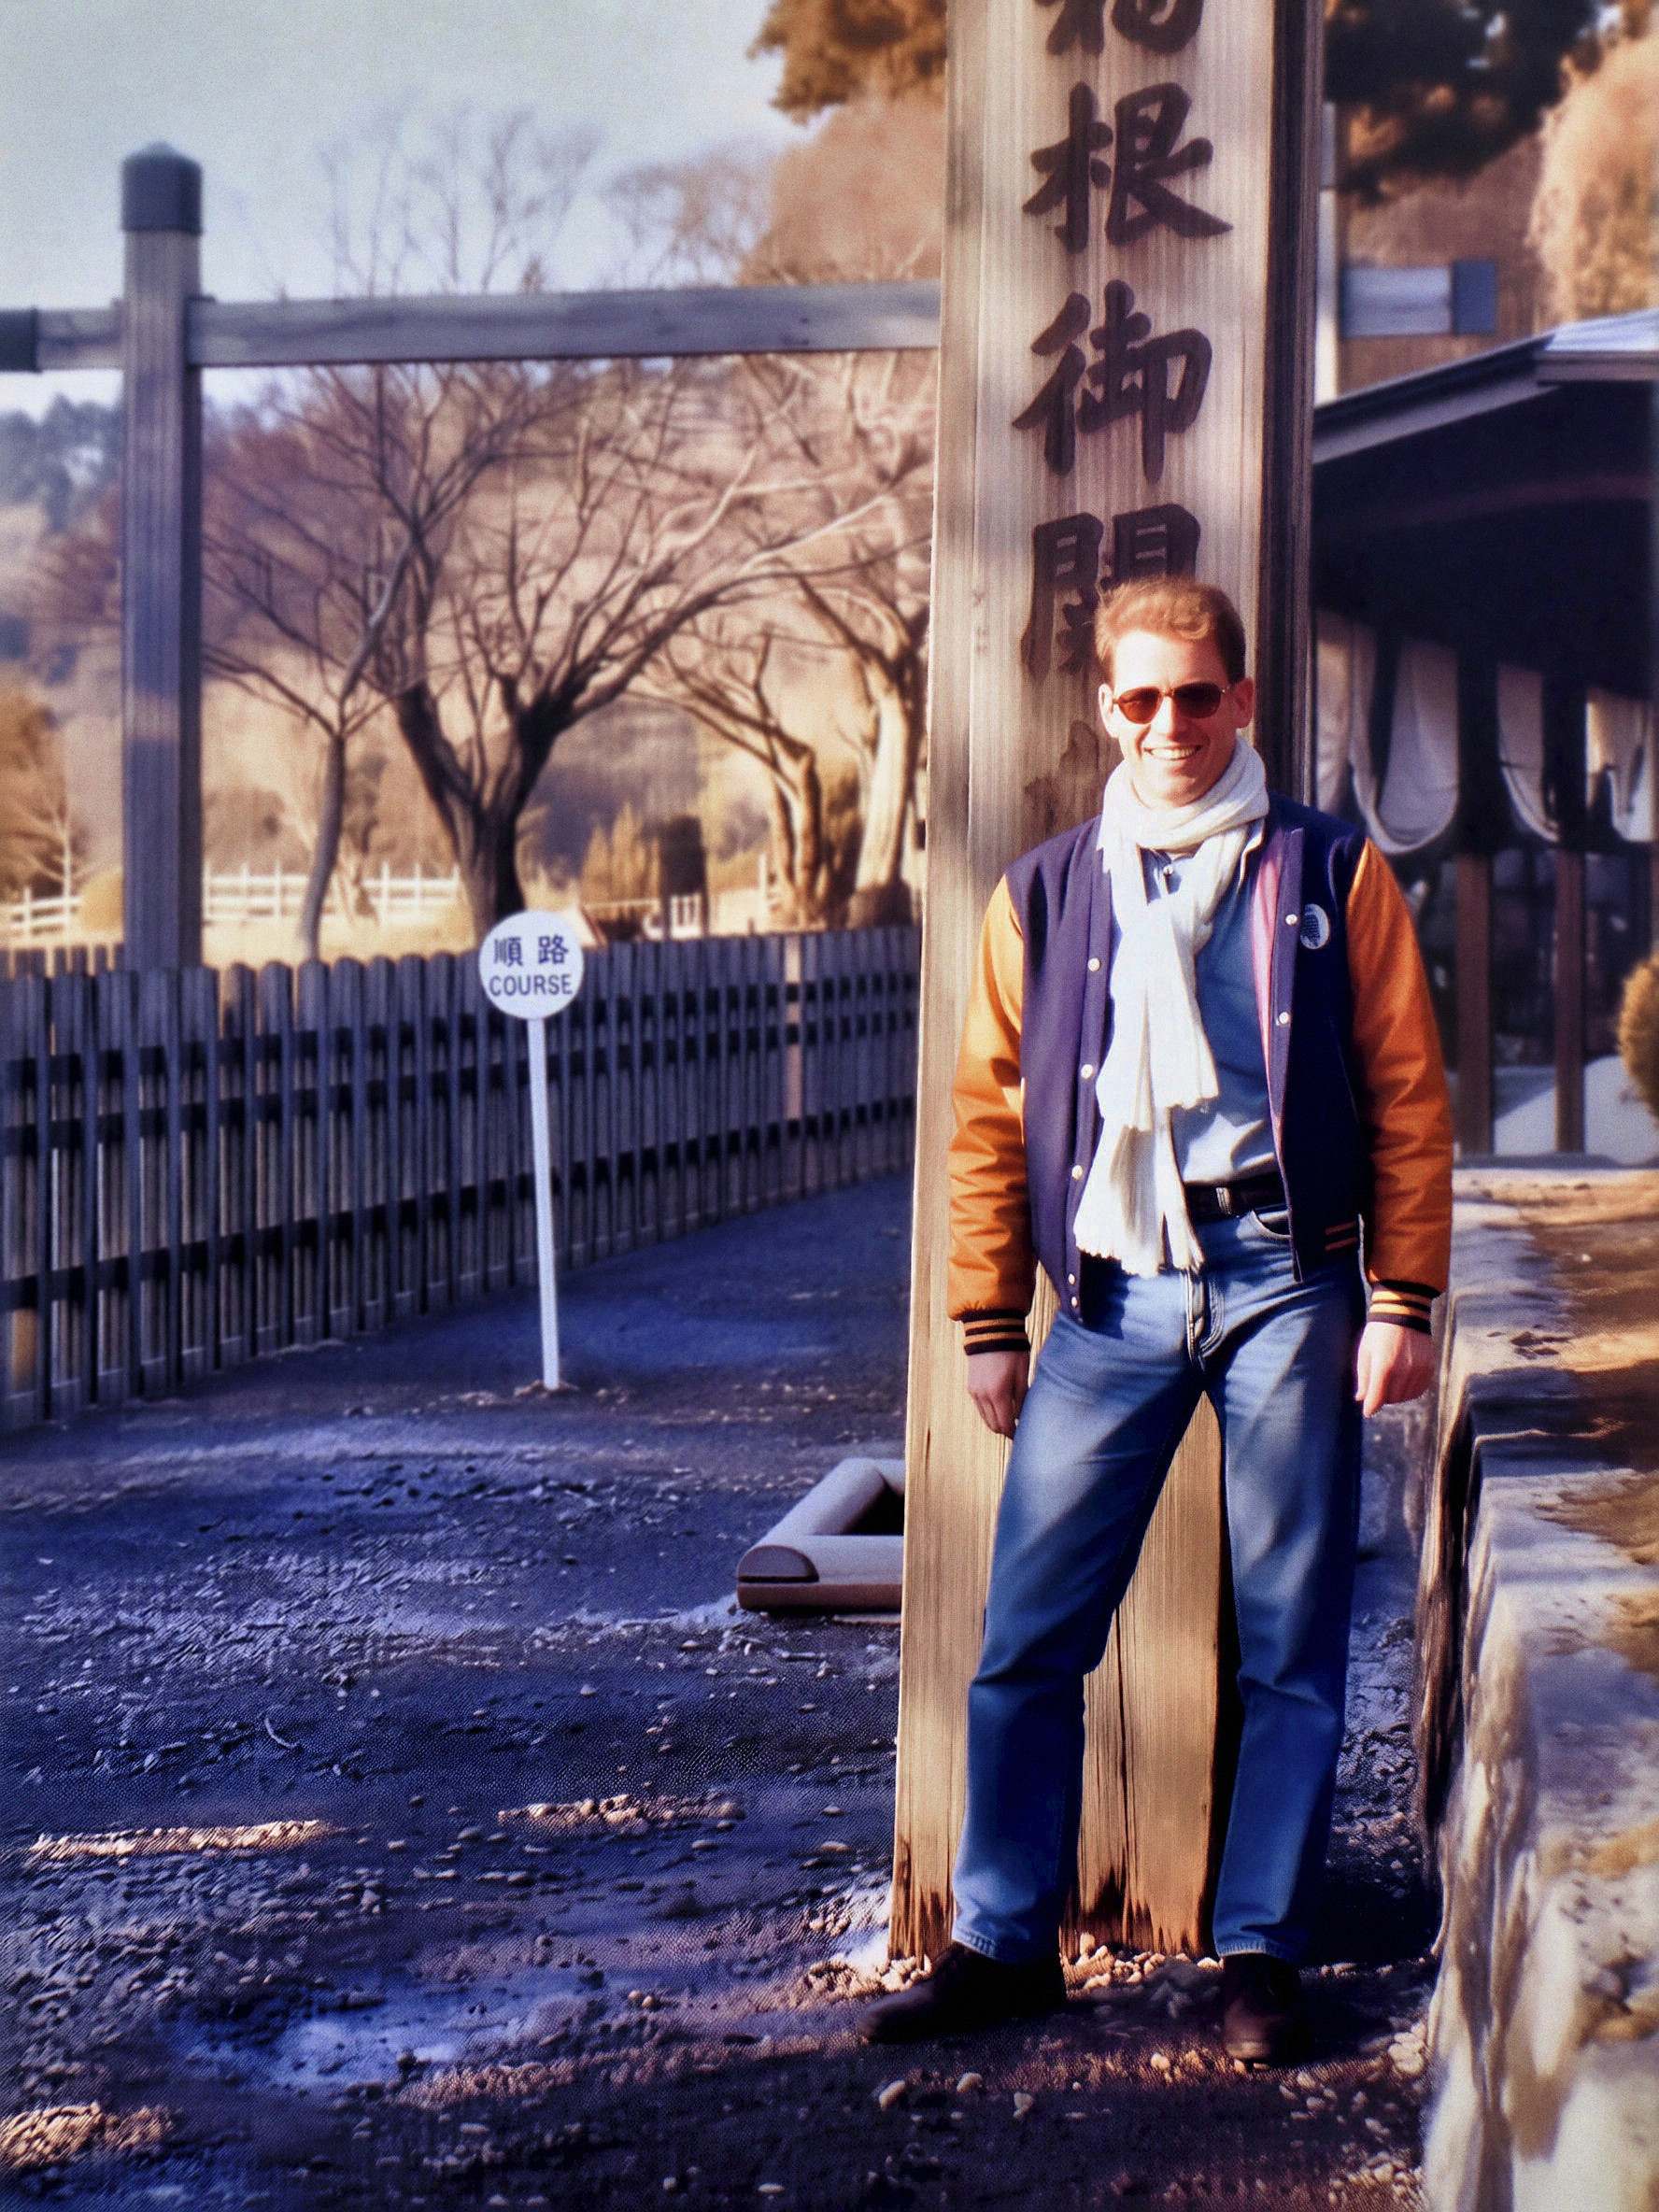
Well done you! (or is it well done Chinese AI?) Since Qwen is a Chinese programme, that maybe why it was able to interpret the very blurry text the original, or did you do anything to prompt it? It did a much less effective job on my face!
The original image resolution is too low for the AI to recognize the words correctly. So, I added “The words on the white round panel are ‘順路’ on the first line and ‘COURSE’ on the second line.” to the prompt to ensure it outputs the correct words.
This is a really great improvement on the original image. But it seems to me that a (new?) texture has been created in the left half of the image, the dark blue road next to the fence. Is there a simple way to remove that?
It’s quite impressive in some respects and thanks for the input. However, it does now look like an AI-generated image. I much prefer a blurrier version that does at least look like a rendition of a 40-year-old photo!
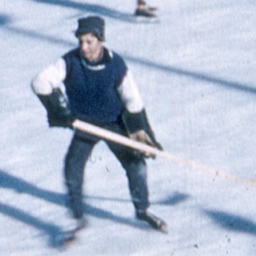
Several AI options I tried turned the repeating pattern to striations, also.
And, the ones that worked as I’d hoped often still left pattern in the textured and curly hair (I assume the pattern was more difficult to detect there). I found Flux the most effective pattern remover of the AI I tested.
The problem with Flux and NanoBanana, at least with the free versions is that they only generate low-res PNG or JPGs. Having experimented myself, I am getting the most consistently satisfying results, both with moiré patterns and colour fading and scratches on scans, with the new restore function in Luminar Neo. This has the advantage of working with and generating raw files. Small faces and barely illegible text are still an issue though.
I use Nano & Flux in Ps. But they are the ‘appetizer’. I then need an ‘entree’ of Ps, TL or other to get needed resolution. I don’t use AI (fully automated) as my only processor step.
So far I haven’t found a great solution in Ps. But it may be in there somewhere….
Okay - UPDATE:
I did some poking around in Ps 2026. I did find a Moiré Removal feature. But it did nothing for the texture issue that was shown in the original scanned portrait images above.
I was able to get to that feature via these steps:
Open image & duplicate to create a copy. Convert to Smart Object (I just do that when working in ACR - Adobe Camera Raw).
Go to: Filter > Camera Raw Filter.
On the right side of the UI, click on the Mask icon (dashed circle).
When that masking UI opens, select the Brush option.
Go all the way down to the Details panel associated with those steps. In that panel is a Moire Reduction slider.
Set the Reduction level to whatever’s desired (I tried it at 100%).
Then paint with the masking brush over the areas where you want to reduce Moire. Be careful to ‘color within the lines’ because if you go to edges it may smear at the edges.
Anyway, that’s the process I tried and it didn’t recognize that scanned image texture as a moire b/c it did nothing to reduce or remove it.
I’d already tried the Neural Filters Photo Restoration option in Ps and that wasn’t effective for the examples above either.
The only thing I got to help was using the partner AI models (Nano and Flux) in Ps’ generative tools. They chew up a lot (!) of credits each time they’re used.
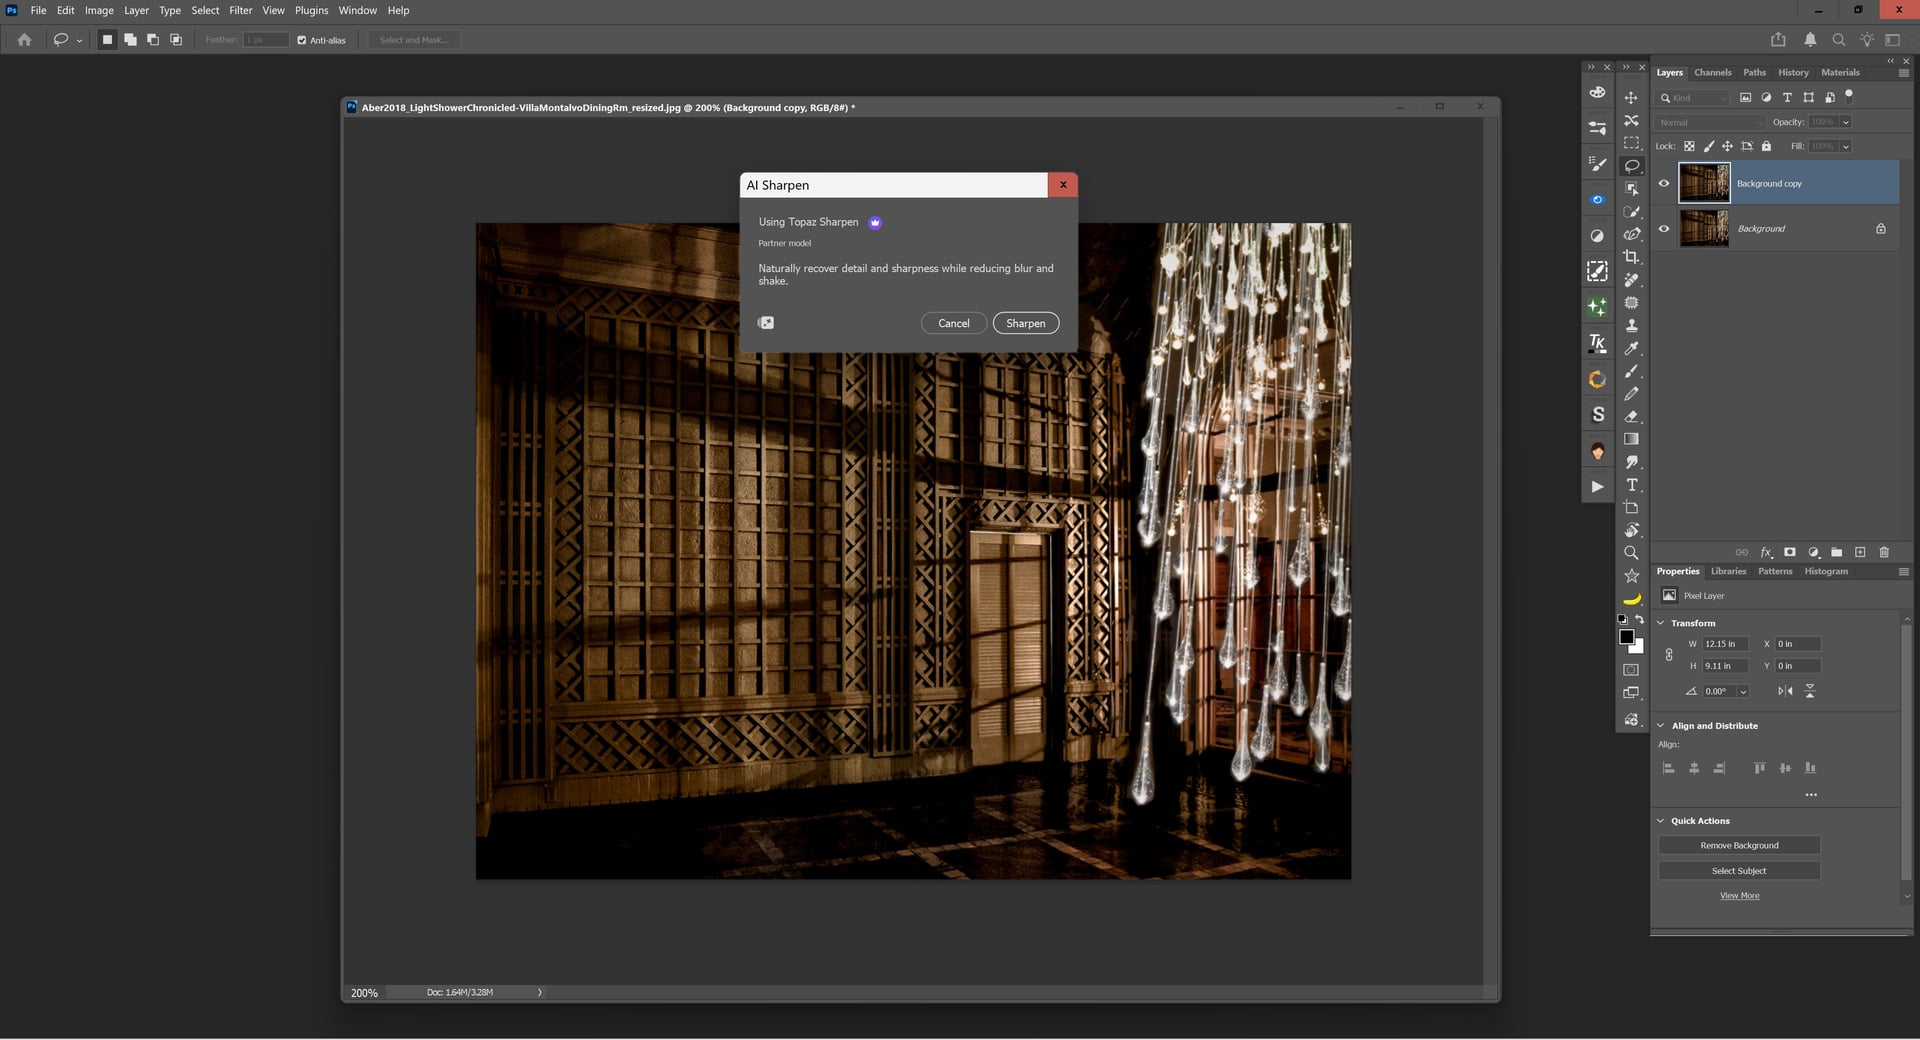
There’s also a new couple of TL partner models under the Ps Filter menu - AI Sharpen and AI Denoise. I tried the Sharpen one. It’s very aggressive. There are no controls or sliders. Only option to tamp down the output with the Opacity slider.
I’ve discovered that the latest Qwen-2511 performs surprisingly well at upscaling low-resolution images, even though it’s primarily an image editing model rather than a dedicated upscaler. It’s not optimized specifically for upscaling, so results aren’t always perfect—it can occasionally alter details in the image. However, its standout feature is the incredible flexibility: by tweaking the prompt and seed, you can iterate quickly to achieve exactly the outcome you want.
Because it’s not a specialized upscaling tool, skin textures often come out a bit too smooth or polished. The easy fix is to run a second pass with SeedVR2 or Topaz—this adds realistic texture and elevates the final result to an even higher level.
I’m running Qwen locally on my computer, and I’ve successfully upscaled images to 12 megapixels without issues. When pushing beyond 6.5MP, though, results can sometimes become unpredictable (e.g., loss of detail or artifacts). That’s why I mainly use it for repairing and enhancing low-resolution images rather than extreme upscaling.
Qwen-Image-Edit-2511 is open-source and completely free (Apache 2.0 license)! You can download the original model from Hugging Face here:
For GGUF-quantized versions (optimized for lower VRAM usage in ComfyUI), check this third-party repository:
I’m currently running the Q8_0 GGUF version (~21.8 GB), which offers a great balance of quality and efficiency. If you have a more powerful setup with plenty of VRAM, try the bf16 or fp16 GGUF versions (~40.9 GB each) for potentially higher precision. Lower quantizations (like Q5 or Q4) are also available if you’re working with limited resources!
IMO, it’s safe when run locally with no internet connection required. But if you’re running it on an unknown cloud server, there’s no guarantee of privacy or security. That’s exactly why I avoid cloud services altogether, especially for sensitive stuff like image editing.