Okay. Thx Ange! The pre-sharpening is optional if the image isn’t blurry. I’ll assume that if only slightly soft (vs actually blurry) we can dive right into Sharpen - Portrait (if image is high res). That helps to clarify vs it being a mandatory step to regular sharpen pre Portrait Sharpen. I won’t ask why the Portrait Sharpen is needed if the image is already high quality. I have a feeling ppl wouldn’t want that asked…
2 Likes
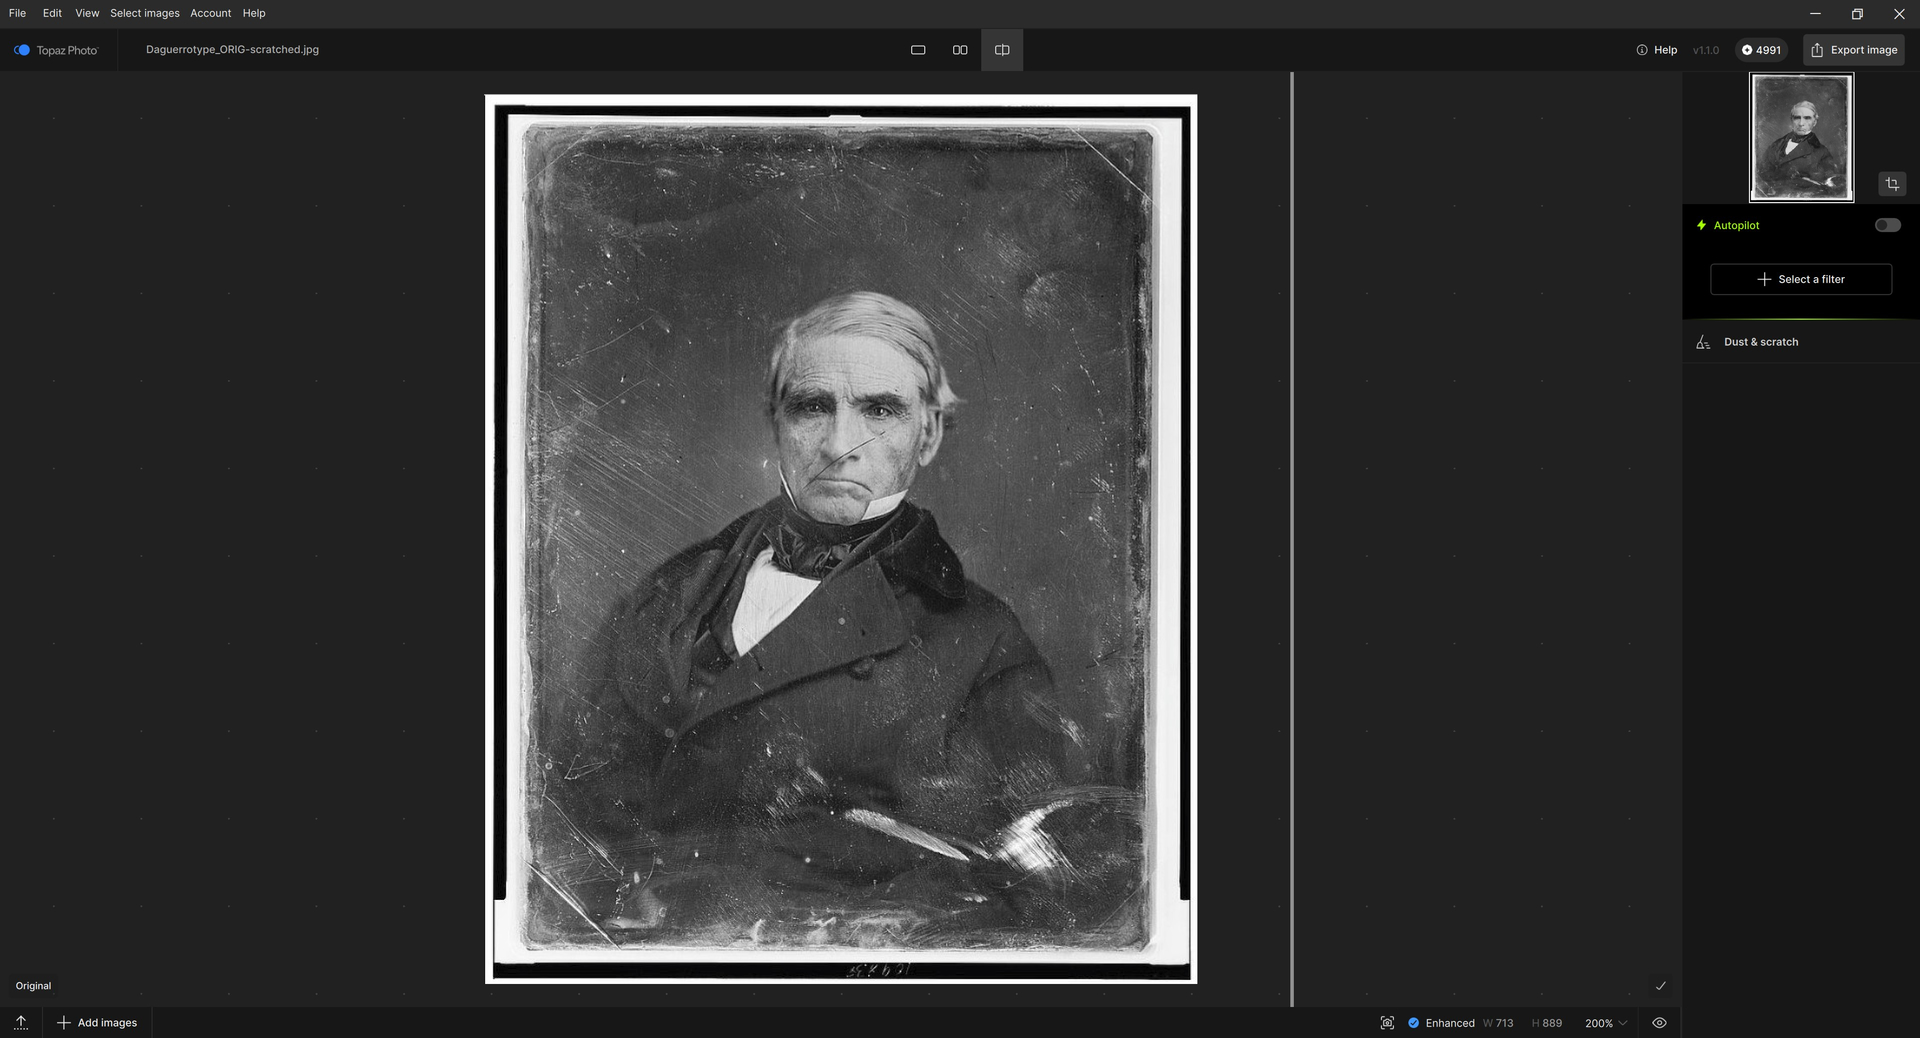
Just ran a Dust & Scratches model v2 test to see how the new model would work.
Win 11 Pro desktop PC. Phot 1.1.0 - Standalone. Processor = NVIDIA RTX 5090 - current Studio driver.
BEFORE:
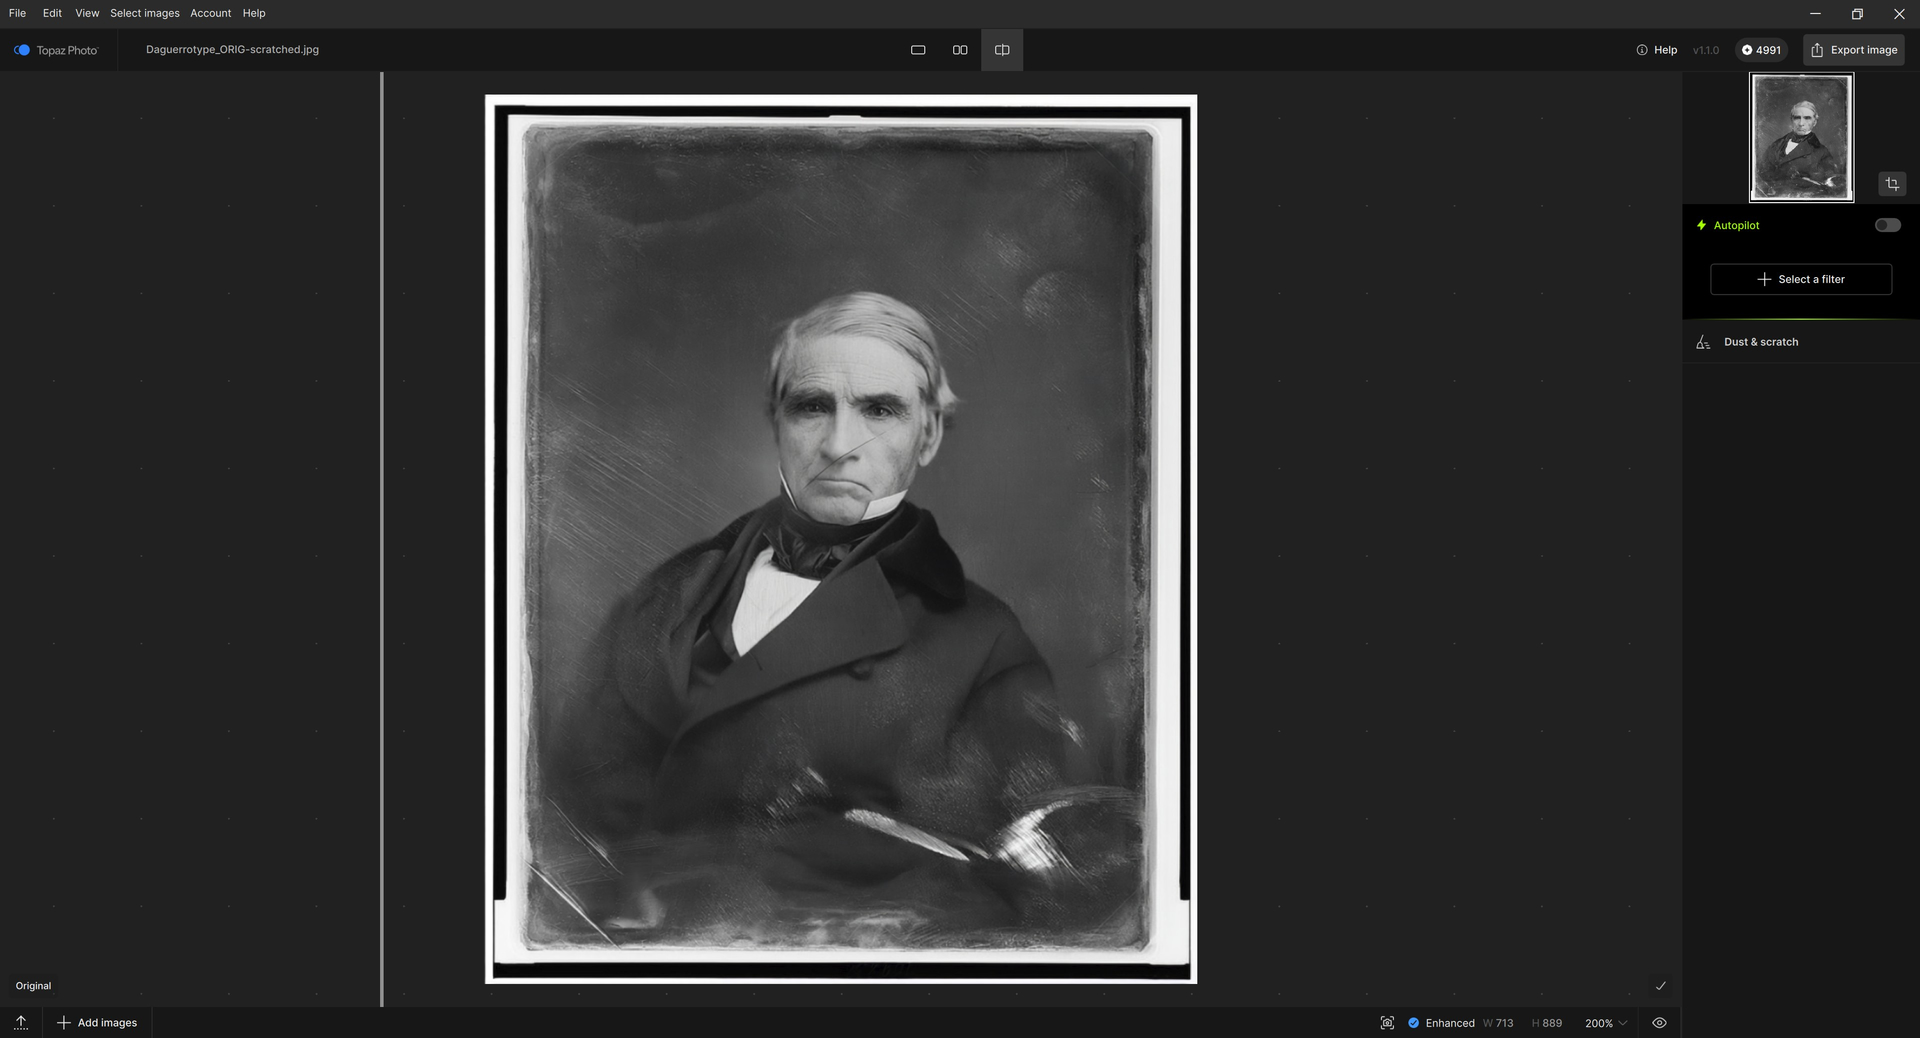
AFTER - Dust & Scratches v2 model only :
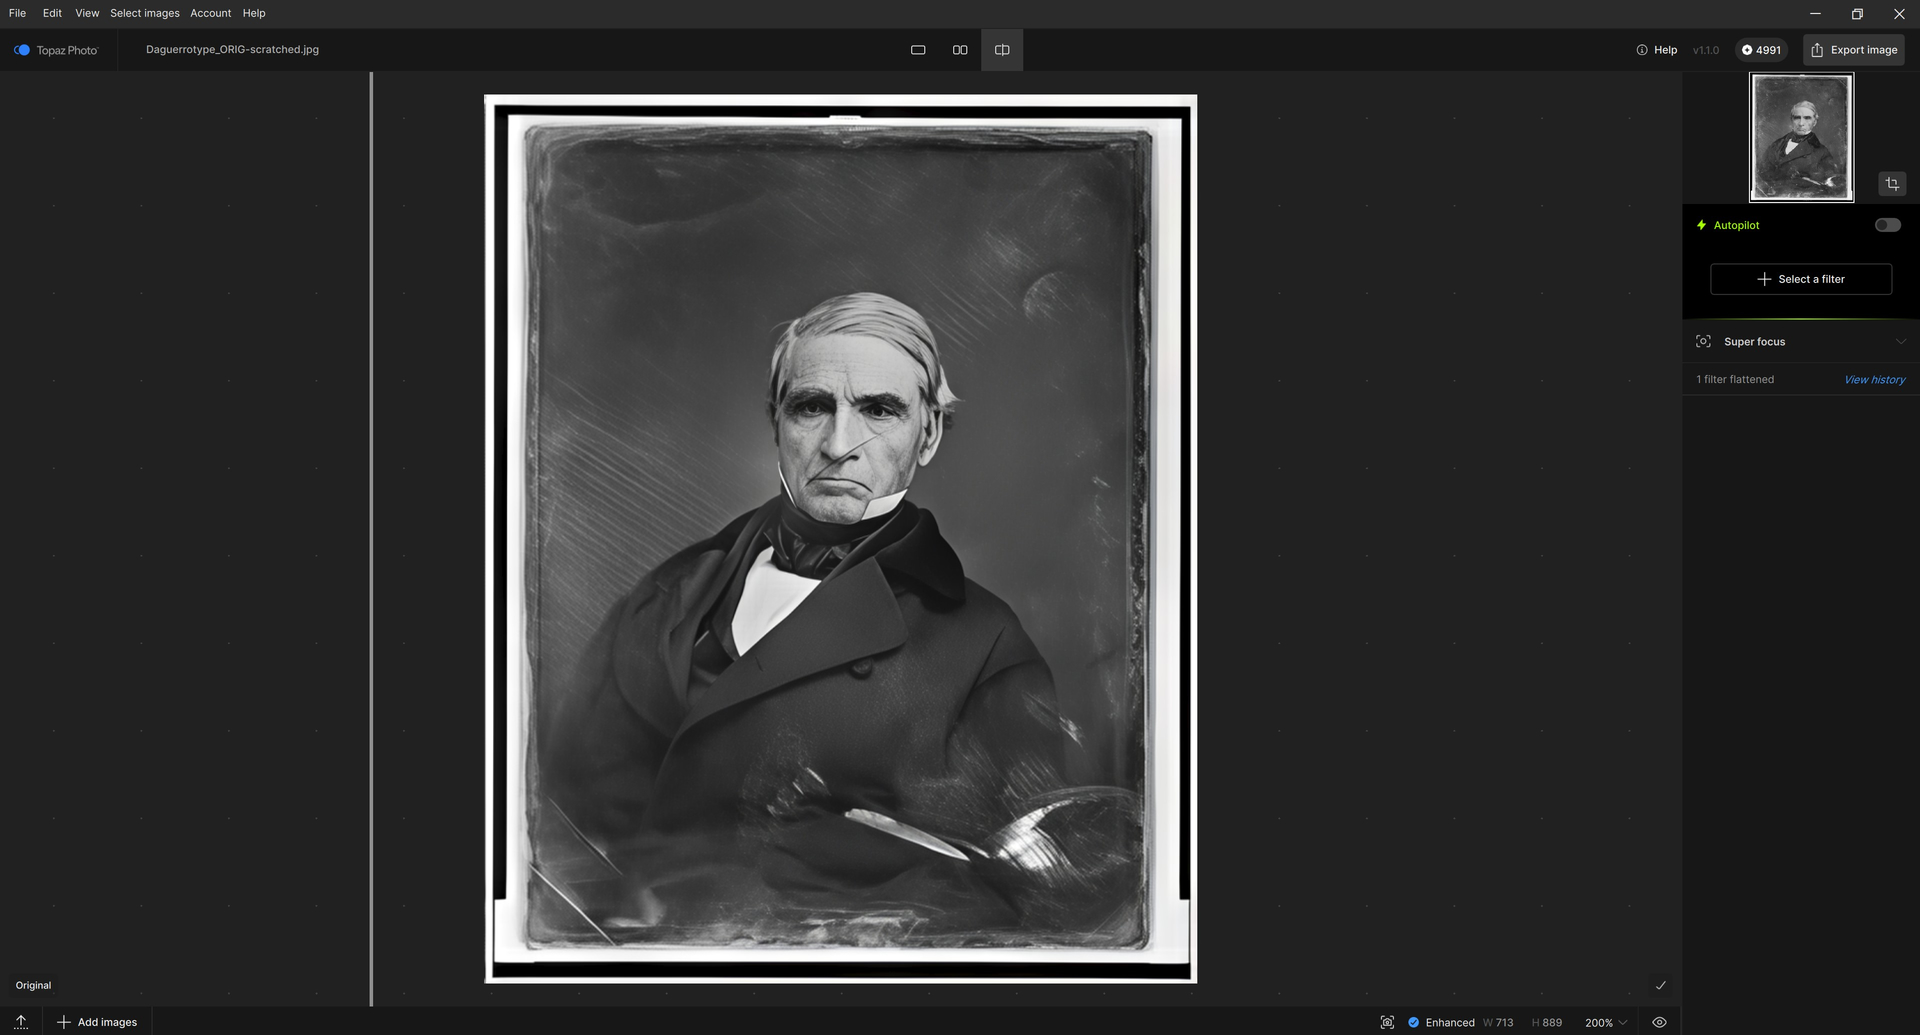
AFTER - SuperFocus added to D&S v2:
2 Likes
Whether using Cloud or local for Wonder, is it best to do anything to mediocre photos (requiring some basic sharpening, color correction, etc.) before sending to Wonder, or just sending the Raw photo to Wonder and letting it do everything on a first pass? I’ve been pleased with most of the Wonder results so far, but sometimes do denoising first, some sharpening first, etc. Is that better? Necessary? Worse?
Hi John.
Think of Wonder as being the Swiss Army Knife of Enhancements
Basically, what ever you want to do for example; Denoising, Sharpening or Upscaling Wonder can do literally everything from Denoising Grainy and Removing Textured from Images to Sharpening Old Blurry out of Focus Pictures or Fixing Small Pixelated downloaded Web Photos and Upscale those images from Low-res to High Resolution.
In addition because, you can do this all with one Enhancedment and you’re not Staking Multiple Filters there’s less chance of creating unwanted artifacts within your images.
So, as I originally described Think of Wonder as the Swiss Army Knife of Enhancements
Here’s a link from Topaz about the Wonder Enhancement
As a direct answer to your quarry is it better to apply other Enhancements to the Image before applying the Wonder Model the answer would be a definite No because, you may introduce artifacts within the image before applying the Wonder Model.
However, if you want to apply other Enhancements after you’ve applied the Wonder Model it depends you may wish to add the Recover Faces or bit of extra Denoising at a low setting to remove any remaining noise and if you apply Sharpening be very careful not overly Sharpen your image.
Hope this helps
2 Likes
Thank you. Very good description. The one question I have after reading that it is best for “…small or medium sized low-resolution images…” and “…soft, noisy, compressed, or low-resolution…” is whether it isn’t useful for or actually bad for regular resolution (e.g. 5184 x 3888) pictures that need some sharpening, etc. Should I just do the best I can with my normal workflow – denoise>sharpen>adjust color>resize>etc. (depending on what’s needed) or does Wonder still fit into a “good picture” workflow?
1 Like
I was unable to upgrade from v1.0.4 to v1.1.0. I have a Windows 11 Pro box running all the latest updates. Plenty of disk storage space and am running 64 GB of DDR4 RAM. Solution was to remove Photo v1.0.4, sweep the registry for residuals, reboot, and download v1.1.0. After logging in (and retrieving my password), I was able to load v1.1.0. I don’t know if this helps anyone or not (or if someone needs logfiles), but I thought I would put this out there in hopes it might help someone else. Thanks and Merry Christmas!
1 Like
Wonder is the old version still, it runs with the “middle” model on the CPU:
1 Like
Por favor tem como fazer em Lote Ajuste a Iluminação v3 ???
Excellent. I’m really impressed with what it does. Thanks.
2 Likes
Autopilot is always picking “Portrait” for sharpening. I even set “Standard” as the default in preferences and it still picks “Portrait”. Anyone else seeing this? On a WIN11 machine.
2 Likes
Somebody in the devs group forgot to turn that off.
That’s what they do for beta tests to make sure we test the primary feature they want comments on. Of course, there was only a 1-2 day “beta” this time, as you know… It probably slipped through the cracks like some other things that were commented on.
3 Likes
Thanks for confirming what I am seeing. Hopefully they will release a “fix” on Monday
1 Like
No problem with the image size, you can actually use Wonder for images up to 128MB so, your resolution is perfectly fine.
However because, it’s such a powerful AI Model the larger the image then, the longer it’s going to take to process therefore, if you need to Render larger images than it’s recommended to Render them in the Cloud.
In fact, if you have a several larger images and you wish to use the Wonder Model on them then, I would suggest Batch Processing and Rendering them while you watch a Movie or similar activities or if you have a whole bunch of larger images perhaps Batch Processing to run overnight.
Here’s how to Batch Process multiple images:
-
Import your images: Drag and drop your group of photos into Topaz Photo.
-
Configure the first image: Select one photo in the filmstrip and enable the Wonder model.
-
Note: Ensure “Cloud Render” is active if prompted, as this is often required for batching these heavy models.
-
Sync settings: Select all images in your batch (use Ctrl+A or Cmd+A).
-
Apply to all: Right-click on the images in the filmstrip and select Apply > Current Settings to Selected Images.
-
Export: Click the “Save” or “Export” button. The software will queue the images and process them sequentially using the cloud.
Here’s a more in-depth information about Batch Processing from Topaz
As for your normal Workflow it’s very easy to choose one of the new (please forgive the technical terminology) Fancy Pants Genaitive AI Models to do the work for you even Batch Processing as mentioned above.
However, I’m like you and if I only have a few or many High Resolution images then, I would favour the traditional AI Tools where possible because they’re just as good today as they were when they were first introduced and best of all they’re very quick to use.
That’s not to say I wouldn’t use the Genaitive AI Models because I most certainly would I mean for very High Resolution images you wouldn’t necessary need Genaitive AI unless the images had something wrong with them very Blurry for instance.
So Yes, I would follow a similar Workflow to yours.
Denoise, followed by Sharpening then, other adjustments Lighting, Colour etc before finally Upscaling.
Hope this helps
2 Likes
Anyone else noticing that the “Autopilot” on this update isn’t automatically picking up on how much sharpening the subject needs? It seems to default to numbers that are way too low that I have to then fix.
Hi Johnathan.
Our fellow member the well respected Fotomaker answered this query earlier and the reason for the low Autopilot Sharpening setting is that someone at Topaz has accidentally set the default Sharpening to Portrait and it can’t be currently change within the Preferences Menu.
So, until a fix is available and this behaviour is corrected I’m afraid you’re just have to adjust the Models and Settings manually
Hope this helps
3 things with v1.1.0
1 - in previous versions whenever I chose Adjust Lighting from the flyout menu, it automatically selected “Subject” which was almost always what I wanted as I would adjust the entire image brightness/contrast/intensity in Corel PhotoPaint before launching Topaz Photo, but now v1.1.0 always selects ALL which drives me batty having to change it to subject every time as I have not been able to find an option in preferences to tell it to choose Subject by default.
2 - Also with Adjust Lighting, I find myself going back to v2 more than v3. There are times v3 gives a better result especially in night time flash shots where something reflective has blown out the highlights and swamped the lowlights but for I’d say 3/4 of images, I am rolling back to v2 espcially on portraits. It’s like v3 was too much of a change.
3 - I often experience a quirk whereby when I select a filter then mouseover the Selection area hyperlink underneath the filter name, e.g. the “Subject/Background/All’“ under Sharpen, most times it will highlight in red the relevant area selected, however quite often a mouseover does not highlight the chosen area. When this occurs, if I click the chosen area word it takes me into the edit selection screen with nothing at all highlighted in red. To fix it, I have to click Done, choose a different selection area e.g. change Subject to background then back to subject again, then it will kick in the red selection area highlight. I’ve noticed it almost always happens when the autopilot takes more than a few seconds to make it’s choices, as though Autopilot is struggling to complete it’s task then the selection area red highlighting gets sick of waiting for autopilot to finish so it gives up.
1 Like
Excellent! Thank you very much for the guidance. I’ll try this and work it into my workflow as you suggest. Thank you.
John
John Anderson
M: +1 (904) 613-5263
From “AND-E via Topaz Community” <noreply@topazlabs.com>
To “John Anderson” <janderson@bigwheelpartners.com>
Date 12/20/2025 23:29:36
Subject [Topaz Community] [Topaz Photo/Releases] Topaz Photo v1.1.0
2 Likes
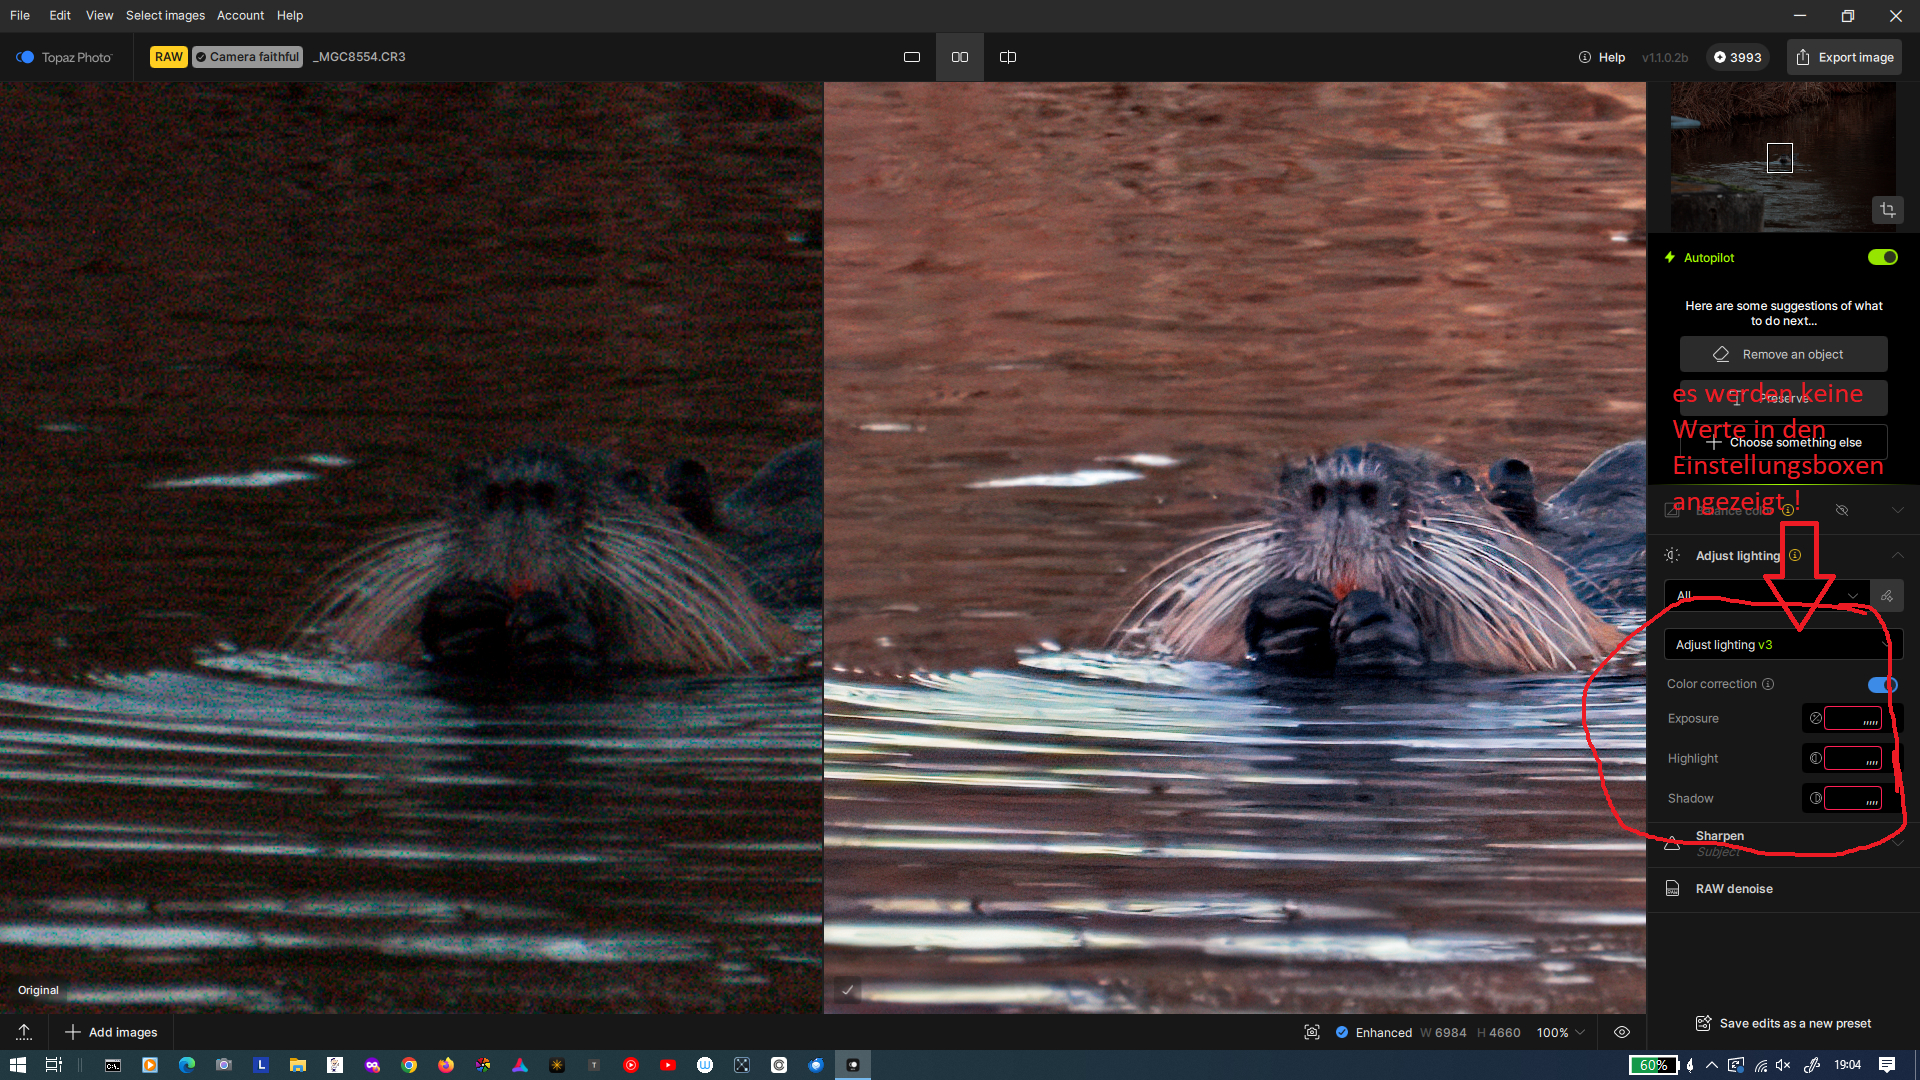
An old bug in the Adjust Lighting V3 module has still not been fixed. As can be seen in the image below, no values are displayed in the settings fields. This means that you cannot see what settings are currently in place, and the only way to change the values is using the sliders, which leads to trial and error and guesswork. The same issue was already present in version 2, which I reported at the time. Unfortunately, the bug has not yet been fixed.
2 Likes
Indeed its really annoying, because even if you move the sliders just a little, it makes big changes.
1 Like
I and others have reported this problem for a very long time. At this point I think it is fair to say to not expect to ever get it fixed.
1 Like