Which Sony camera. My a7R iii is OK.
Hi Richard,
My Camera is the A7r3. But I don’t think it is the problem. When I choose to process a photo with Photo Ai in Capture One, the ARW raw file can never be choosen. You only have the option to choose DNG format as well as tif, png and jpg. The sony raw file cannot be selected or used. I don’t know if the plugin cannot handle the file format or if it is only limited to dng. I have not found any documentation that states which formats it can use. I have only found that it is recommended to work with the raw file for best results.
Using dng is a conversion from arw and the result is much worse than converting to tif.
I have sent this info to the support also but I have no answer yet.
That is the options you can choose from the C1 plugin. There is no option for sending the RAW.
You need to select Open with rather than edit in.
See, https://support.captureone.com/hc/en-us/articles/360002627457-About-external-editing
I’ve used Capture One in the past and almost always sent a tiff. Its OK for most images. If you want to use the ARW file you need to be in stand alone mode. You can do this from Capture One by right clicking on the thumbnail, “Show in Explorer” then from Explorer right click on the image and send it to Photo AI. But you then have to import the Photo output into C1. I usually only worry about using a RAW file if there’s a lot of noise then I use De Noise.

An issue that has not been addressed is how Photo Ai is smearing cloth texture detail with raw image noise reduction. Noise Ai does not have this issue. this smearing happens even with the level set to 1.
4 Likes
Thanks for the comments.
I will try out this to see how it works.
However the information on the support page regarding Use with C1 is very misleading.
See below.
Capture One
Topaz Photo AI will be installed automatically to Capture One.
The plug-in can be used from the Image > Edit with > Process with Topaz Photo AI menu and will send any image directly to Topaz Photo AI, then import the processed image back into Capture One. We highly recommend using this workflow with your RAW files for the best image quality results.
1 Like
Hello, I am trying to install Photo AI but the installer halts at the validating install stage and shows me a Photo AI setup ended prematurely due to an error message.
Finally I accidentaly discovered a big bug for me persistent for a looong time.
Even reported earlier as “too strong denoise where moving slider to zero does nothing”, there were no reaction and I stopped reporting that.
My testing of PhotoAI is always as a plugin for Affinity Photo and few days ago accidentaly started it as a standalone to be surprised how denoise slider works OK - again tried as plugin - no it’s not working!
So bug is: using it as a plugin for Affinity Photo denoise starts from maximum value and is fixed - moving strenght slider does nothing, detail is doing something but it’s masked with too strong denoise
That isn’t misleading, the plugin (Edit with) does do that. The image passed is saved by Photo AI and is updated.
Using Open with passes the RAW image, without any adjustments you may have added, and then you need to sync the folder to import the resulting image you saved.
I think you’ve found the difference between the RAW remove noise and the non-RAW models.
You’ll see the same behaviour with non-functional strength slider if you use the standalone app and open a TIFF, PNG or JPEG file.
Hi Don,
I will test as you suggest and let you know.
The misleading for me is only the instruction to chooses edit with and process for the RAW file as a recommended flow. For Tif’s it works fine.
1 Like
I’m comparing automatic model selection in Denoise and Photo AI. In this case Denoise AI always recovers much more detail than Photo AI at least with my landscape pictures. So the problem might be the automatic model and parameter selection of Photo AI.
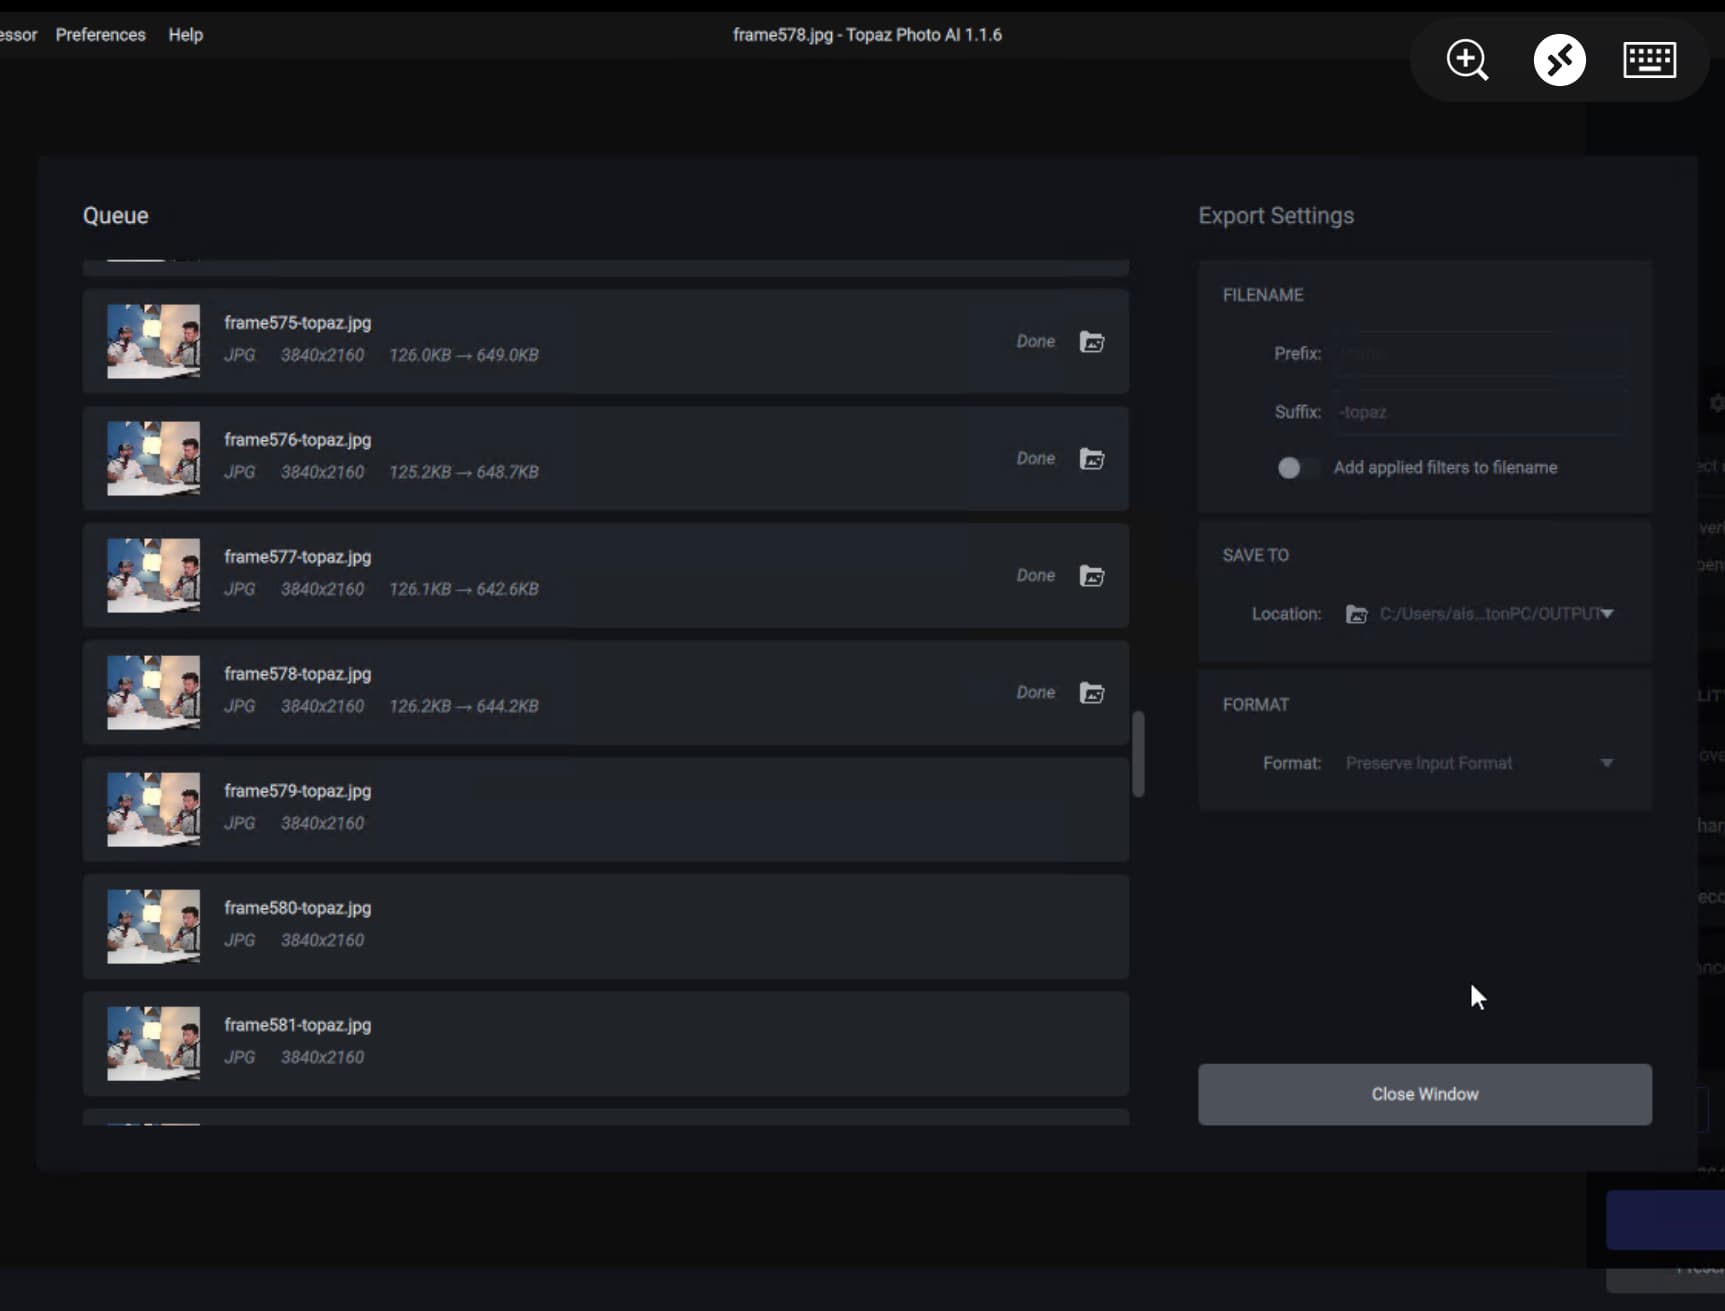
Topaz Photo AI v1.1.6 running as a standalone program
- crashes in about 30% of cases. Sometimes it crashes, sometimes it doesn’t crash on the same file.
- gets stuck at the “Applying Faces” step in about 70% of cases. Retrying the same file multiple times will eventually lead to a completed workflow.
I can use Lightroom Classic or Photoshop for 100 hours straight and they’re rock solid on the same computer.
Thanks for a comment!
I’ve tried TIFF and JPG in standalone mode.
On both of them denoise is doing something from 1 to max, sometimes more visible, sometime less
Only used as plugin it’s cemented maxed being useless (v 1.6)
I can’t help you, because I don’t even process photos in batch in the program.
But perhaps either another user who does or the devs might be able to address your issue.
Good luck!
That’s strange, I do not see any difference between strength 1 and 100 when applying denoise to non-RAW images in standalone. The slider is not “cemented maxed” but the position of the slider does not appear to change anything from the autopilot result.
3 Likes