I use Photoshop Elements. The release notes for version 0.7.2 indicate the plug-in would be installed automatically. I do not see it and cannot find where to do so manually…
If we have ‘auto pilot’ - it would be nice to have “I’m feeling lucky” option from Lightroom, so no need to visit/go through the “Photo AI” application and get the revised photo directly appear on Lightroom on one click.
This would also be a step forward to “multiple image batch processing” feature ![]()
1 Like
Same here on Mac M1 pro.
First of all I would like to thank the developers for this product! The idea and the implementation so far is good, although not flawless. I use Photo AI with Windows 11, an AMD CPU Ryzen 3900 X and an Nvidia RTX 2080 TI. No racing machine but the working speed of the program is sufficiently fast.
The RAW implementation is a reasonable solution but generally returns an image that is too bright. There were massive color changes in the previous version that are now marginal.
When RAW noise reduction is on, all I get is a black screen. Enhance, returns on “Graphics” all the time and on “Low Resolution” often, a pattern of medium sized blocks.
My processing program is DxO Photolab 5, which already provides excellent noise reduction and also produces good sharpness. The transfer takes place with DNG files. The RAW Adjustments are good and I would like to see them stay in the program.
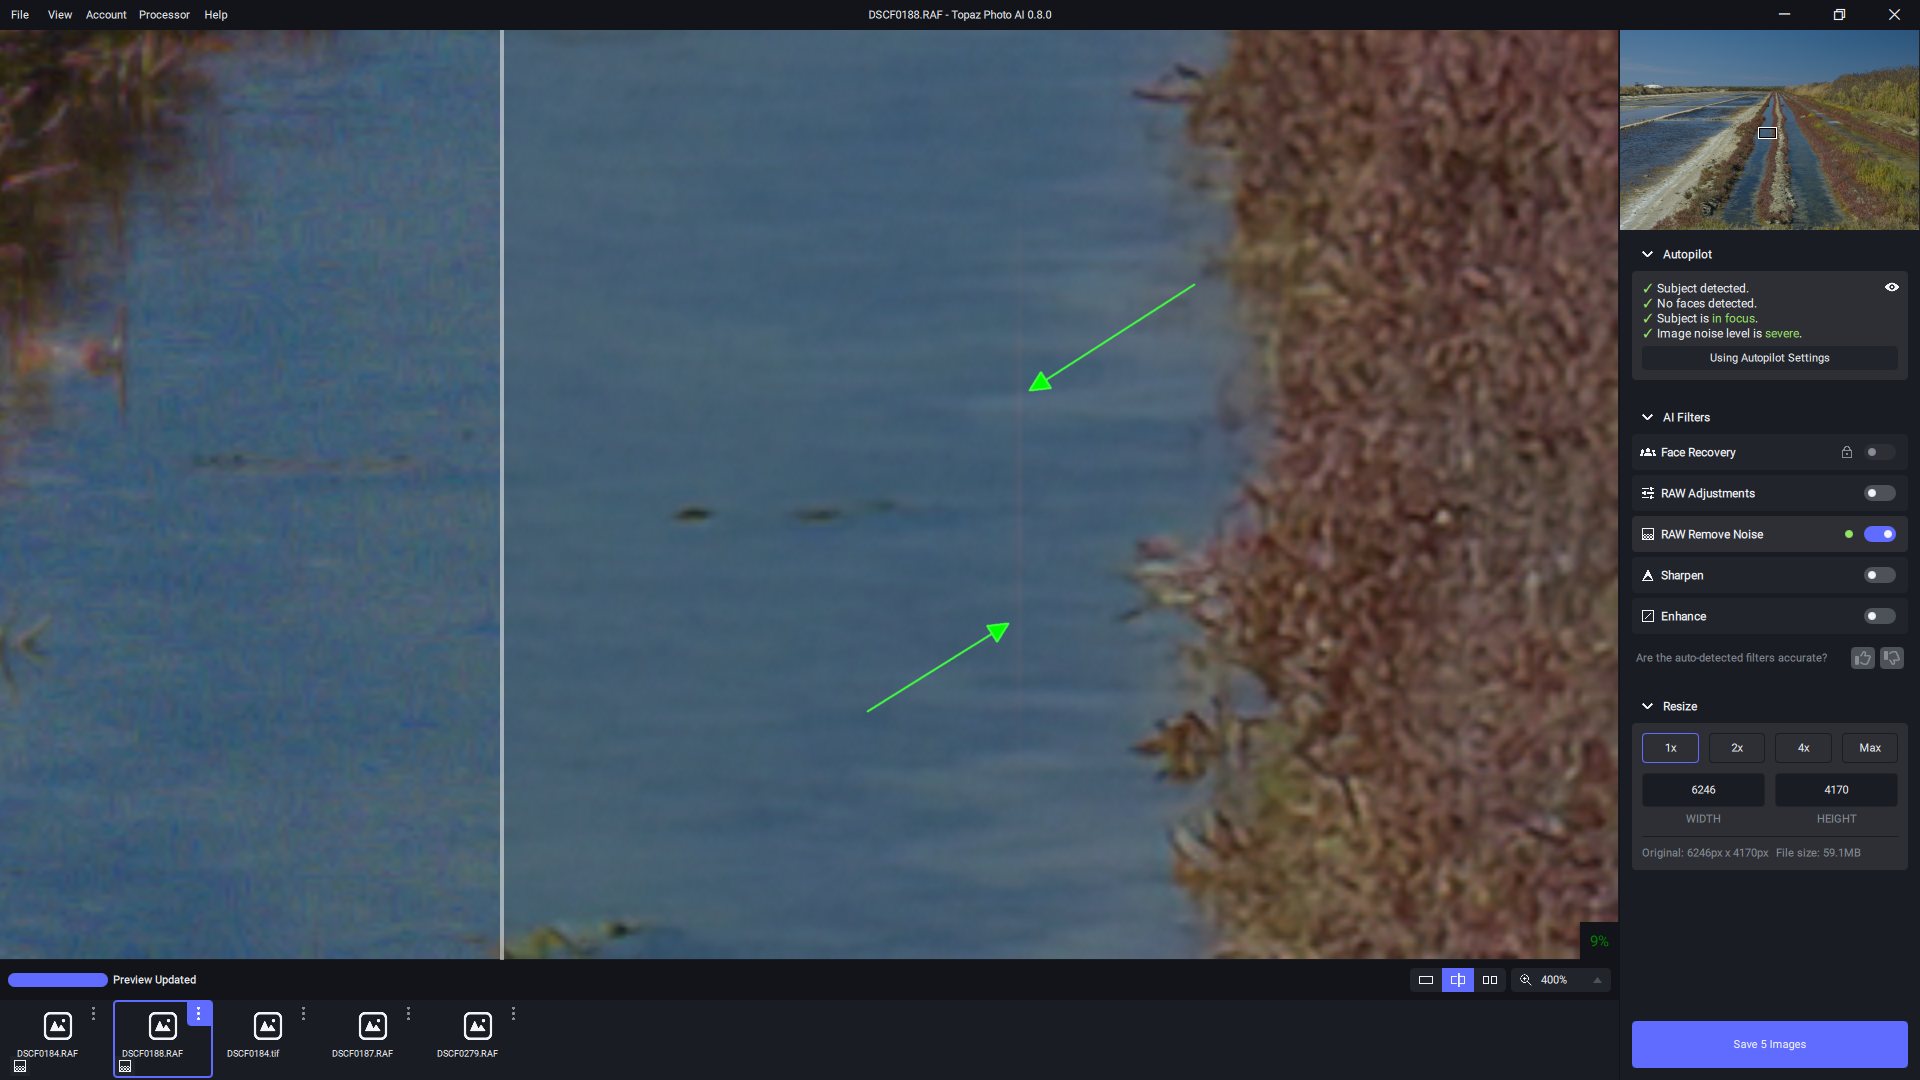
I notice weird things in this release. .RAF file from Fuji can’t be edited, the autopilot detects it as a RAW file, the RAW Denoiser is on but the slider is set to 0. Moving the slider all the way up to 100% doesn’t make any difference. After a restart of the prgm it worked more or less as intended.
Also I sometimes get a red vertical line in my preview screen:
The Q score is not very usefull to me, as is the RAW adjustments. I will keep on using Capture One to process my RAW files and do the basic adjustments, it’s better, faster and has more features. From there I will use a TIFF file.
TMHO PAI should do what it does best, denoise, sharpen and upscale. There are enough good RAW converters on the market.
Also I notice that a combination of Denoise AND Sharpen almost always gives bad results, cartoon like lines and artefacts.
For me the separate TL programs are still giving the best results.
5 Likes
I continue to have problems using my Wacom Intuous tablet with Photo AI, regardless of version or whether I use it as stand alone or a plug in from Photoshop. In split screen, after moving the dividing line, the pen continues to move the line even if it is not touching the tablet. It either moves the line or the image, I have no control of it. In addition, clicking on the filters toggle buttons has no effect at all, totally unresponsive. Same goes for the Save button. At this point, I have to go back to the Trackpad to move the cursor and click on the toggles (but the split screen remains messed up).
On the Raw adjustments: I would not use them, as I always start from Lightroom and then invoke the plug in from there, or from Photoshop if I am using it for further edits. I wouldn’t start from a raw file first in Photo AI.
Does it show up in your plugin? It doesn’t in mine inside Ps.
In response to your specific questions on the release, I’m not sure if it is the Image Quality assessment or not, but the RAW adjustments are incredibly slow, even with just a minor slider change. I believe anyone who uses another RAW developer would stick with what they have vs. using these simple tools. I can imagine that you are trying to become a one-stop-shop for photo editing, but you have a long way to go to catch the existing players’ capabilities and the market may be small.
In terms of the image quality assessment, the number did change between noise reduction and noise reduction + sharpening, but since the scale has no definition at this point it really isn’t very useful.
1 Like
Agree with you!
Plus, it seems almost as if I were to say, “My photography is great!” The person/robot saying something about one’s own skills seems biased and not objective.
And, if the quality score is what’s in the box on the image (I don’t know b/c not labelled) I’m doubly not a fan b/c I don’t like things (including thumbs up/down icons) on the images being processed and blocking visual details that might be covered.
I just tried v0.8. It fixed one of the problems I had: if I drag-dropped a DNG from Lightroom to PhotoAI and then tried to save, it only gave me the option to save as TIFF, I could’t save as DNG. That works now, thanks!
The other issue I reported, regarding an extreme color problem if I tried to process a Lightroom-generated HDR image, is still a problem. All of the dark colors turn green.
Original HDR DNG:
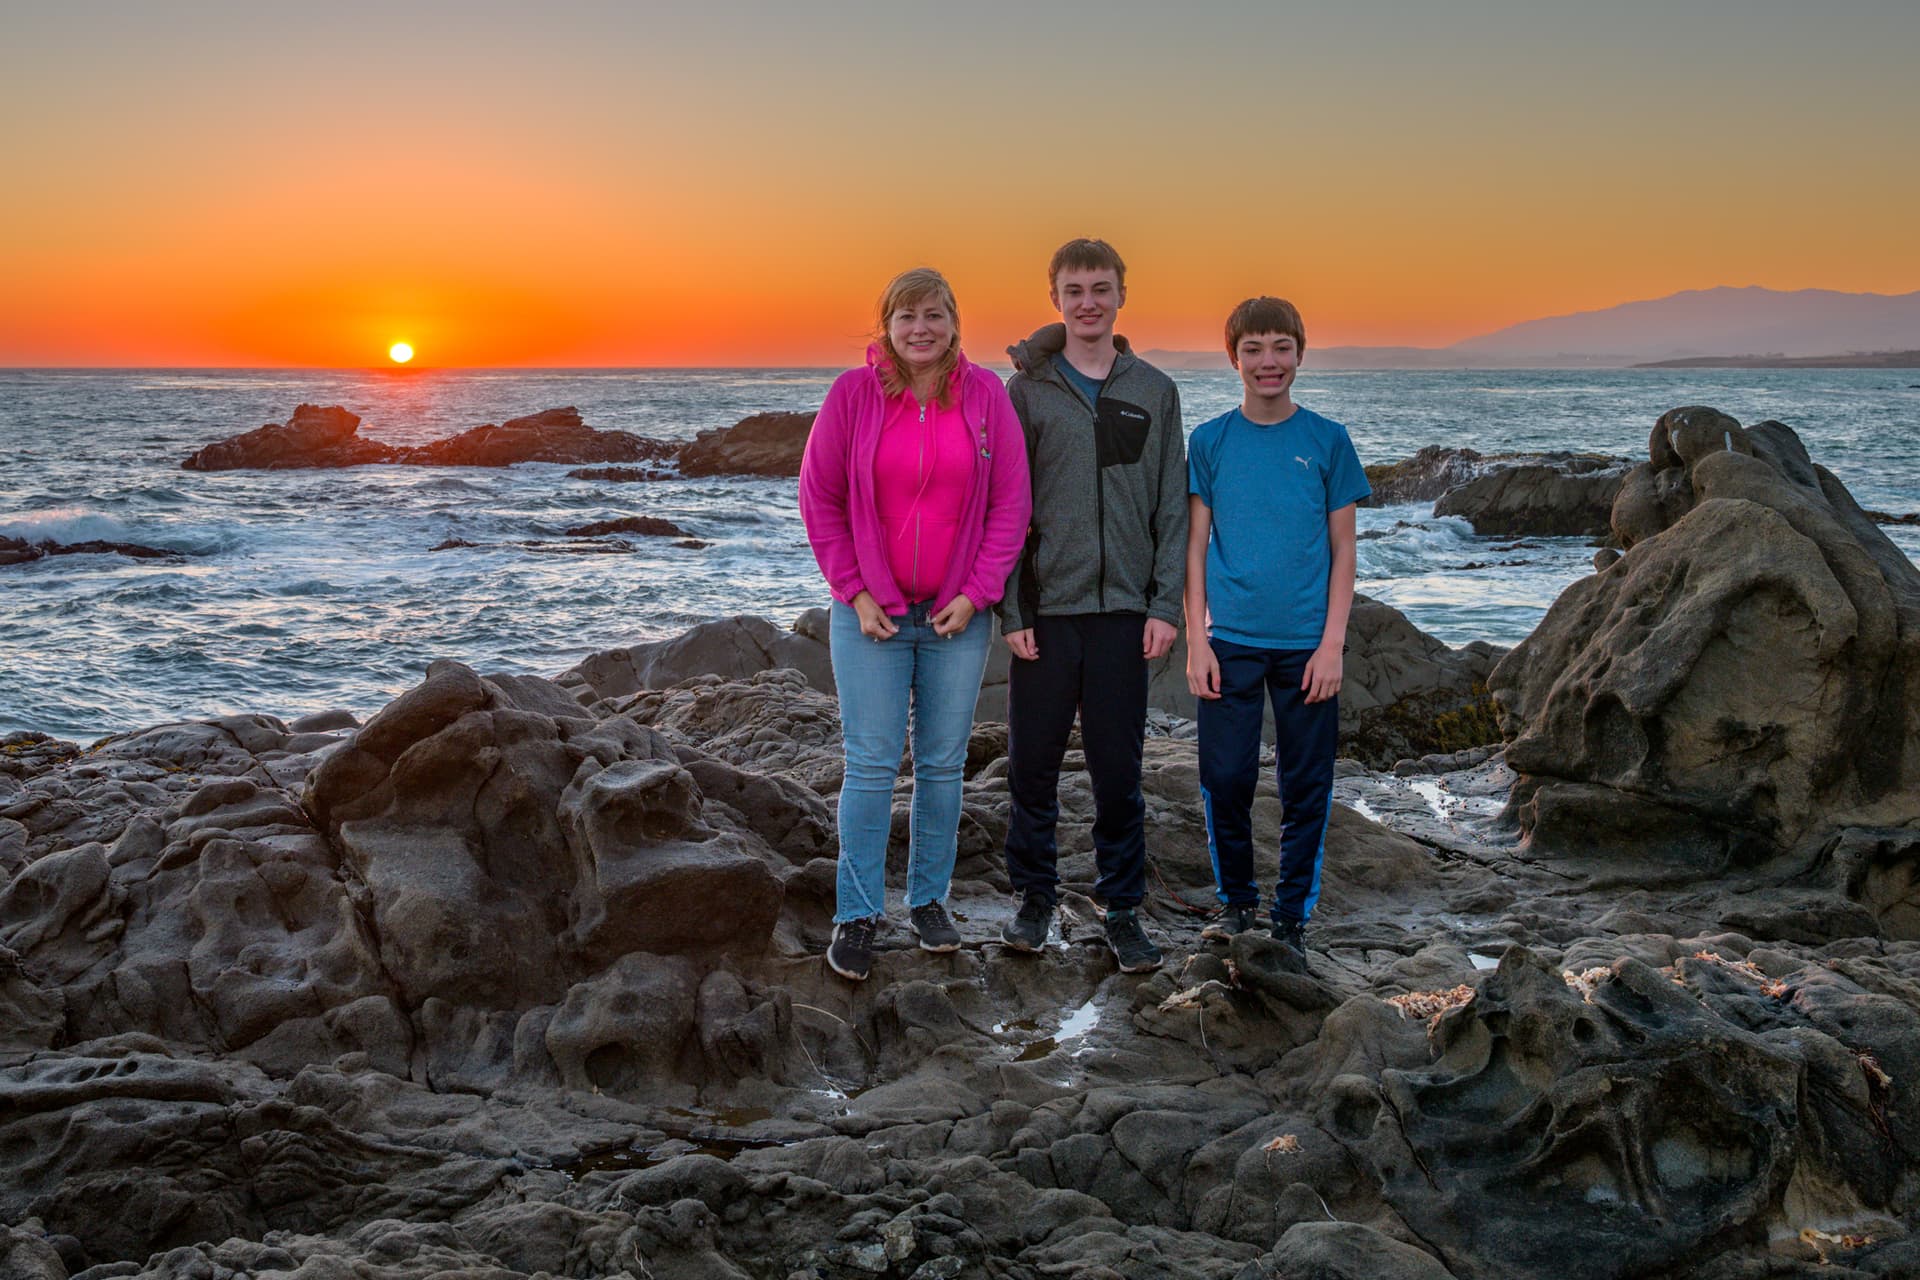
After processing with PhotoAI:
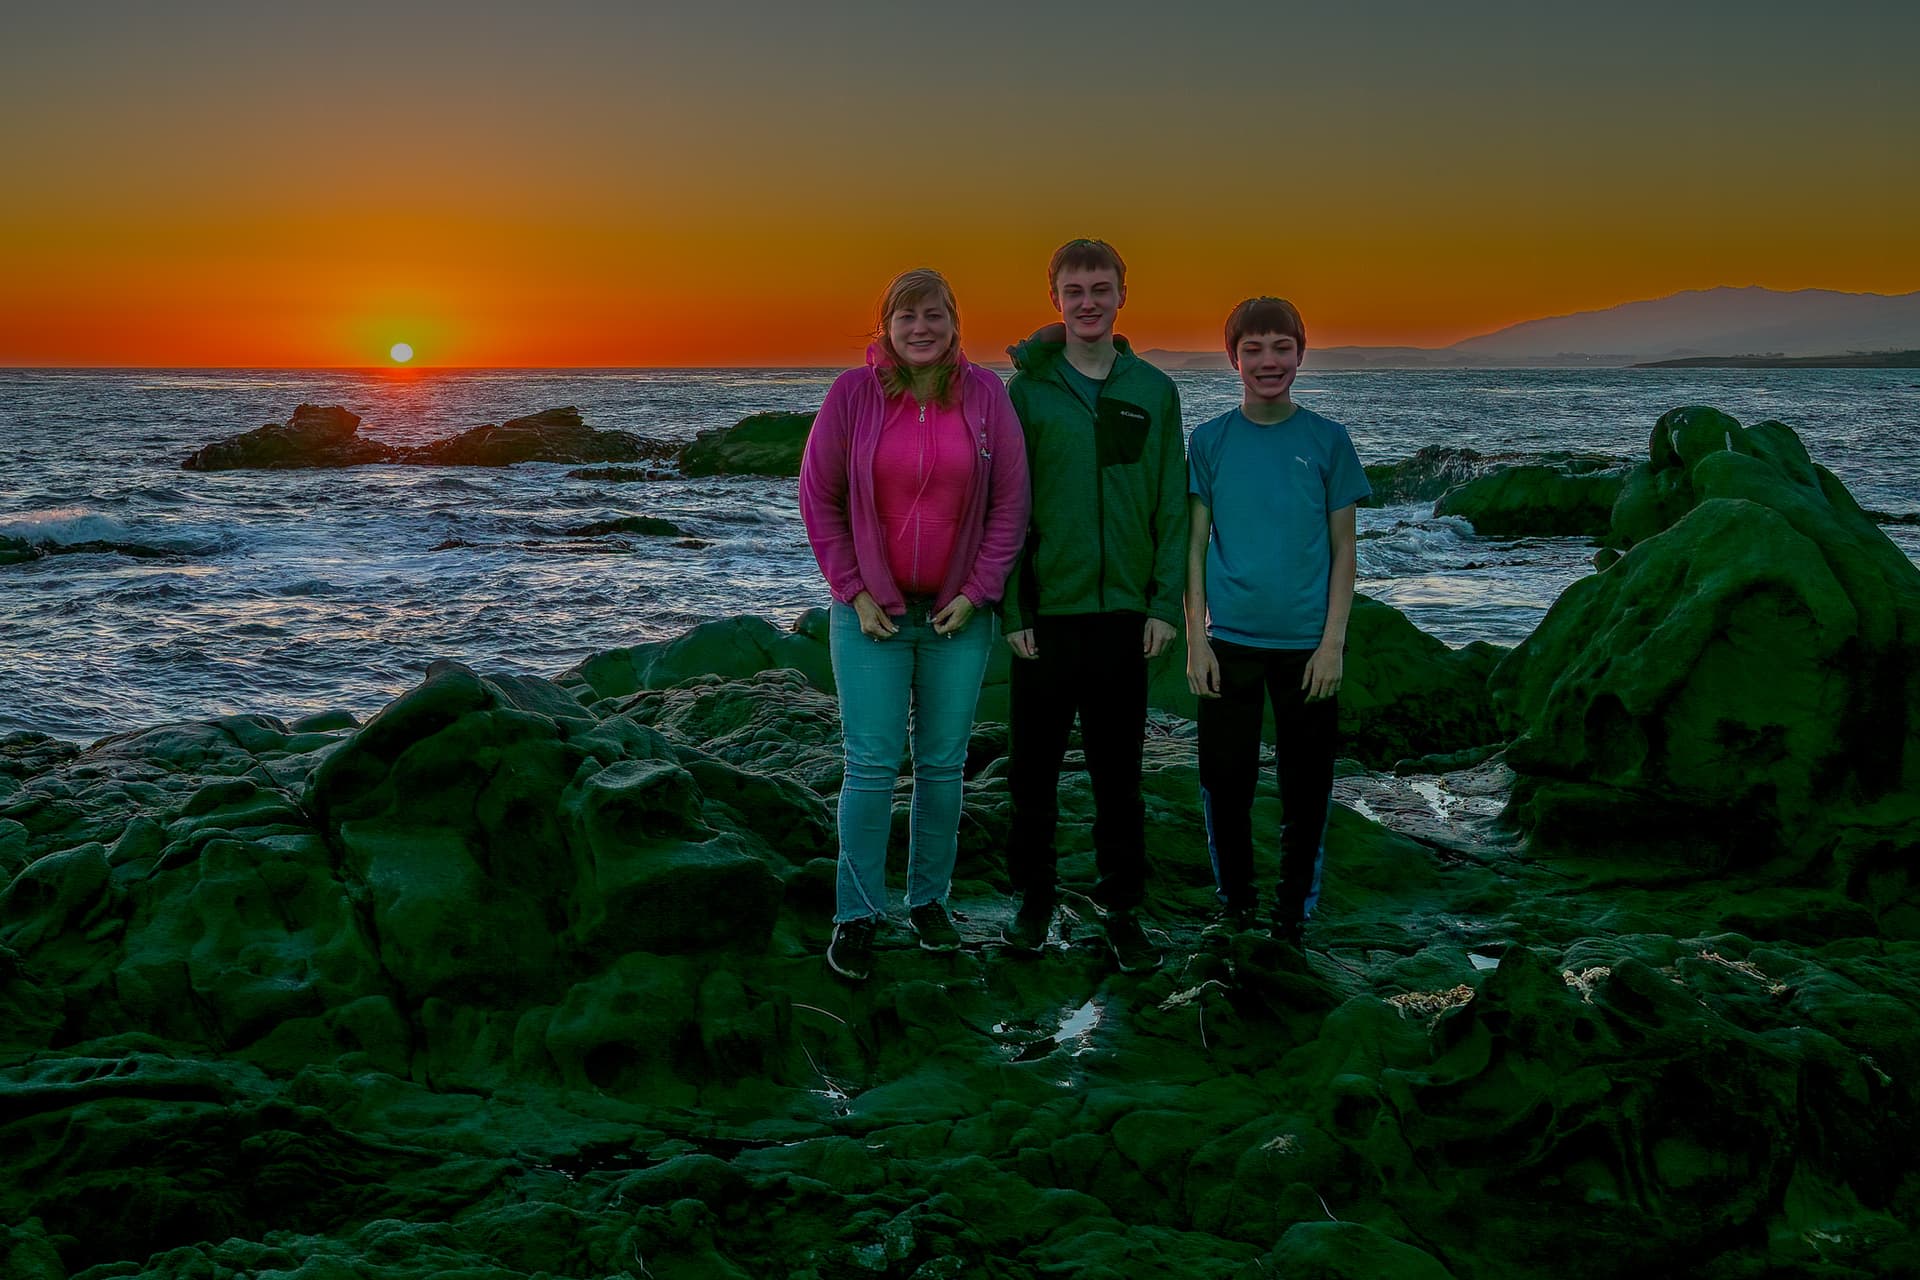
However if I just take one of the photos which comprise the HDR, it doesn’t really exhibit the problem (though the color and saturation is noticeably different after PhotoAI)
Original image (one of the images comprising the above HDR):
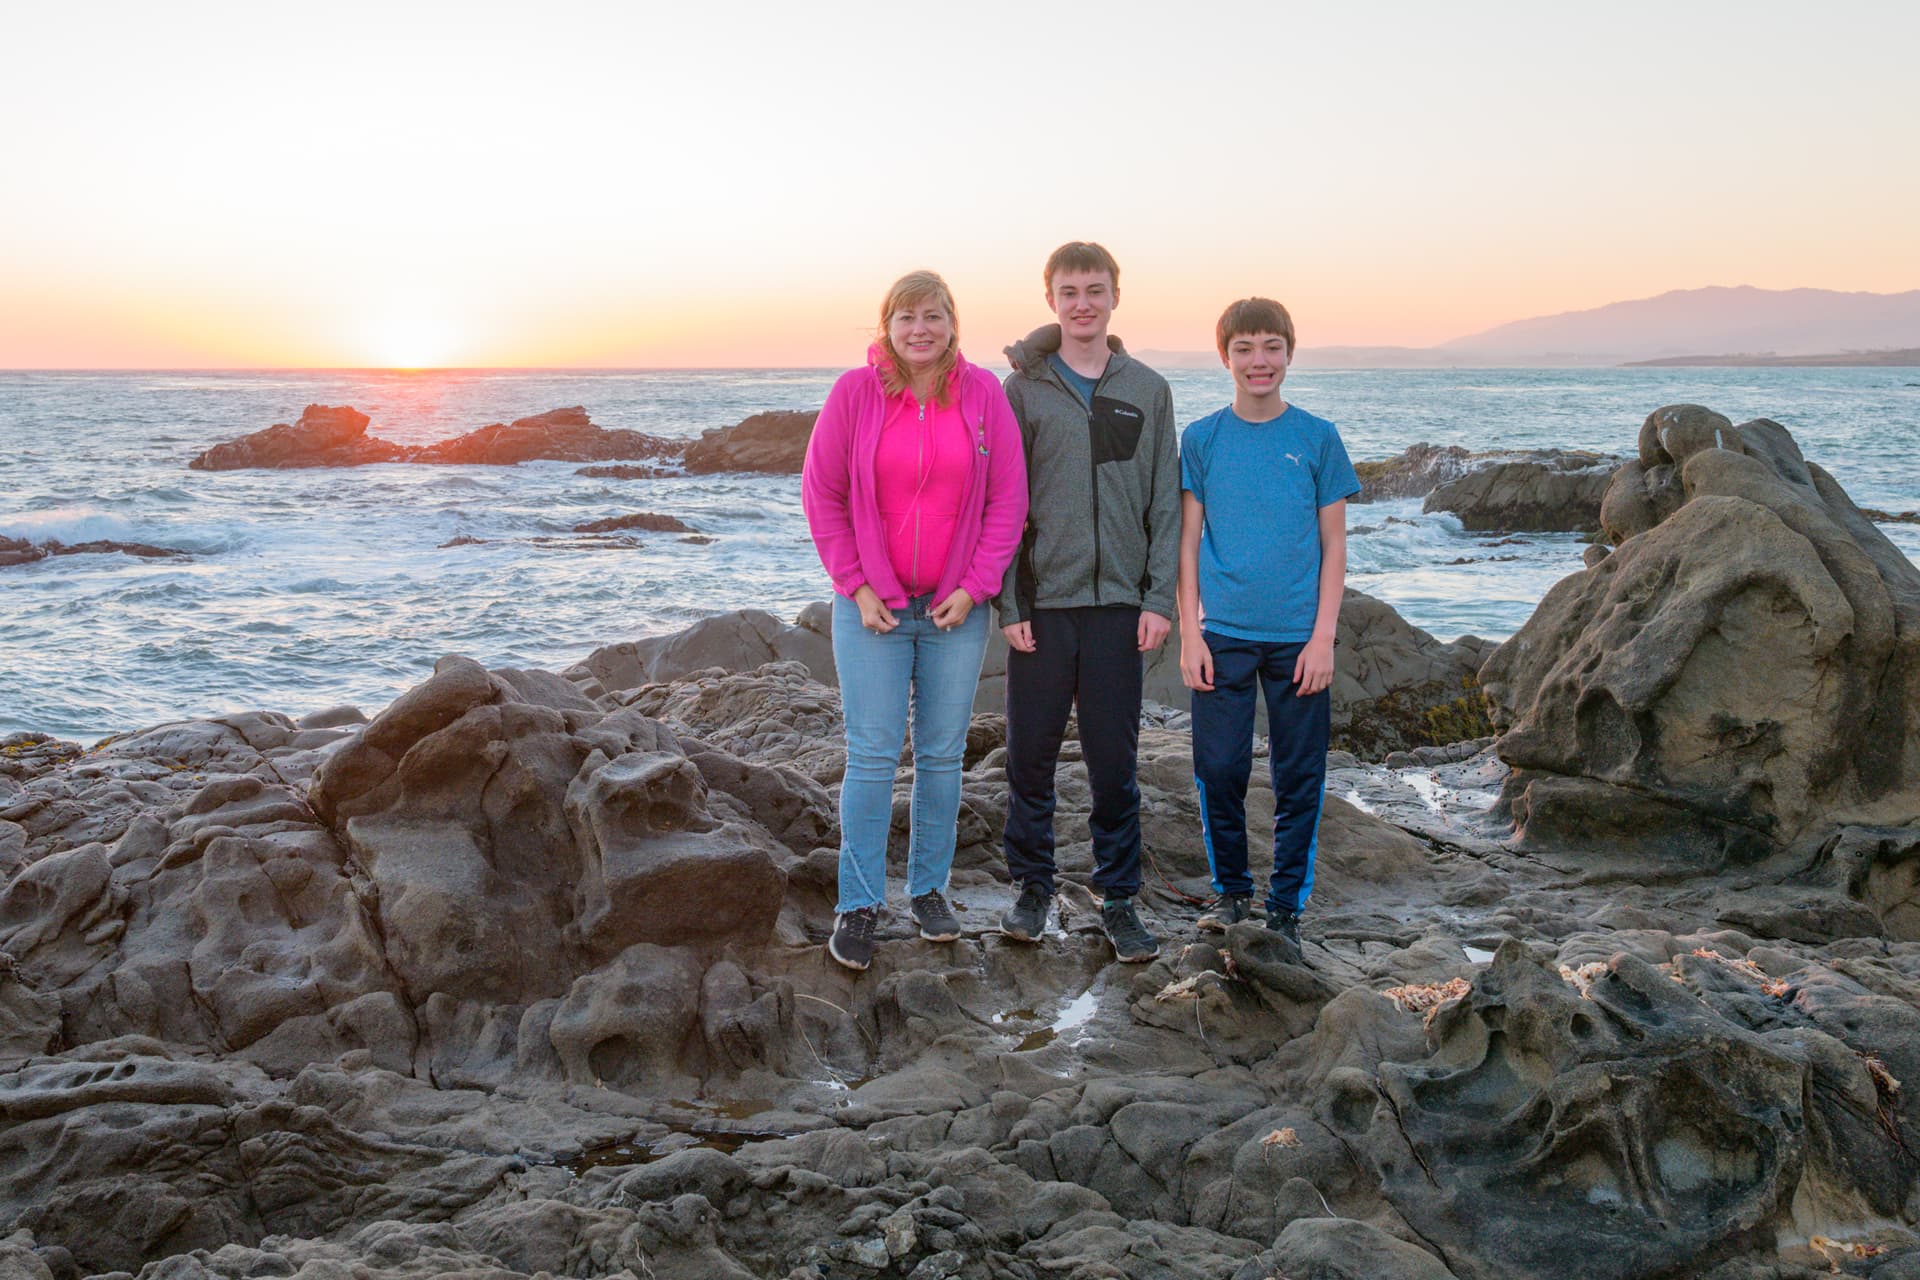
After PhotoAI:
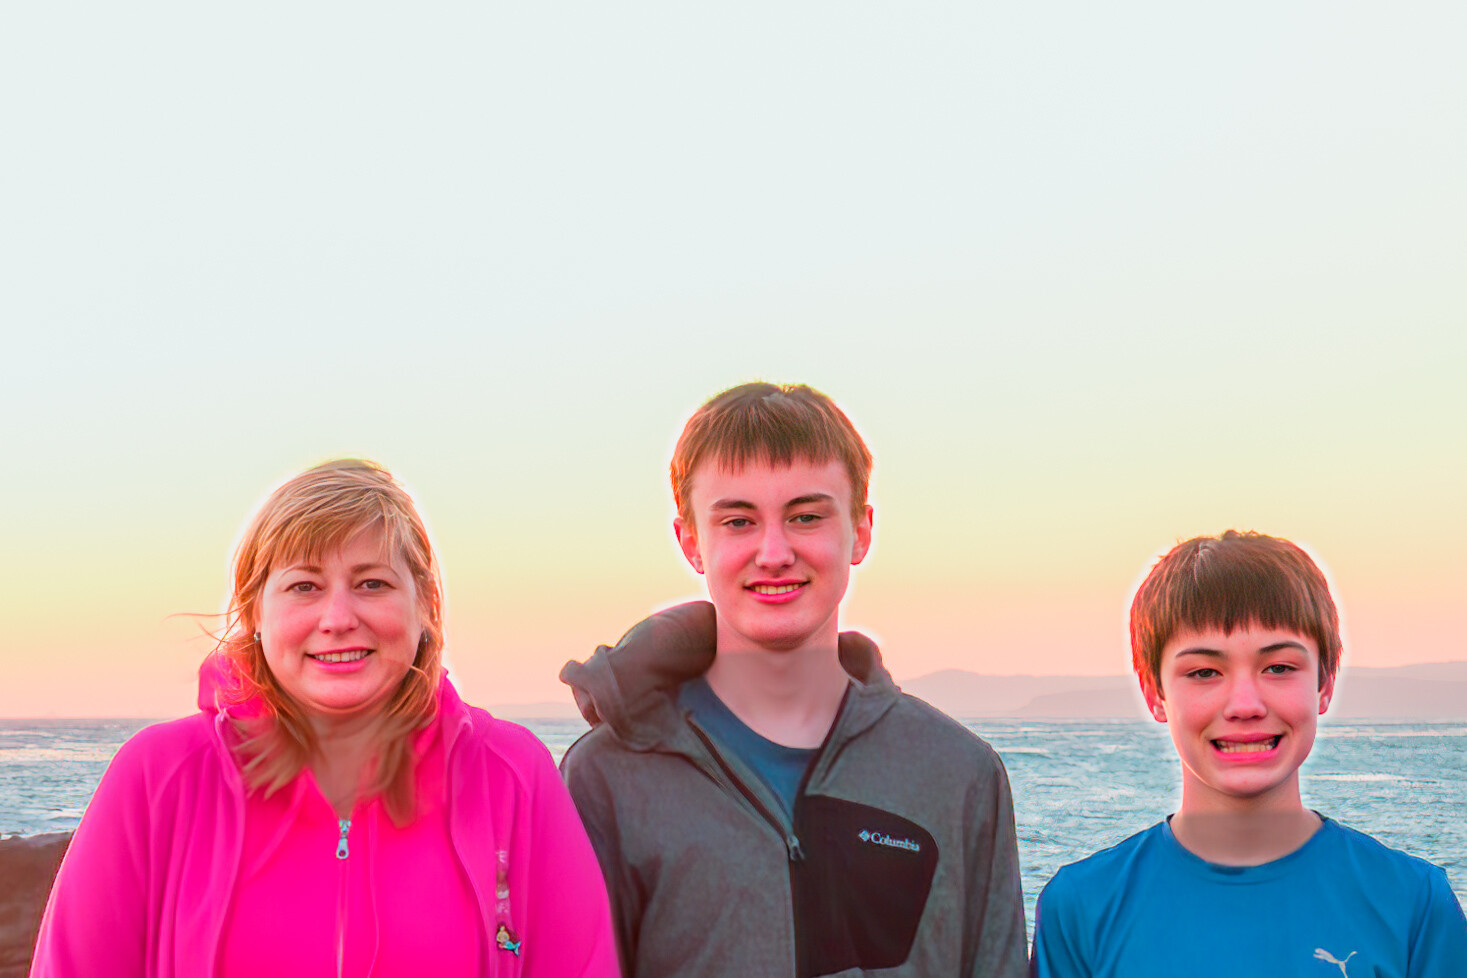
There’s also a pretty bad/noticeable halo around the subjects’ heads on the PhotoAI version:
One more thing, which is more of a feature request which I mentioned earlier. I really would like to have control back on the amount of sharpening when doing denoise, similar to the legacy Denoise product. Right now we just have a “strength” which controls (presumably) both the denoise level and sharpening level. But I’ve had images where I feel it’s doing too much sharpening and would like to dial that back. Right now when I run into those cases I have to abandon PhotoAI and go back to using the legacy Denoise.
1 Like
David - not sure I understand what you are seeing. I have a “strength” slider under the Noise reduction section which is separate from the “strength” slider under Sharpen. They seem to act independently.
1 Like
@klfletch18 The Noise reduction also performs some level of sharpening (even if you have the sharpening option turned off). It’s essentially the same as in the legacy products, where the Noise reduction is equivalent to the DenoiseAI product and the sharpen option is equivalent to the SharpenAI product. In the DenoiseAI product you have two options, one for the level of noise reduction and one for the level of sharpening. Whereas in PhotoAI the Noise reduction only has a strength slider, even though the noise reduction performs some sharpening.
I suppose it could be a little confusing to have a sharpening slider under the Noise reduction option, which is separate from the sharpening strength. But the only other option I can think of is to not perform any level of sharpening in the Noise reduction and force the user to enable the Sharpen option even if they want the “mild” level of sharpening that is/was done in the Noise section.
Hopefully that clears things up, but I fear I made it even more confusing … bottom line is that noise reduction performs some level of sharpening even if sharpen is disabled, and i’d like some control over that because sometimes it does too much of it.
Playing around some more with the same photo I used in my earlier comment, I’m noticing fairly different results if I save as DNG vs TIFF, including some strange shading.
I sent this raw NEF file to PAI, let it use the autopilot settings and then saved it as DNG and then saved it as TIFF.
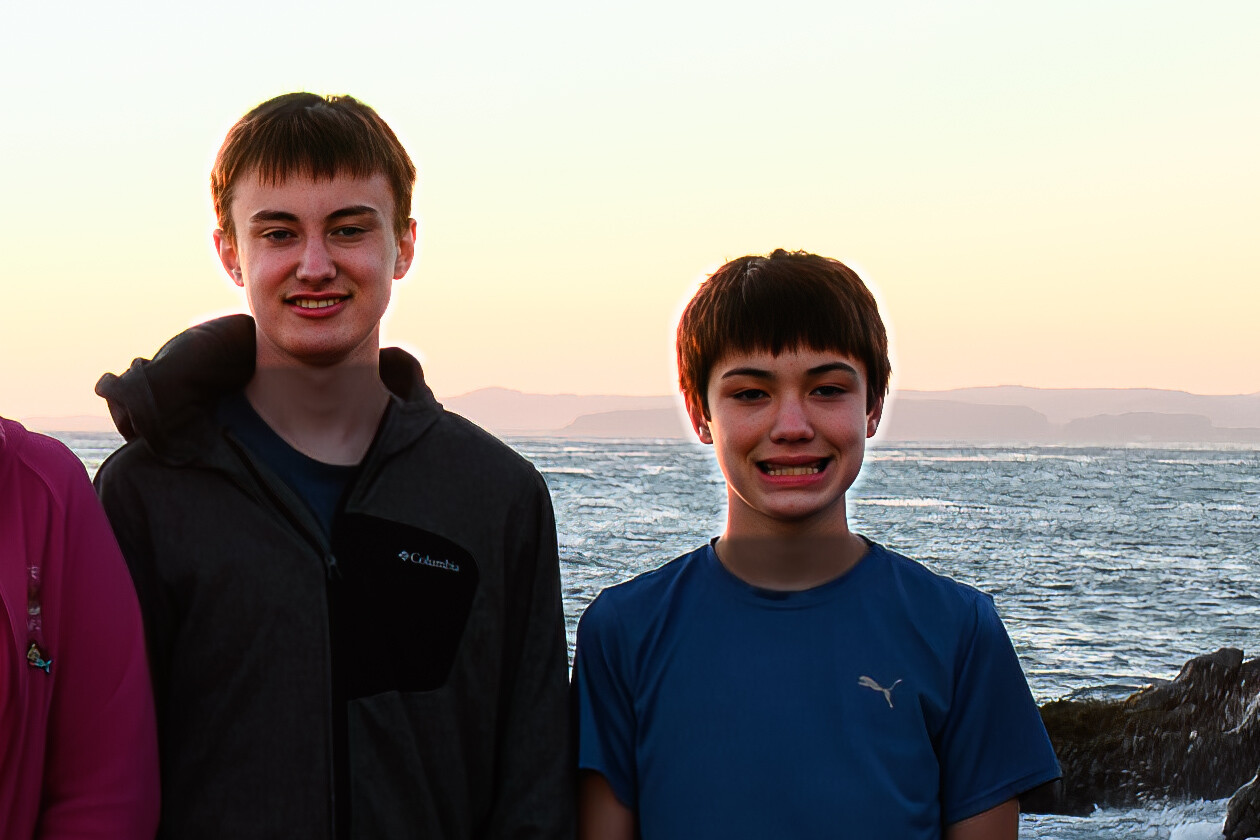
Here is the DNG, which has the noticeable halo around the heads, as I mentioned before, and it also has a weird shading line that occurs on their necks right below the chin.
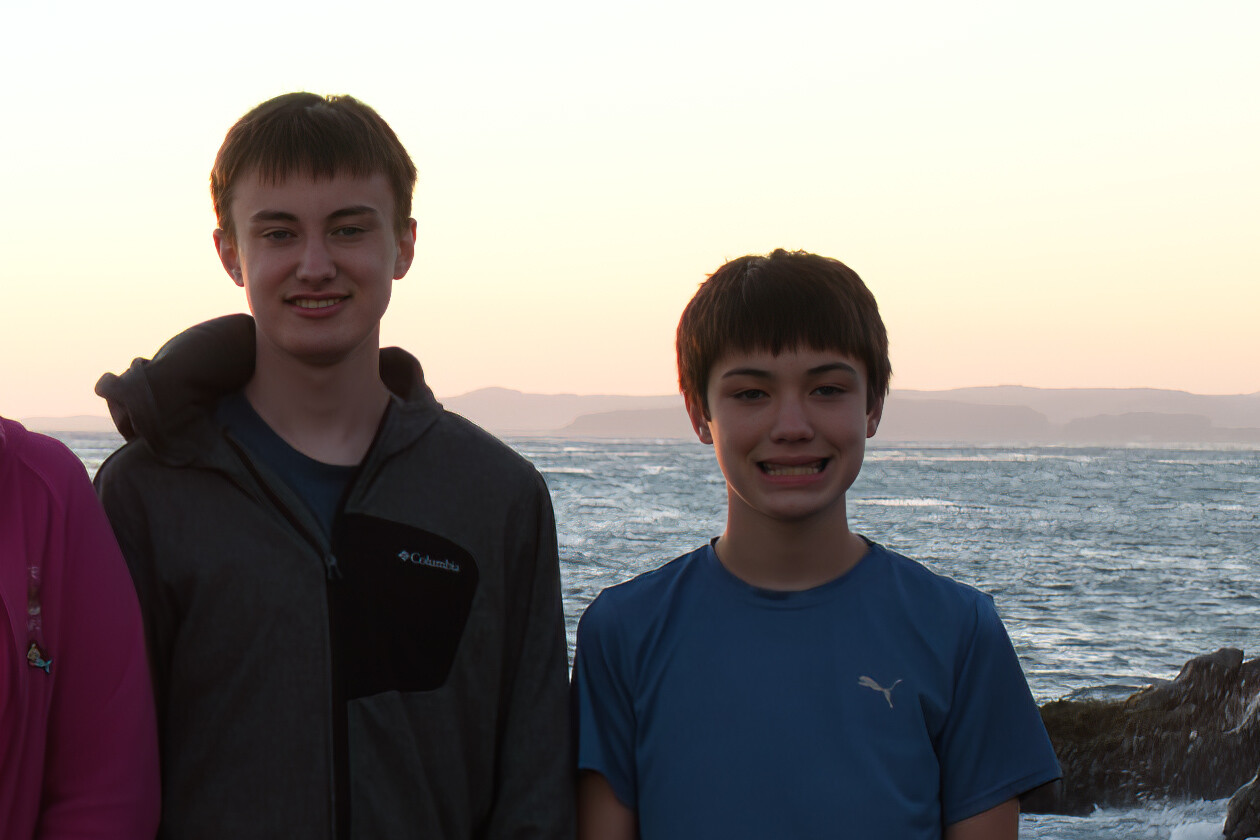
And here is the TIFF version:
Updated to v0.8. Using MacBook Pro Intel i7, men 15 GB, RDEON PRO 4 GB graphics with Monterey 12.5.1 OS. Using Topaz Photo AI as external tool and the AP tool seems to work with TIFF file from latest LRC. Have a issue when saving resulting image. I get error message: Cannot open output file. I have gone to Setup>Privacy and set Topaz AI to allow desktop and folders. Still get error message. So far not able to save file.
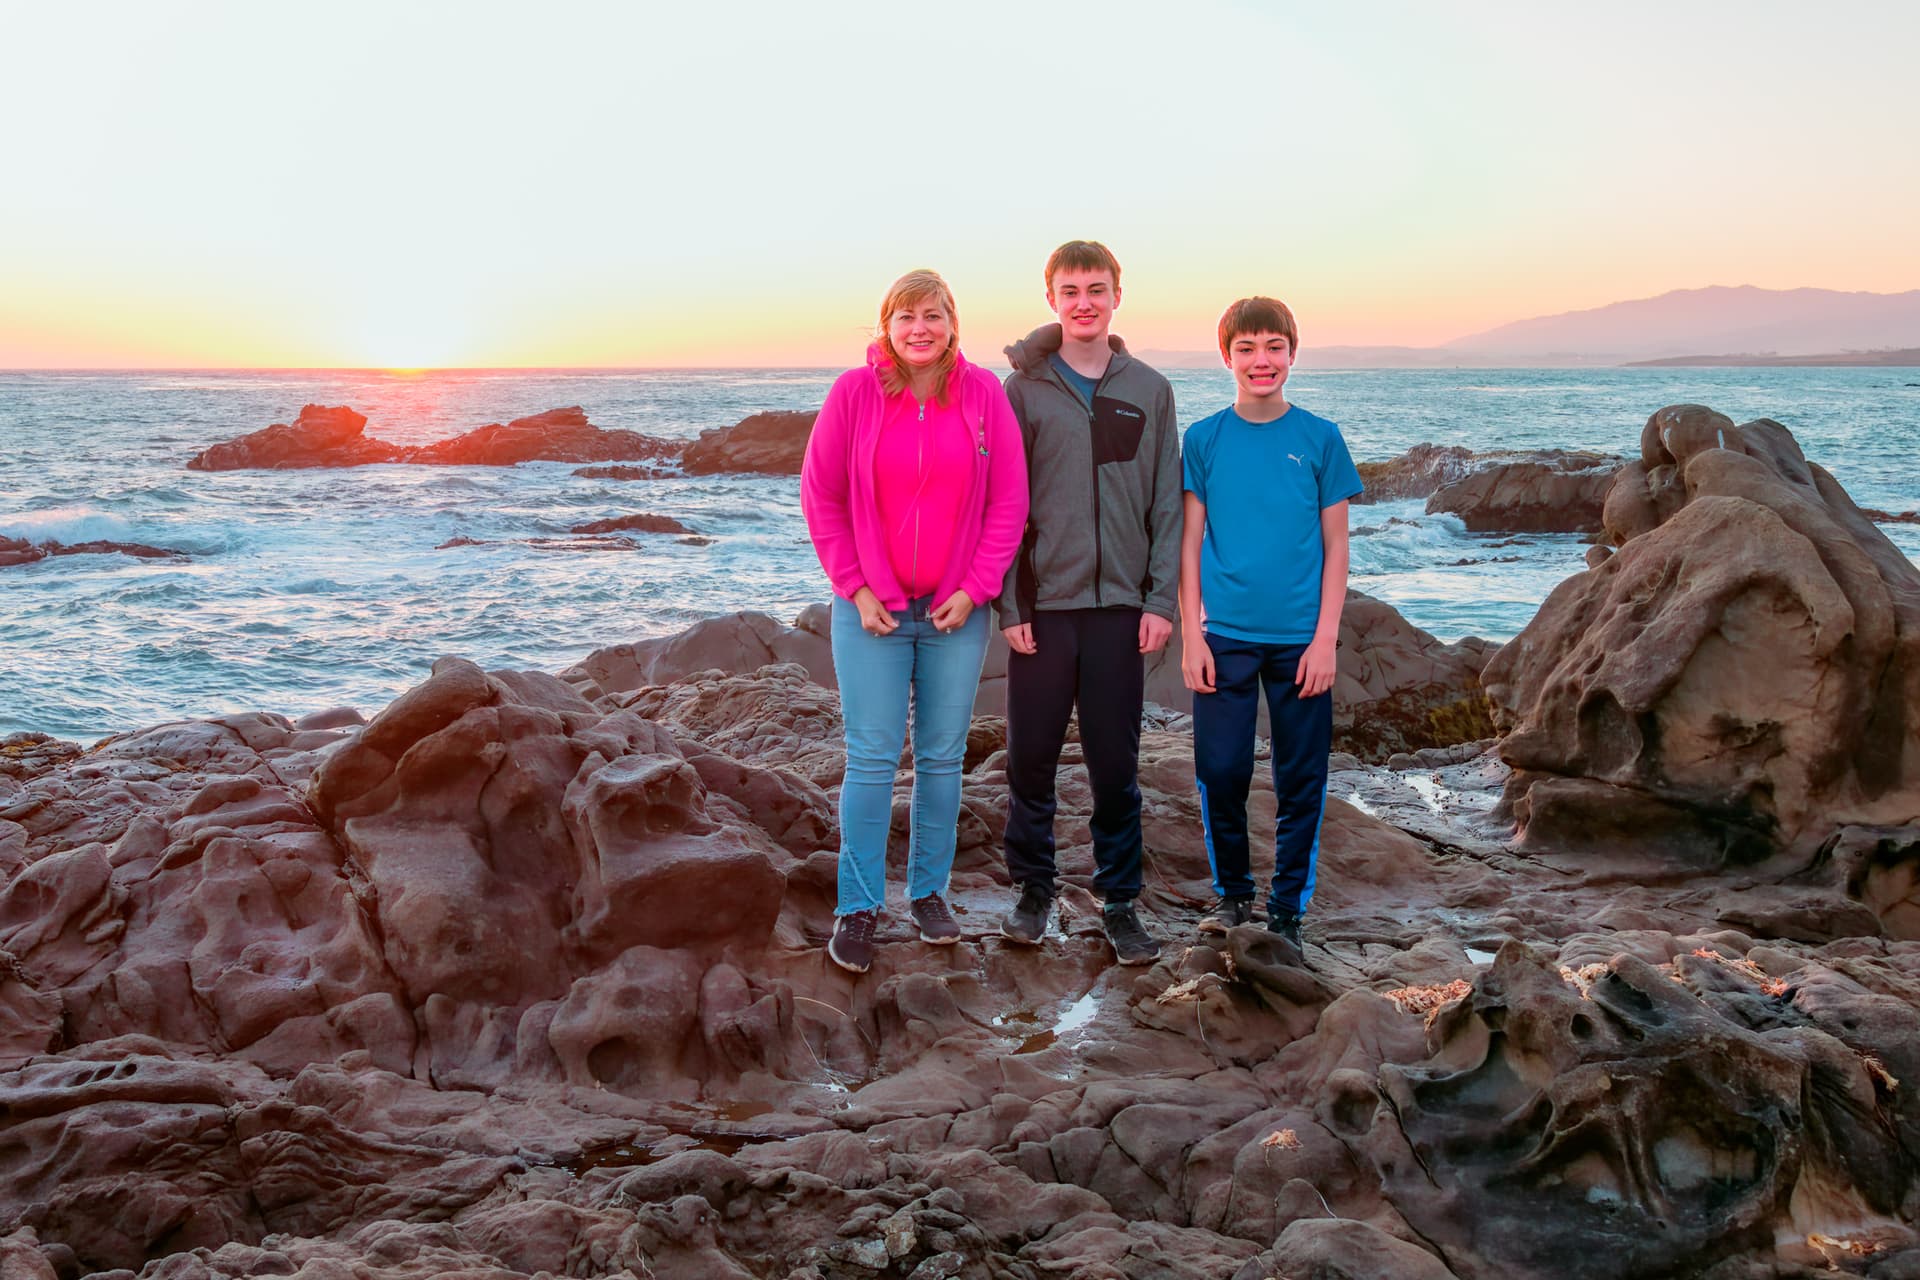
Hey there, team! This is my first time posting, so by all means let me know if I should adjust my notes here. They’re rather basic - I noticed on this photo from an iPhone circa 2010 that my teeth disappeared ![]() . They appear recognizable in the initial image, but not in the PhotoAI version.
. They appear recognizable in the initial image, but not in the PhotoAI version.
Current photo:

and the Photo AI version:
Perhaps this is not exclusive to Photo AI and perhaps should be moved over to GigaPixel, but saw it here first. Thanks for all the hard work!!
I like to be in control regarding camera profiles. Could Topaz Photo AI make the application/assignment of a camera profile optional???
Enjoying PAI so far. I use Affinity Photo so while I can call PAI from within Affinity, it is only relevant for JPG for Affinity.
To test the Raw file capability (Canon CR3 in my case) there seems to be some difference in what subject detection does on the ‘same’ photo. JPG and RAW.
Face detection tends to only find front on faces in the photos I have tested so far.
Although having said that some baseball photos I have sometimes pick up the catchers face (thru his facemask - surprised me) and sometimes not.
One feature I would like. When hovering over the ‘eye’ in the Autopilot section for Subject detected OR 1 of 2 faces etc that the mask show on the thumbnail above the Autopilot descriptions. When the picture to the left is at 100% or 50% a lot of the masking is not visible so its hard to figure out which faces have been detected or what subjects there are.
Using PAI on Win10 desktop as a plugin to Elements.
I see that the Resize options are now shown with a note that they don’t work in Elements. Will resize be available in PAI for Elements in future?
I very much like having the ability to sharpen and denoise at the same time but Autopilot only selects Noise Reduction or Sharpen but never both.
What is Enhance supposed to do?