We have a new update to Photo AI Early Access. This is an exciting one, with a brand new feature that we believe will really tie everything together! We call it Auto Pilot, and basically it replaces “Top Level Auto” with a similar system that can tell you what about your image it detected, and the specific values it’s recommending based on the detected items. In the future we’ll be improving the logic behind it and showing more information to the user about its decision making process. In the meantime we’d love to hear all your feedback about the user experience and how good of a job it’s doing.
If you own DeNoise, Sharpen, and Gigapixel with up-to-date licenses then you have access to Photo AI. You will need to claim a Photo AI license by going to your account before you’ll be able to login.
This is an early access release, so there will be some issues you may run across. Issue reports and general feedback are much appreciated. If there’s a specific image you’d like us to see, you can send it to us at this dropbox link. Below the changelog are a list of issues we’re already aware of.
Changes since 0.2.0:
Implemented Auto Pilot (replacing top level auto)
Improved face recognition model
Fix orientation issues
Fix Apply Settings to All sometimes skipping over some off-screen images
Support device pixel ratio in navigator
Fix very large images crashing on export
Fix enhance filter not caching its results
Fix split view not matching up when image is smaller than preview area
Various visual tweaks
Known Issues:
-Use these Settings for All not applying to all images sometimes (tends to happen more when using this option on an image that isn’t the first)
-Vertical RAF images open up horizontally
Downloaded/installed .3 PAI with no issues (overwrite of .2).
Just got new desktop PC midday today (my Win 10 machine died - ). Specs: Win 11 Pro. AMD RX6800 XT. Intel i9 12th gen CPU. 64GB RAM (carried over from old PC). 1 TB SSD.
In Standalone:
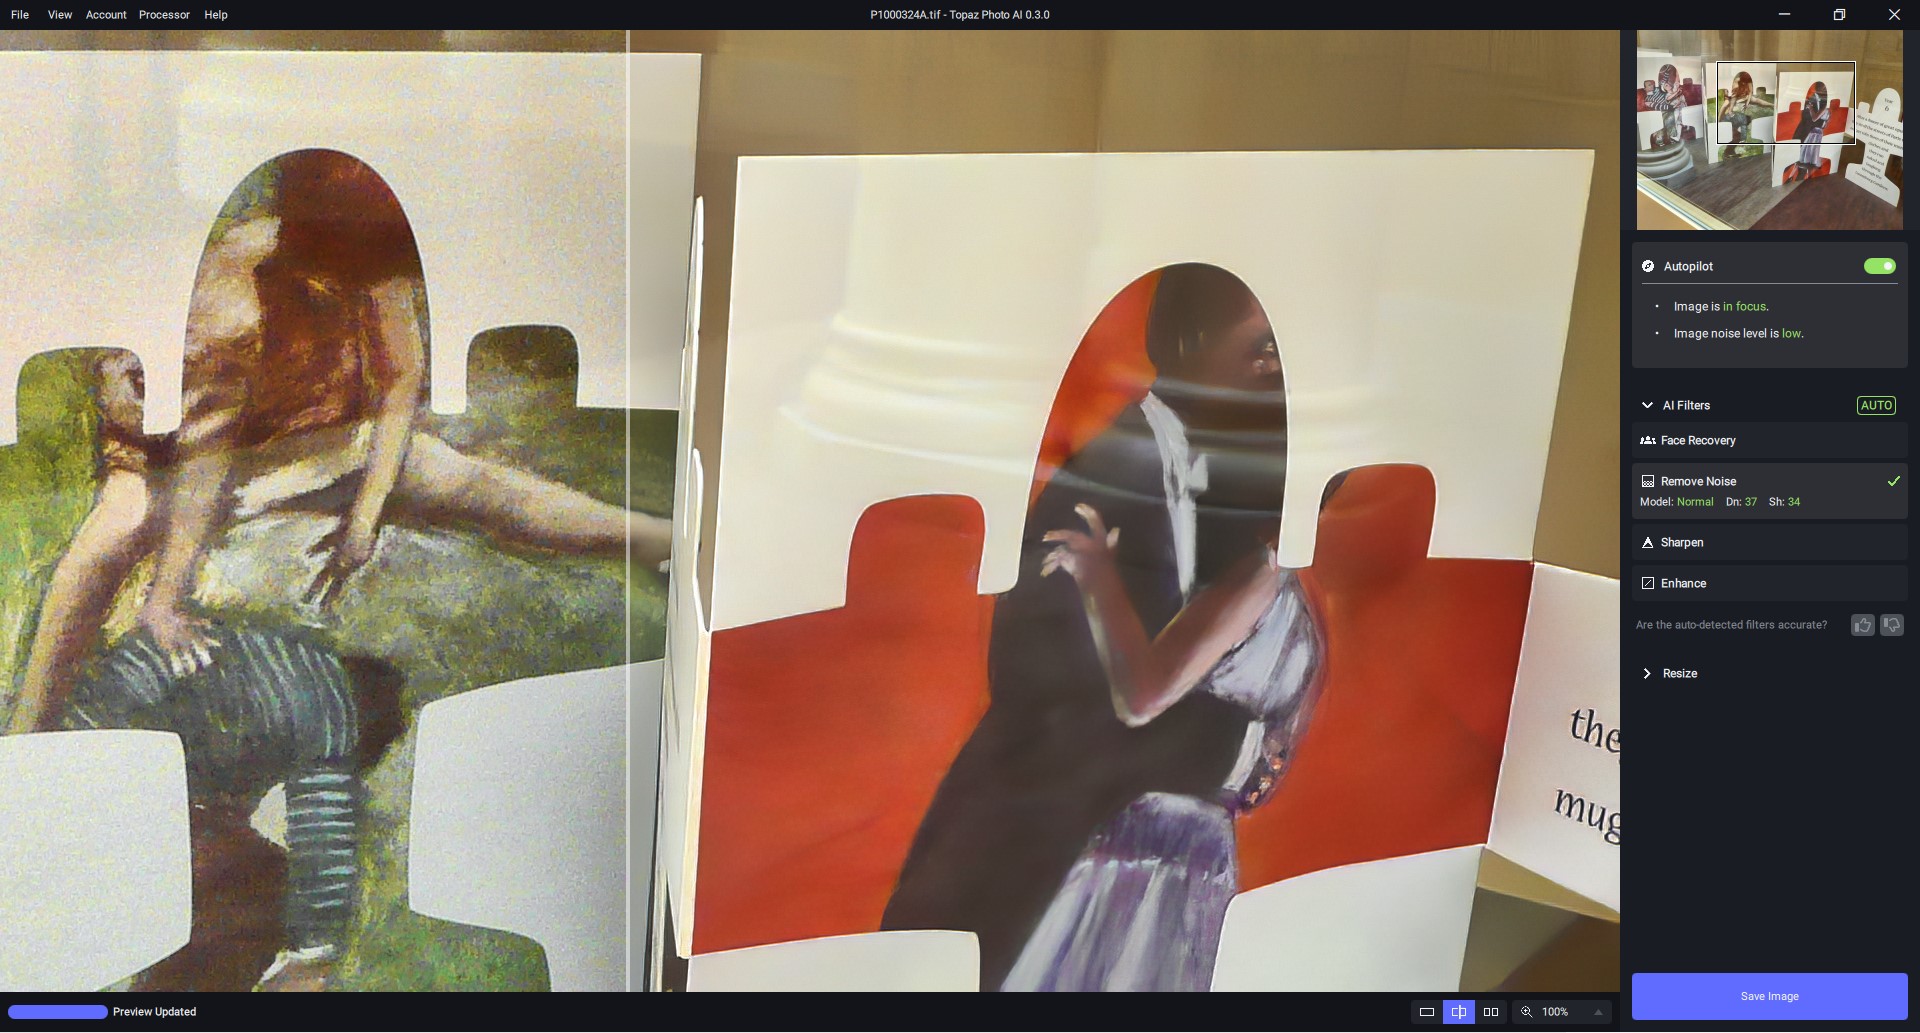
I like the aesthetics & info provided with the new AutoPilot feature. Love that it’s telling me what it sees & thinks. Then I can assess if we’re on the same page. (When it can start making me a latte then you’ve got your moneymaker!).
I also like that the Auto for Denoise (which is what Autopilot selected) tells me the settings. Yippee!!! Have wanted to know that info in the previous versions. So if I want to make manual adjustments I know where to start from versus starting from scratch experimenting.
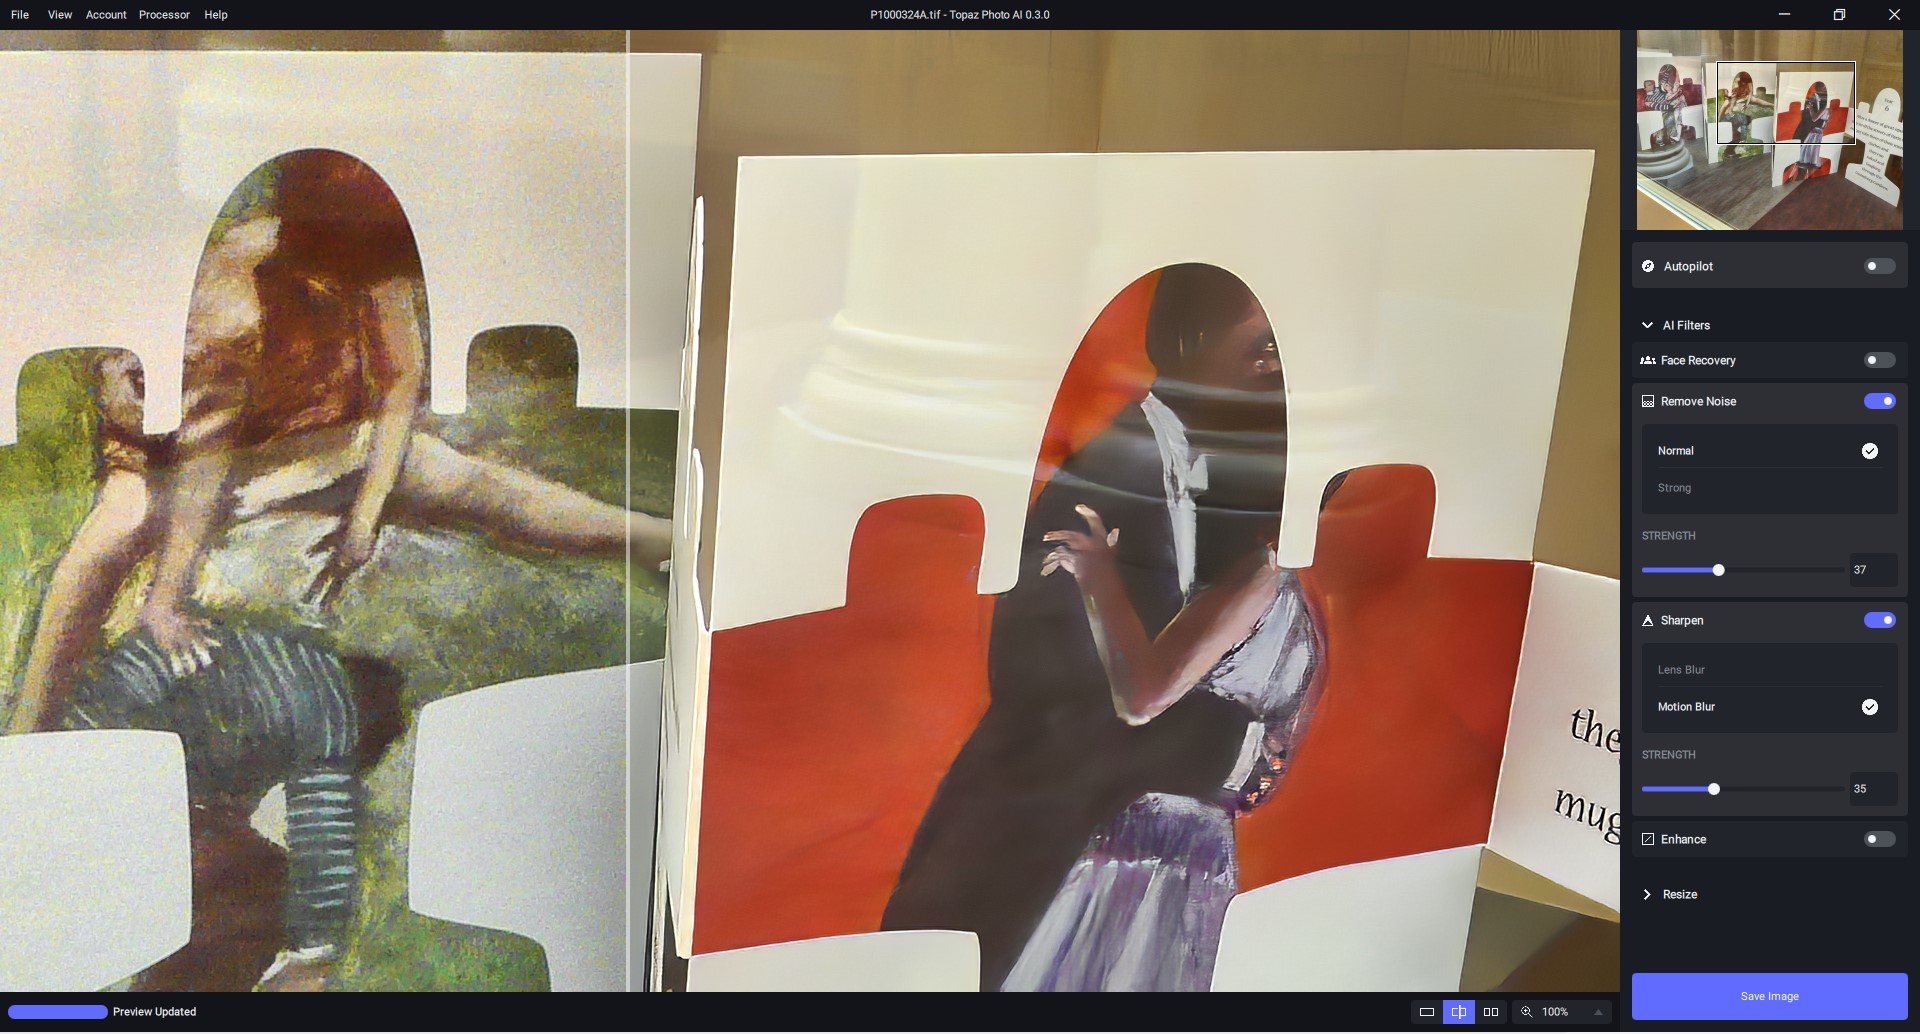
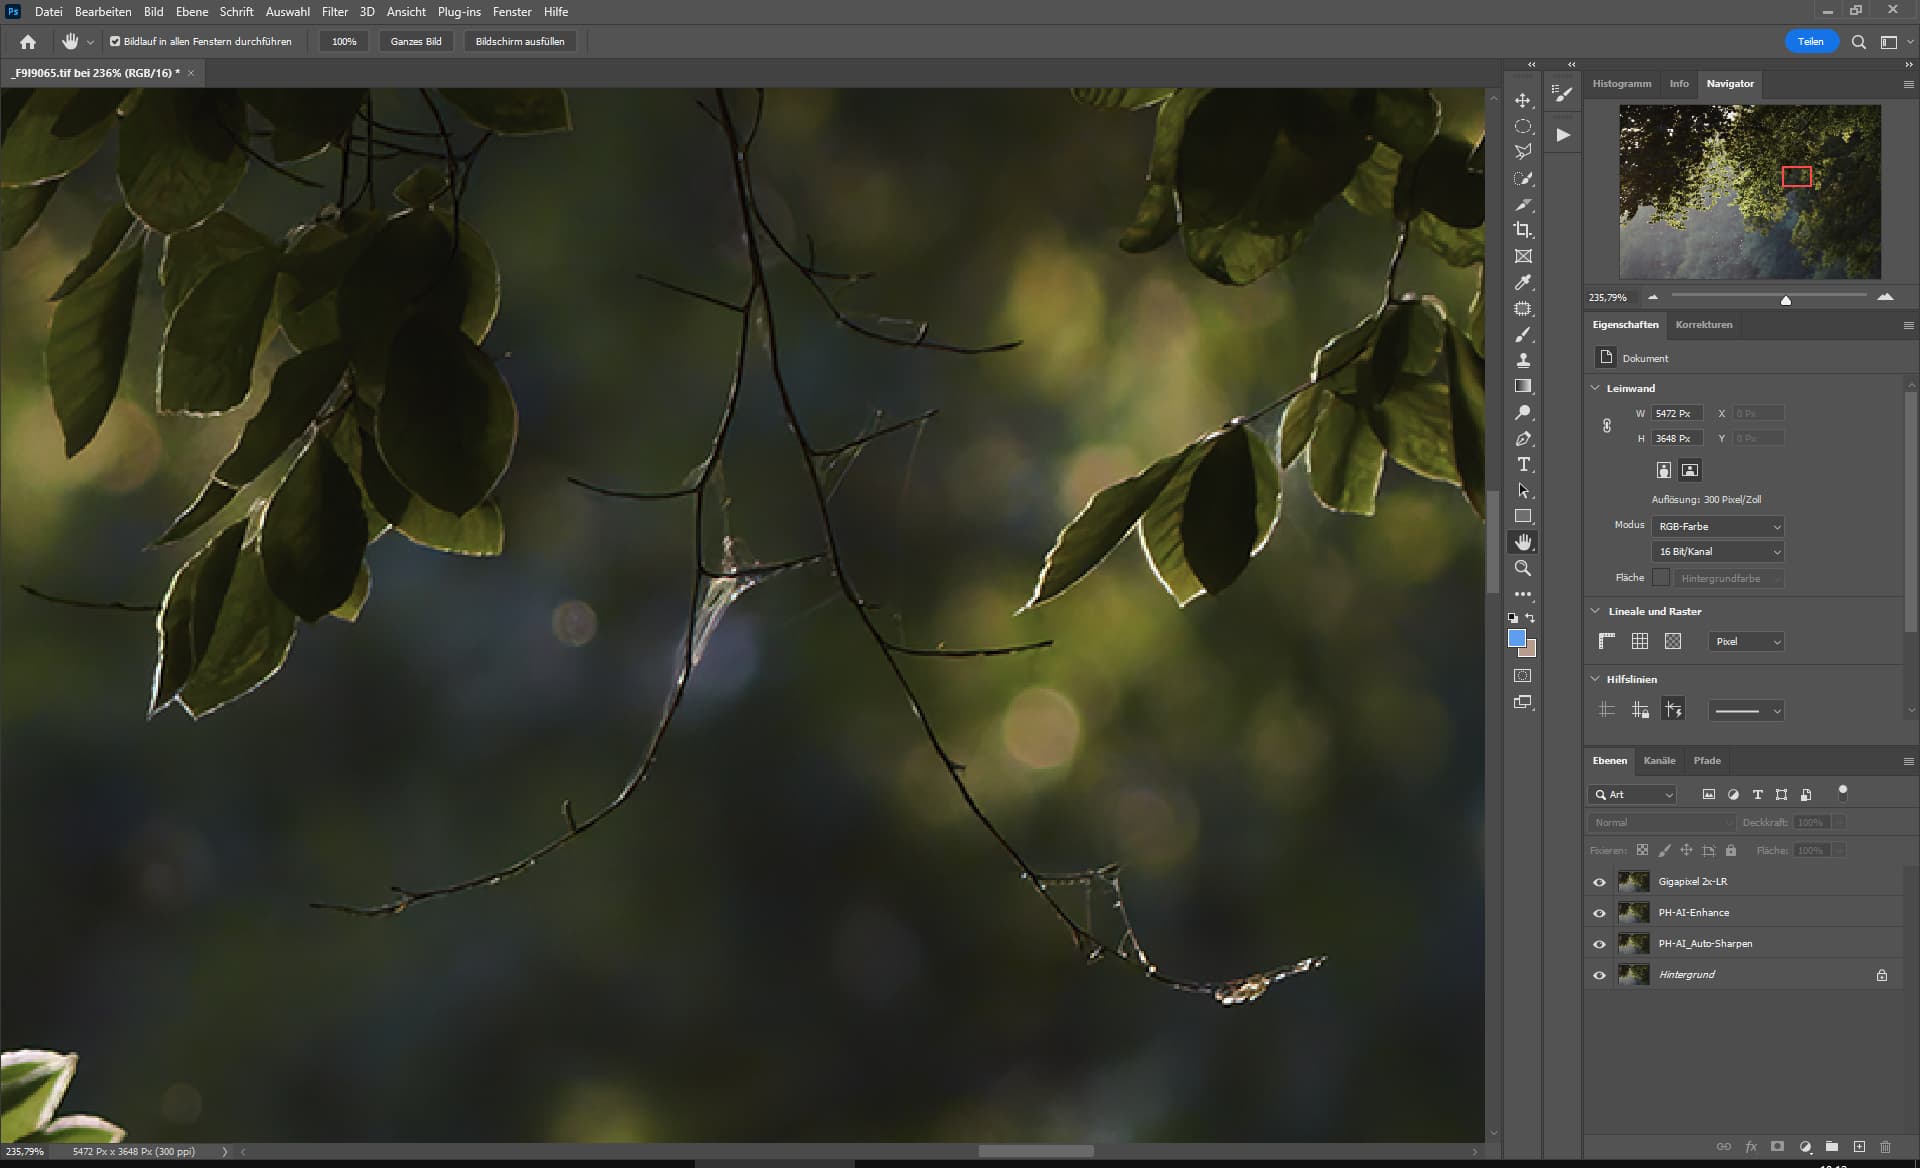
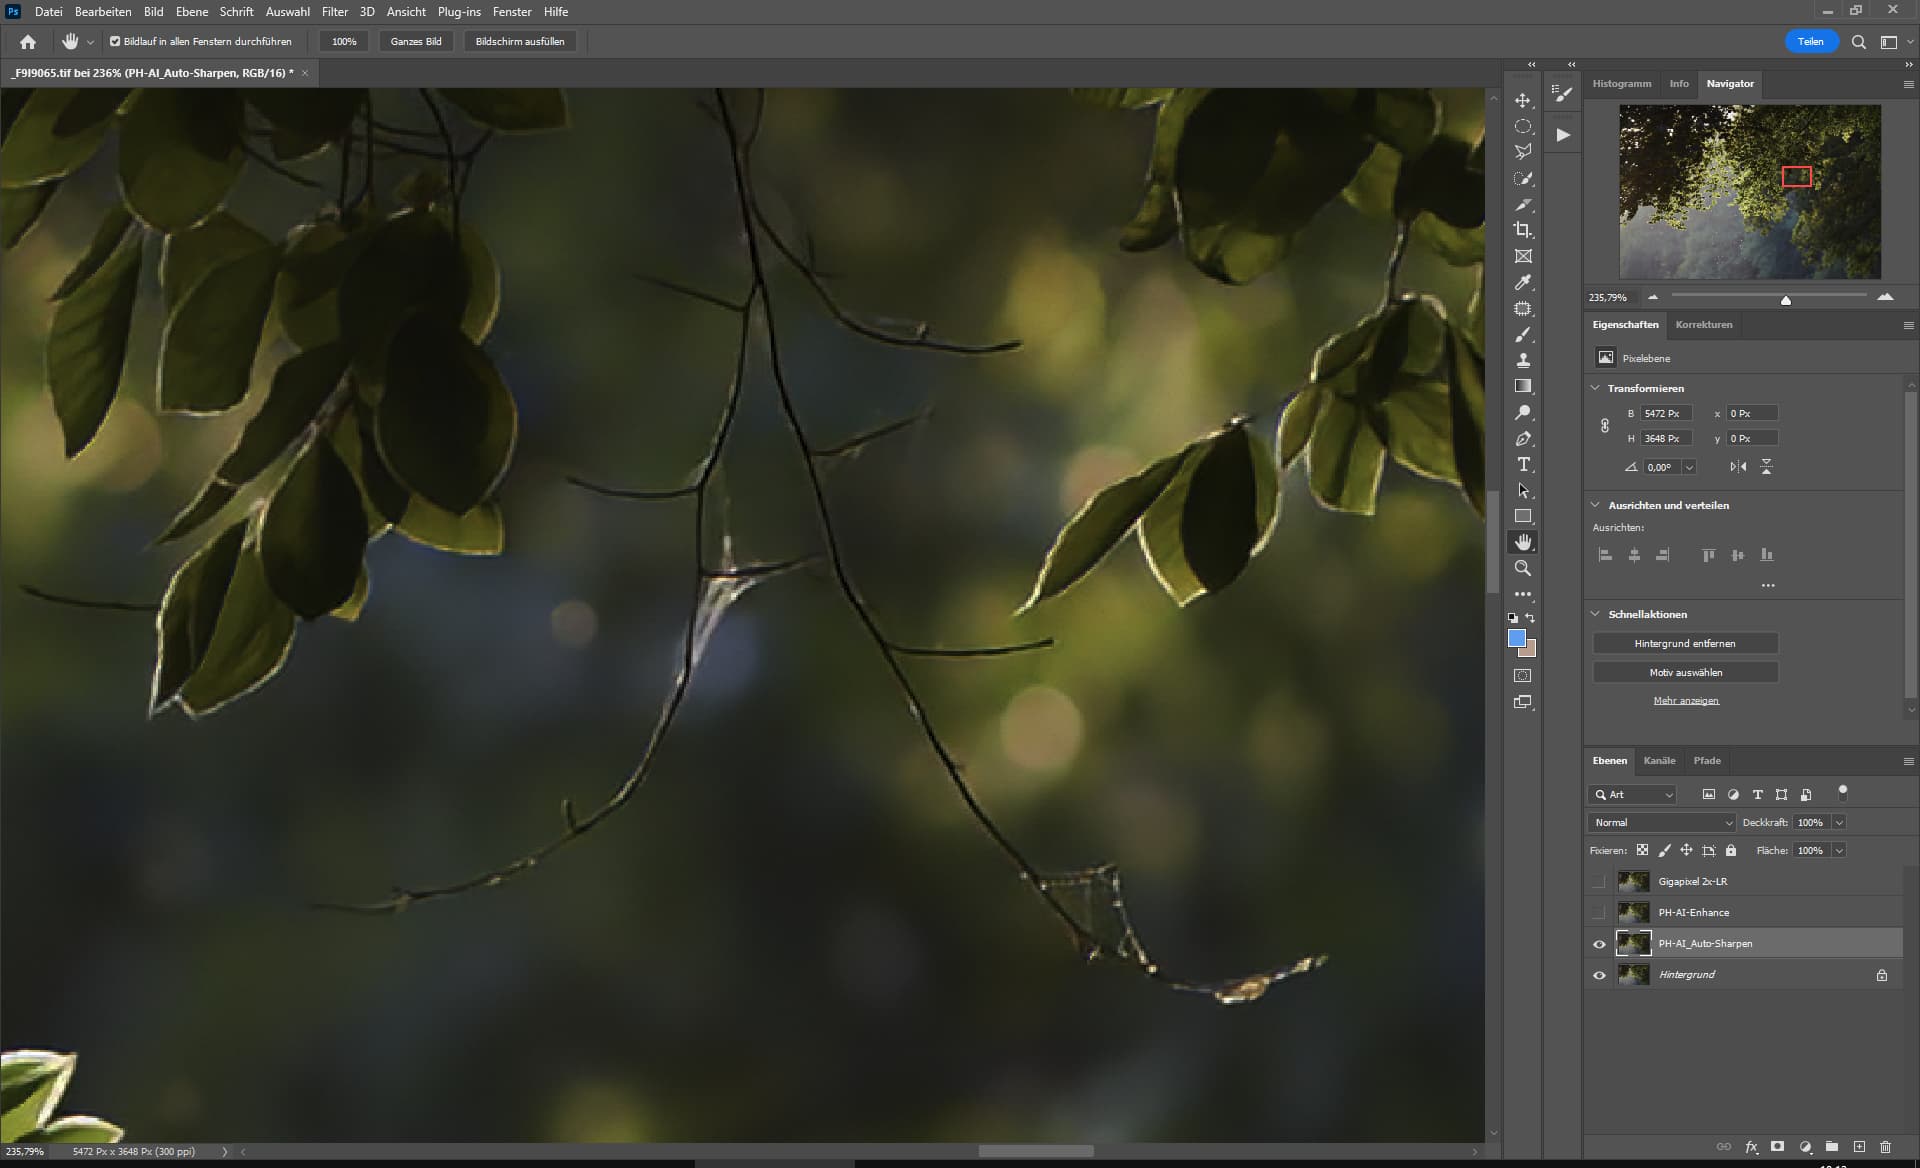
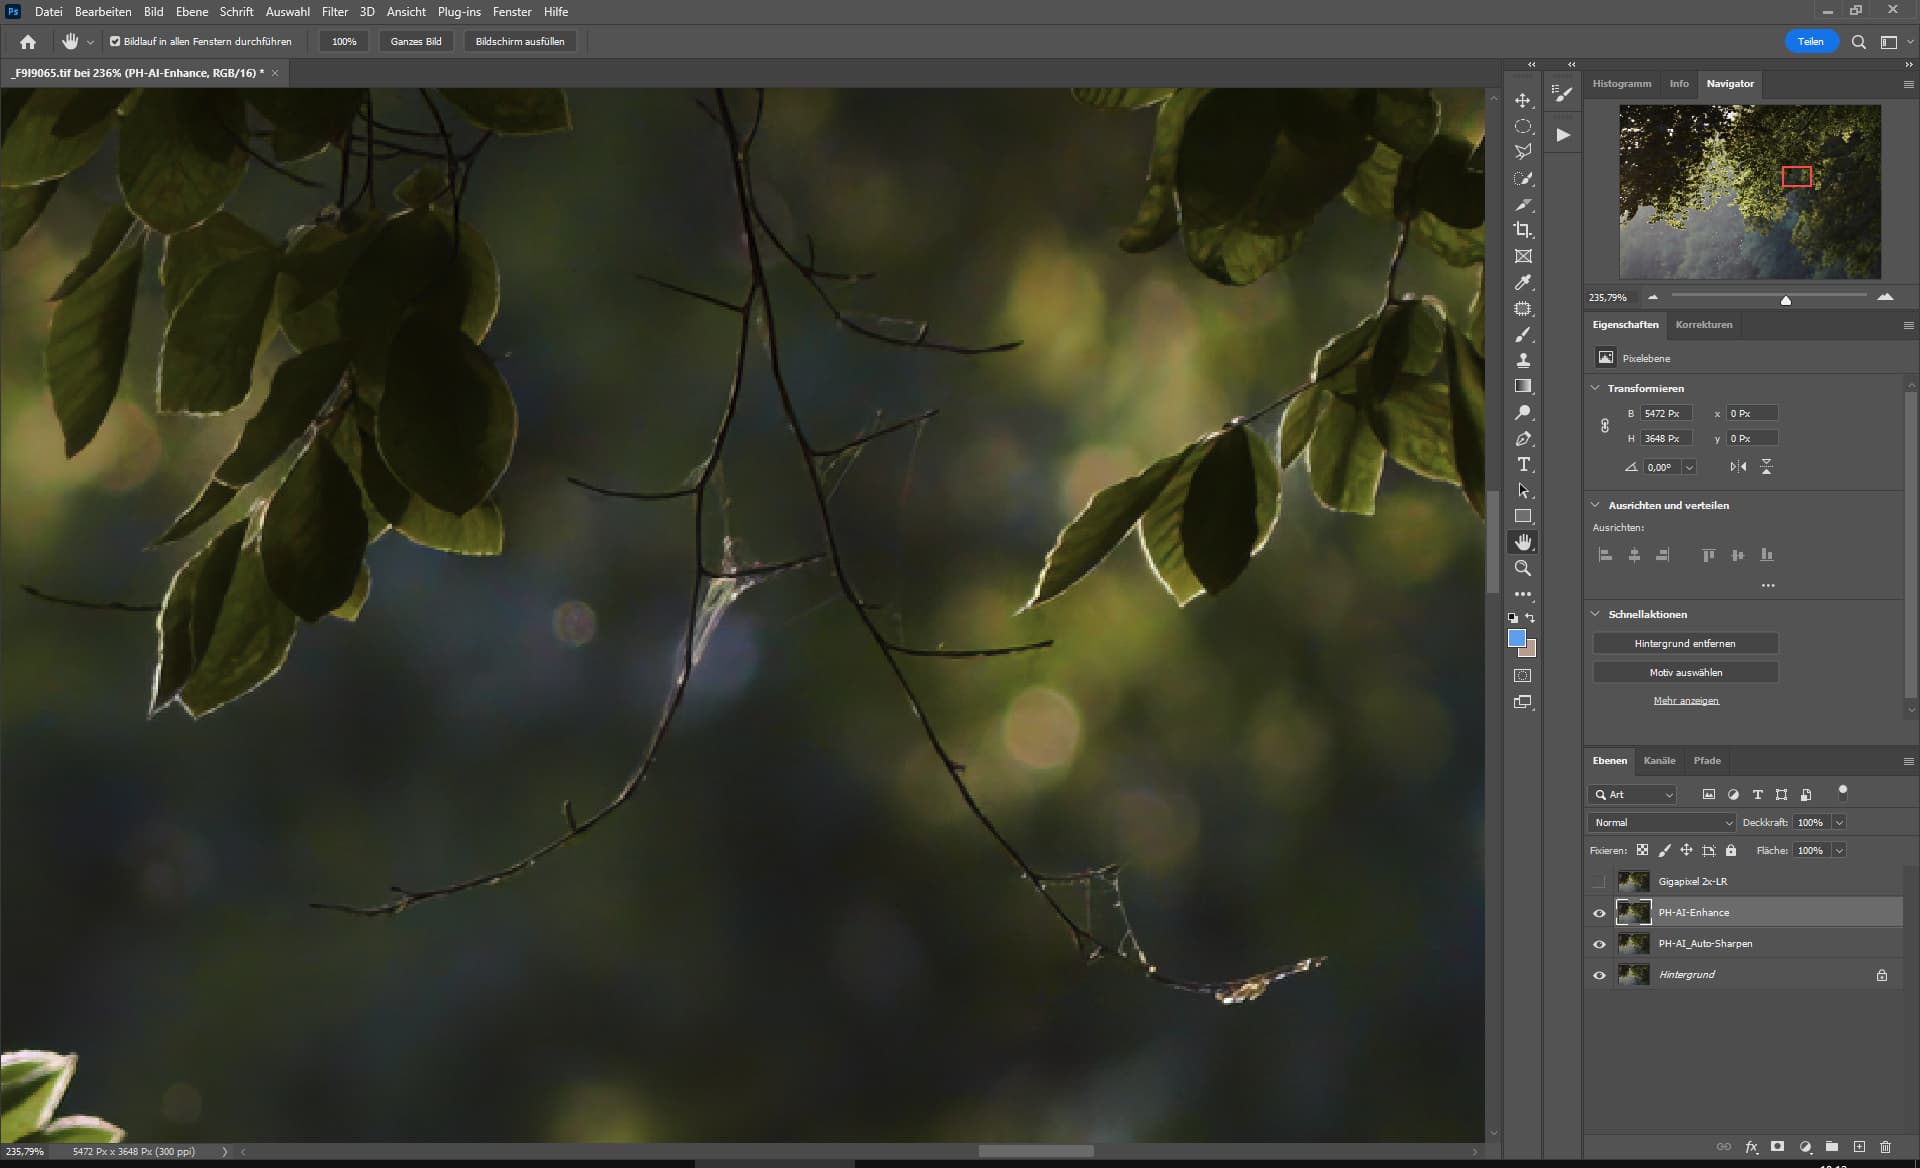
I turned Autopilot off so I could add Sharpen to see what it would do. I didn’t see much obvious difference. Which, I guess, is a good thing b/c it means Autopilot didn’t really need to select it and made the right choice. I’ll attach the comparative snips of what Autopilot did and how the preview looked with Sharpen added below. Labelled in filenames.
Surprisingly (ha ha) with my new PC’s components the image preview processed in a few seconds… Funny that! And I didn’t even get the RGB case with the blinking disco lights!!!
** The one thing I’m wondering about - usage-wise - wrt Autopilot … Maybe others might have diff. ideas. I felt as if when I clicked on Sharpen to see what that would do that it should turn off Autopilot automatically b/c I was trying to go into a manual adjustments mode. But Autopilot didn’t just turn off in deference to me attempting some manual switch use. **
Thanks for the feedback! For the last part, it’s intended at the moment to turn Autopilot off in order to be able to manually tweak the settings. We may rethink the logic at some point though. Any feedback about that is much appreciated
If I send a RAW or DNG file to Photo AI I am able to make adjustments but when I try and save result back to external editor Photo AI tries to write the new file out as TIFF but fails with error about not being able to create output file.
I have had this problem sending from both On1 PhotoRAW and DxO PhotoLab.
If I open the same file directly in Photo AI and then save it then it creates a TIFF file which it seems to be trying to do when called from external editor.
More options about saving are given when saving a directly opened file and there is a note linked to preserve input format which says RAW files will be converted to 16-bit TIFF.
It looks as though Photo AI knows that it has been called from external editor and behaves in a different way which tries to do the writing out of RAW file as TIFF and fails.
This has been the case with CR2s sent to AI and then told to preserve format , it always ens up as a 16 bit tiff . If you ask PS RAW to open tiff files in RAW , they will go in OK but lens data etc is not available.
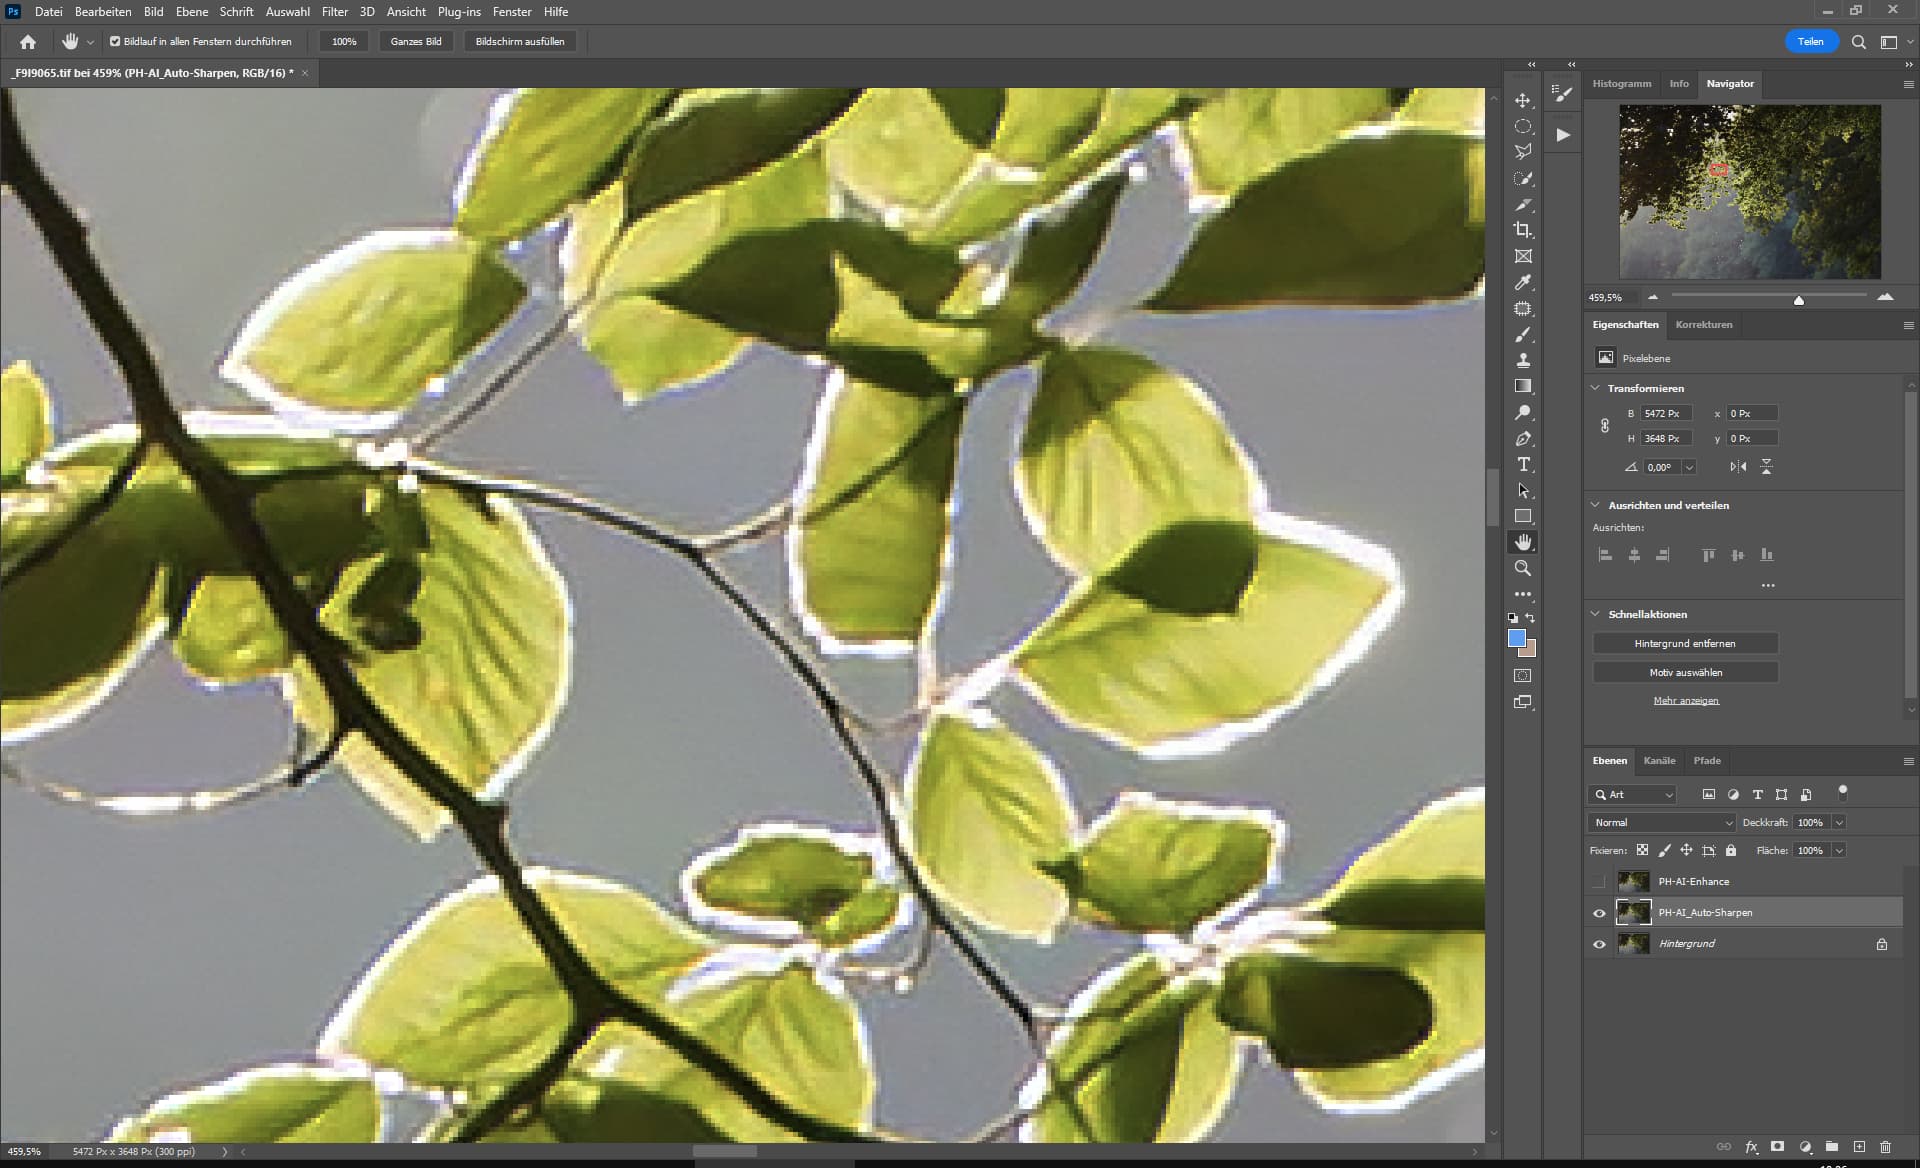
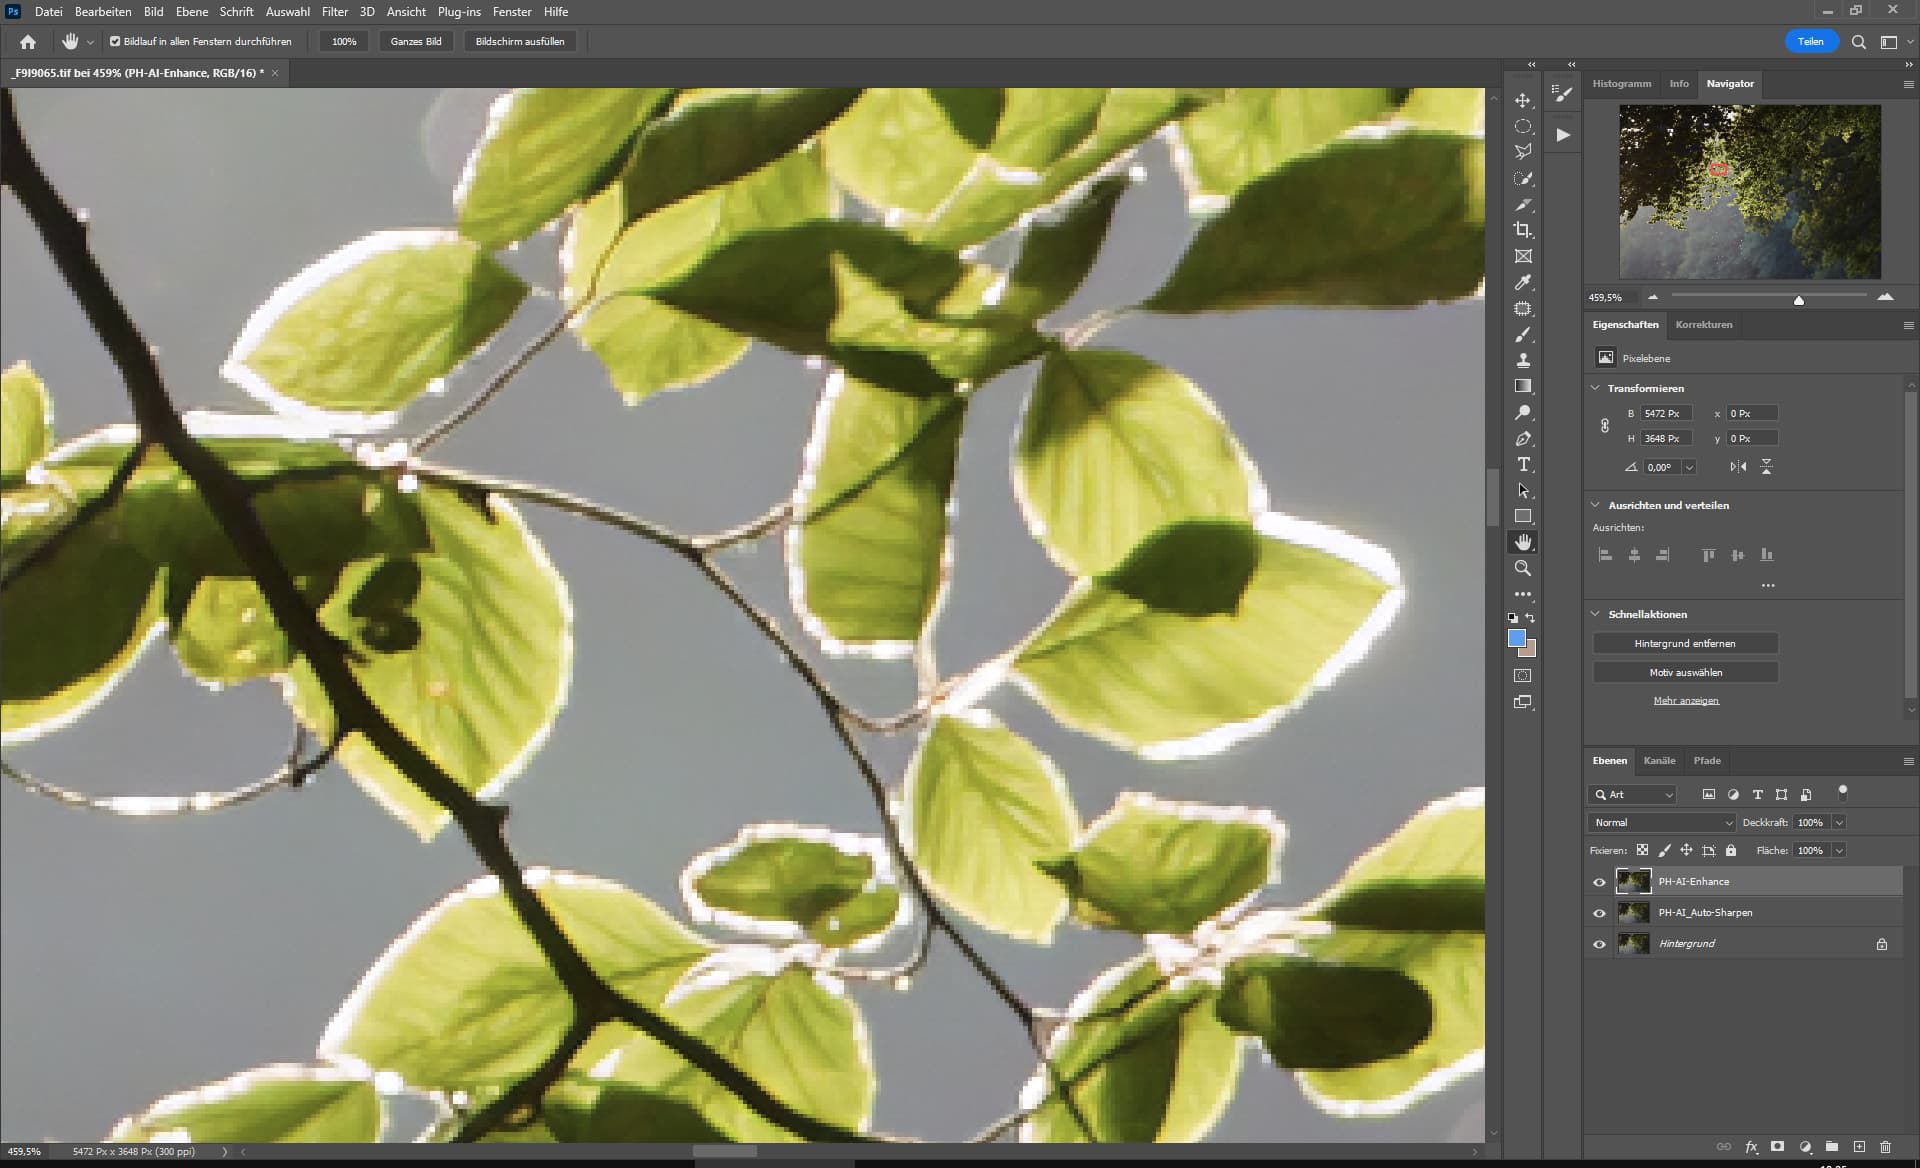
Just downloaded V3 and gave it a whirl. First thing I noticed was the change in interface , problem is it did not make as good an image on Auto everything as V2 from a CR2 RAW. Will add clips from 3 versions of the same file .
( see image V2 and V3 clip as uploaded to dropbox)
Note the noise increase on the V3 image
( see image Sharpen Ai as uploaded to dropbox )
Moreover if I compare a version of the same image derived from a Photoshop RAW conversion and then fed to Sharpen A1 ( old school ) I note the difference in the tonal range of the sorbet in orange. This seems to be a common finding for me , rather compressed tones . Again the image from V3 does not carry with it the lens correction data and PS RAW does not recognise the data for this. Also the file is around .8 to 1 stop under.
Like the way this is going , when copying transparencies or large batches of stuff a one stop auto correct is a great idea and timesaver. As mentioned before a slider for exposure / density range would be nice as I always try to hold the highlights on the copy.
This post would make more sense if I could include the relevant images.
That’s also something you don’t want, to have your bokeh sharpened.
Evaluating the image by its sharpness using AI is difficult.
The AI would have to be able to recognize objects and evaluate whether an image is sharp.
Or you can use the mask model from Sharpen and then let it search in the masked areas.
I just tested a very noisy JPG image in Autopilot (Win10) and it considered the noise “Low”. The resulting image still showed quite a bit, especially if zooming in.
I then tested it with Autopilot off and Denoise at Strong 15. It really eliminated noise then. I also tested with it at Strong 0 and it still did a good job.
I’m wondering why it considered this image as “Low” noise?
Images sent to Dropbox. I’m wonder how I get them into this post?
Hi Rod - I think the discussion forum tech requires users to make some base number of posts before it allows uploading content… I bet when you hit that threshold you can upload.
I assume you tried the up arrow icon already in the post compose box.
At top of Anthony’s rel. Notes is a link to their Dropbox. You might want to send your snips there with pointer to your post # until you can upload in your notes.
Thanks Fotomaker & loxiye. I did initially send them to the Dropbox Link. As a brand new member I don’t want to try sending anywhere else. (Wanna try to be a good guy here! )
BTW I’m very pleased with the direction this product is going, as long as it will continue to allow manual override.