This week we have a massive change in the way RAW files are previewed and exported in the app. All previews and exports will now utilize Adobe DNG SDK by default. This should make colors more accurate for a lot of cameras and gives us a good base for making further improvements. There are some cameras that are either not improved yet or may look different, but we are working on supporting those soon. Since this is a massive change we would appreciate feedback on any RAW files that are negatively impacted by this change.
As always, a full change log is below.
Please give us any feedback or report issues with this release. We’ll be updating TPAI regularly to address those pieces of feedback and issue reports. If there’s a specific image you’d like us to see, you can send it us at this dropbox link.
v2.0.2
Released September 21st, 2023
Mac: Download
Windows: Download
Changes since 2.0.1:
Adobe DNG SDK related changes:
RAW previews and export will now use Adobe DNG SDK
Added option in preferences to use old export flow (General > Use Adobe DNG SDK for export)
Added ability to save compressed DNG files
This only shows up if you select DNG file type on export. Preserve will use last set value.
Fixed DNG files not having full sized previews
This should resolve issues where Windows explorer thinks DNG files are 256x256
Fixed previews and export for RAW files being different
Fixed some monochrome DNG outputs crashing Mac preview
Fixed some monochrome DNG outputs not opening in other editors
Fixed DNG output not opening in Darktable
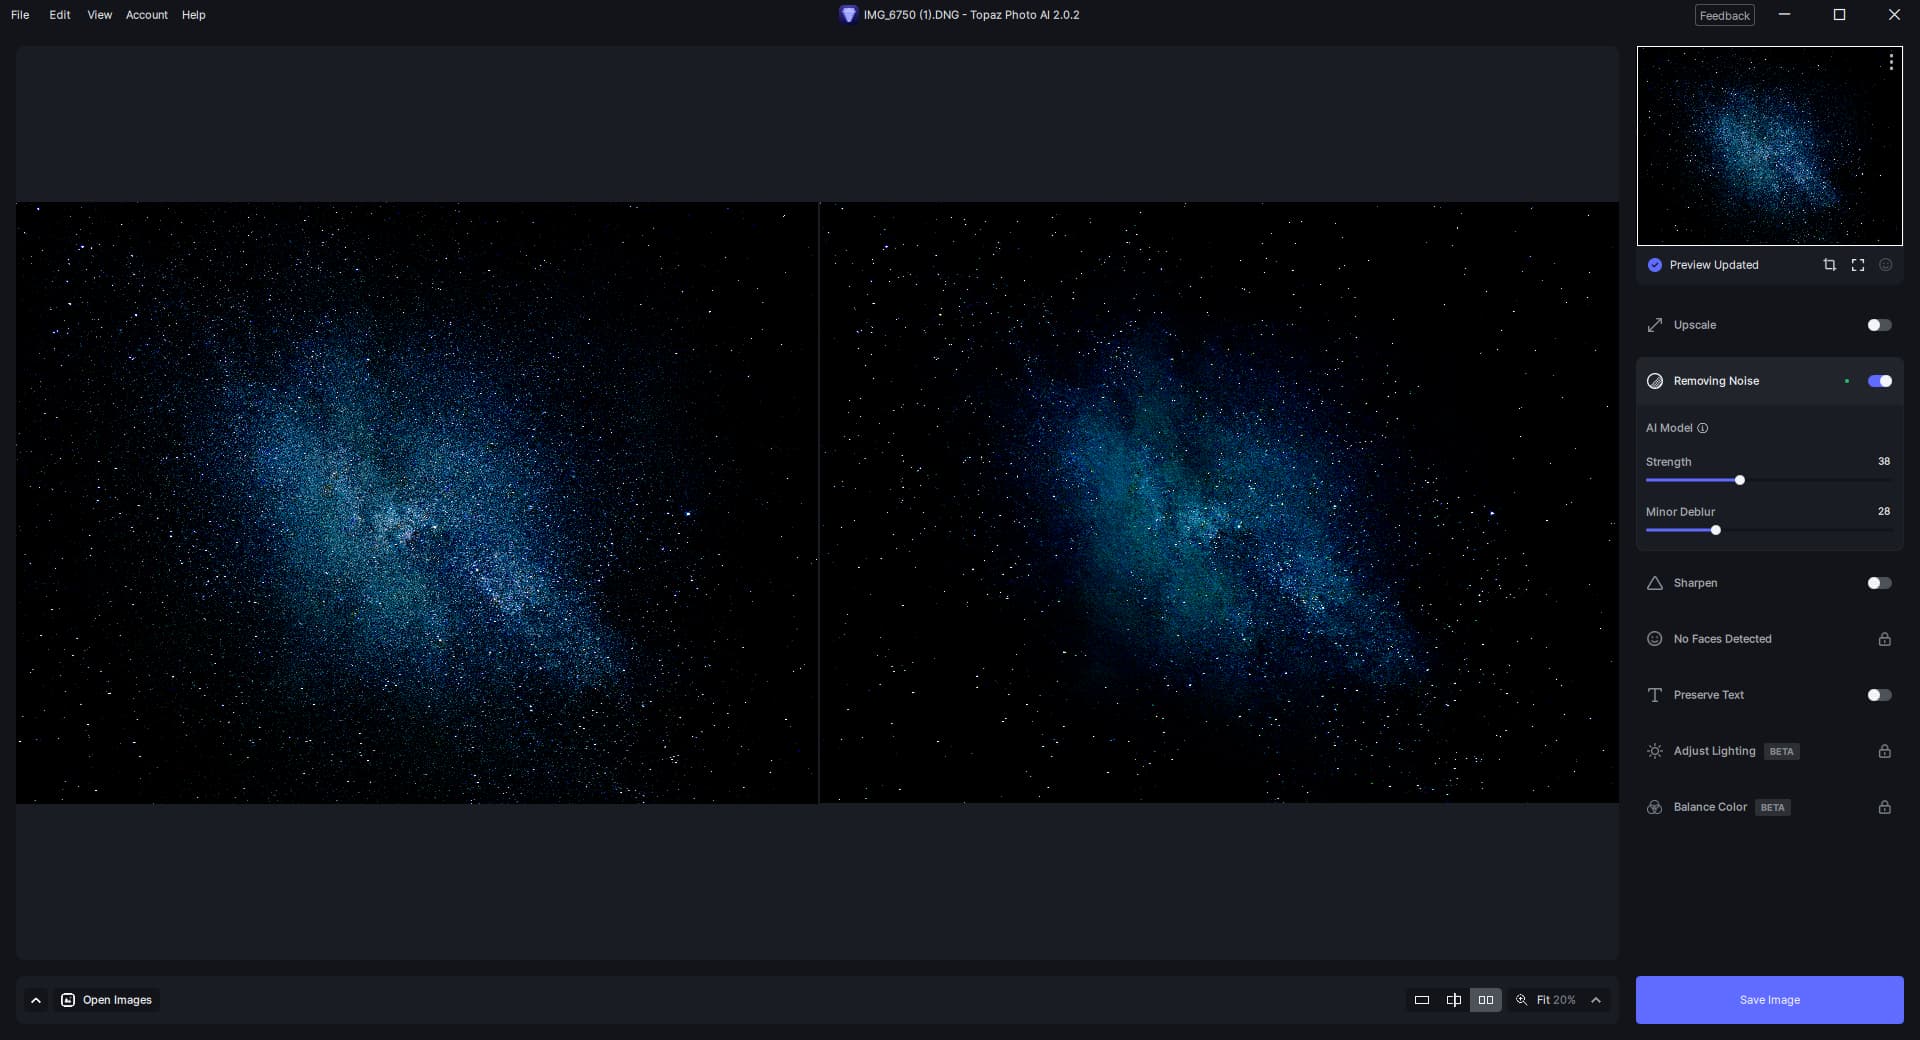
Disabled Adjust Lighting and Balance Color for RAW files
General changes:
Optimized thumbnail display in large batches
Improved performance when switching view modes
Added preferences for default Adjust Lighting and Balance Color sliders
Added ability to navigate combo-boxes with arrow keys
Changed default RAW Remove Noise preference to Low and above
Changed default RAW Remove Noise models to use v2
Fixed Nikon Z8 and Z9 having color cast on export
Fixed Nikon Z8 and Z9 sometimes loading colors incorrectly
Fixed color cast in Adjust Lighting filter when run on an Intel iGPU
Fixed resolution unit change not carrying over in Photoshop plugin
Fixed brush size shortcuts
Fixed focus issues with filter toggles
Fixed Apply Current Settings to All not applying resolution and resolution units
Fixed Apply Current Settings to All not applying Adjust Lighting and Balance Color
Fixed Apply Current Settings to All applying Face Recovery when there are no faces
Initial thoughts are that the DNG export is so much better now Adobe DNG converter is being used, and it is so much faster. Note that the Lensfun database still seems to be used for embedded lens corrections, for example Sony RX100 III.
Sharpening when applied is twice as strong as it should be. Standard model is worse then Standard v2.
Balance Color is way too warm on TIFF files but more acceptable on JPEGs.
Images with difficult lighting produce unacceptable results from Lighting and Color corrections …
Some samples from the 2017 Intel iMac for now (the 2020 M1 MacBook Pro with latest Sonoma RC was not faring so well, more later). Also later I will use my M2 Mini.
On the 2020 M1 MBA running today’s Sonoma RC2, I was unable to load an image or move the GUI around the screen, note the gap below the file menu bar (PAI GUI only flickered but did not move; I’ve seen this before on this computer).
Win 11 Pro desktop PC. PAI 2.0.2. Ps 2023 (rel. 24.7) PLUGIN via File > Automate. Processor = AMD RX6800 XT.
Test Image = Previously resized (smaller) .jpg of Corvette I shot Olympus Raw originally this past weekend at a “Corvette Spectacular”.
The Brush Sizing shortcuts (brackets) work in the Regular Brush, AI Brush (when I masked for a Subj Only Sharpening). I started with the Regular Brush - tried a series of sizes up/down. Switched to the AI Brush - ditto using the brackets. Then went back to the Regular Brush - still fine wrt using the bracket shortcuts.
Also worked when I resized the Brush for Preserve Text.
Thx for the fix. I didn’t try PAI via the Ps Filters menu…
Now my next biggest Fix Wish (vs. new feature) is that when the PAI processing is sent back to Ps it auto-processes and applies whatever settings a user went with in the PAI Plugin UI. And, that we don’t have to click the “X” in the msg box that’s returned to make the result go ‘poof’ and then magically appear.
when i open an image in camera raw and crop it . i save that image as a dng and open it in photo ai the crop is gone.i want to do it with batches of files
There is still the Problem during Upscaling with the Photoshop-Plugin:
=> If I click on “Max”, then the maximal Factor is red and if I then render ist, it use Bicubic-Interpolation (instead of AI!)
It MUST be the real maximal Factor calculated and then rendered, but not Bicubic, if the Factor is exceeded!
I have reported this Problem one thousand times, but it’s always getting ignored…
For how I would like to use TPAI ,standalone on my Nikon Coolpix P1000 RAW file . RAW processing with this version is still providing more questions than solutions Yes may be the colors in the DNG may be slighly different but other problems appears . I found that the automatic subject detection is not giving
a good result while working on the RAW compared to the result from a TIF file coming from the same RAW develop with DXO PL6 .
For me it’s still too difficult , too time consuming to be sure that we get the best possible result and still my prefered workflow is still starting with developing with DXO PL6
On this copy screen you see the resulting subject on RAW (left) and on TIFF (right)
1st time posting… Why have you * Disabled Adjust Lighting and Balance Color for RAW files ?
If people do not want to use it, then just do not use it.
This is the same with all software use the bits you want to, just because it is there you do not have to use it.
I take photos using Canon R6 producing .CR3 RAW files.
I found it really useful.
I am not using other software to do all sorts of changes. I find most of my images need very little for how like my images, but the Adjust Lighting and Balance Color for RAW files does the little bit I need.
Up until recently I was using Studio 2 with DenoiseAI, Sharpen AI as plugins and then GigapixelAI.
Since PhotoAI launched I have been testing to see if it did as good a job as this set up and at last with PhotoAI 2.0.1 was doing as good a job and now you have Disabled Adjust Lighting and Balance Color for RAW files.
I have a workaround save as jpeg and bring back into PhotoAI, but not as easy as doing it all in one go.
Imo - In PhotoAI 2.0.2 the Adjust Lighting and Balance Color are greyed out and not useable for my RAW files. They have a locked padlock symbol on them.
Apple Pro Raw file format when opening a file in Topaz Photo AI gives such an interesting result, colors are extremely distorted and plus it is not displayed that the file is raw. IPhone 14 Pro Max. The shot was taken specially with a very high iso and shutter speed of 10 seconds.
TPAI have a massive change in the way RAW files are previewed and exported, that is why they disable it temporarily.
I am sure they will re-enable it when it is ready.
Looks like I better keep my version 2.0.1 on my macbook then as it works ok with my files. As said before not using it as a plug in, I find it works great as standalone to open my CR3 raw files, edit and save out as jpeg.
Is there a way to go back to 2.0.1 from 2.0.2 to regain the functionality on my imac ?