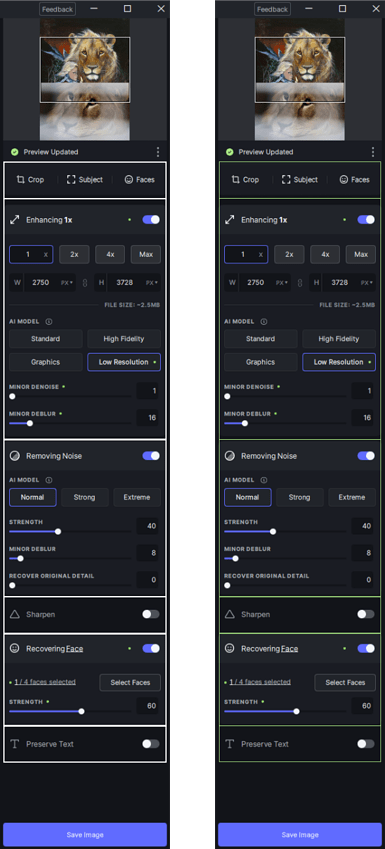
Recover original detail when removing noise
Removing all noise can sometimes make an image appear unnaturally smooth. To fix this, you can now add original image detail back into your denoised result:
Increase the Recover Original Detail slider to intelligently blend luminance detail back into your image while still removing all color noise. While not necessary for all images, it can improve how natural images appear without compromising on noise reduction quality:
The effect you get from this this slider would be similar to an “Add Grain” feature, except the extra detail comes from the original image instead of artificially generated grain. Recover Original Detail is currently only available for non-raw images, but we will add it to Raw Remove Noise soon as well.
Preserve eye color when recovering faces
Face Recovery will no longer change eye color when enhancing faces. This applies to all photos but is especially noticeable in B&W or sepia images (image available here):
You can now also better control where to apply face recovery in Preferences → Autopilot. Change this setting if you see abrupt transitions between recovered areas and the rest of the image:
Please let us know what else you’d like to see to improve Face Recovery.
Speedy keyboard shortcuts
You can now access commonly-used features through new keyboard shortcuts. You can see the full list with Ctrl+/ (Win) or ⌘+/ (Mac), but here are some of our favorites:
- Quick save
- Ctrl/⌘+S to open export dialog…
- then Enter to immediately start export
- Previewing
- Ctrl/⌘+1 for 100%, Ctrl/⌘+0 for Zoom to Fit
- Ctrl/⌘ + to zoom in, Ctrl/⌘ - to zoom out
- Alt/⌥+1/2/3 to switch between single, split, and side-by-side previews
- Change modes:
- C to crop, M to select subject, F to select faces, and T to select text
- Add Shift for a quick preview: e.g. Shift-M will display the currently selected subject without changing modes
- After making your adjustments, press Enter to save or Esc to cancel
We’re big fans of keyboard shortcuts, and we hope that these make navigating Photo AI feel smoother and faster.
Other improvements
Inspired by your feedback, we’ve also improved the user experience in many other smaller ways since last month:
- Moved processing status indicator from bottom-left to under the navigator
- Added TensorRT models for Preserve Text that improve performance and prevents crashes on some Nvidia cards
- Fixed occasional Photoshop plugin saving issues
- Canceling export now correctly cancels processing
- Improved resize by inch/centimeter display and experience
- When importing an already-open image, preview now switches to that image instead of doing nothing
- Added tooltips to models and settings in the right panel
- Re-organized and added dropdown menu items
- Fixed Lightroom Classic plugin duplicating images sometimes
- Fixed issue with some converted Nikon files
- Fixed auto-upscaling being off by a few pixels
- Fixed issue where changing lens correction in plugin mode would close the app
- Fixed issue where files would sometimes overwrite other files due to a race condition
- Exporting the same file multiple times now correctly increments file name
- Fixed some models getting re-downloaded when updating
- Fixed CLI not upscaling
- Smaller UI improvements, bug fixes, and better error handling
For a full list of improvements, see the changelogs for v1.5, v1.4.3, v1.4.2, v1.4.1.
Next
We’re working on several new exciting features in the pipeline based on your feedback:
- High-quality Removal brush that runs on your local hardware
- Simple ML exposure and color correction tool
- Improve Raw Remove Noise with improved demosaicing, better strong noise removal, and better overall handling of raw files
- Improve Sharpen model quality
- New Automate plugin that allows you to upscale within Photoshop
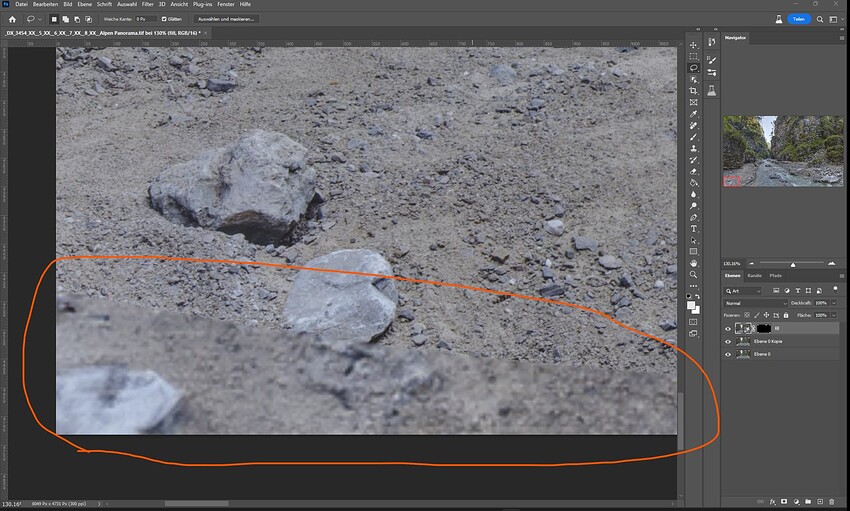
- Fix occasional blurry patches or inconsistent detail caused by Upscaling tiling issues (beta discussion here)
- Improve batch processing stability and performance
Many of these improvements should be generally available within the next few months. Please join our beta testing group if you’d like to help shape new features in development. Thanks for using Topaz Photo AI, and please let us know what else you’d like to see in the product!


