Gigapixel v8.3.4

Hi yall!
We’ve put together a patch to address some errors while using the models.

Please reach out to support@topazlabs.com if you have any continued or outstanding issues.
To expedite troubleshooting, please also provide system logs and your system profile.

We appreciate it!


v8.3.4
Mac: [Download]
Windows: [Download]
Windows ARM: [Download]
Released April 16, 2025


Changelog:

  • Fix RAW images loading black
  • Automatic Lensfun Update
  • Windows installer now always creates a log file
  • Transparent images now render correctly locally (but with cloud rendering results may turn out black or result with artifacts)
  • Fix Error while Processing message when using Text & Shapes
  • Fix Error while Processing message when using High Fidelity v2
  • Fix AVX error incorrectly showing on older versions of Windows (Users still receiving error need to have the March set of Windows updates)
8 Likes

Installed without getting an AVX error, and all processing errors I received in the previous version are now gone.

4 Likes

8.3.3 wrecks a ton of PNG image previews in Apple Mail. (Some work – specifically if the embedded email image is called by .PNG. But if it the PNG doesn’t have an extension, Apple Mail used to interpret it. Now it doesn’t.)

I’ve tried clearing every setting / uninstalling / clearing cache, etc. 8.3.4 did not fix the problem.

(Mac OS 15.4.1 (24E263))

Would you be able to send us a few images so we can try to reproduce? Ideally can you provide an image where the PNG is good and provide another one is bad?

You can securely submit one or two images/video clips to our Dropbox.
Please let me know if you send something.

No problem. Done!

thanks for sending these - we took a look at the file and it is fine on our end.

by chance do you have the same identical image processed in 8.3.2 or before that did work for you? it would help us compare

So I was actually using an old version (like 7 or something like that), and I made the upgrade yesterday. Then my email went wonky. Interestingly enough, its only an issue for the PRIMARY account (on the Mac) that I installed. If I switch users (on the Mac) and go into Apple Mail, it works fine. It’s like it did something to my preferences. That said, I’ve wiped (using Terminal) my preferences, cache, etc. everywhere; even tried uninstalling, but I can’t get it back. The only way for me to get it to work now is to create a new profile on my Mac (which is going to be very time consuming, but I’ll do it). :slight_smile:

1 Like

ahhh ok i appreciate the update - hopefully it won’t be too arduous

1 Like

Hello everyone,
I previously noticed discussions in this forum about the model selection panel no longer appearing since the release of version 8.3.x.
I’m still experiencing this problem in version 8.3.4. See the screenshot below. Could you tell me how to resolve this issue?
Thank you in advance for your clarification.


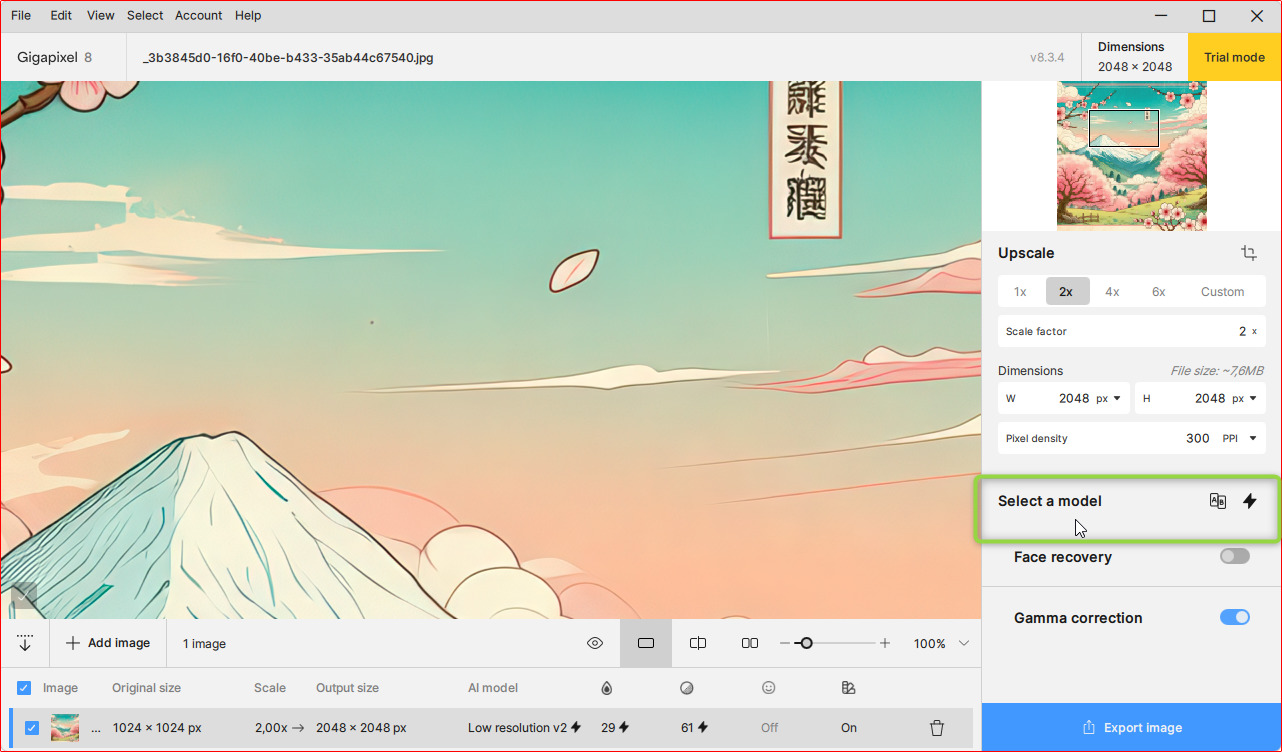
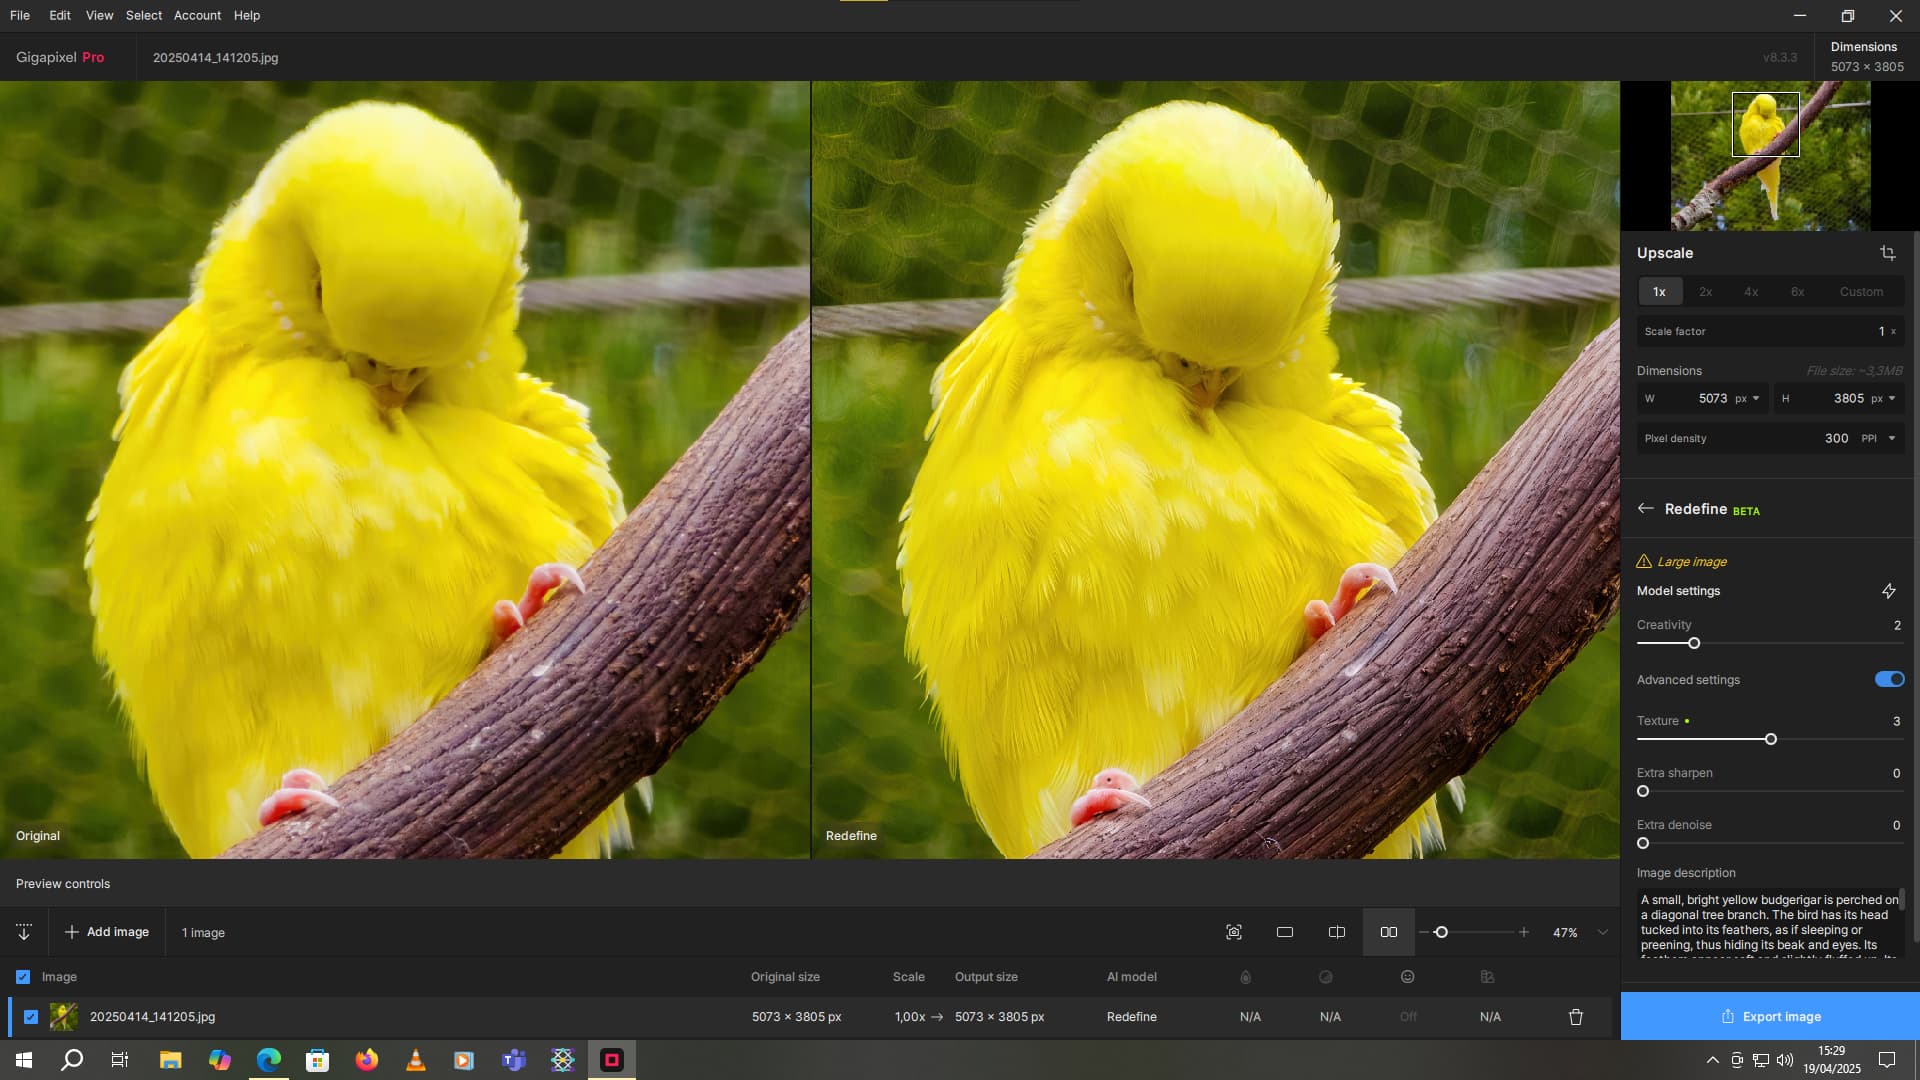
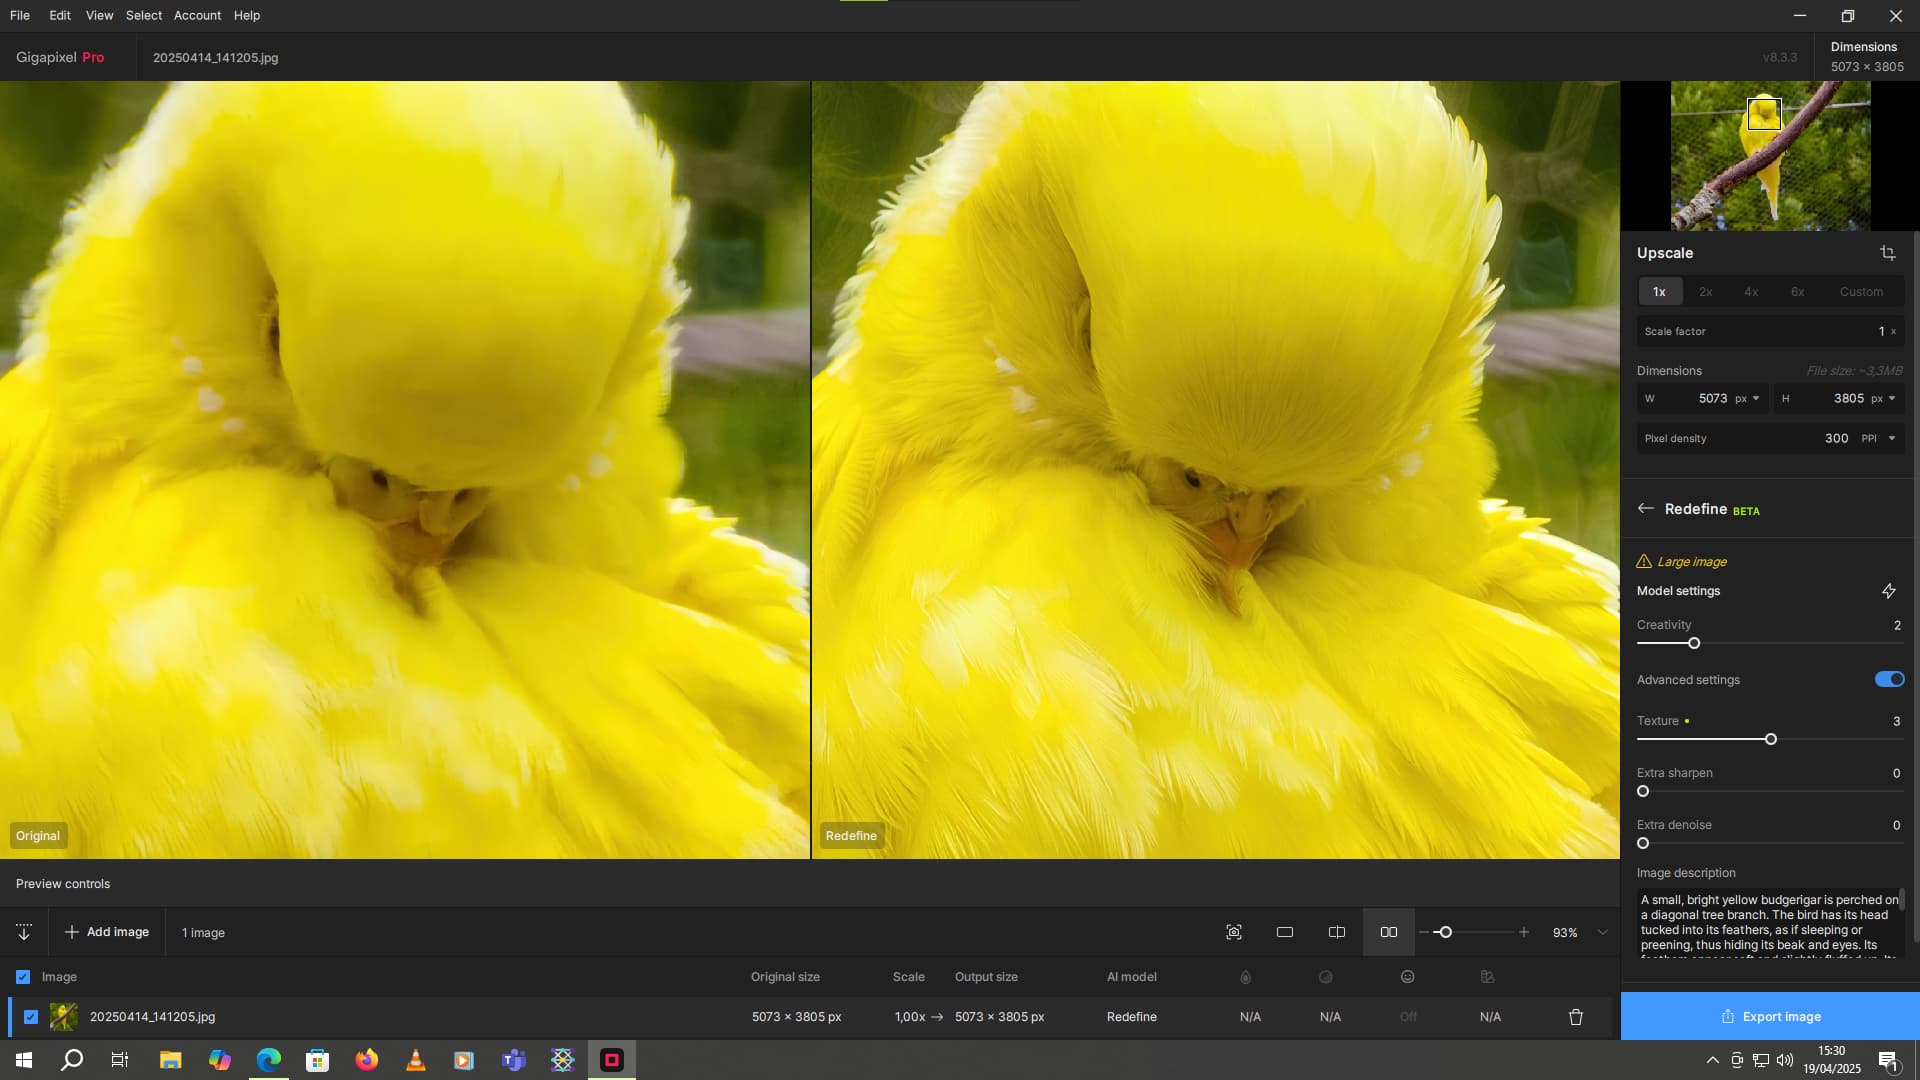
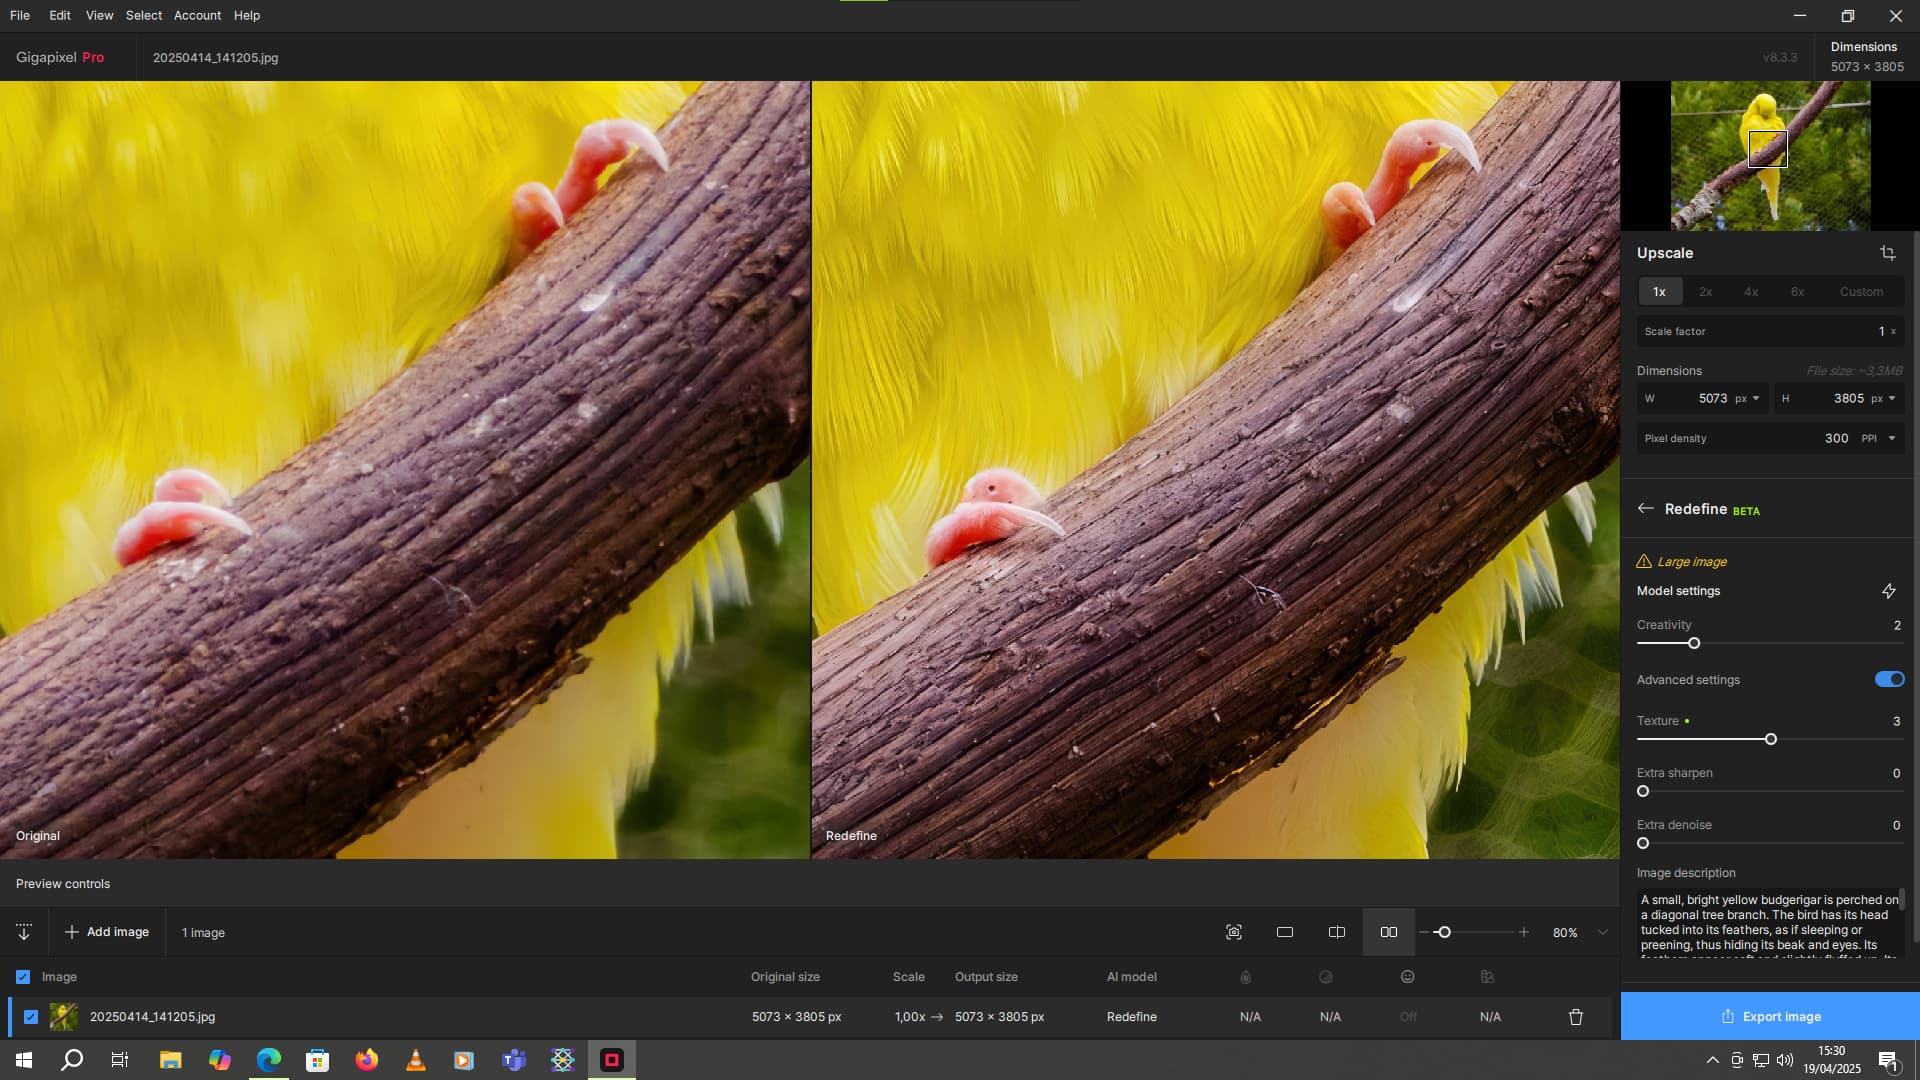
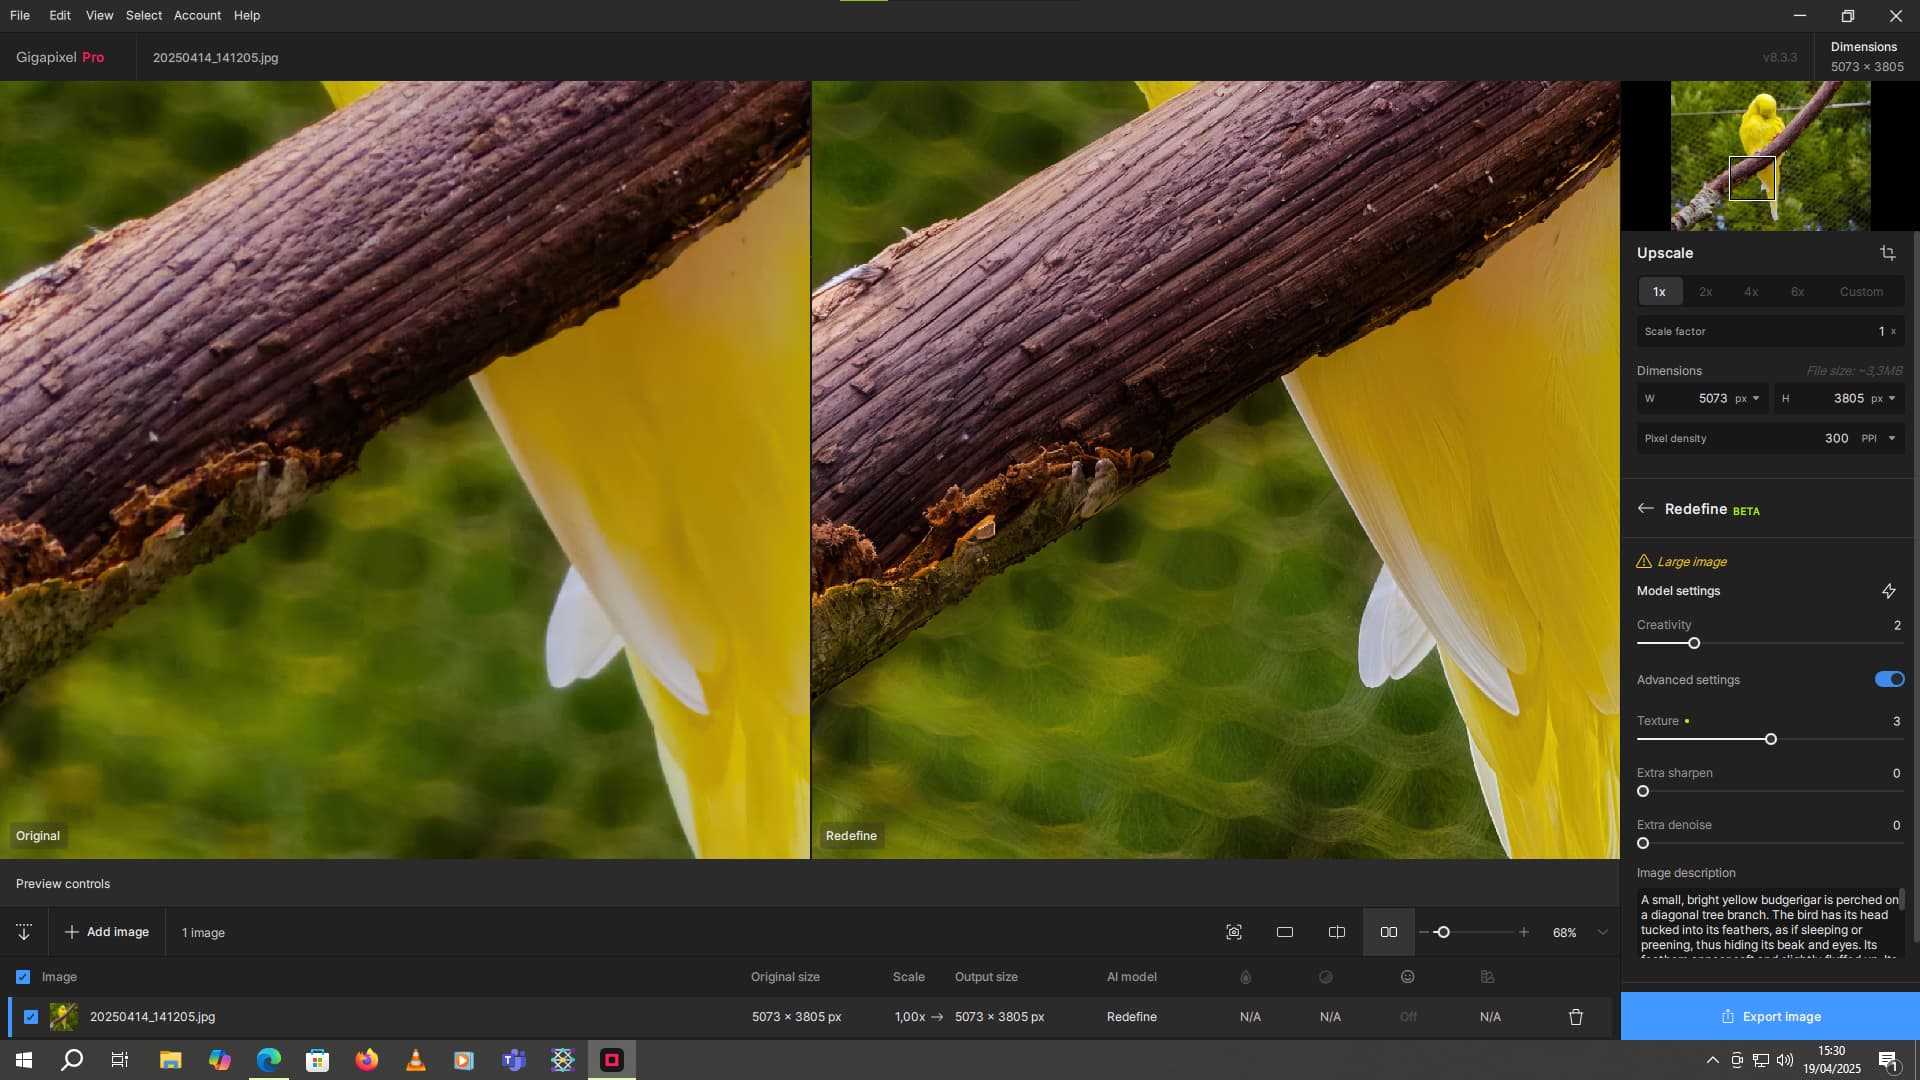
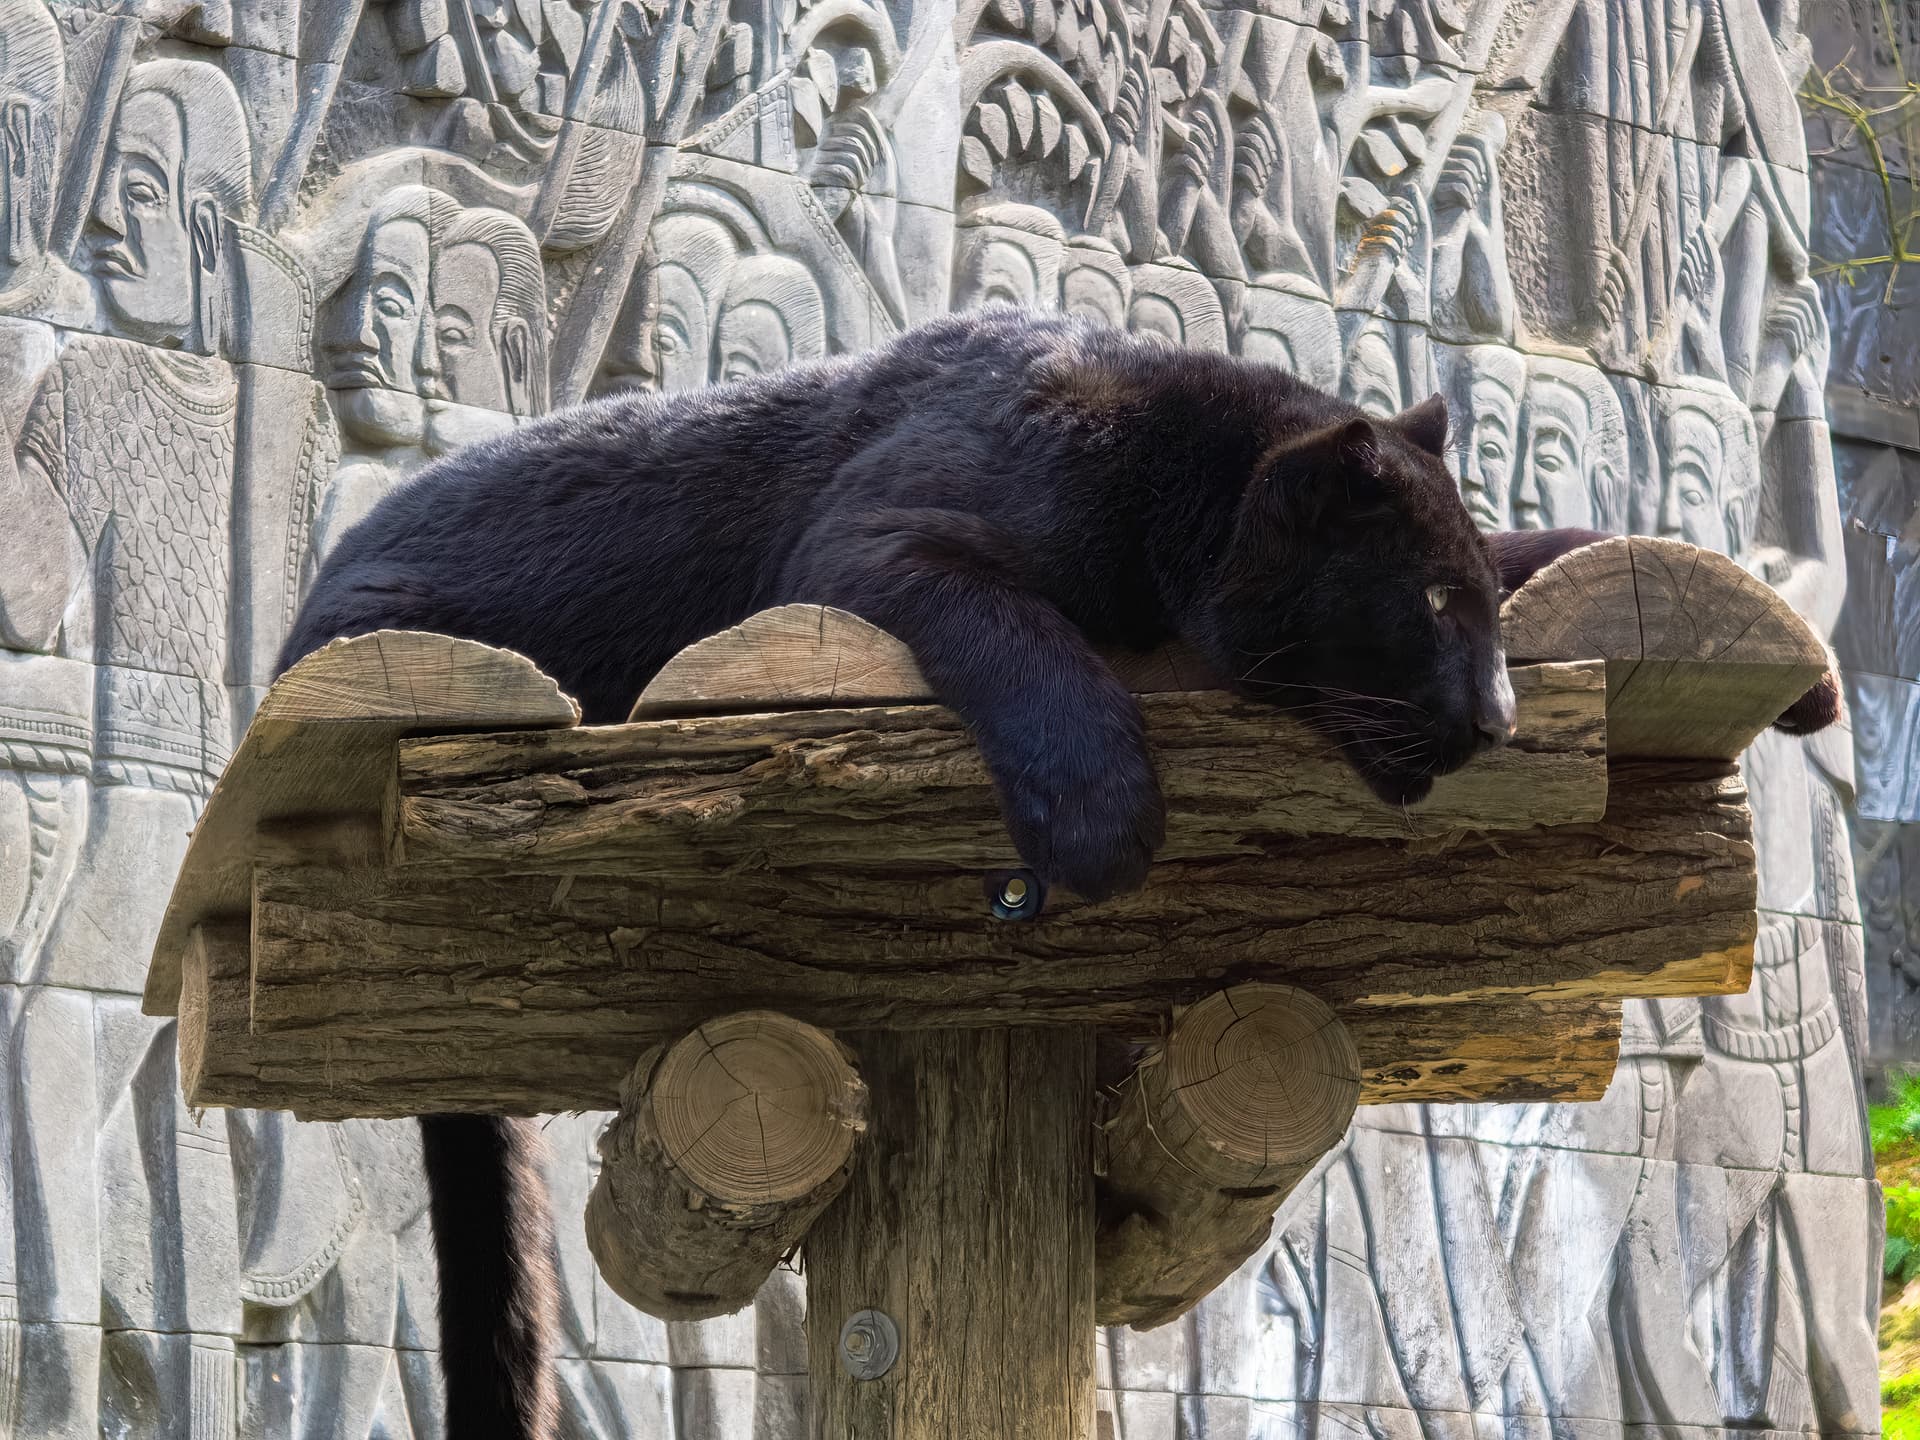
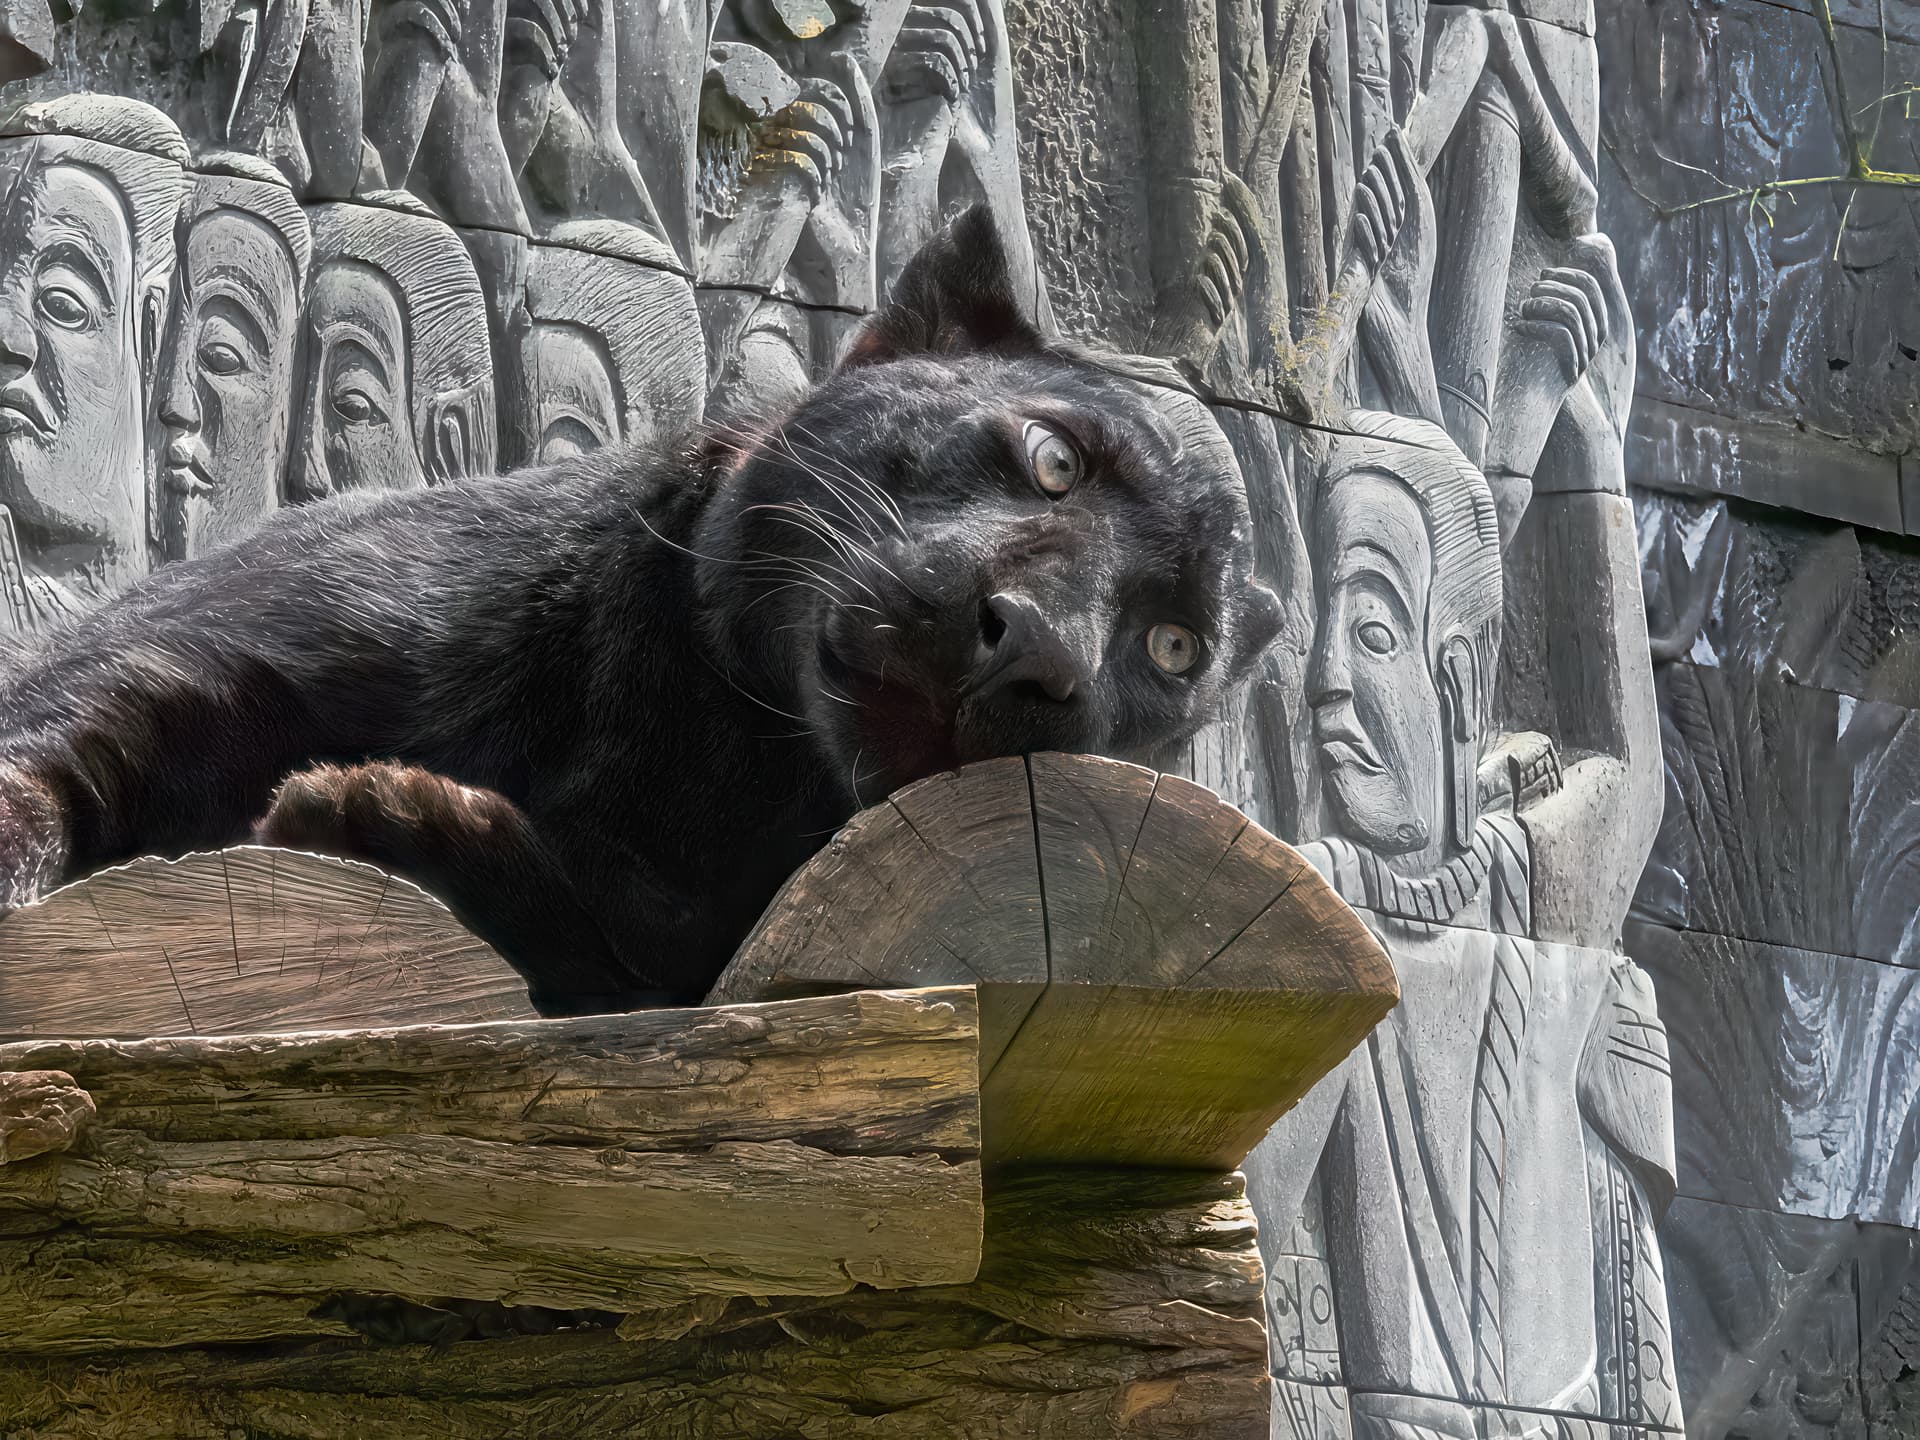
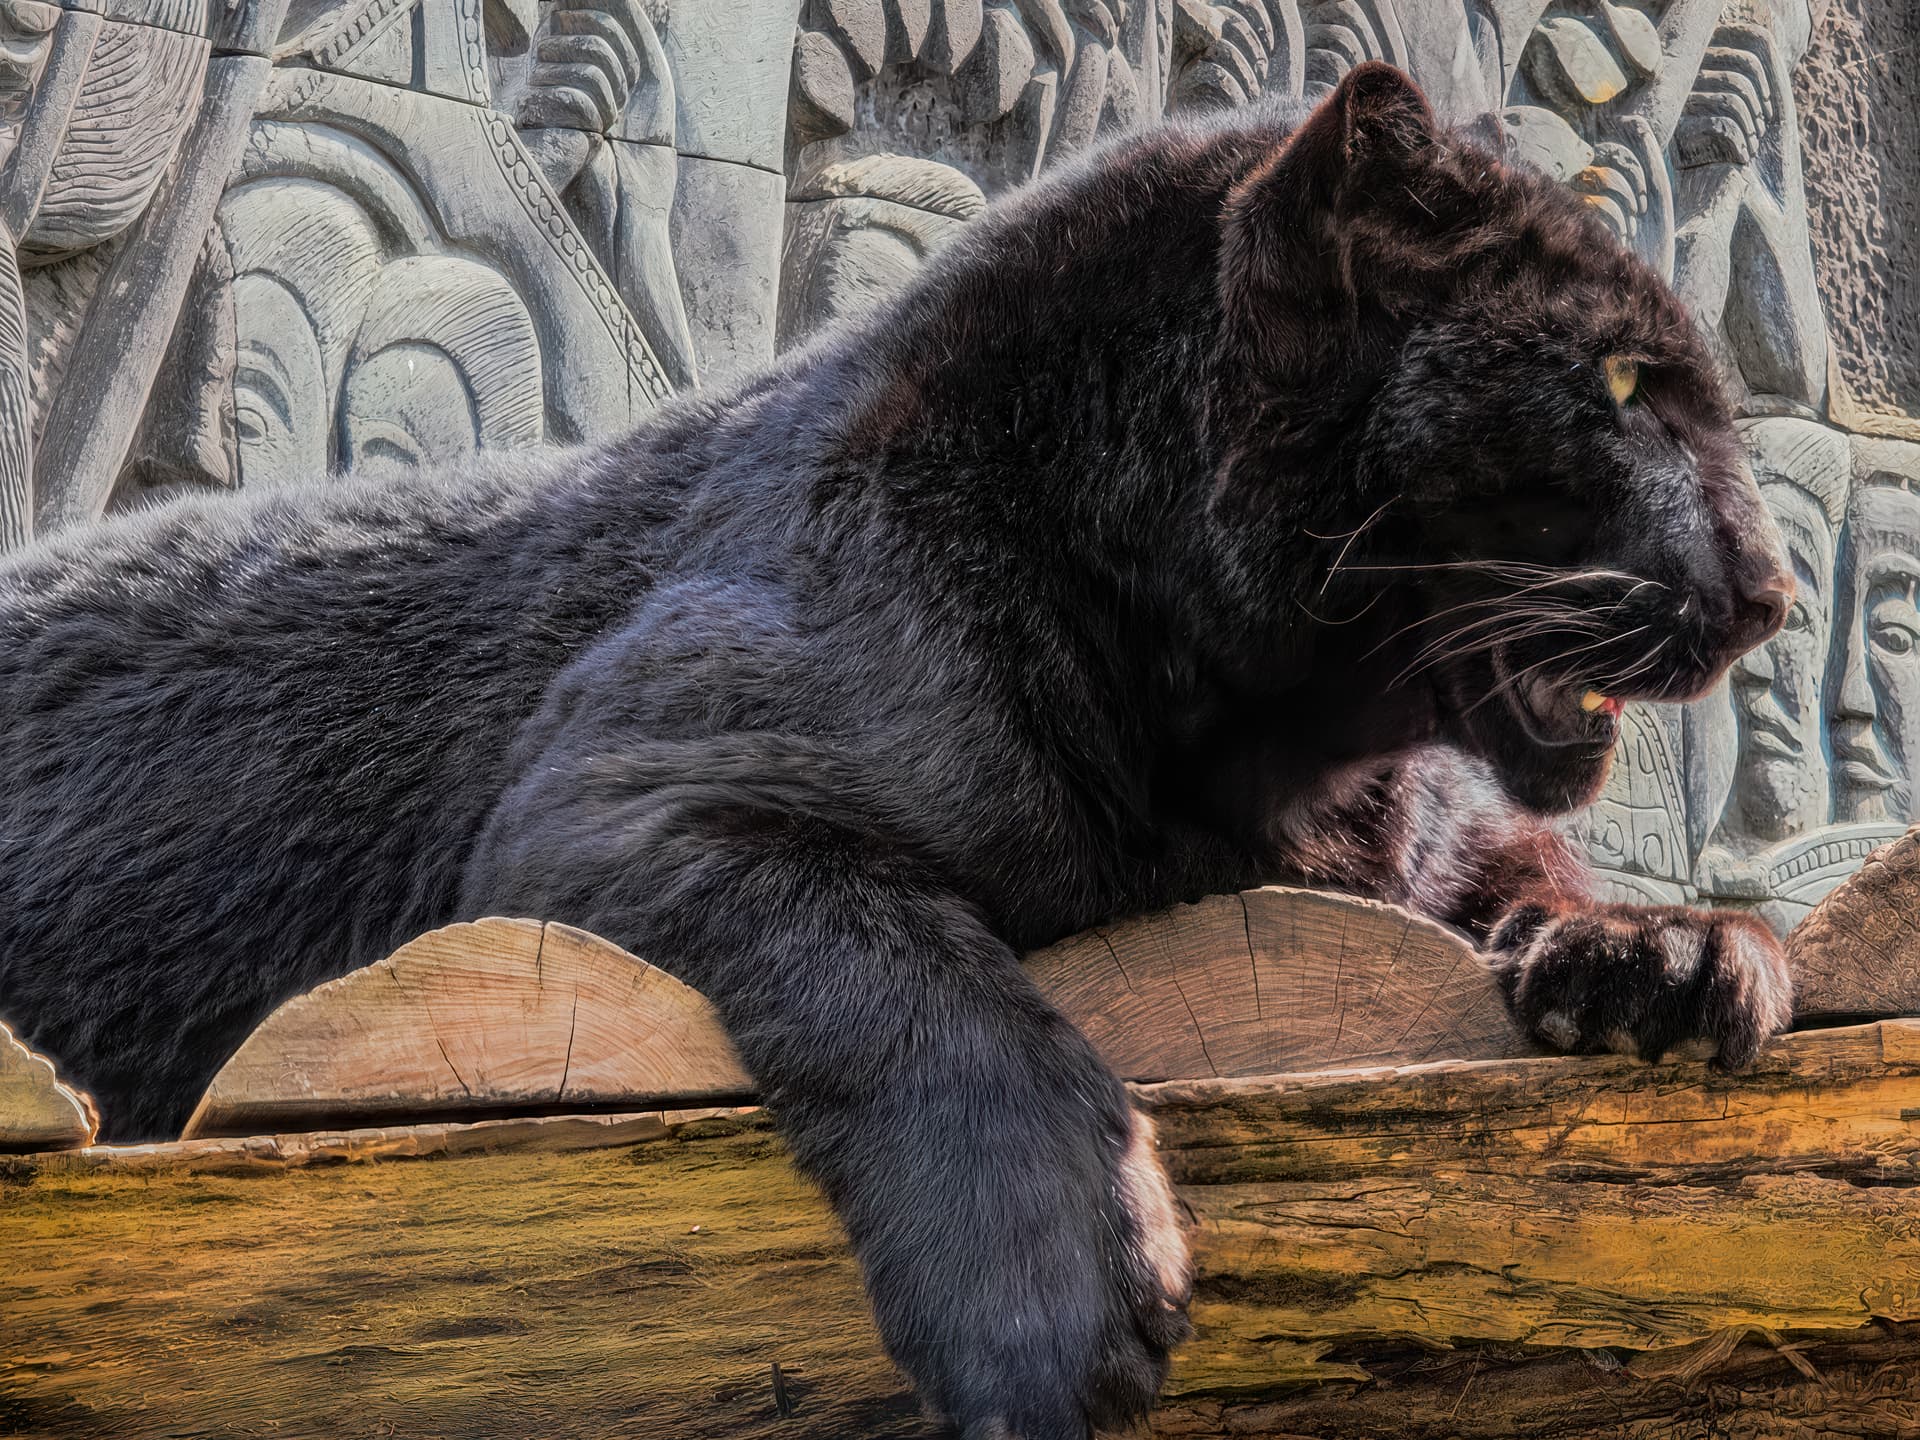
I’ve found a great trick with Redefine. But it only works on images between small and medium to medium resolution. In fact, I first have to (with the creativity settings at 2 and textures at 3) scale the image to 1:1. This reduces calculation time and adds a lot of detail. (If the photo is in very high resolution, e.g. 40-50 megapixels, and the subject details are smoothed out (this often happens with smartphone shots), all I have to do is make a copy of the photo, downscale it by a factor of 2 or 3, depending on the base resolution, and then scale it 1:1 with Redefine. You can then scale back to the original resolution, either by using Redefine and the same prompt with the same settings, or by using the resolution v2 or Hight Fidelity model. Sometimes, I do 2 scaling variants with the aforementioned models and combine them all in Photoshop. The Recover V1 model also works very well in this workflow combination. The v2 removes some of the small details added with Redefine.

Example:


Well, there are a few small flaws in the blurred areas, but I’ll correct that by using the original photo. And some miniature bird artifacts that will also be removed at least in one variant with a prompt describing only the scenery and not the main subject.

For this photo, here’s the prompt generated:

A small, bright yellow parakeet is perched diagonally on a tree branch. The bird’s head is tucked into its feathers, as if it were sleeping or lounging, hiding its beak and eyes. Its feathers look soft and slightly puffed. Its little pink legs cling firmly to the branch. The branch has rough, brown and gray bark, with areas where the bark seems to be peeling away. The background is made up of blurred greenery (bokeh), through which we can make out a wire mesh or net with diamond-shaped openings, suggesting an aviary or enclosure environment. A thin cable or other branch also runs horizontally across the background.

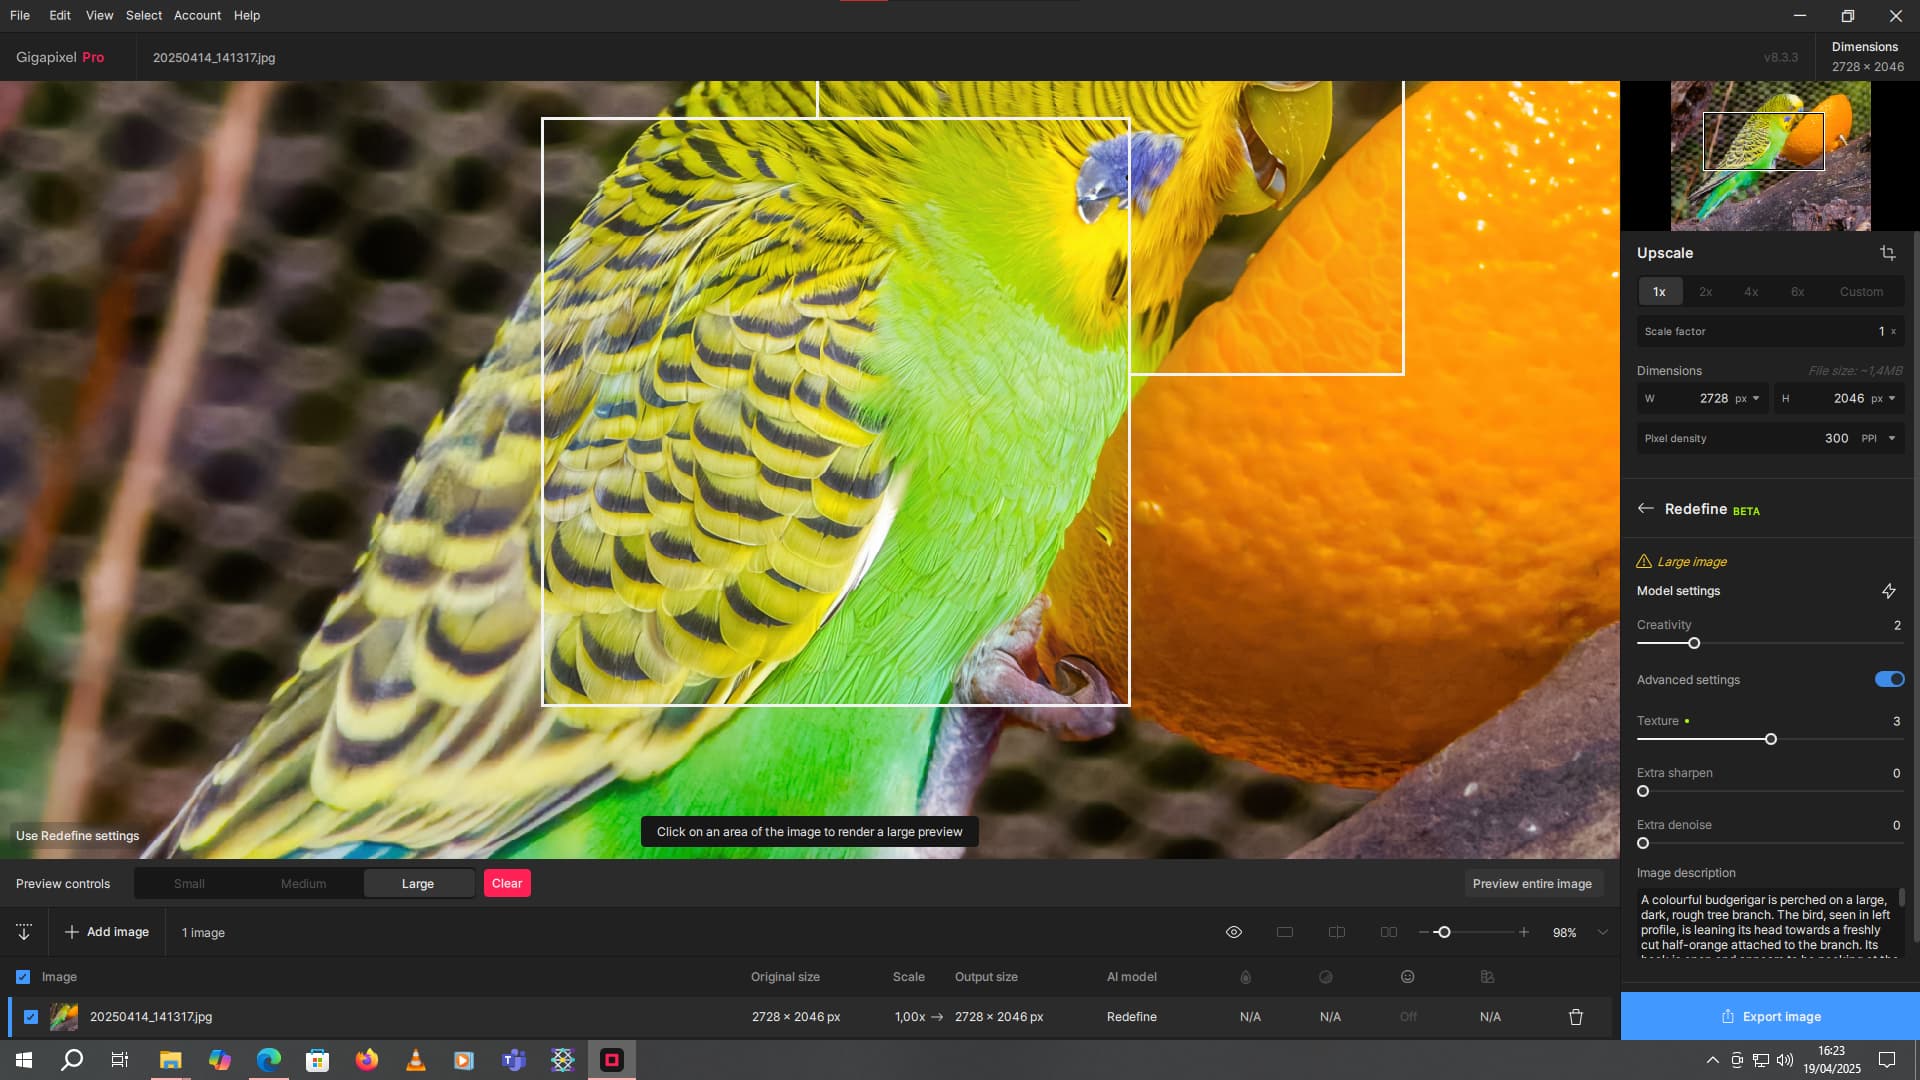
And here’s the one without the bird:

The image shows a brown and gray tree branch placed diagonally across the frame. The bark of the branch is textured, rough and has areas that appear to be flaking or peeling off. In the background, a green plant environment is visible but blurred (bokeh), creating a soft, indistinct backdrop. A wire mesh or fine netting, also blurred, covers the greenery. A thin linear element, such as a cable or small branch, runs horizontally across the upper part of the background.

4 Likes

Beautiful feathers redefined

3 Likes

Have you tried this on animals with fur as well? I do mostly furry animals such as deer, big cats and such, many of the input pictures are no more than one megapixel in size, and for that stuff I have a pretty similar workflow apart from that I do not use 1:1 for the first pass but upscale by 2. Why this? Because Redefine with creativity 2 handles fur quite aggressively, even with texture 1, giving the animals an exaggeratedly wild and shaggy appearance, and this issue seems to get less prominent at greater upscale factors. If the original picture has a good fur texture to it, I even use creativity 3 which adds much less “new” texture to the fur but is sometimes sufficient with a high texture setting of 3 to 5. I usually use a very short prompt, just enough to “tell” GPAI that the animal on display is not a dog and does not want a dog snout redefined. :smile: The result of this first pass is in many cases good enough to let High Fidelity do the rest, in many cases even with the settings autopilot on. Sometimes, HiFi sharpens too aggressively so I take some sharpness off the autopilot parameters. So, in short, I do as follows on small to medium animal images which I have tons of:

1st pass: Redefine with upscale factor 1 or (preferred) 2 as this seems to add less “wildness” to animal fur; creativity 2 (texture 3 or less) or creativity 3 (texture 3 or more), short prompt describing the animal species

2nd pass: Upscale with High Fidelity to my target resolution which is in most cases about 9 megapixels, starting with autopilot settings that I alter if necessary.

I don’t know if this would work with downscaled hi-res pictures as well but I think so. I have gotten decent results off originals 400x400 pixels in size. The evolution of the generative models is quite amazing. What I’d love to have is a better prompt adherence such as “smooth fur” preventing Redefine from creating wild hairstyles. But there is always room for improvement, especially if it is based on a paid subscription. :smile:

I take it this version doesn’t fix the Redefine bug on M3 Macs that’s been broken since 8.0.2.

Here is a picture of about 1 megapixel taken at a local animal park. This isn’t even a photo but a still from a video camera.

And here is the result of the workflow as described. 1st pass Redefine creativity 2, texture 1, upscale 2x. 2nd pass High
Fidelity, default parameters (autopilot) for denoise and compression fix, upscale 1.45x. HiFi suggested sharpen 40 which I reduced to 0, even taking out some of the aggressiveness of the fur texture inserted by the first pass. Creativity 3 for pass 1 would not have been sufficient to get textured fur all over tha animal.

Redefine one cheetah, get another for free! :joy:

2 Likes

Yes, I applied the same technique I mentioned above to fur animals because the result was better than doing a scaled passage.
Here’s the final result on 3 photos of a panther


I no longer have the originals for comparison, but the hair details were barely visible from the start. Now you can take real photos with a pro camera. Although I took the shots with my Galaxy S25 Ultra.

1 Like

Hmm, the image compression on the forum doesn’t help to see the sharpness of the photos. They’re much sharper on my local computer.
zoomed-in detail on last photo

There’s a cow’s eye inserted just above the hoof of its hind leg hahaha.

That’s why I always do 2 prompts. One for the overall picture and one for the scenery without the main subject. Then I put it all together in Photoshop. In some cases, I also do 1 or 2 additional variants with Recover V2 and sometimes with V1. And one more with low resolution v2 to smooth out the background blur.