Remove tool
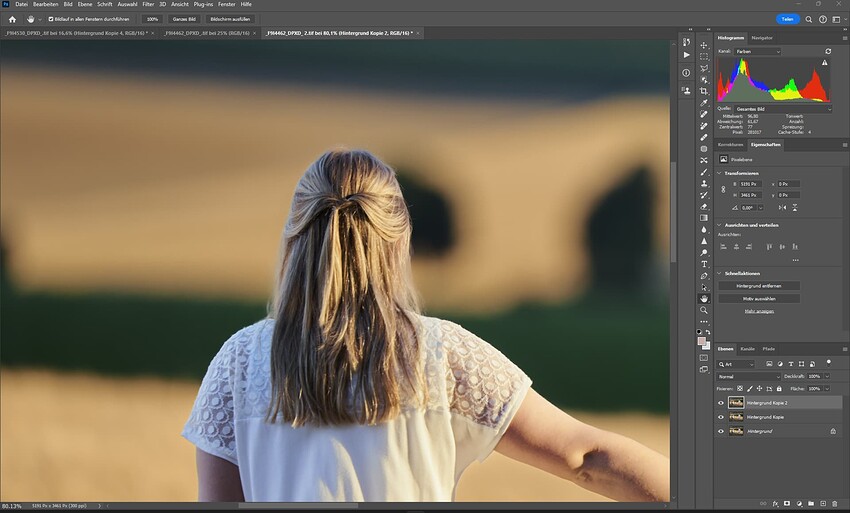
We’re excited to release the new Remove tool into public beta, which gives you the ability to remove objects, distractions, and artifacts in your image while naturally filling in the surroundings.
This is the first generative removal tool that runs locally on your hardware, so you won’t be charged for usage or have your image transmitted to a remote server. With that in mind, we do highly recommend that you have at least 8GB dedicated graphics memory (VRAM), otherwise it will run very slowly on CPU.

For the highest quality, run Remove on smaller selections under 2,000px long-side. Using larger selections might degrade the visual quality of filled-in texture, so try breaking up larger selections into smaller chunks.

While the results are impressive in many cases, sometimes Remove will add unintended replacements to your object. Re-applying the removal with different settings - usually a smaller margin - will often fix the problem. Let us know when you run into this so we can fix more cases in future releases.

We’re excited about the potential of the Remove tool, but as a public beta it’s still relatively slow, may create odd results, and misses some features. We’re working on improving the tool by increasing speed, adding undo/redo, and improving integration with other filters. Please let us know what you think in the comments or the release thread.
Expanded Preferences
You can now heavily customize how you want Photo AI to behave, including:
- Disable Autopilot to quickly start with no filters enabled
- Select your preferred models or preferred strengths for different filters
- Auto-close images after saving
- Auto-resize to a certain scale, width, height, or longest edge
We hope this allows you to mold Photo AI into something that works best for your workflow. Your Autopilot preferences will also be applied to process images when you use the CLI.
More precise before/after comparison
Previously, you might see a significant preview pixel shift when toggling between the original vs processed version of your image:

This pixel shift is now fixed, which will make comparing your results much easier. Note that you may still see a very minor pixel shift when using Raw Remove Noise or Sharpen Strong.
Improved raw file handling
Previewing and exporting raw files will now use Adobe DNG SDK. This adds full-sized embedded previews to DNG files, improves preview consistency with export, and fixes many raw color issues. It also increases compatibility of exported DNGs with various other applications.
Other improvements
In addition to many smaller fixes, there’s been a few more notable improvements since the v2 release:
- Paste images directly into Photo AI from the clipboard (Ctrl/⌘ + V).
- Use the Quick Export button to save images with previous settings.
- Sharpen Standard v2 no longer has a brightness shift on Mac, and will be selected by default over v1.
- Use the Image Capture button to more easily share before/after results.
- Improved performance when importing or exporting large batches of images, switching view modes, and displaying thumbnails
- Fixed various issues related LRC and Photoshop plugin issues
Next
We have some exciting developments coming up for Photo AI in the upcoming few months:
- New Standard and High-Fidelity upscaling models that offers improved detail, fixes blurry patches, and improves quality
- New selection tool that makes it significantly easier to mask objects
- Improve right panel filters organization and workflow
- Improved Raw Remove Noise default quality
- Improve Autopilot consistency and decision-making
- Improve batch processing stability and performance
- Improve Adjust Lighting and Balance Color
- Improve Removal tool (see above)
Thanks for using Photo AI! We’re looking forward to hearing your feedback, particularly on how useful you find the Remove tool.


