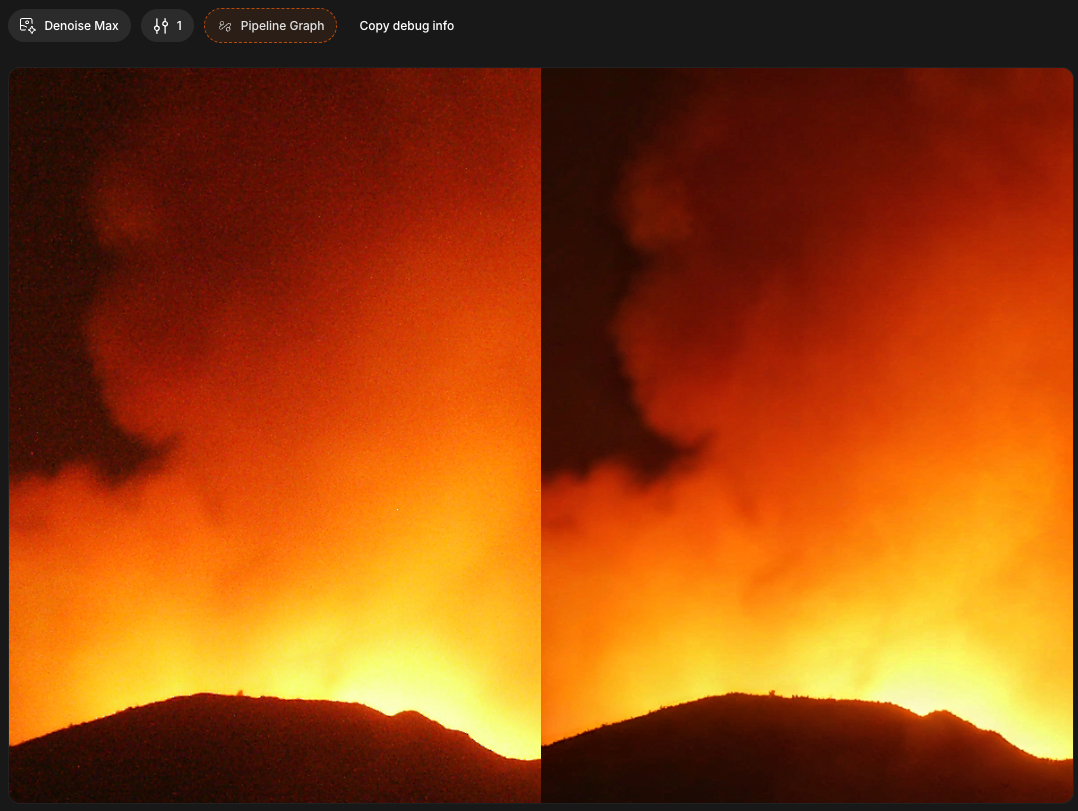
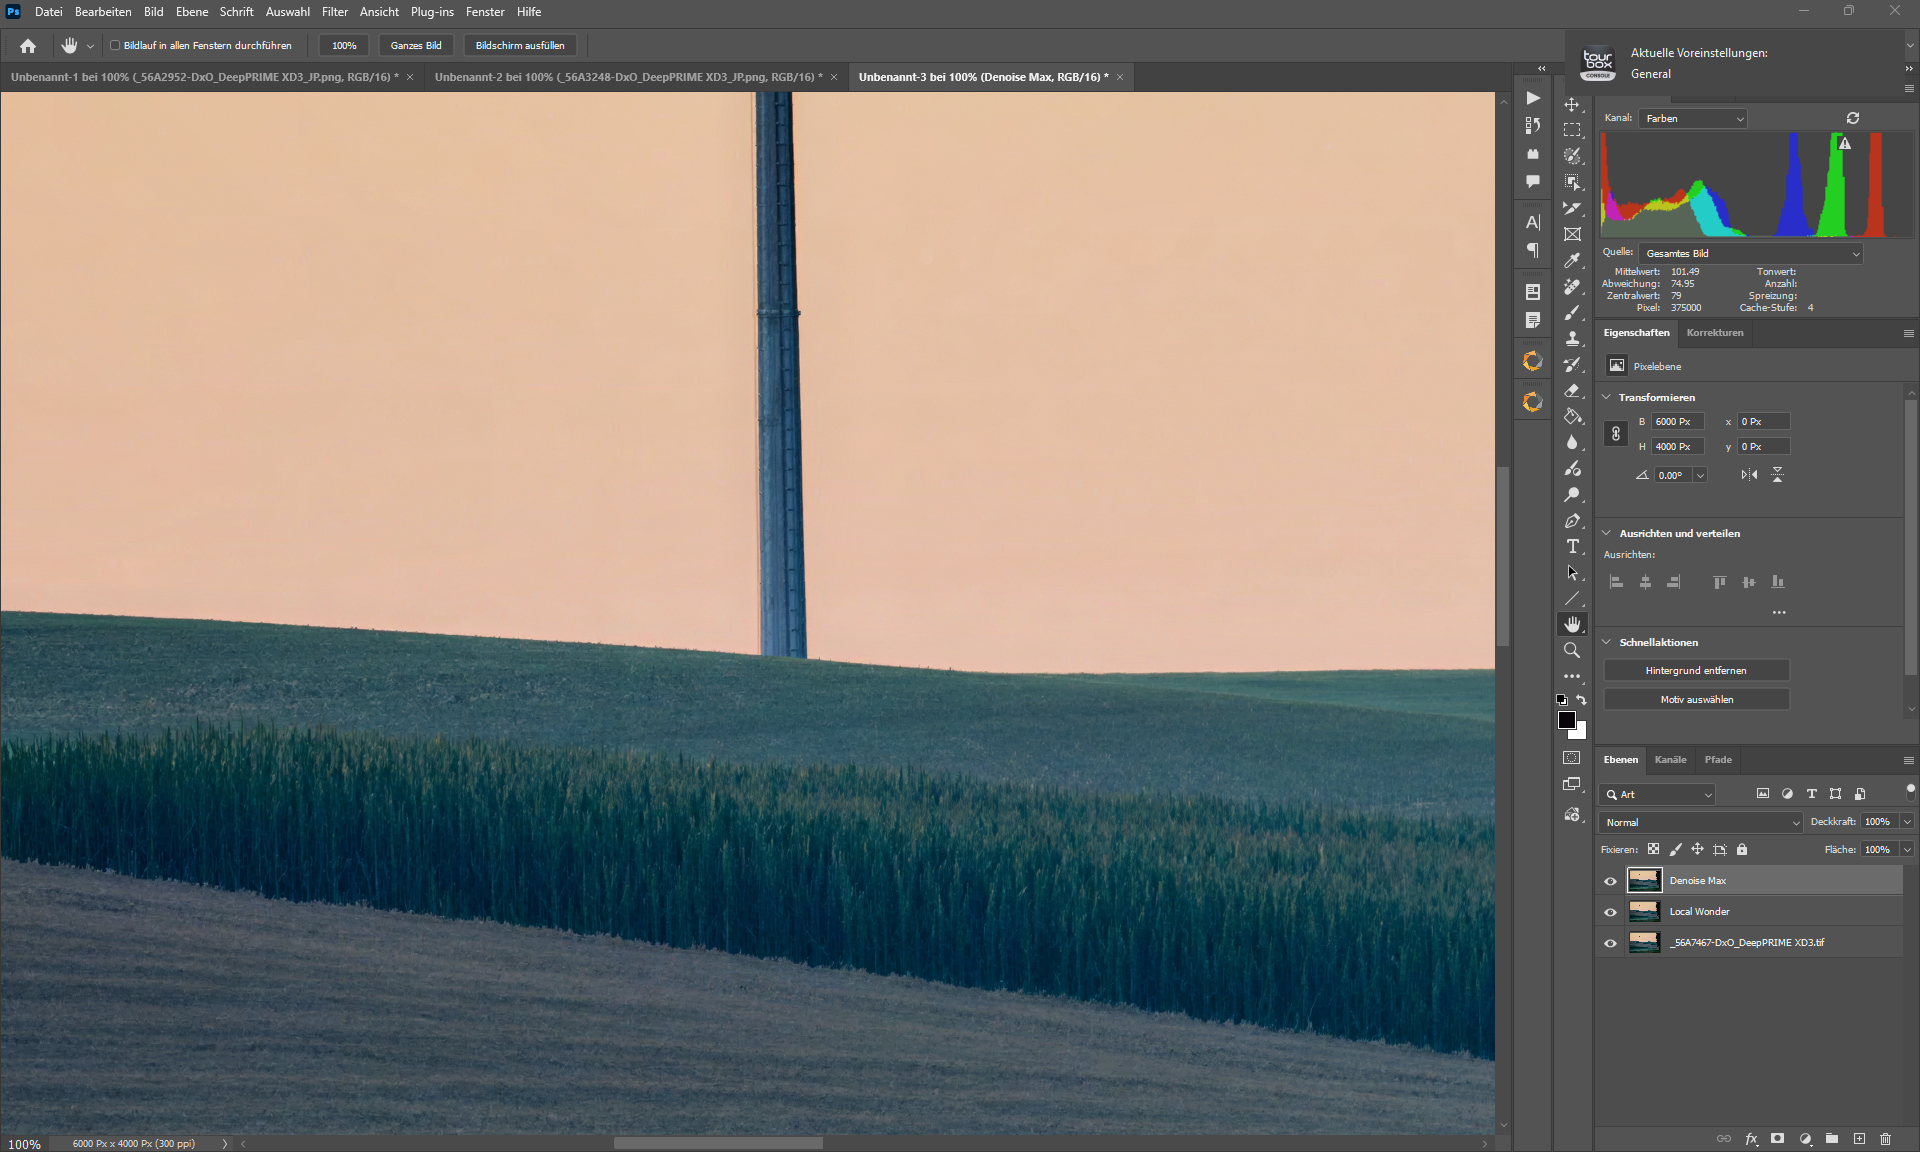
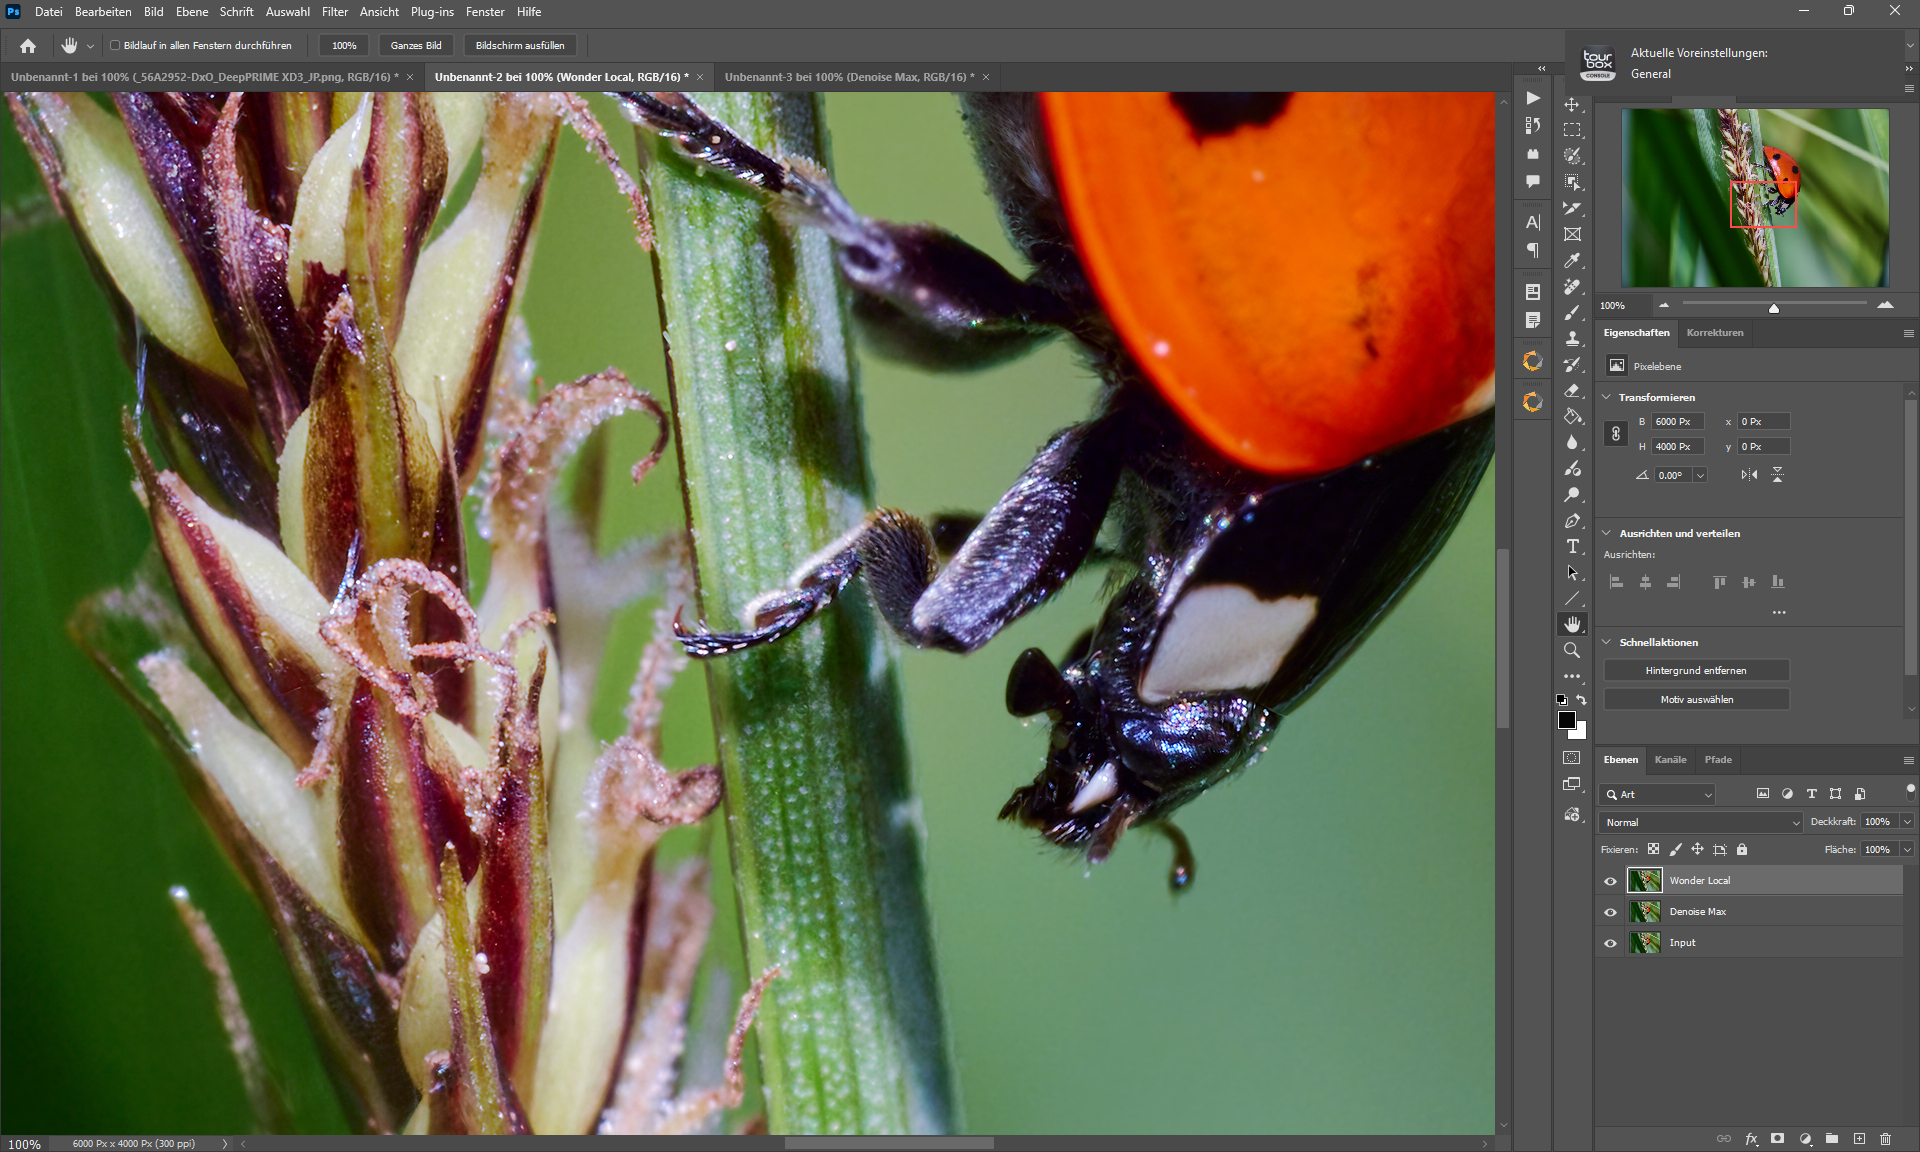
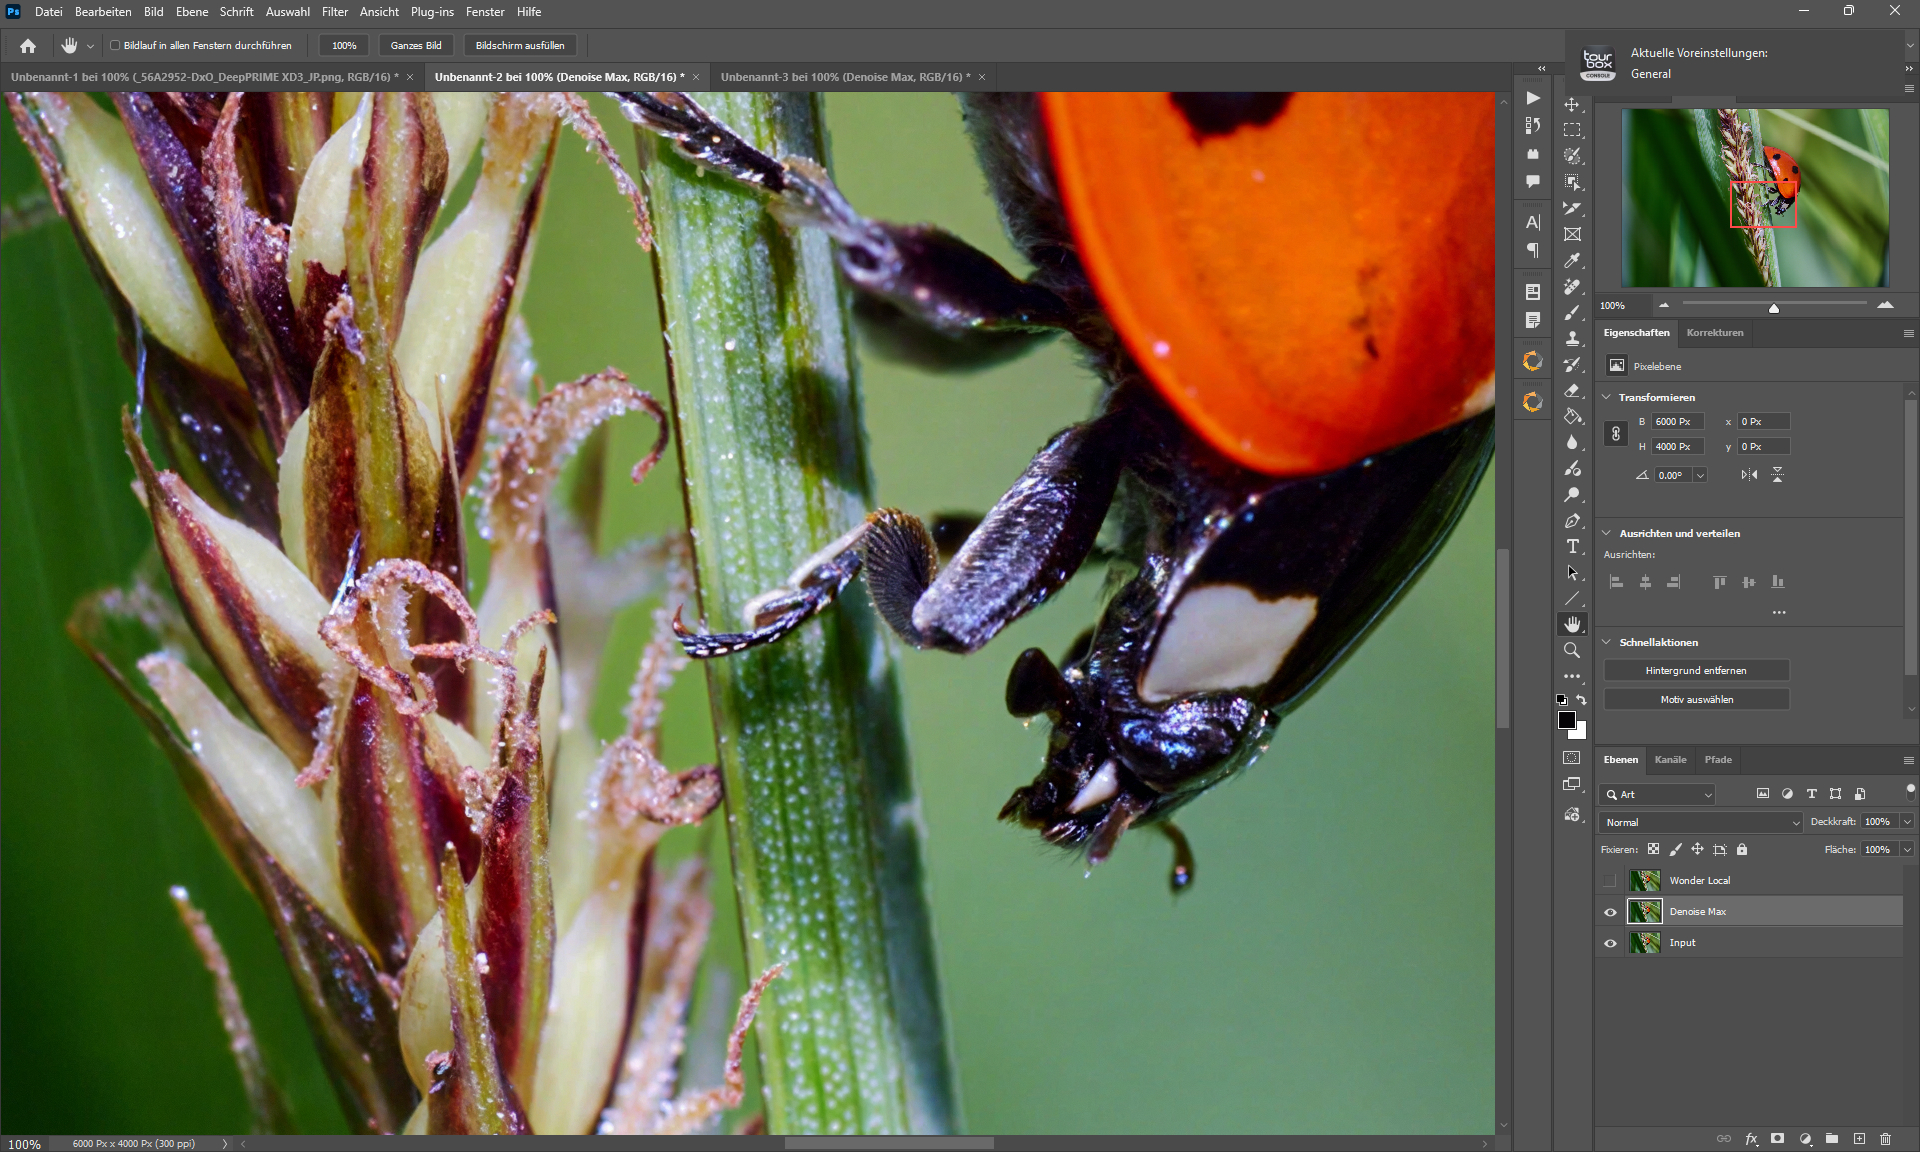
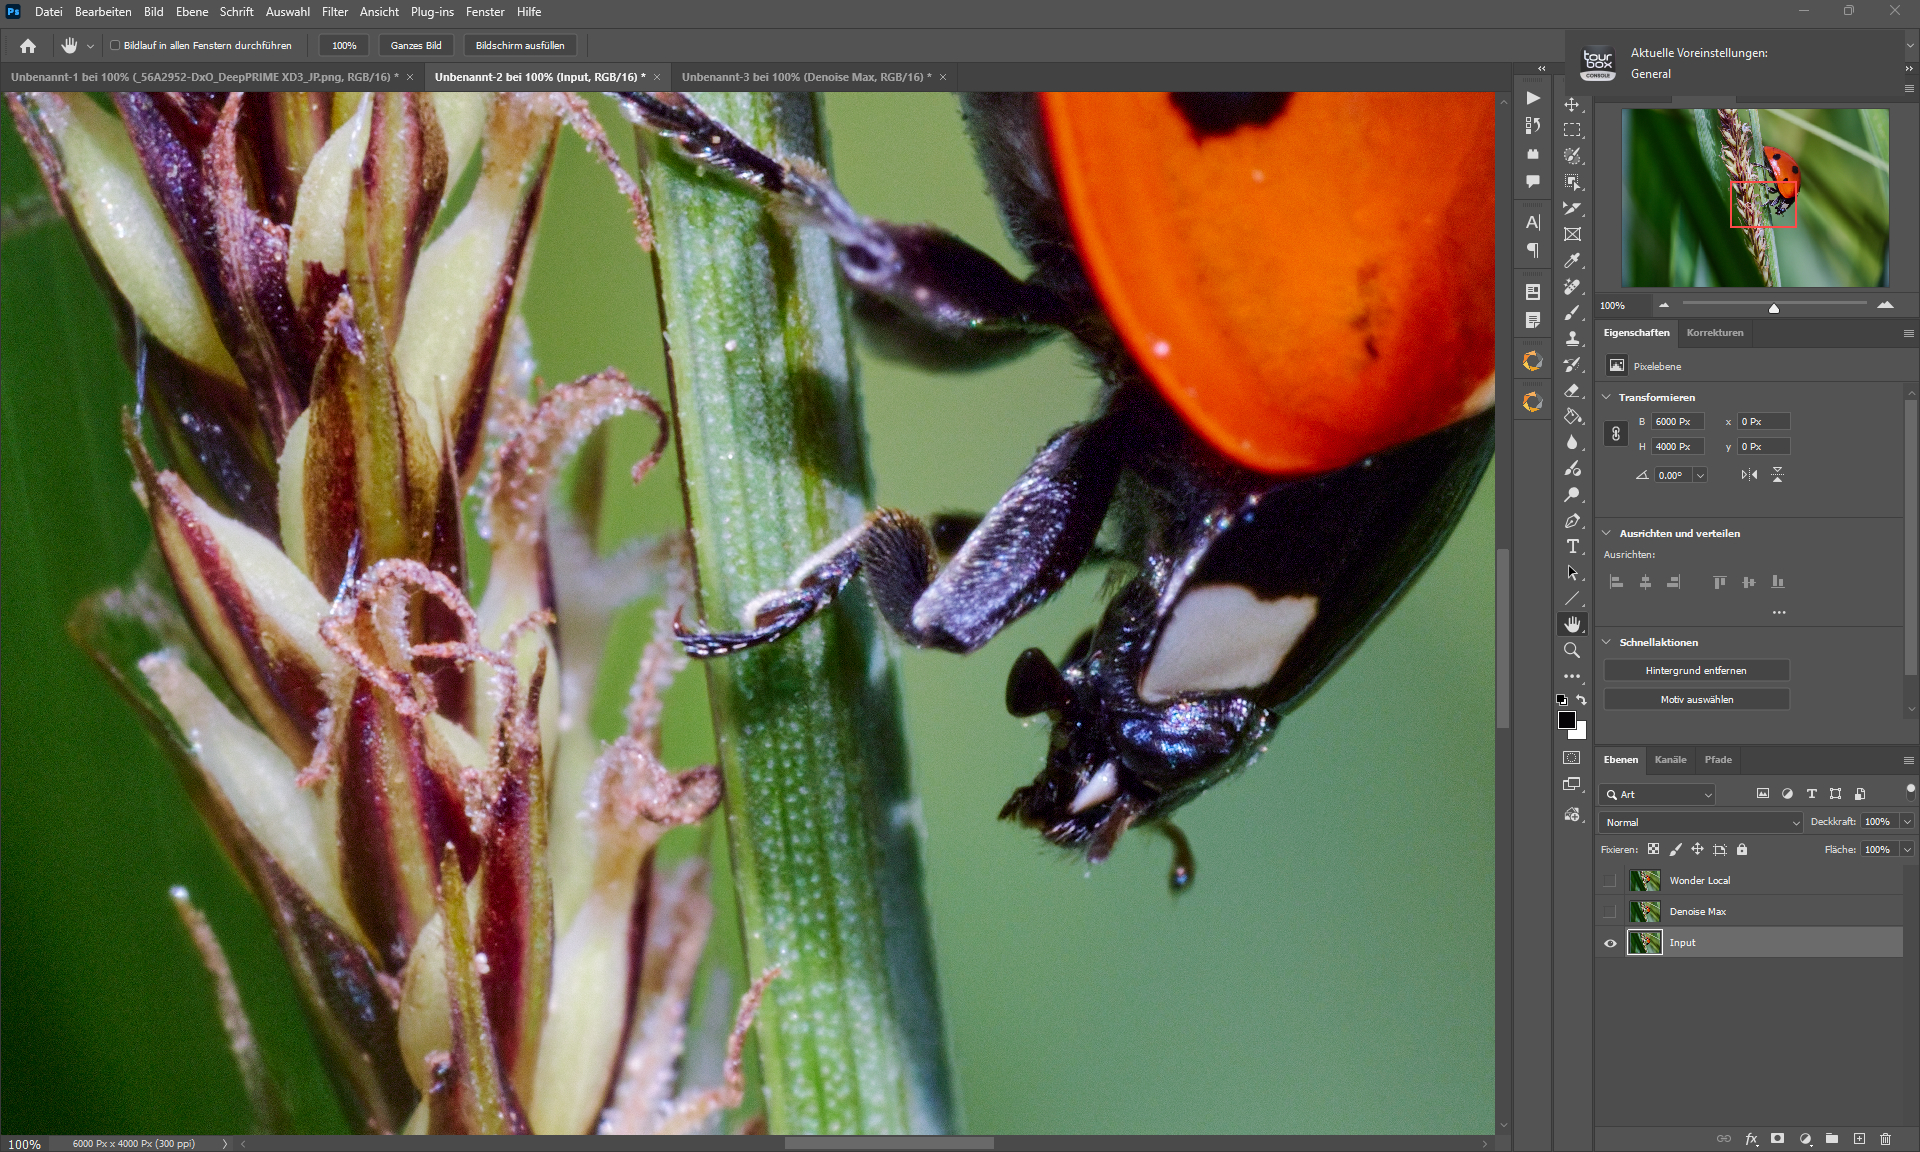
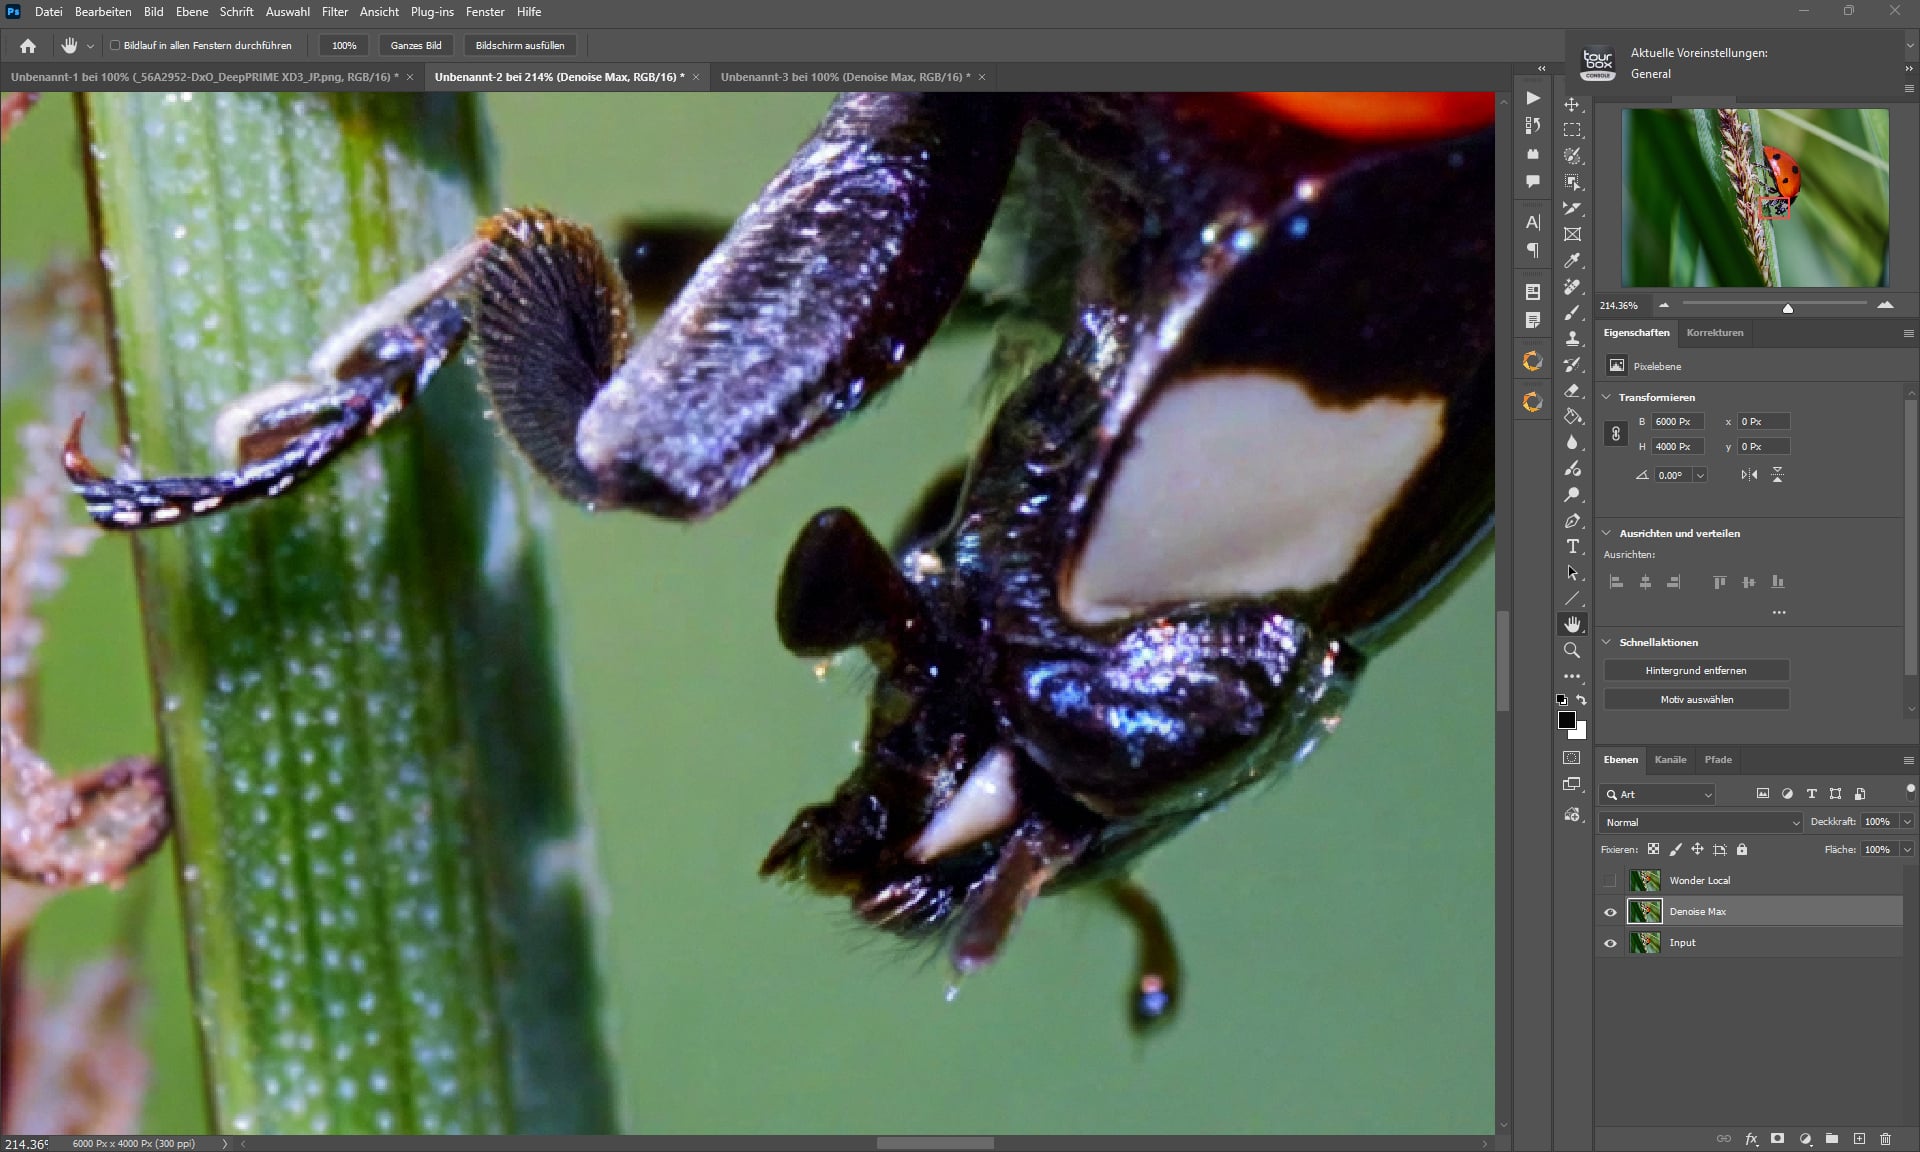
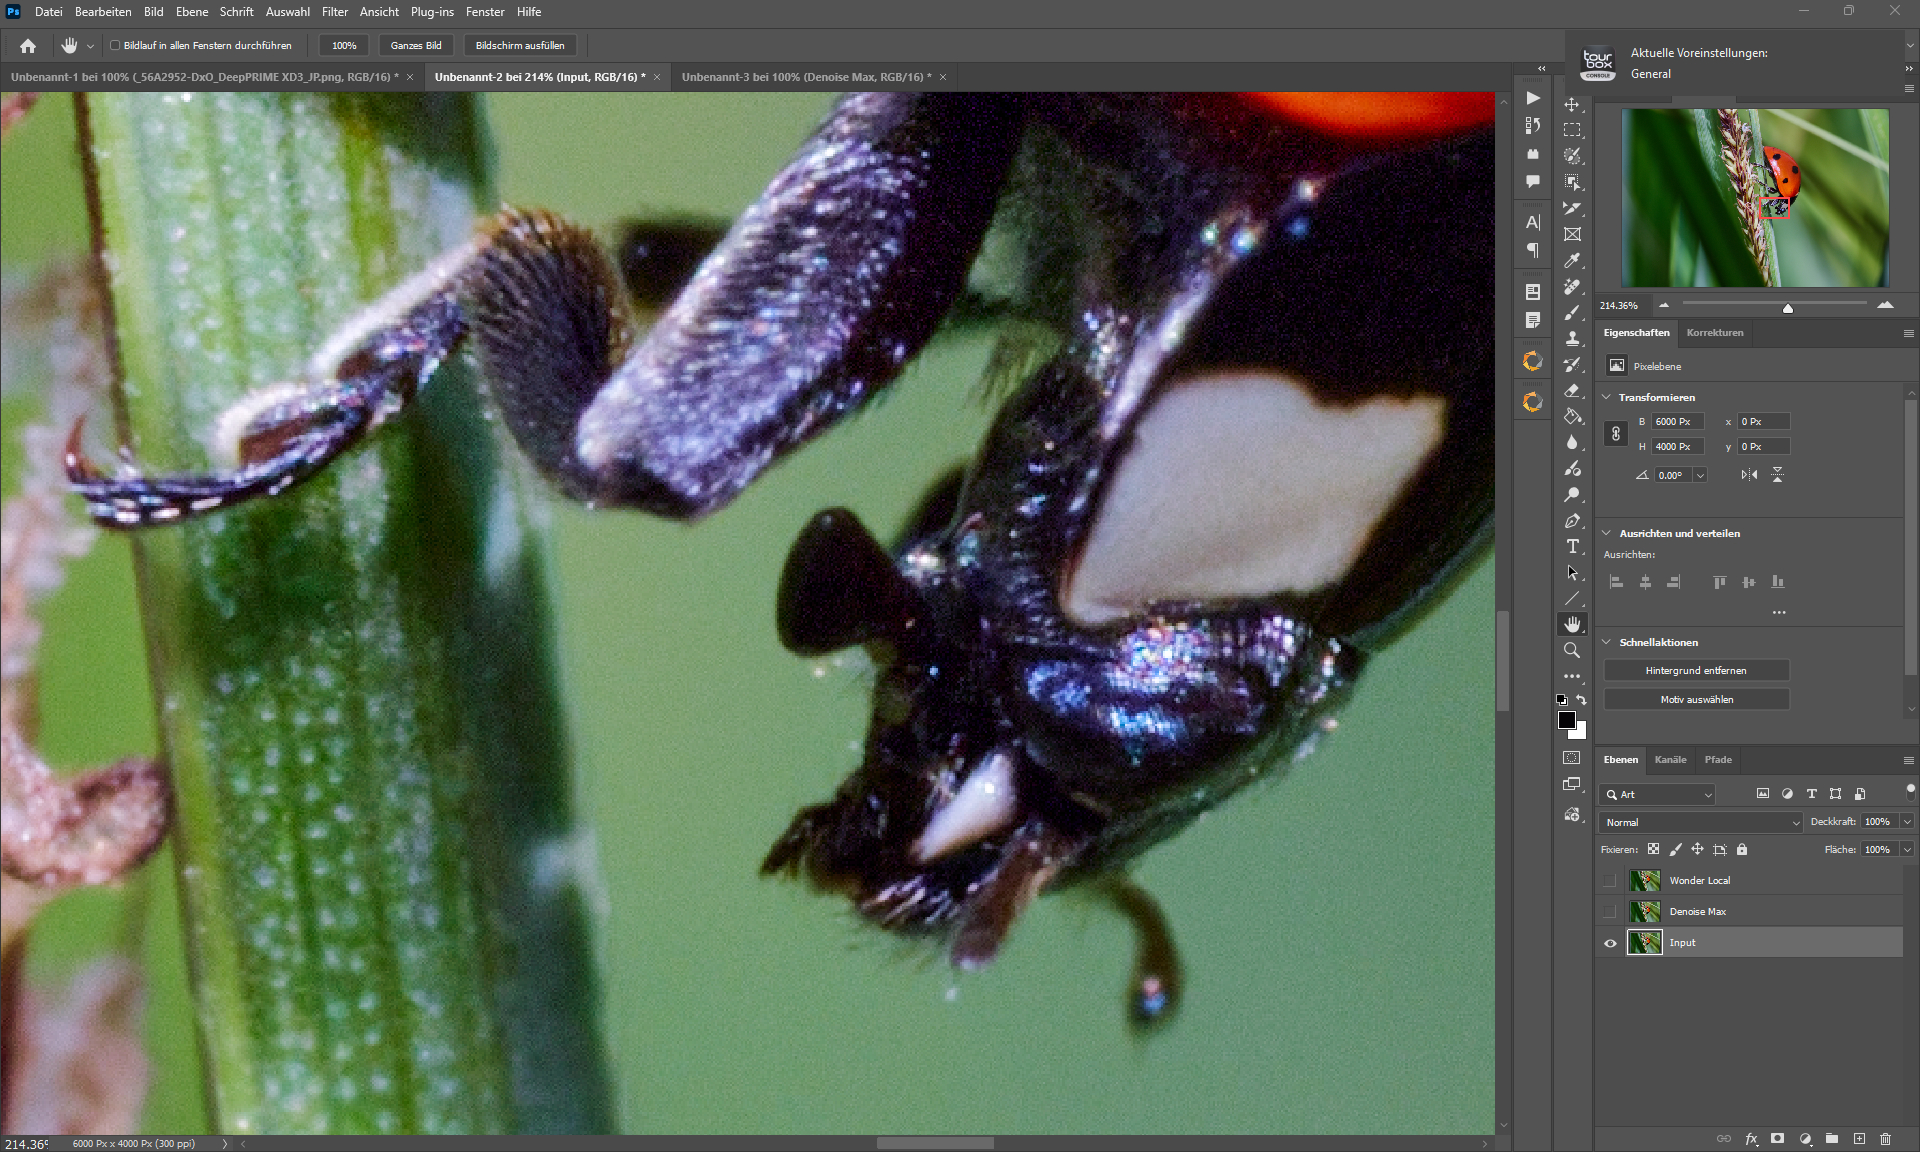
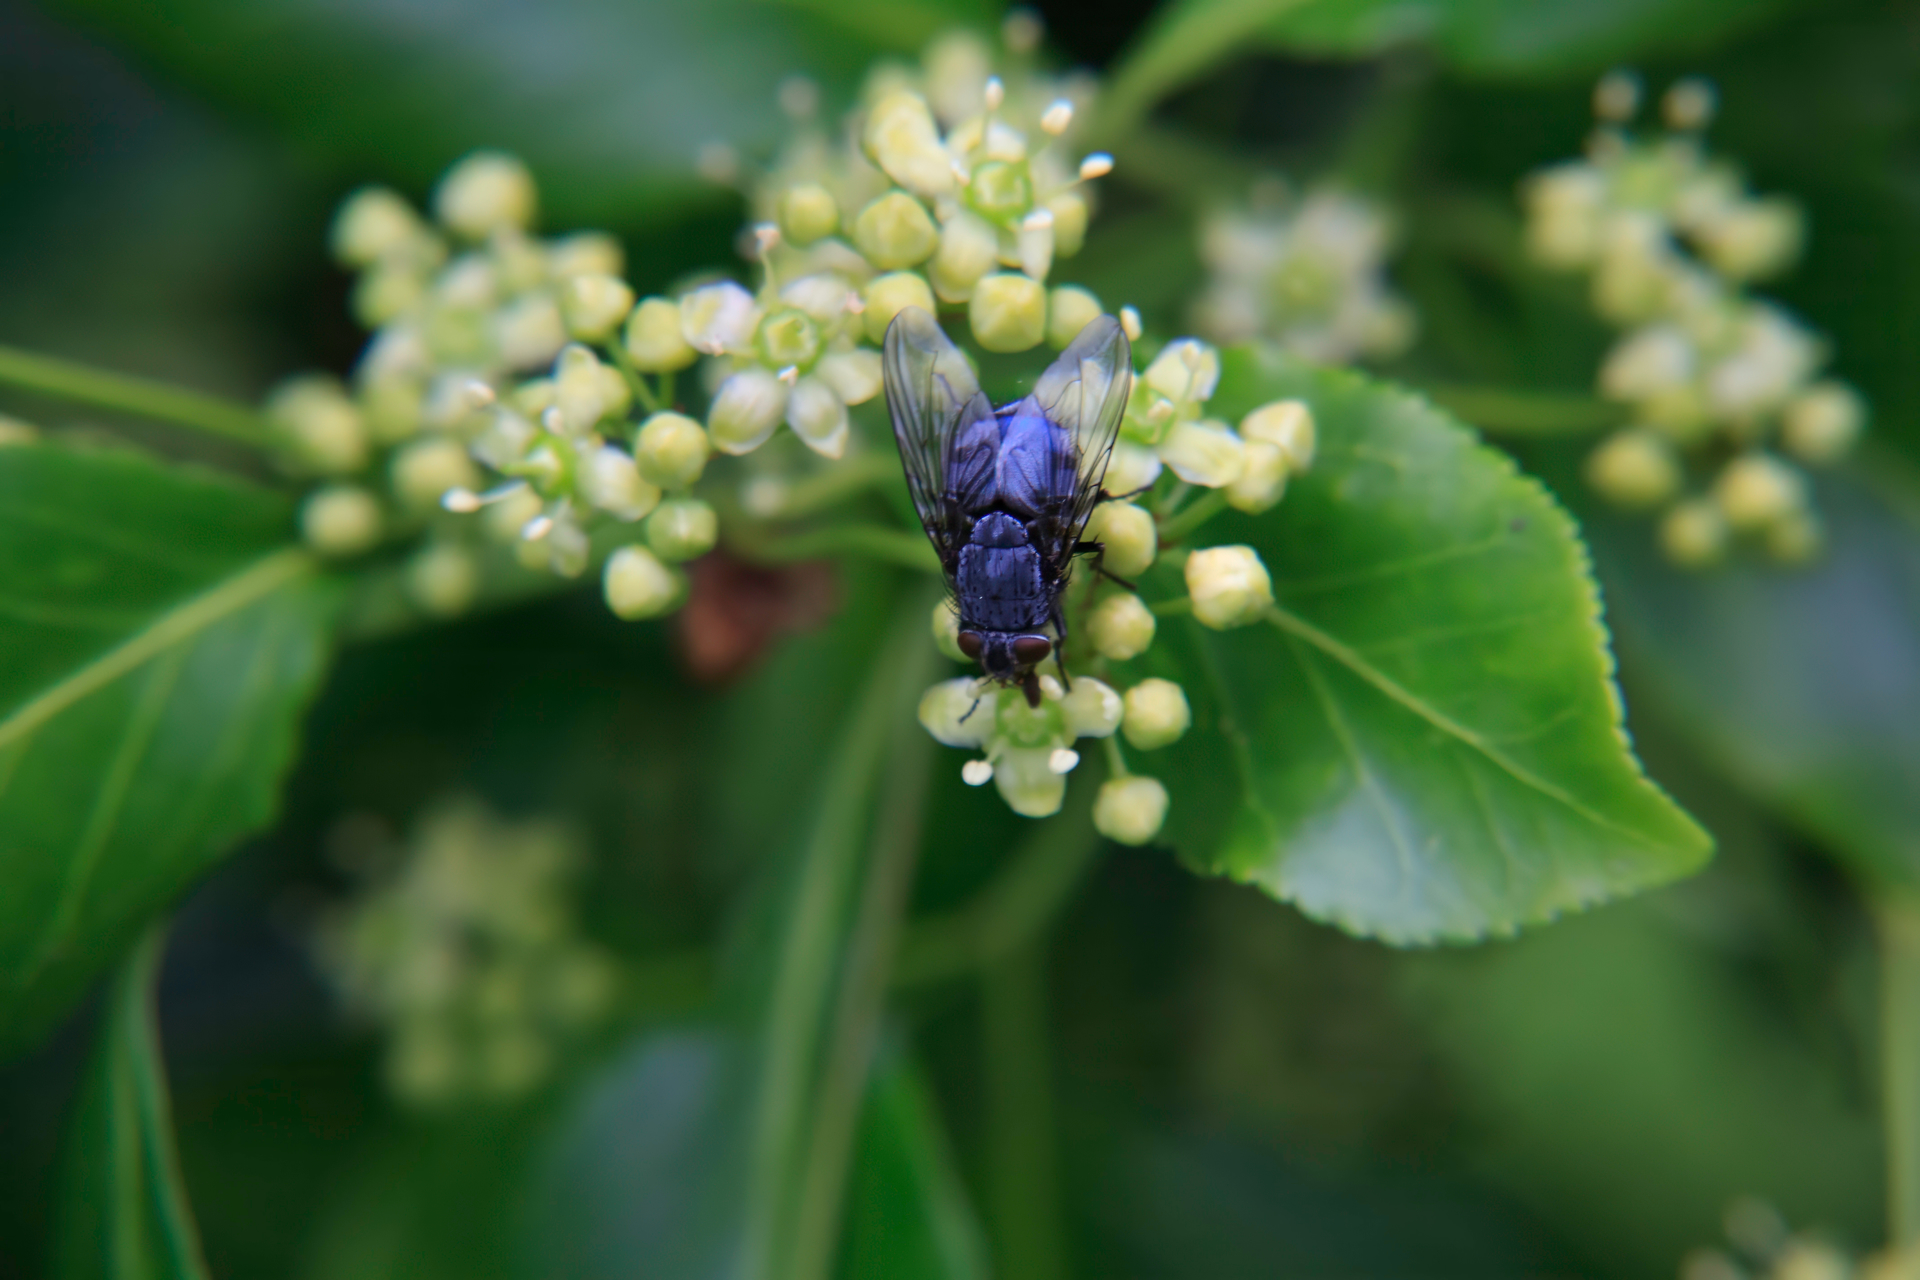
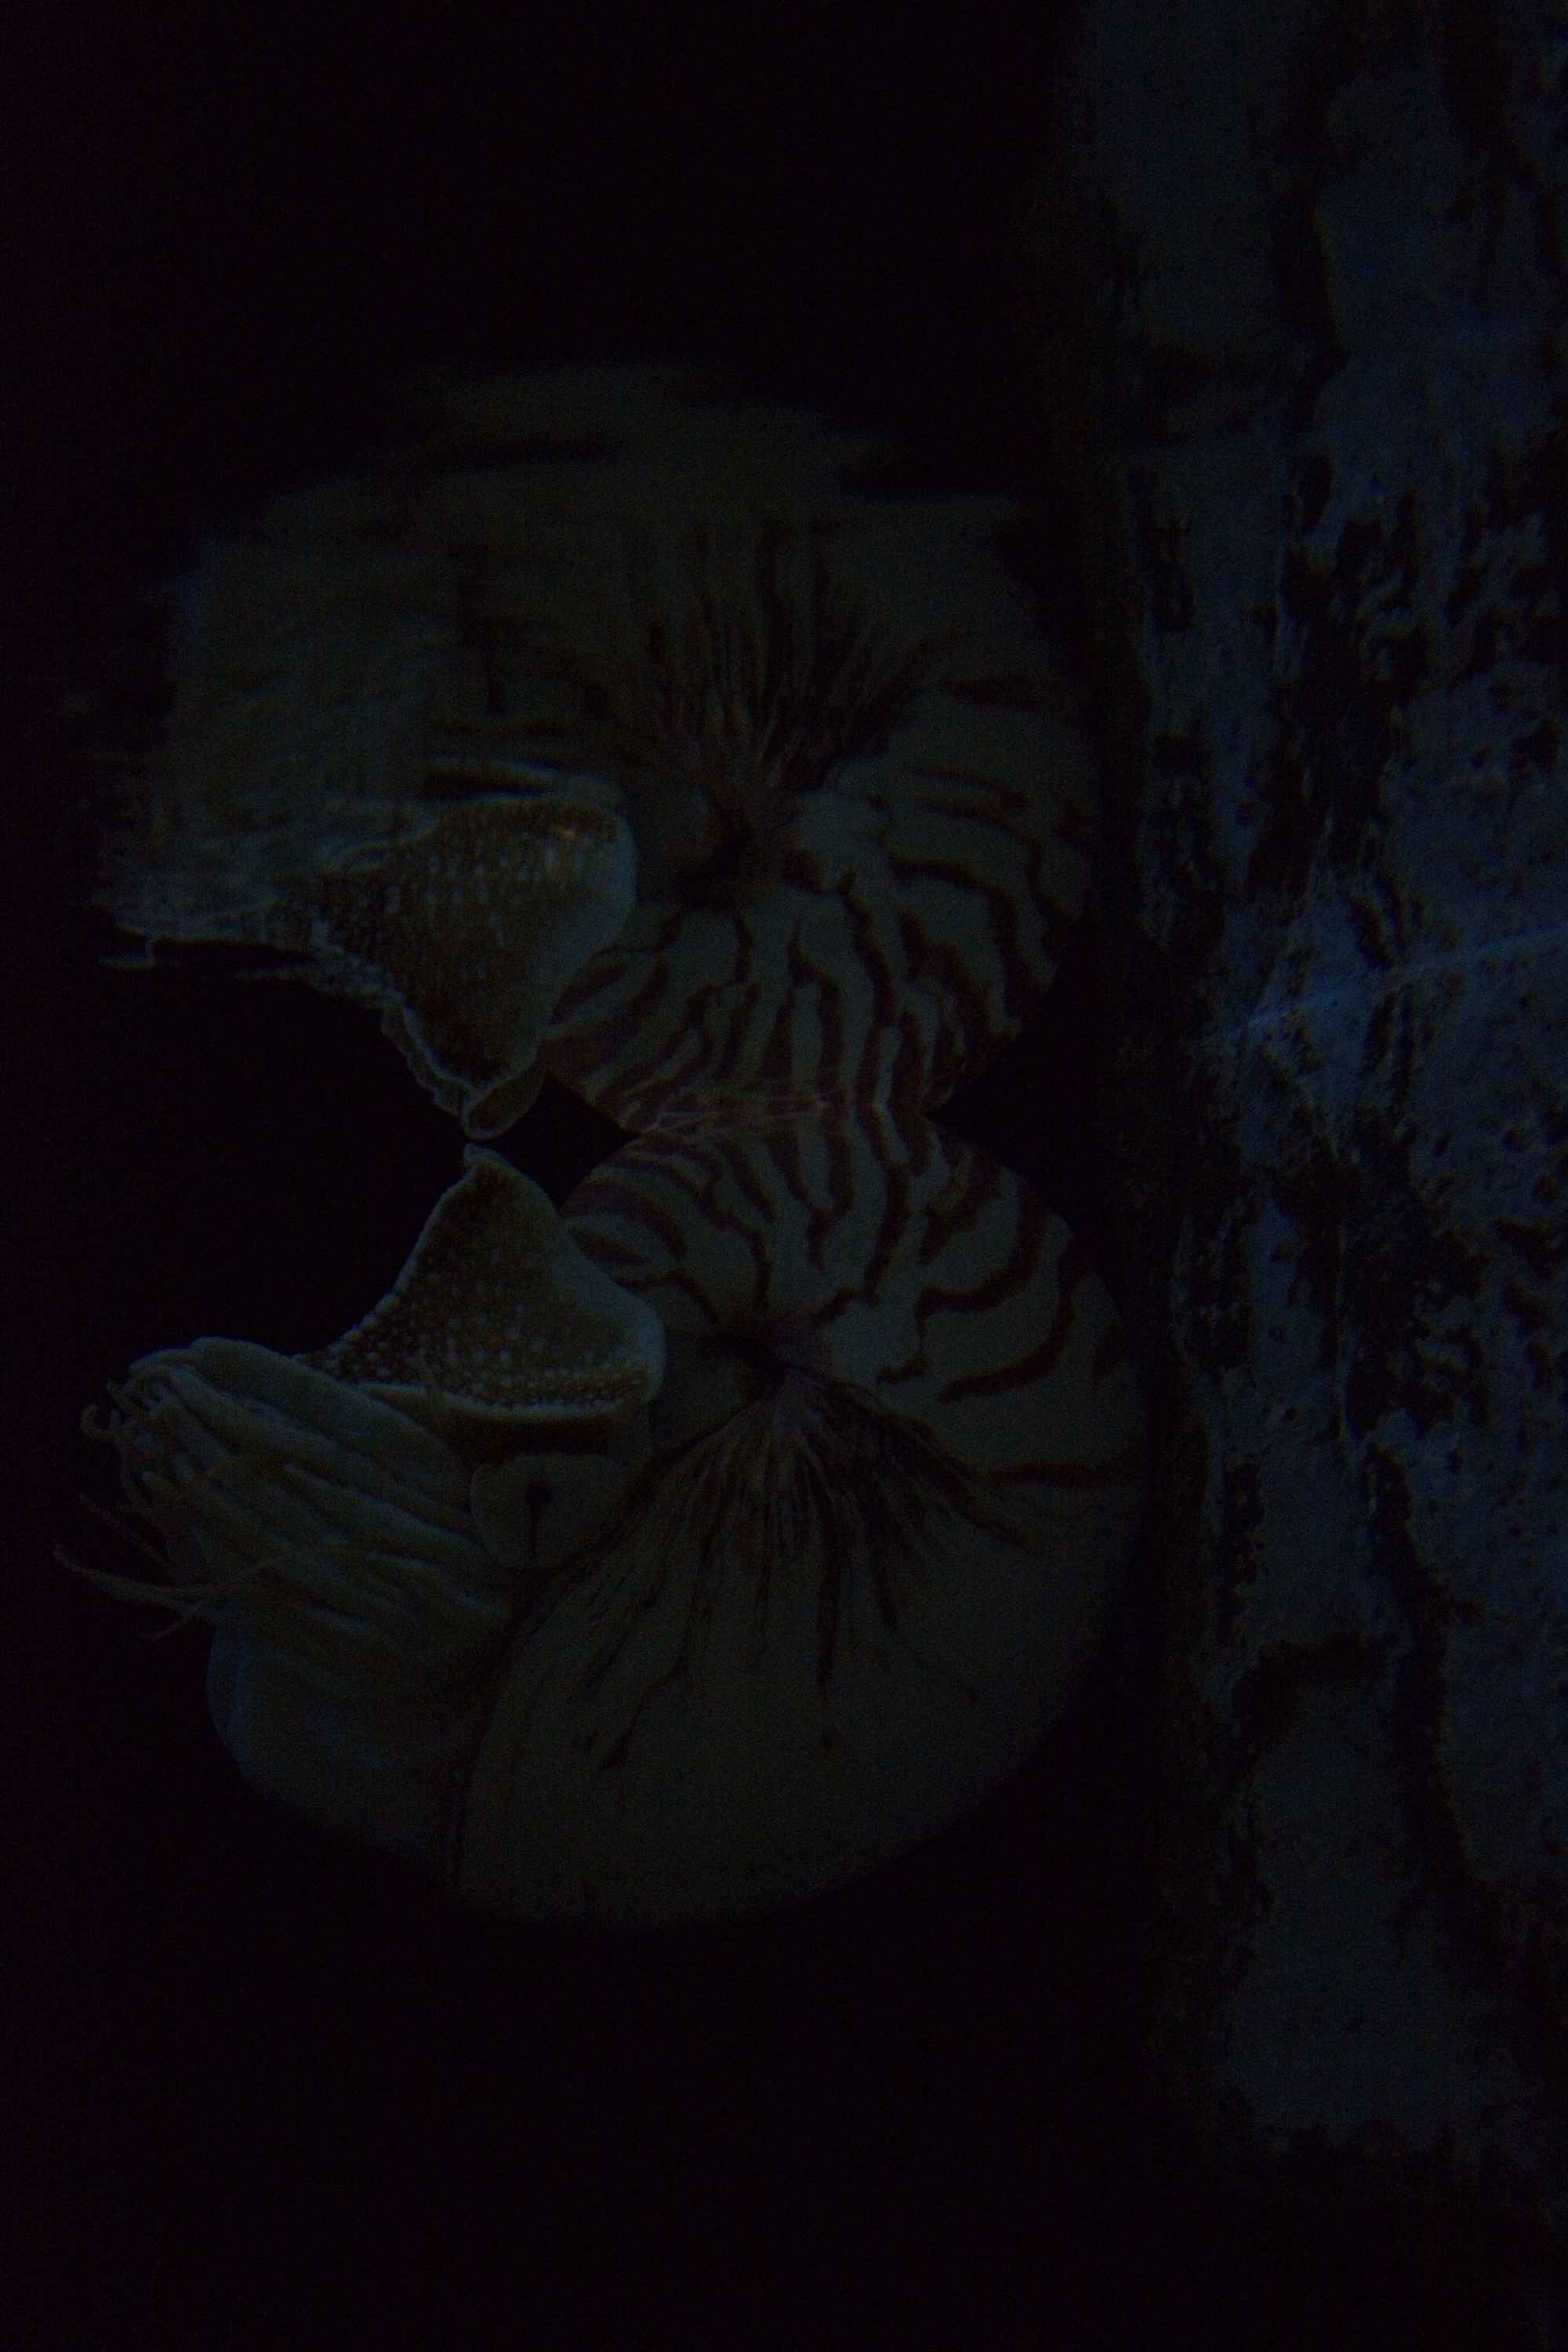
Photo, default DeNoise settings:
I tried to do one of my own noisiest forest fire photos but…
{
“failedOrProcessingTasks”: [
{
Worked the second time (2003 digital original)…
Photo, default DeNoise settings:
I tried to do one of my own noisiest forest fire photos but…
{
“failedOrProcessingTasks”: [
{
Worked the second time (2003 digital original)…
I think it’s better than the other models.
All the other models, except for Extreme, are based on blurring.
I think Extreme is the old LowLight model, if I remember correctly.
The old models are generally not as generative as the Wonder-based one.
I just had to find a good picture to illustrate my point.
Now I hope Wonder 2 does a good job … it did. ← i know its not a denoise model.
Supersampling has the advantage that the model can better see details, It captures fine details better.
The model is then generative in the right direction.
If you stick with the original resolution, the data the model works with will be too imprecise.
It will then start to guess or “hallucinate” and will tend to rely on data that is present in the training data but does not match the target.
Gemini explained something like that to me in Pro mode.
Why it makes mistakes, where they come from, and why it has its mathematical limits.
The fact that Gemini is an LLM doesn’t make a difference to me when compared to image generators.
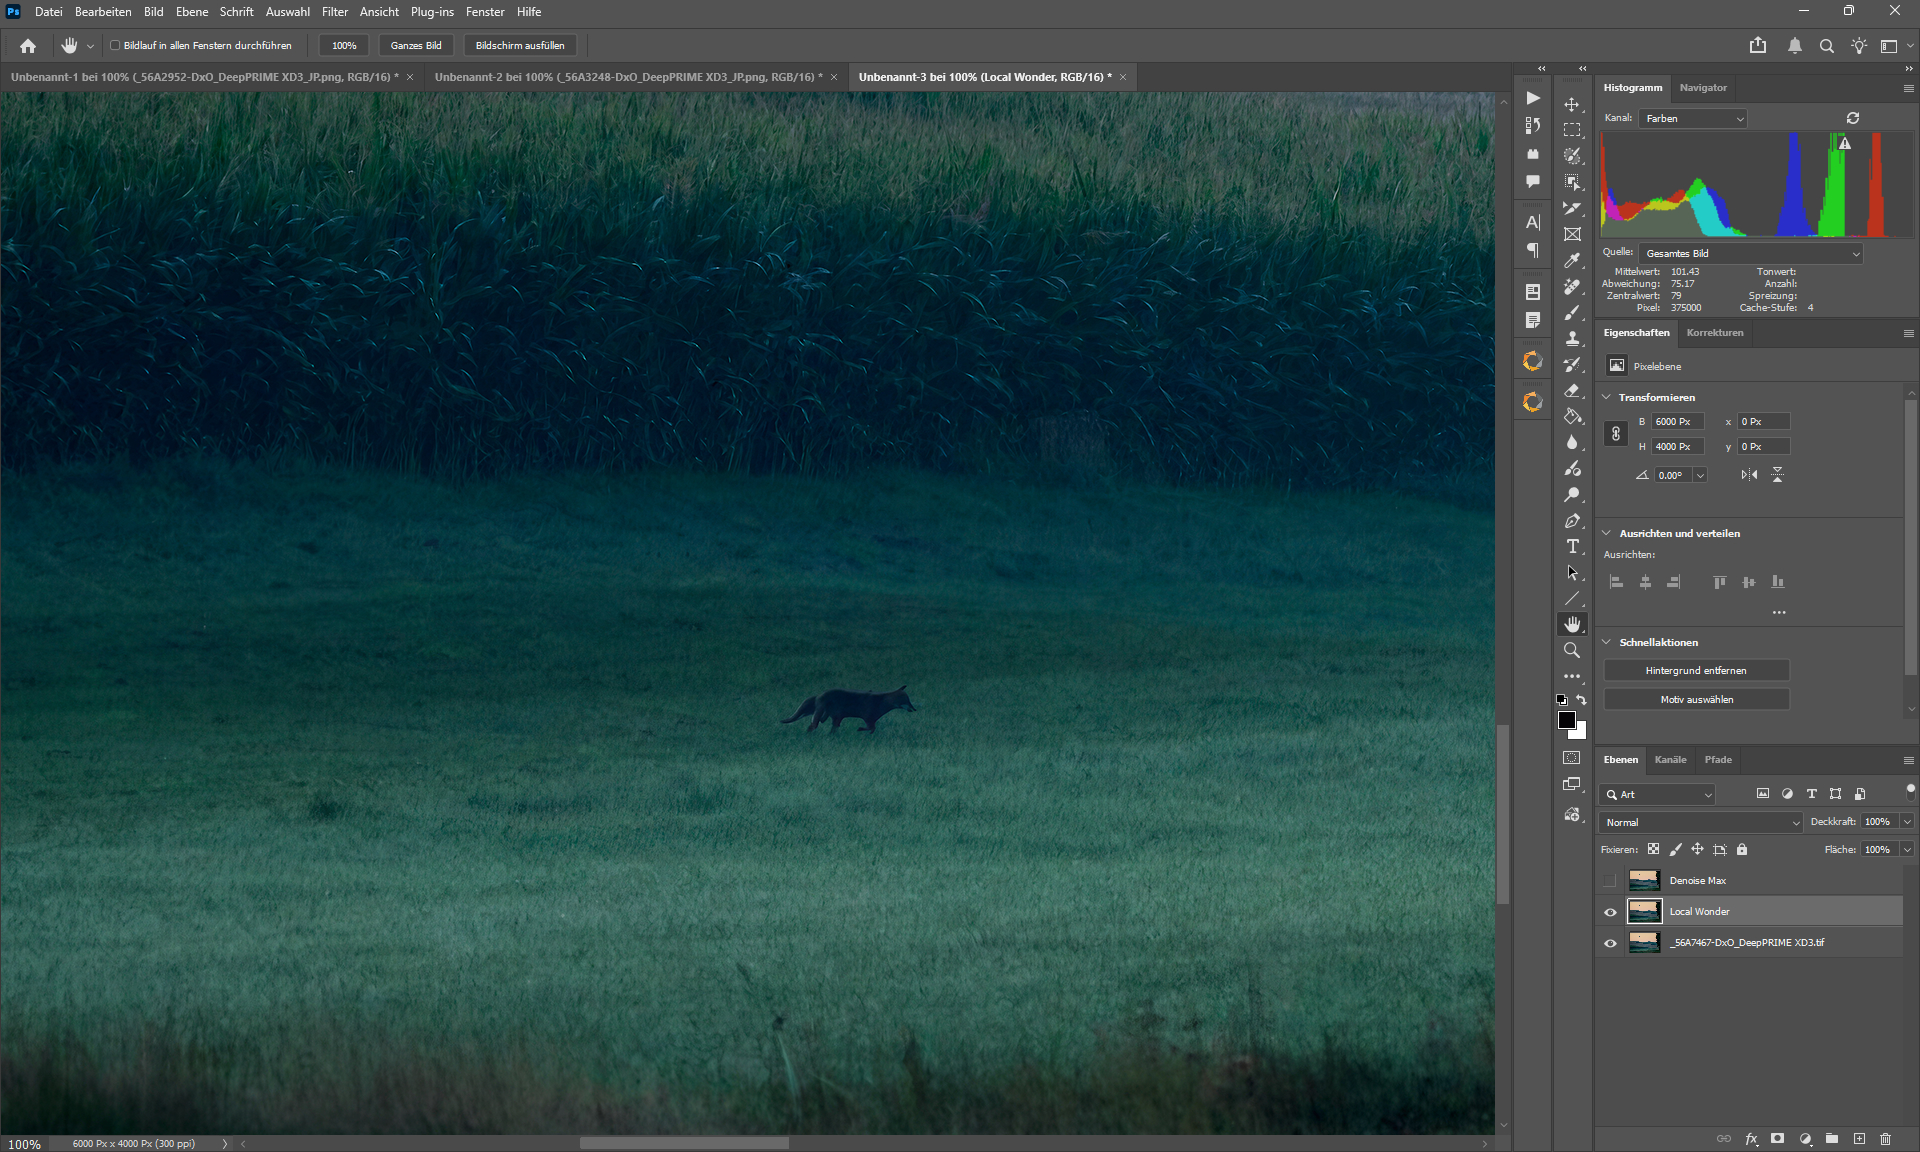
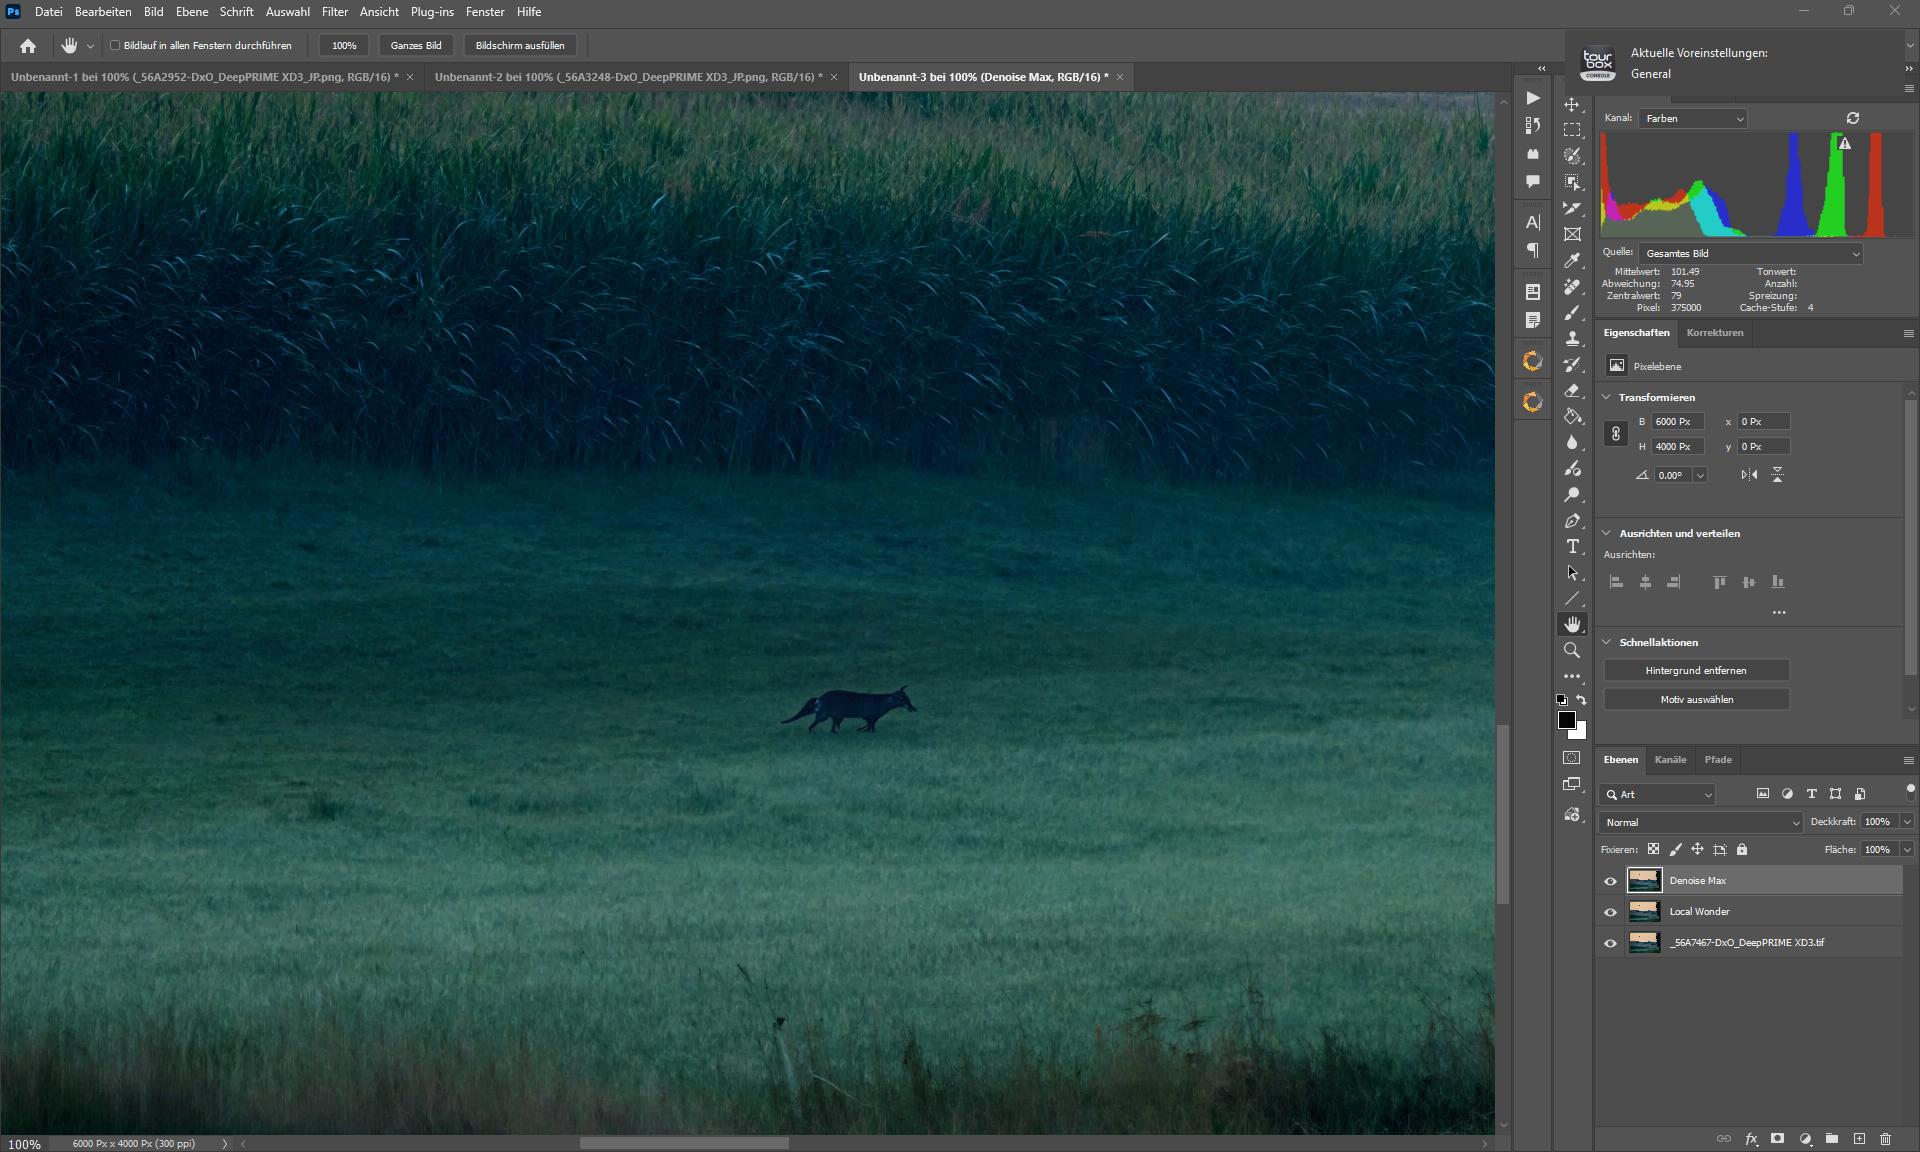
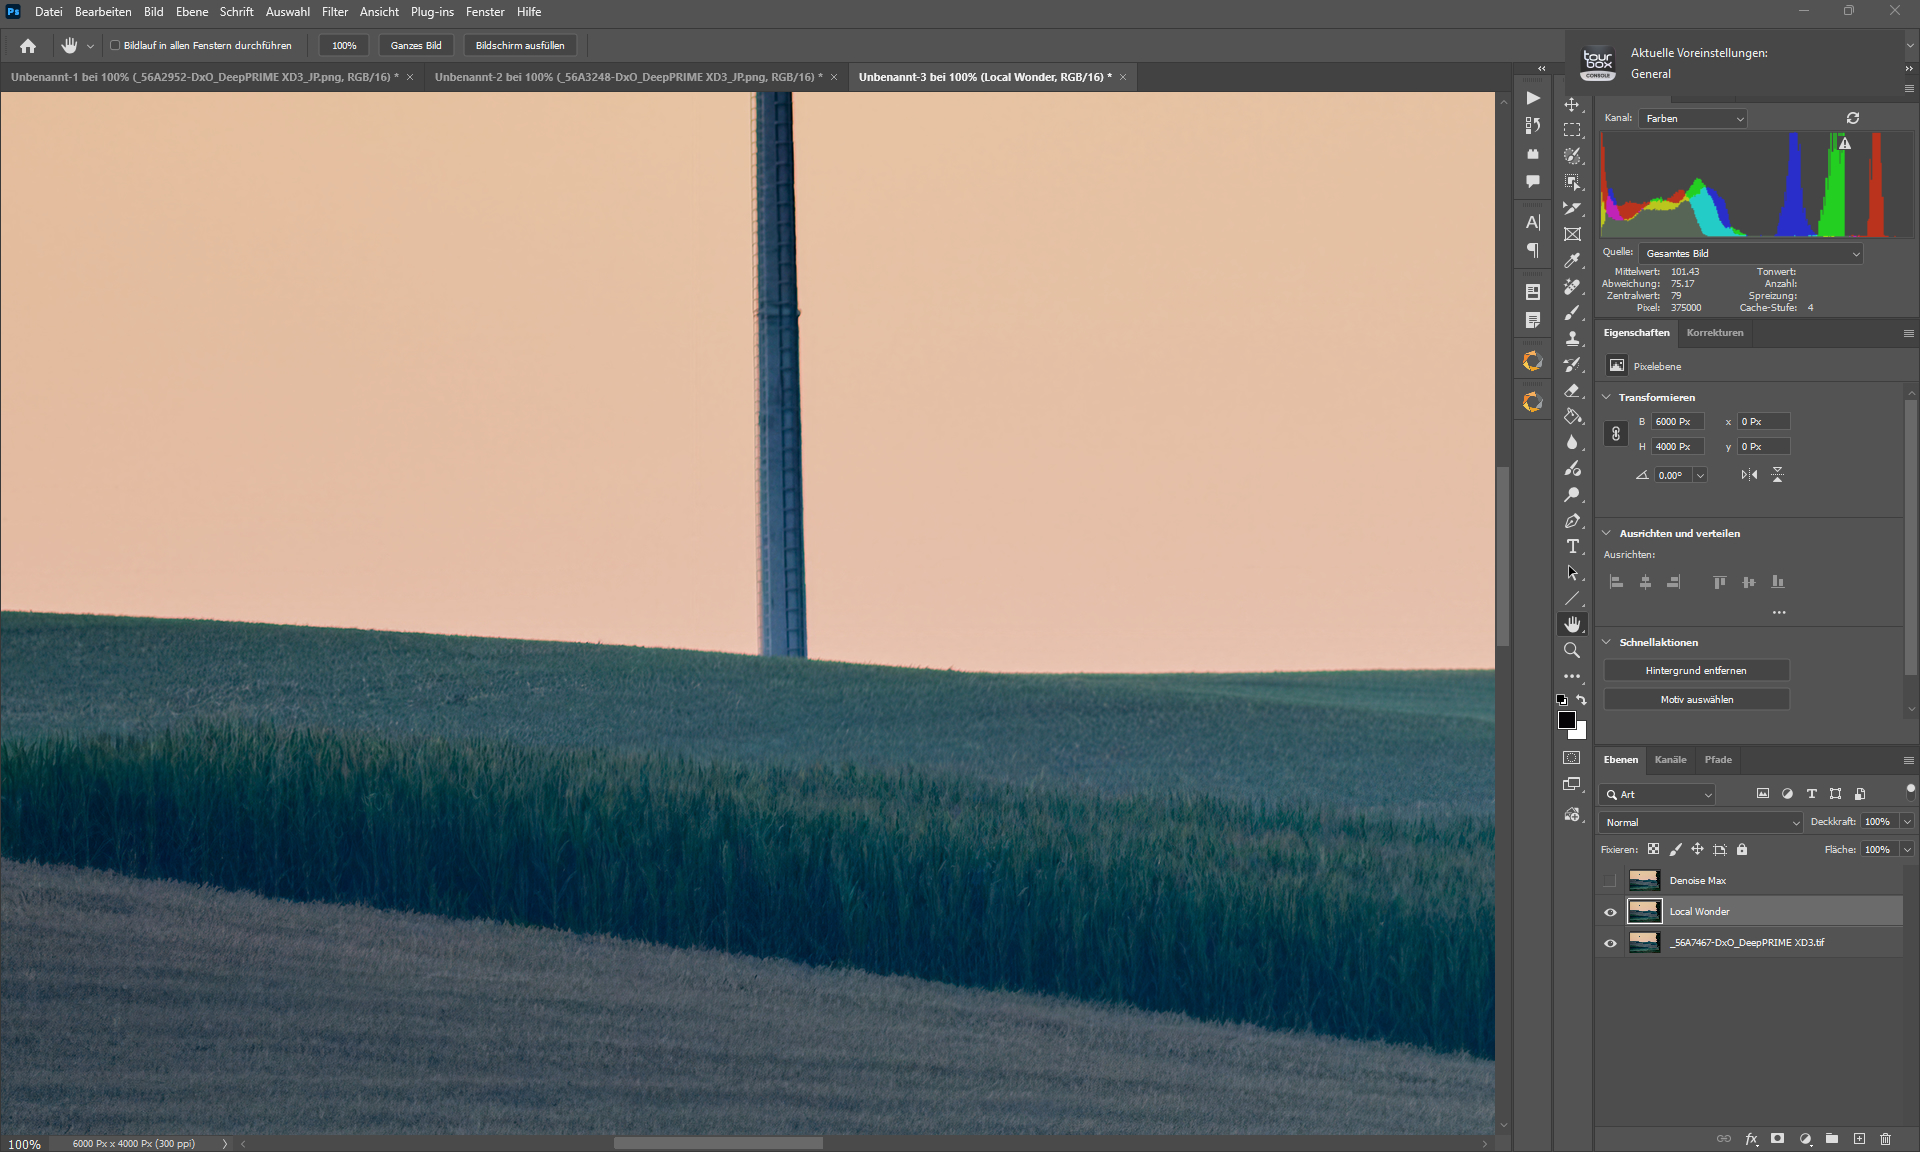
Pay attention to the differences in detail resolution.
Noise reduction is done correctly when it looks as If the noise has simply been turned off.
Noise reduction is done incorrectly when the entire image looks like it is moving like a liquid.
If you place the images on top of each other in layers and toggle them on and off.
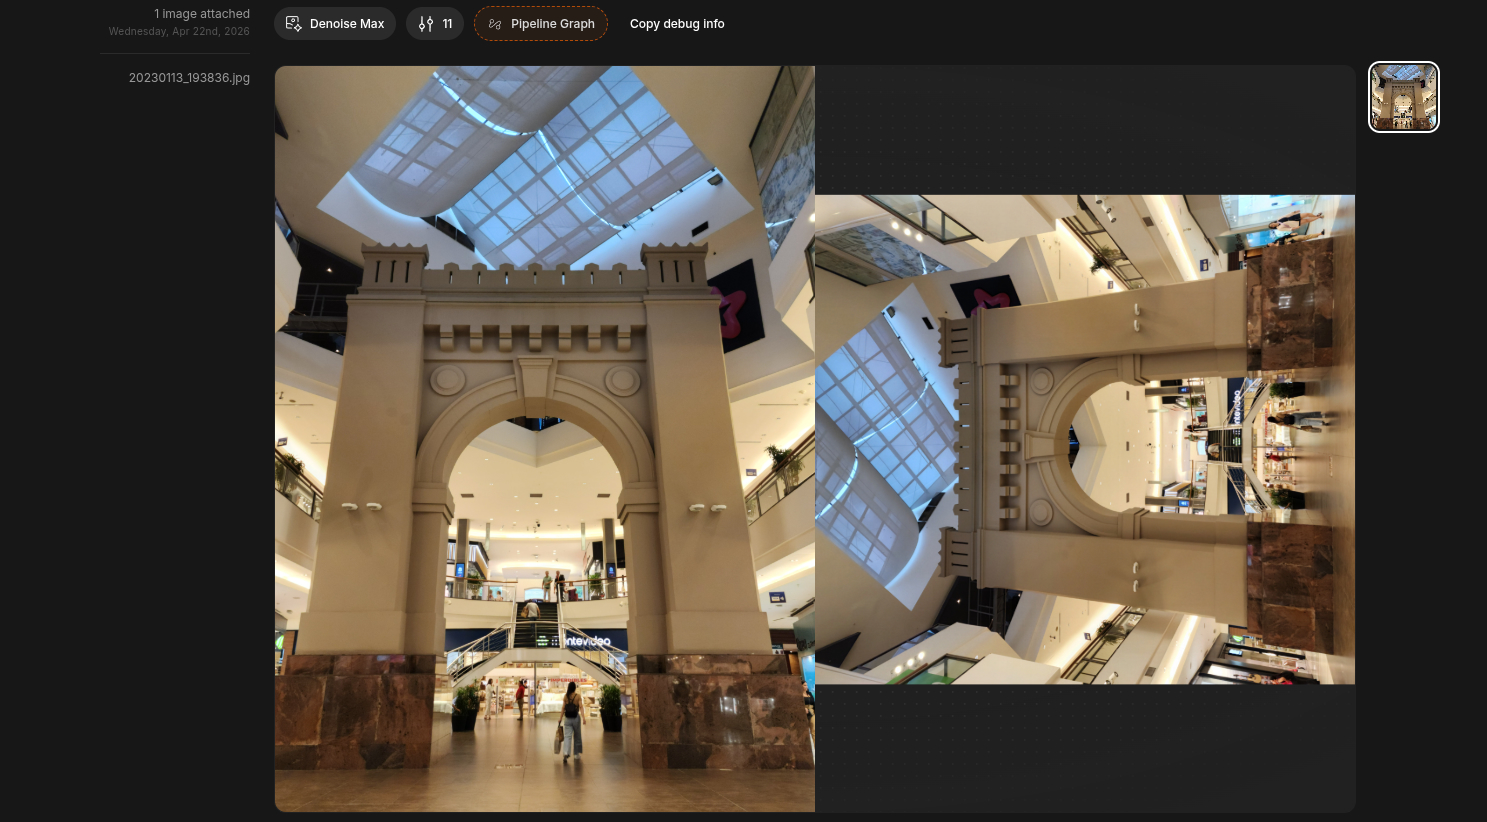
insane bug: Denoise Max processed the image… rotated 45 degrees to the left… and it took over 5 minutes to process it…
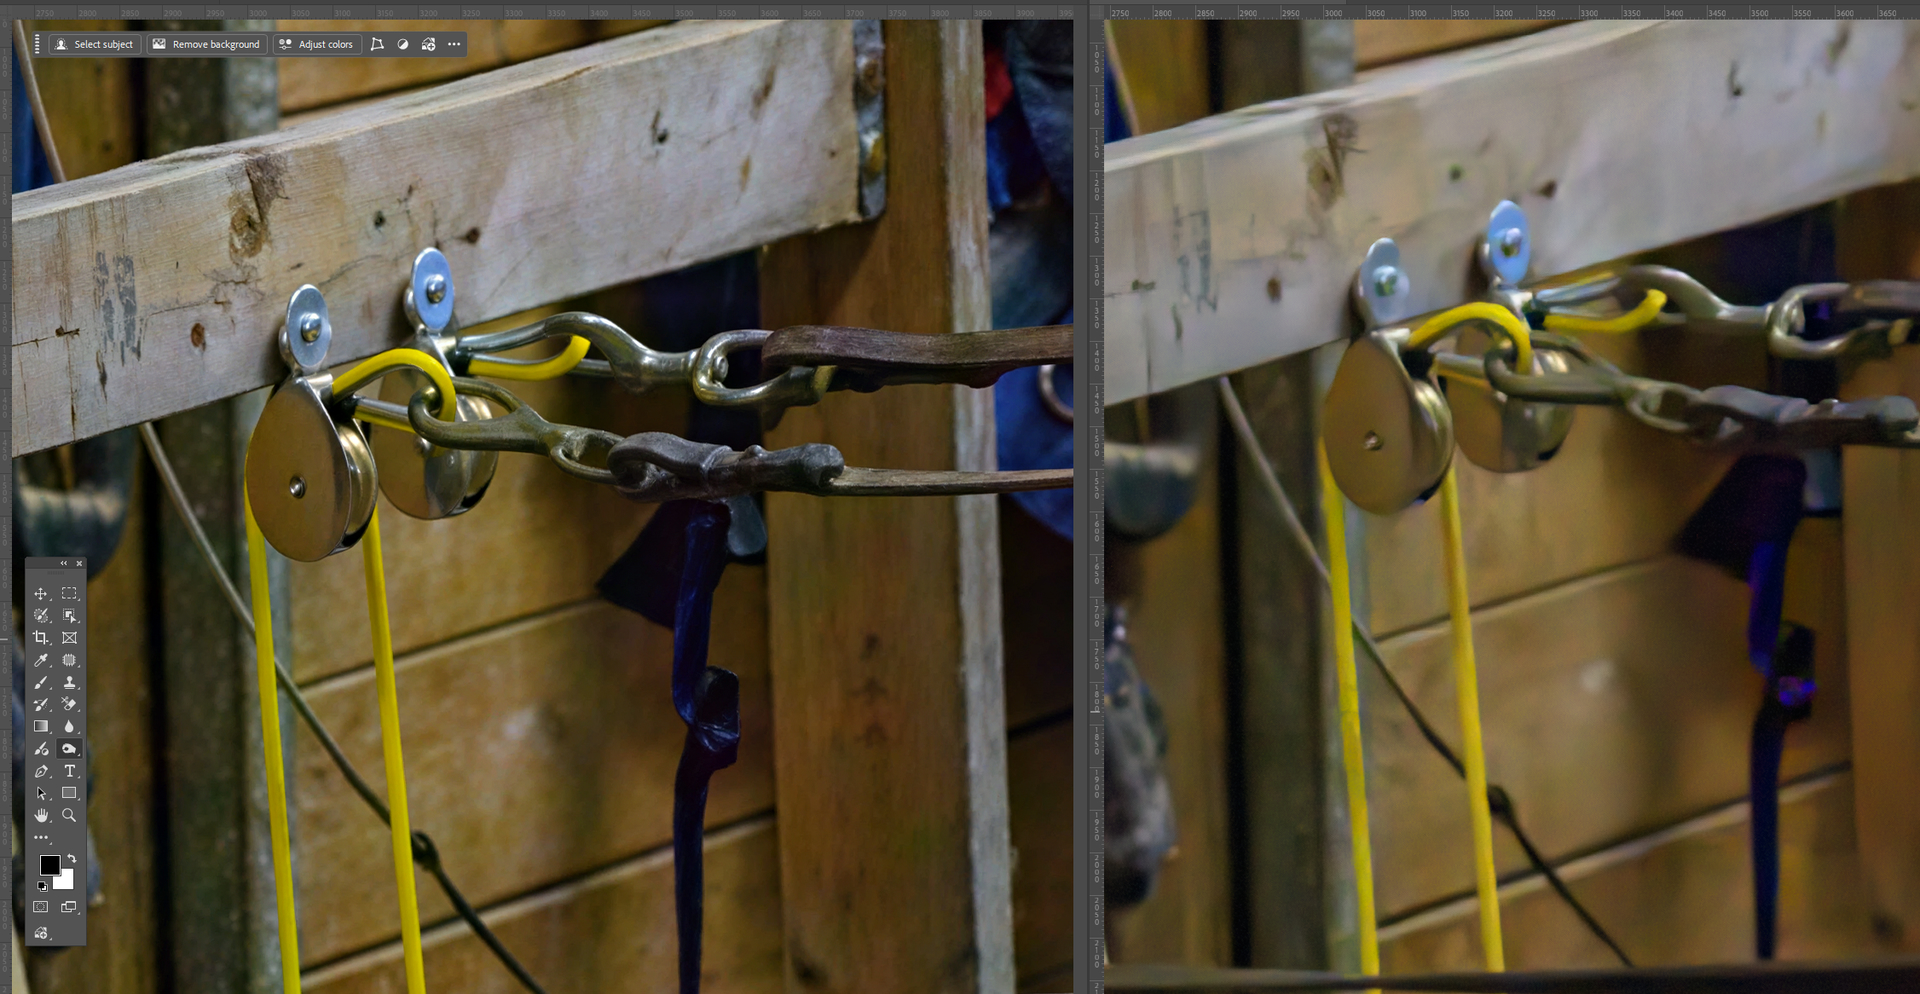
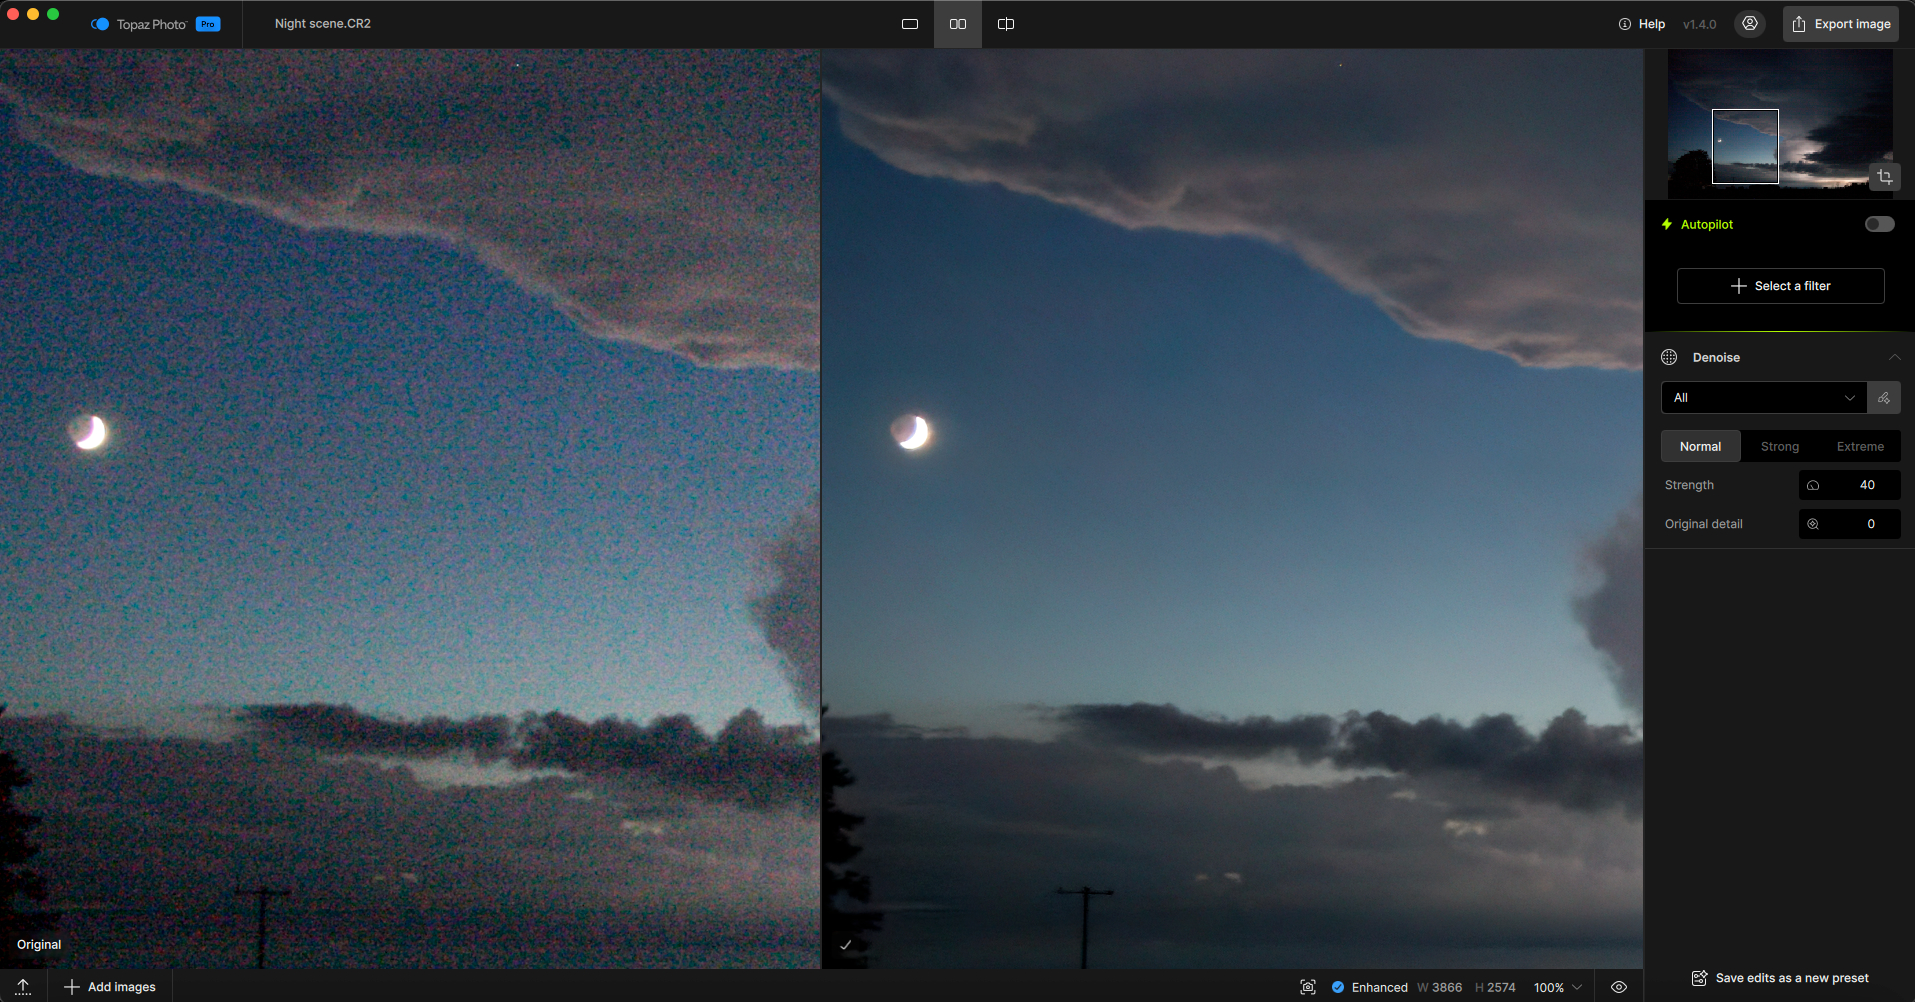
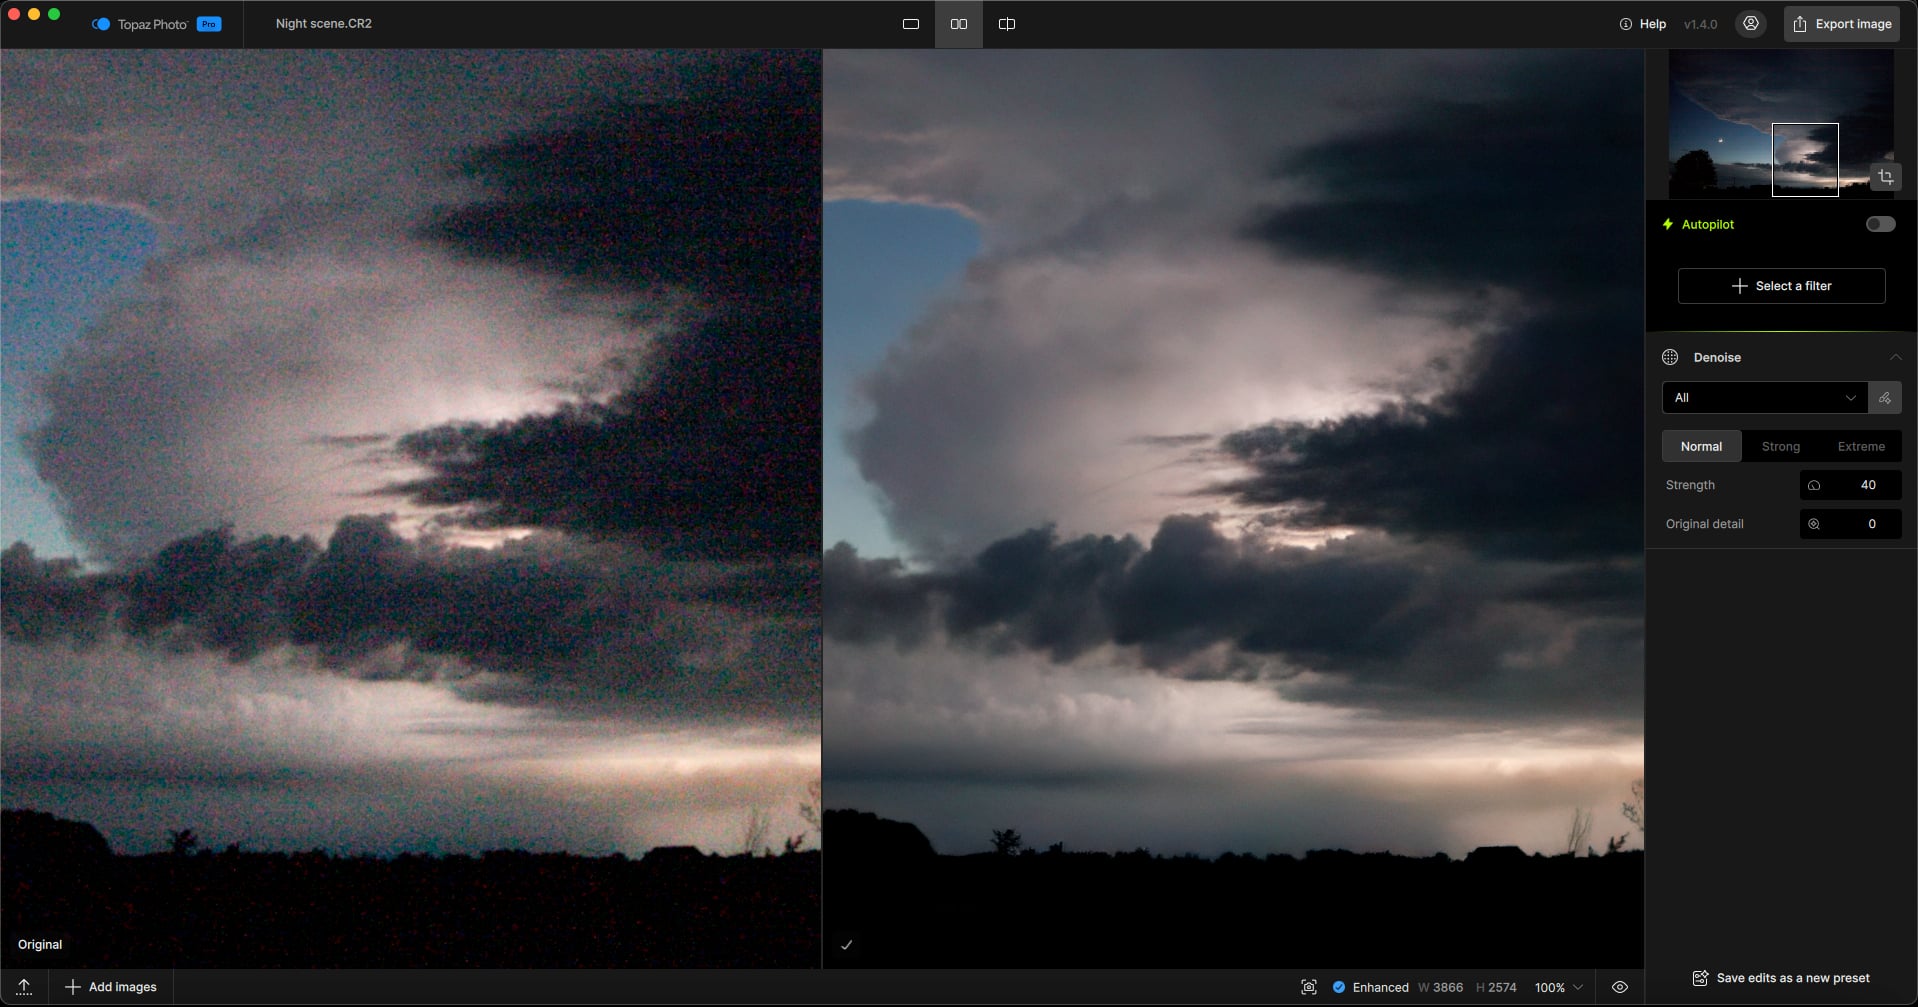
I did only a quick test this morning using a dark image at 6400 iso. Using low light DeNoise rendered an image that lost too much detail. It works surprisingly well in the Max version at strength 36 (was only taking a guess as to strength). This screenshot is zoomed to 100% in both images. Certainly the pulley and wood have far more detail.
I tried a couple of images NEF not supported so I tried a TIFF and jpg. The tiff said it was converting to a supported format then failed to convert. The jpg processed then failed to render. Both took several minutes before failing. Between converting and uploading and processing failures, I spent over 30 minutes with no results.
Thanks for reporting. It looks like we missed rotation metadata for some images. We’re going to fix this soon.
You can try supersampling with DenoiseMax to achieve higher fidelity on small objects or text, especially in low-noise images.
Hi.
Good example thanks for taking the time, you mentioned DeNoise Low Light may I ask why you choose Topaz DeNoise AI as your comparison and not the more up-to-date Topaz Photo Denoising Models because, the old DeNoise AI denoising technology became obsolete along with the old Application and perhaps a more challenging comparison would have been with Topaz Photo.
That said, Topaz Photo has fewer yet, more intelligent Models which have all been updated since the introduction of Topaz Photo for example; RAW Normal & Strong, regular Normal & Strong, RAW Normal V2 & Strong V2 and regular Normal V2 & Strong V2 plus Extreme
Never the less, a great example than you
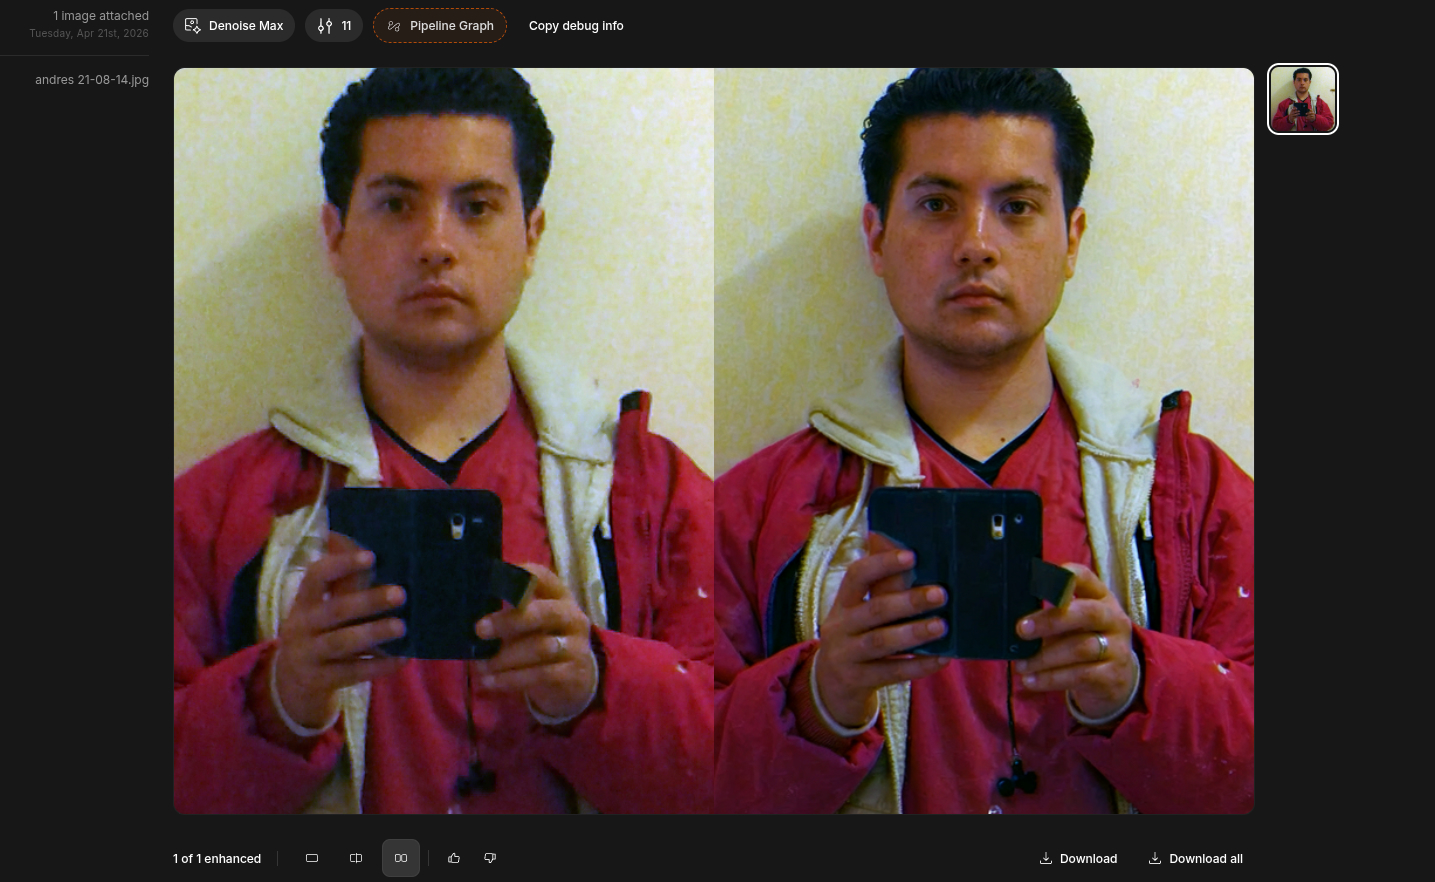
a good denoise+details enhacements result with denoise max, even that i have got way better results with older versions of topaz gigapixel/denoise/sharpen/photo apps in the past (is a picture from 2014 so i have run this original by most of topaz software lol) but still it looks quite decent. aldo i would try to remove the color noise, since the backround was a plain simple white door that the samsung galaxy S3 camera for some reason converted it into spots with the warm lightbulb thats why it has light yellow and dark yellow spots… some camera bug/compression artifact i guess.
I have continued to use the old model because on my older computer the new models seems to take forever to render even though I have32 GB RAM. The processor is AMD Ryzen 2700X. A new computer is on my list! It is for the same reason that I don’t use Topaz Photo.
Ah yes this setup is 4GB VRAM and would not work with Photo AI or Topaz Photo. It would work with Denoise AI. Thanks for the input and feedback on your pulley image, great results on it!
For NEF files, the beta won’t work since it won’t support RAW files, but for TIFF or JPEG should work, can you DM the failing images tested and we can test if can replicate the failure uploading and processing and relay to the development team the image!
But how?
I haven’t seen an upscale switch for Denoise Max.
Will take a look at it in a cpuple of minutes again.
can’t find a scaling setting.
We are in process putting Denoise Max into Topaz Photo so that it runs locally. It will run through Neuroserver like Wonder 2, so it will be available for local render with NVIDIA gpus, AMD gpus, and Apple Silicon.
I’m sharing two images processed with the latest Denoise Max model for evaluation. I’ll let you draw your own conclusions, but I’ve included a few observations below.
Image #1:
ORIGINAL (DNG converted to jpeg for testing purposes):
Denoise Max Strength 0.56 (default)
Topaz Photo. Denoise All > Normal mode > Strenght 22
Overall note:
Denoise Max performs well in noise removal, but the added sharpening may limit flexibility in workflows where sharpening is applied separately.
Image # 2
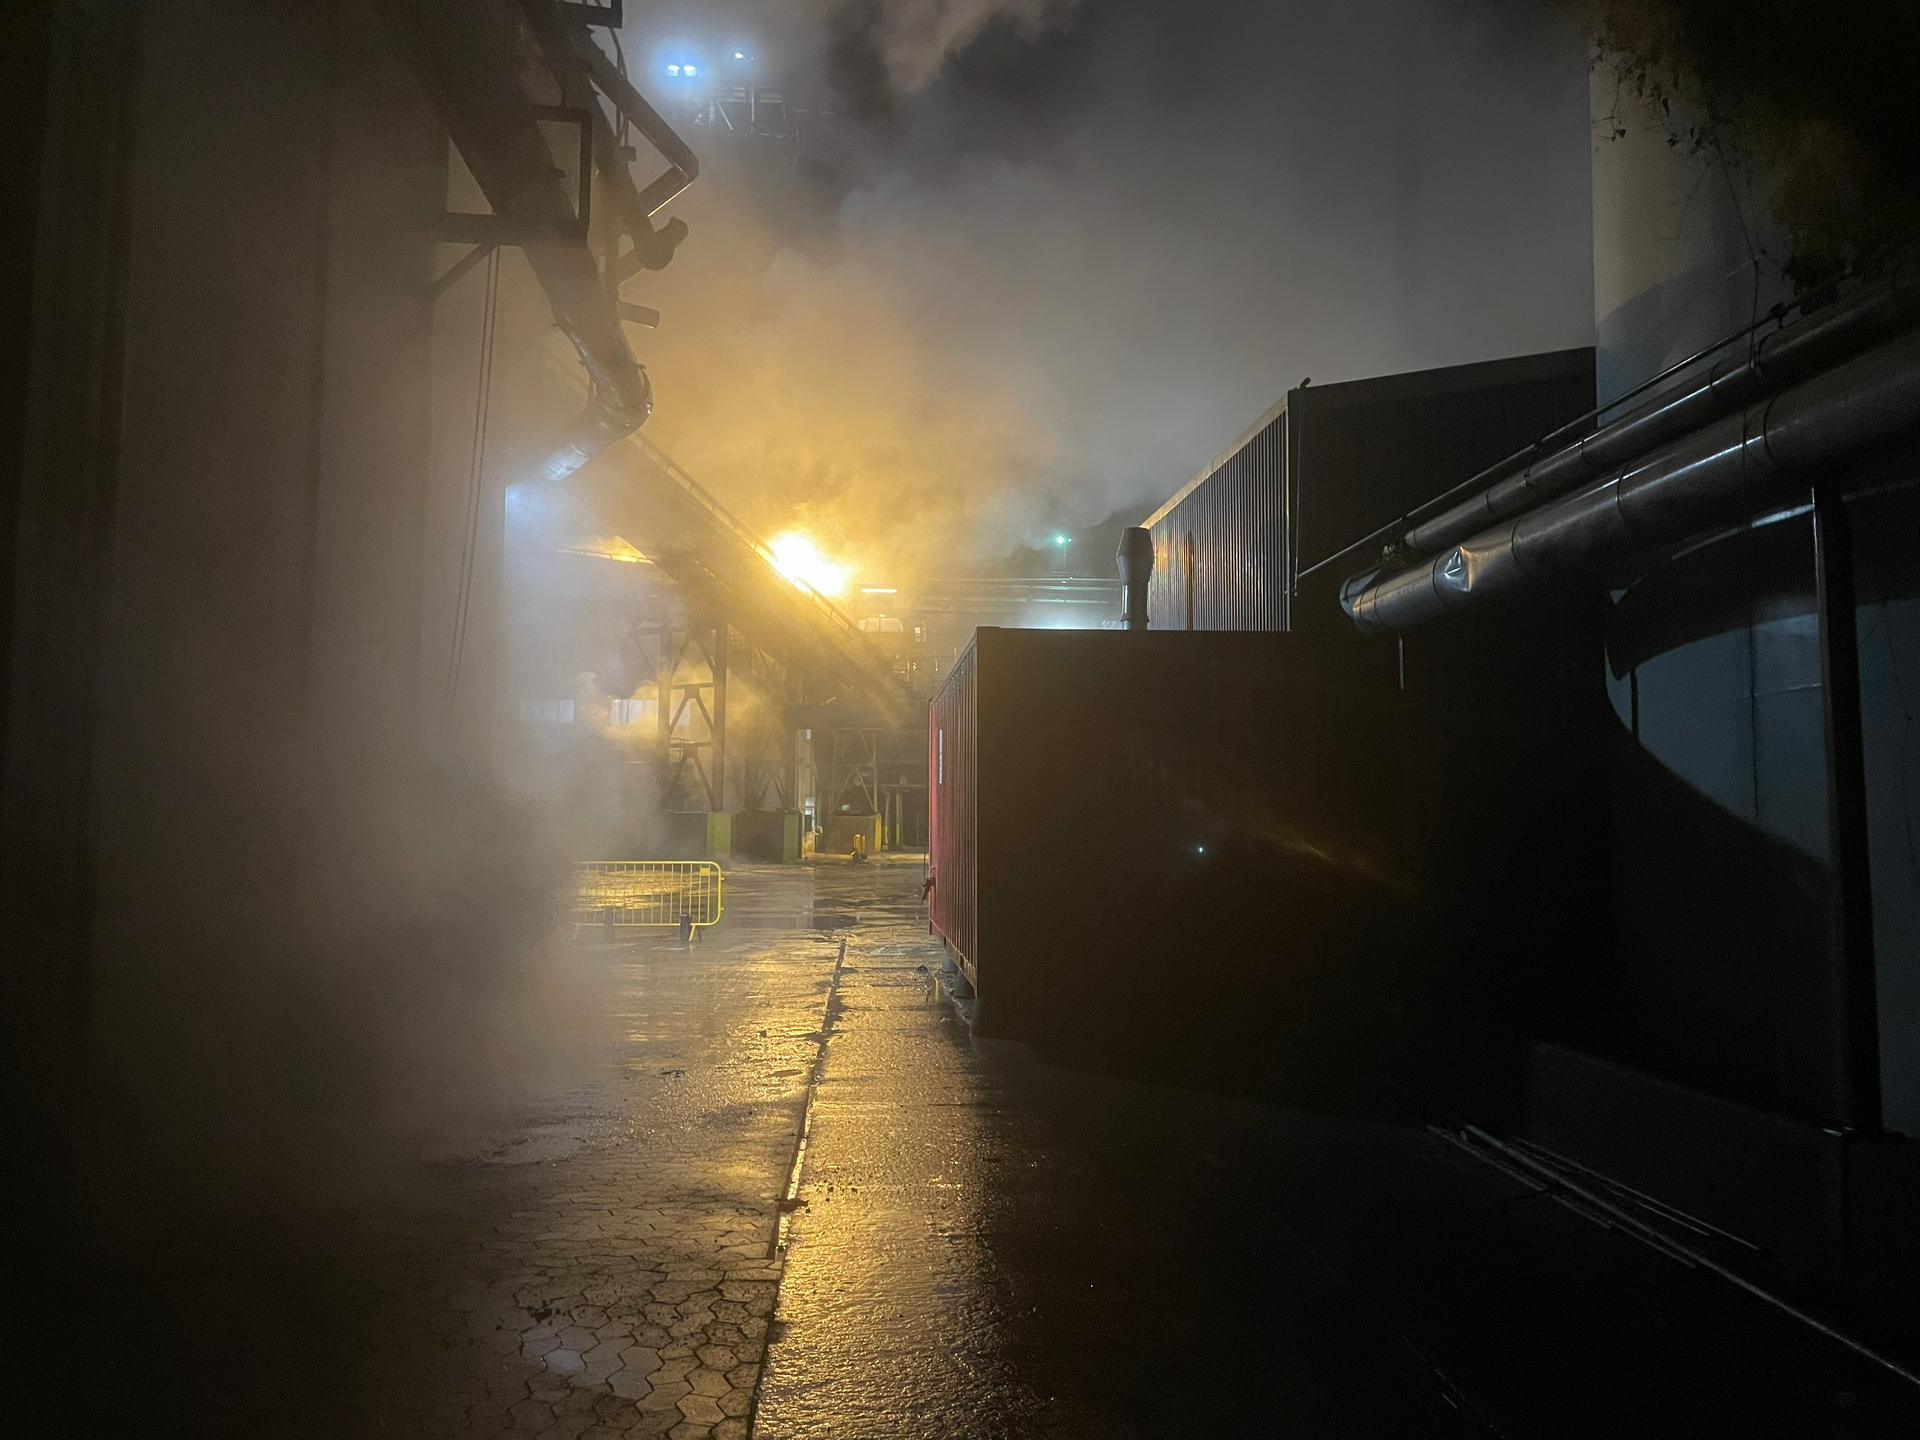
ORIGINAL (HEIC file converted to JPEG for forum upload)
Objective: remove noise caused by low-light conditions without losing light beam (very faint on the top of the shipping container) or pavement detail and texture
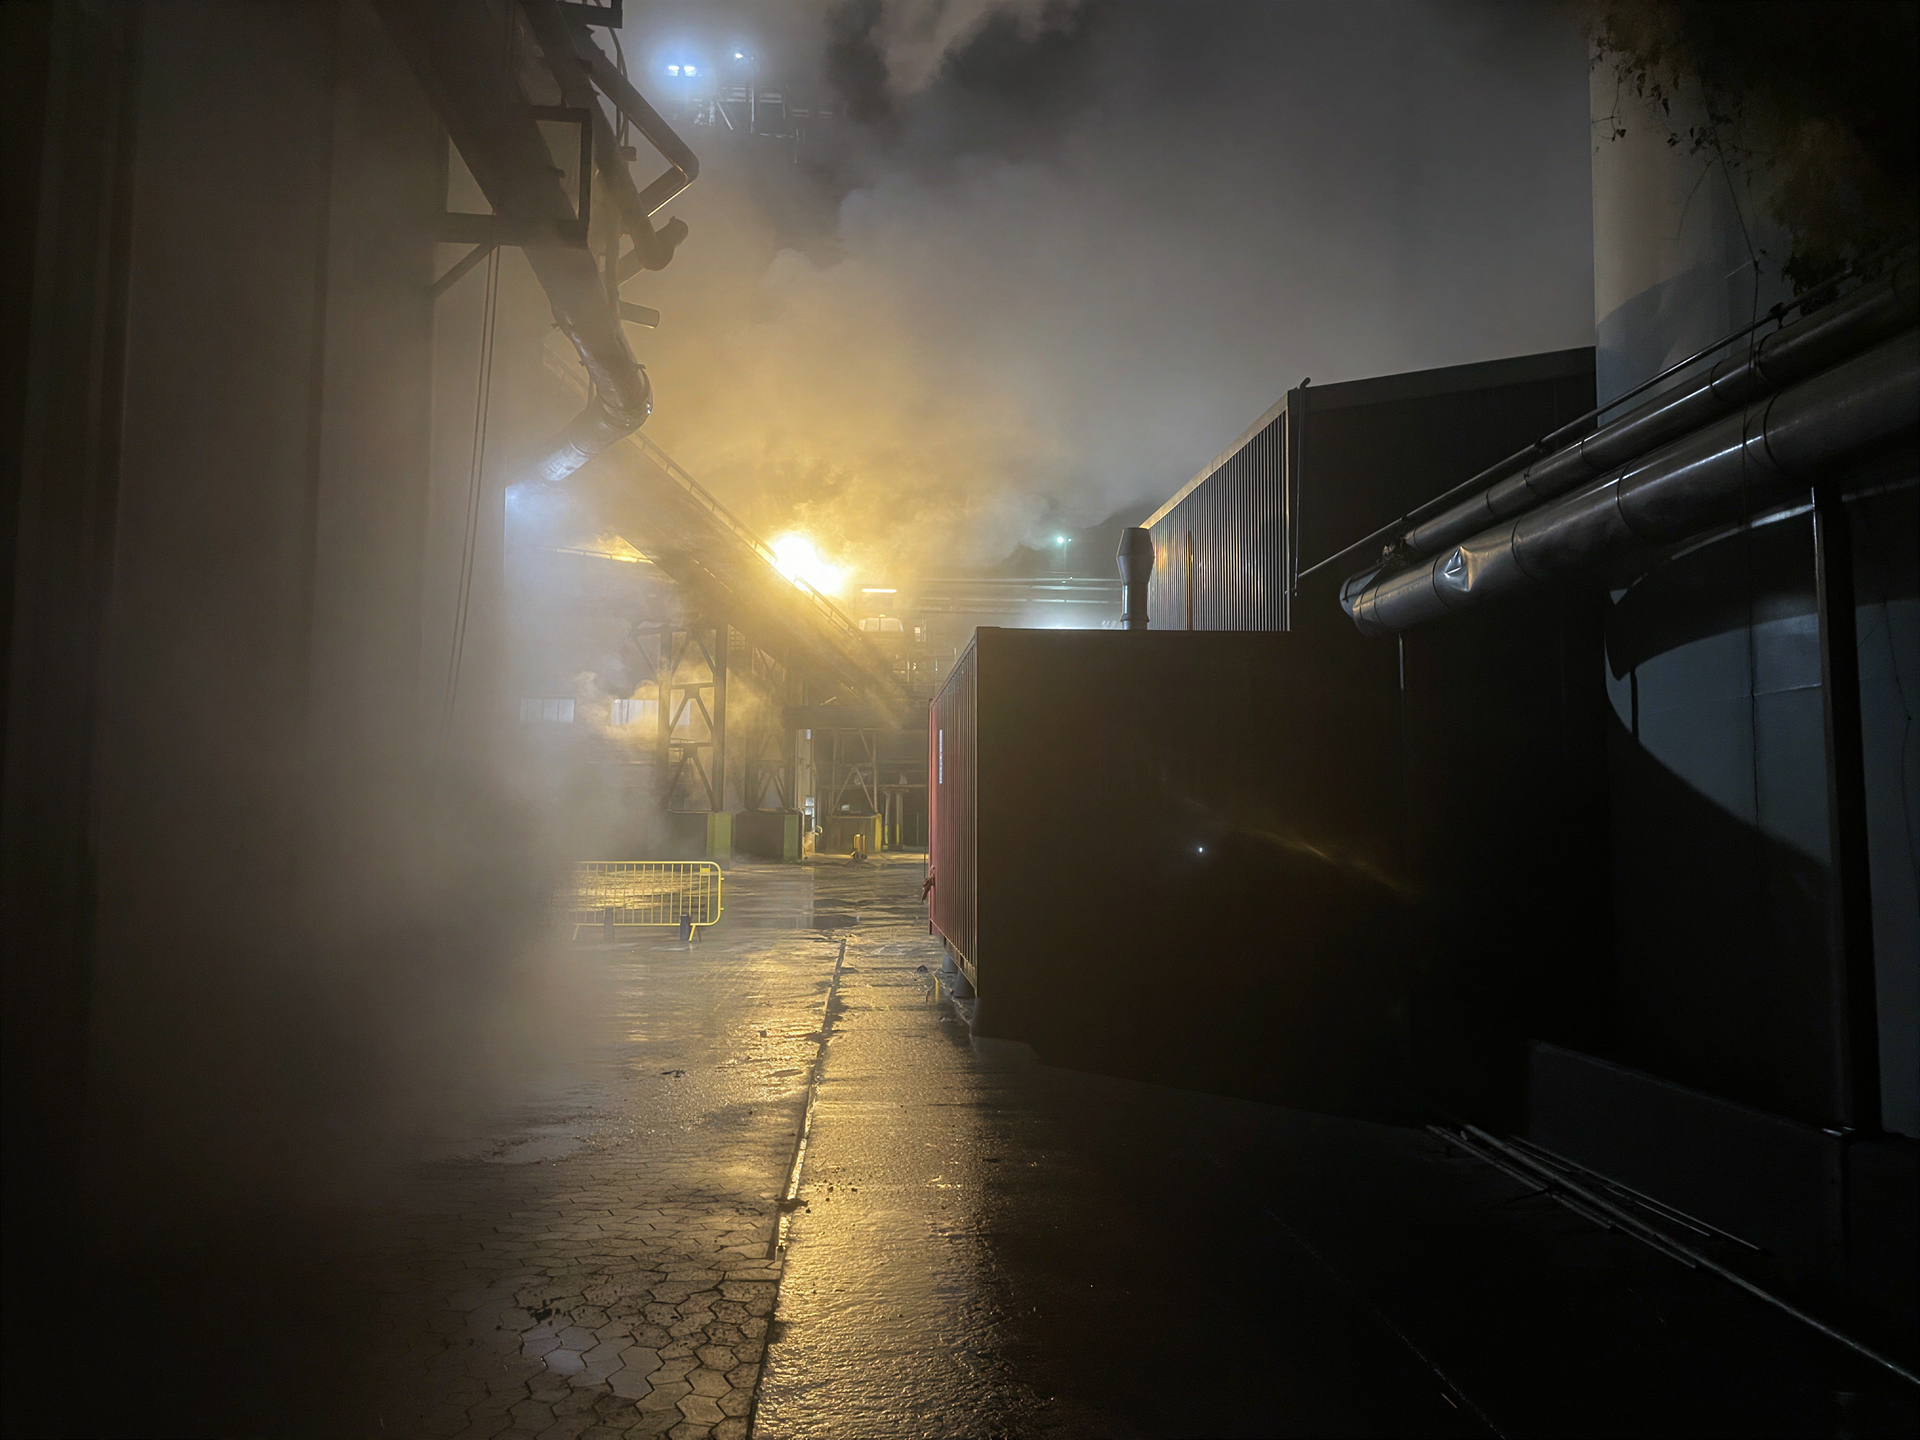
Denoise Max Strength 0.72
Result: Noise reduction is strong, but slightly overdone.
Observations: Some surfaces appear plasticky. The faint light beam behind the top of the shipping container is almost lost. Fine texture in the pavement is also reduced. The overall image shifts slightly cooler in tone.
Denoise Max Strength 0.46
Result: Improved balance, but core issues remain.
Observations: Loss of subtle light and texture detail persists, though less pronounced.
Topaz Photo. Denoise All > Normal mode > Strenght 20
Result: Better preservation of original characteristics.
Observations: The faint light beam is retained, and pavement texture is more visible. Color temperature remains closer to the original image.
Overall note:
While Denoise Max is effective at reducing noise, it tends to suppress subtle light details and fine textures at higher strengths, and introduces slight color shifts. Lower strengths improve the result but do not fully resolve these trade-offs.
Thanks for your reply very much appreciated and I very much sympathies with your predicament.
Thank you once again and good luck with your purchase 
Andy
OK - couldn’t try any of my Sony Raw (AWR) files as they are too large.
Tried a couple of jpgs but they had already been through Topaz Photo AI - and it seemed like a long time to not make a lot of difference.
This tiff file is the same image, but is to big for gmail. Let me know if you have a drop box location you would like to use
Yes, here is my Dropbox - lmk when sent I can relay to the development team and Lingyu