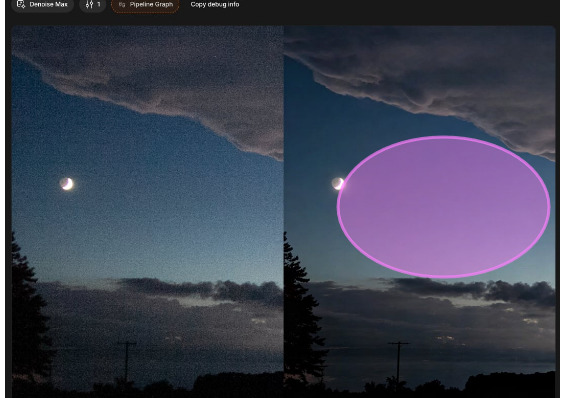
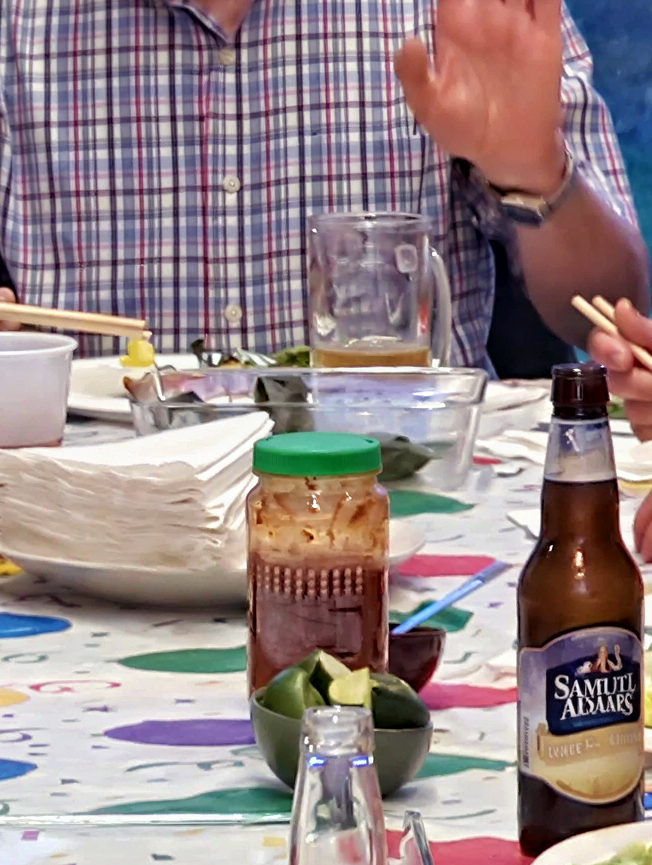
More validation. I have many old photos that were taken with cellphone cameras when they were not as good as DSLR. Here is the original photo, 4984 x 2804.
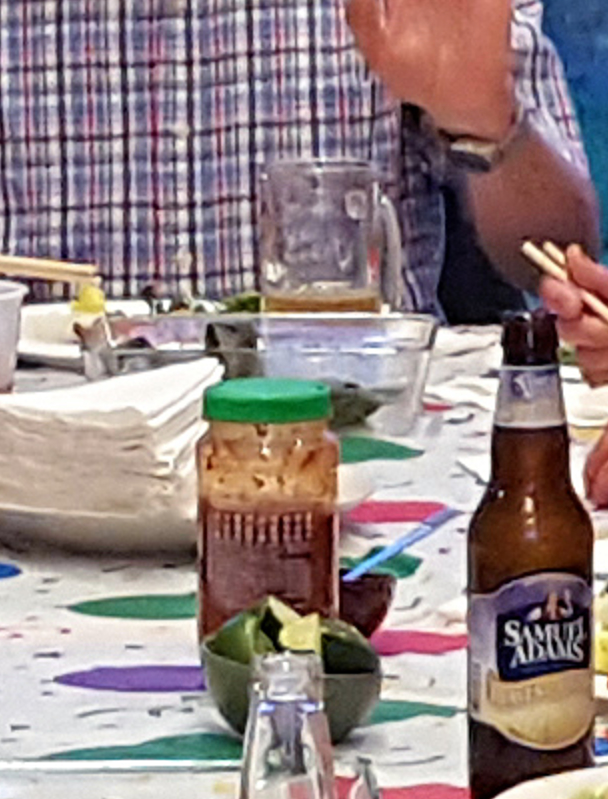
This is the photo from Denoise Max. Note that the stripes on the shirt are clear but the Samuel Adams text is not accurate.
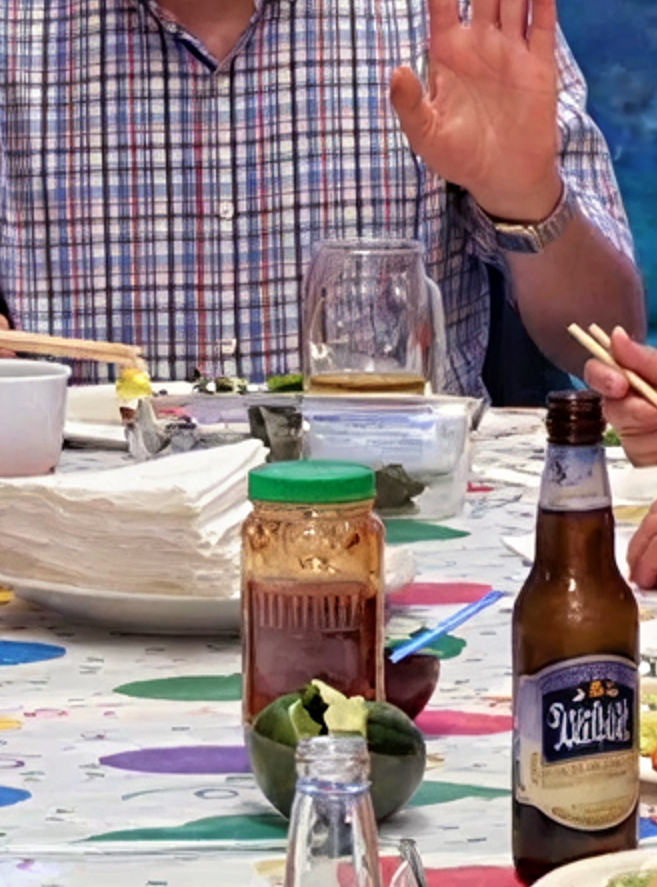
Here is the original photo scale 2x using Wonder 2. Note that the stripes on the shirt are worse than the original picture but the Samuel Adams text is accurate.
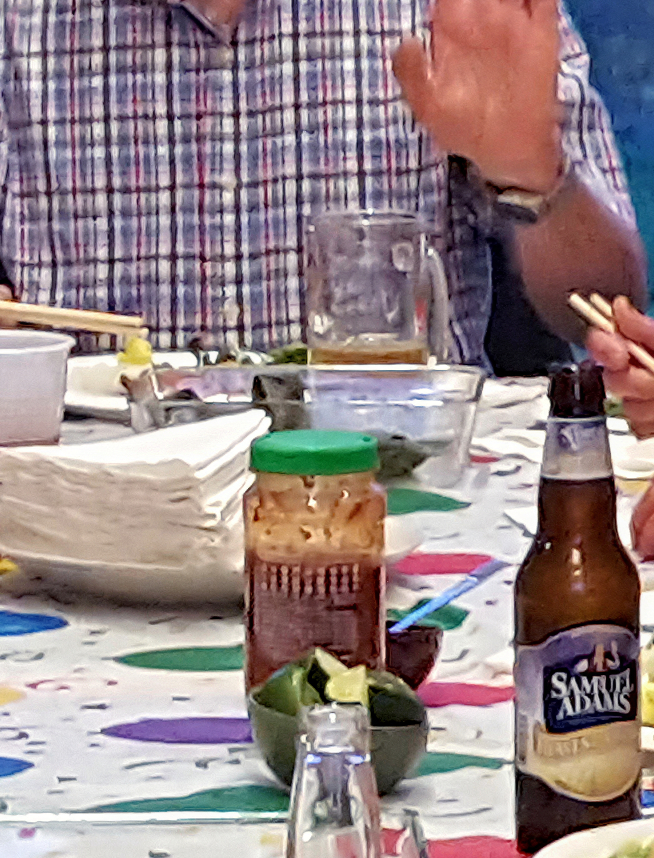
Here is the final photo upscale 2x using Wonder 2, then Denoise Max. Note that the stripes on the shirt are clear, and the Samuel Adams text is still not as accurate as Wonder 2 alone but better than Denoise Max alone
.
1 Like
DenoiseMax alone broke the text because that text is small, as you mentioned earlier. My guess is you may get a very close result if you upscale the image in your Mac or Windows native photo editor and then run through the denoisemax. If that works, it will make your workflow faster. Otherwise, you can use both models together.
1 Like
The model makes a good first impression.
2 Likes
I don’t get what you want me to do.
15 hours ago I got a message that I should fill out a form to test the DeNoise Model for a week.
I sent the form like 20 minutes later. Nothing happened since then.
Now I see that the week is over on April 23rd?

1 Like
I just can’t seem to get excited about the online version.
If it were integrated into Photo, I probably would.
I find the UI very unintuitive.
1 Like
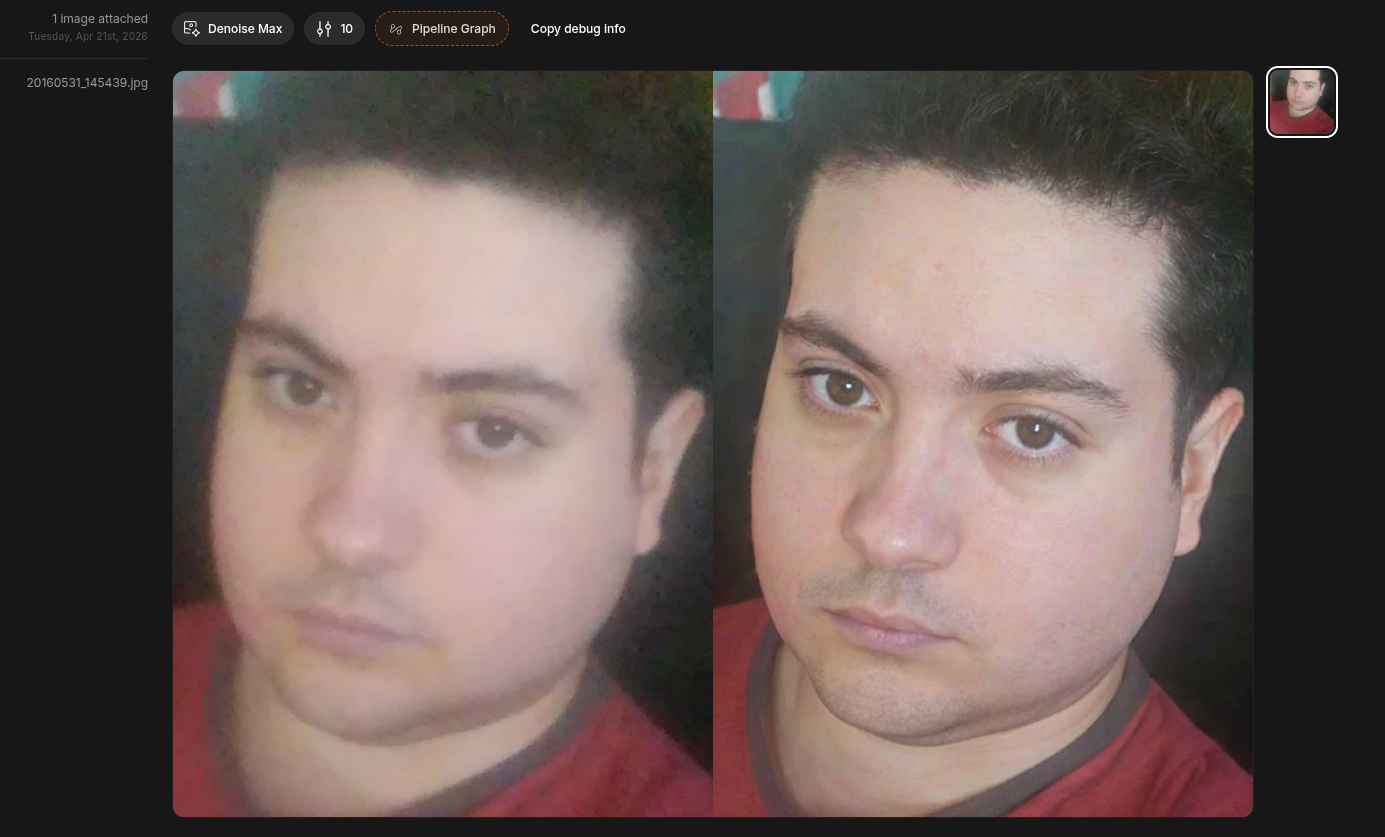
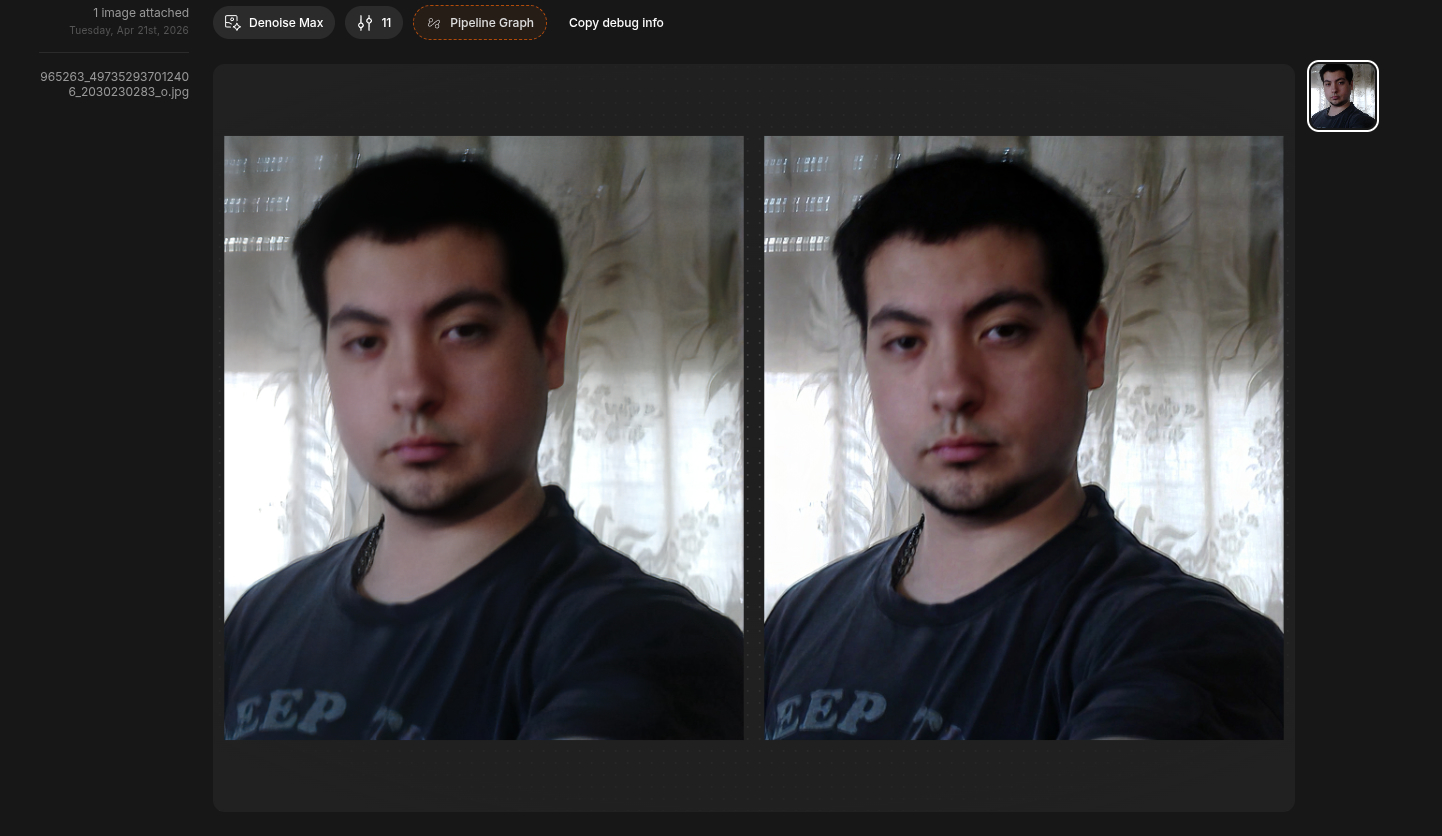
amazing results. just took a 2016 low res picture and the denoise max totally auto restored it without any AI blurryness like in the past. leaving the before and after. aldo i must admit my nose in the middle got a bit wobbly (its like the original i dont have a deviacted septum aka a criked nose lol)
1 Like
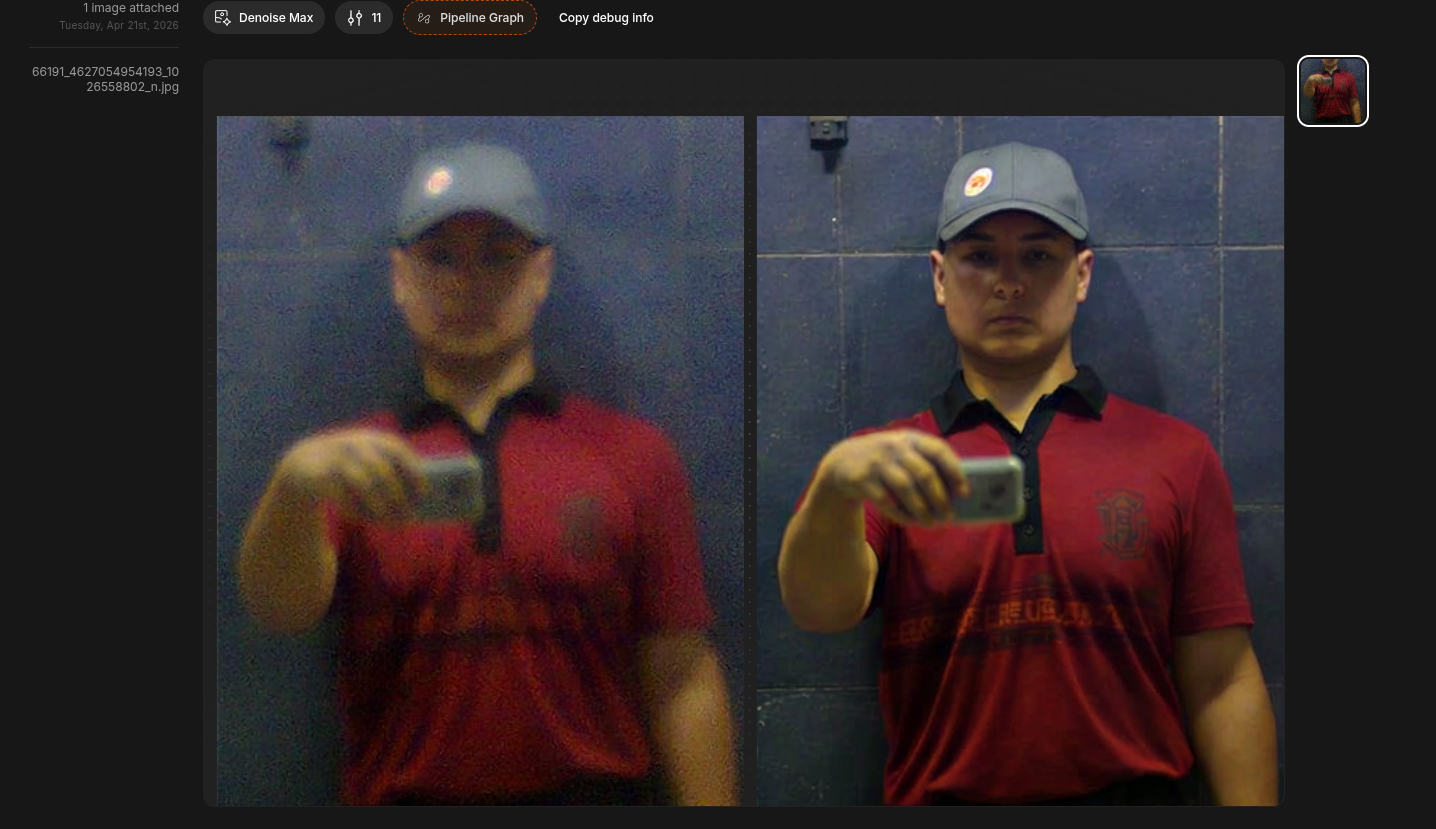
aldo i must also add this horrific result… i set it to 11 since its a very damaged photo, and with old topaz software i have partially restored this picture. this is the untouched original vs denoise max at 11 - i look like another person and in some parts my skin looks rotten like a zombie. and the t-shirt has a black burger king logo (with the king itself) converted by the model to look like a satanic cult symbol… as it does wonders it does nightmares lol
1 Like
I’m in! I didn’t hear about this beta until yesterday for some reason.
Thoughts: First try from a scan of a print, no good:
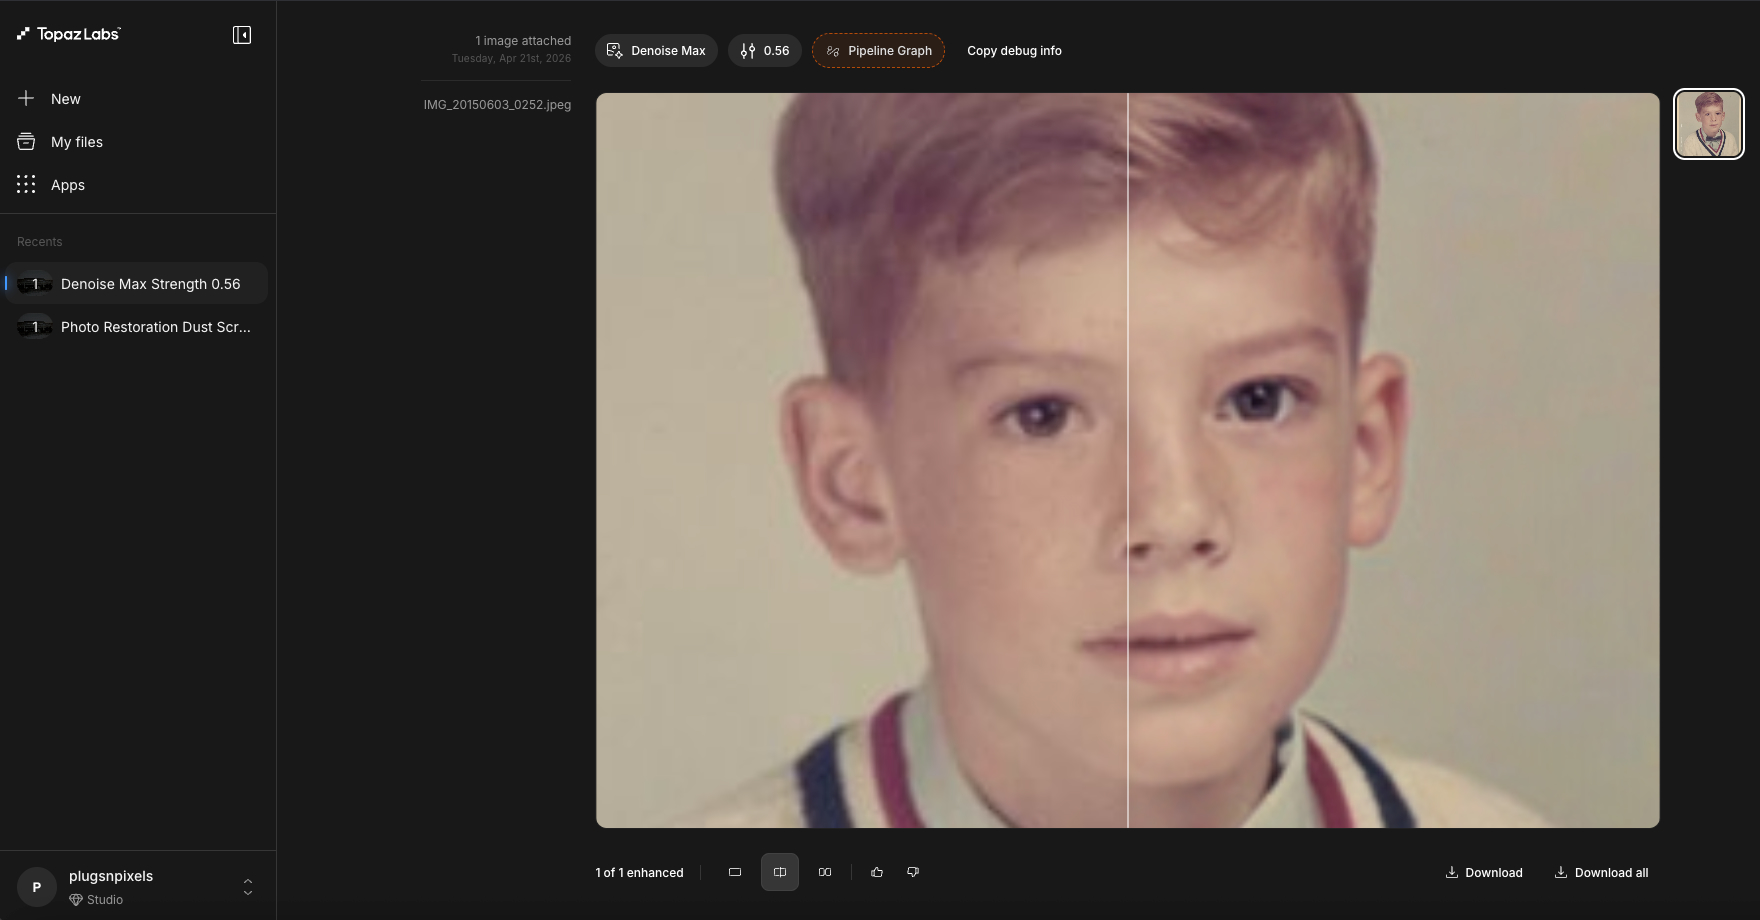
I don’t know what magnification this is because the GUI does not offer a percentage. But I came across a percentage for a different view in the Pipeline area, which I stumbled into:
When I view “My files” I can see what I worked on and also get a viewing percentage there (defaulting now to 110% for some reason):
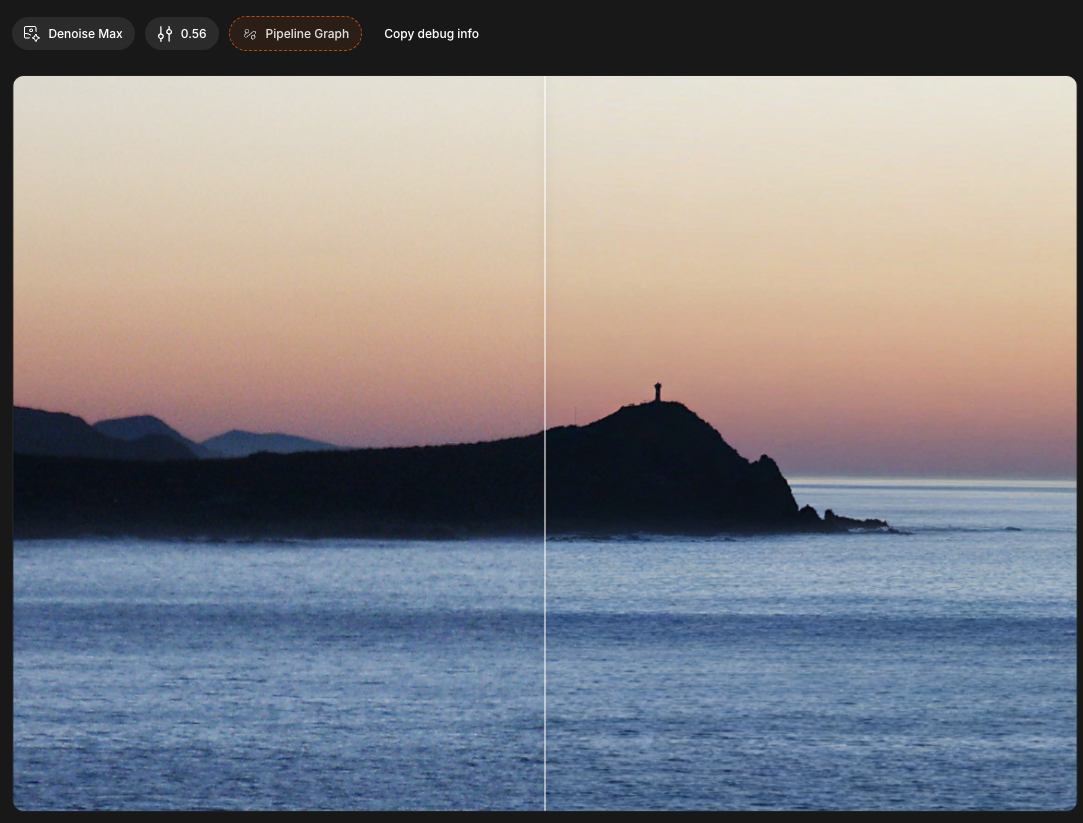
Next, a random older digital photo, much better results:
Now, like @TPX said, let’s discuss this GUI… I have to tease you: Remember the “side panel” fiasco we had awhile back with the desktop apps? Is the same guy doing the web GUI?  I feel like a 20-something gamer is designing these GUIs complete with challenging “quests” and rewards for discovering hidden chambers while fighting dragons before being allowed to advance to the next level…
Of course we don’t want to play games here, we just want quick and easy access to the editing options and workflow progress.
I’m getting Nano Banana vibes (and the progress window animation looks like Luminar used to) but without the ability to modify the options via chat or seemingly any other setting unless I start over, and even then there is only a slider for the level of applied effect.
I see the beginnings of a “list” of applied effects but is there a way to stack effects after the first one is applied?
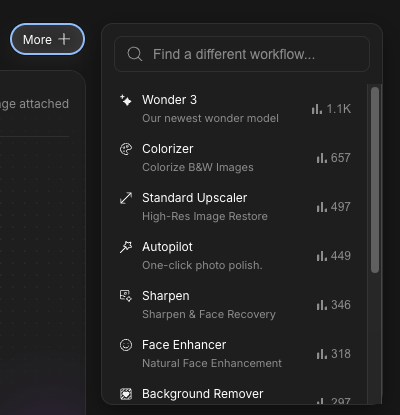
I followed instructions and chose DeNoise MAX from the “More” menu for my first image. After loading the second image, that option was no longer in the “More” menu but had moved above the image:
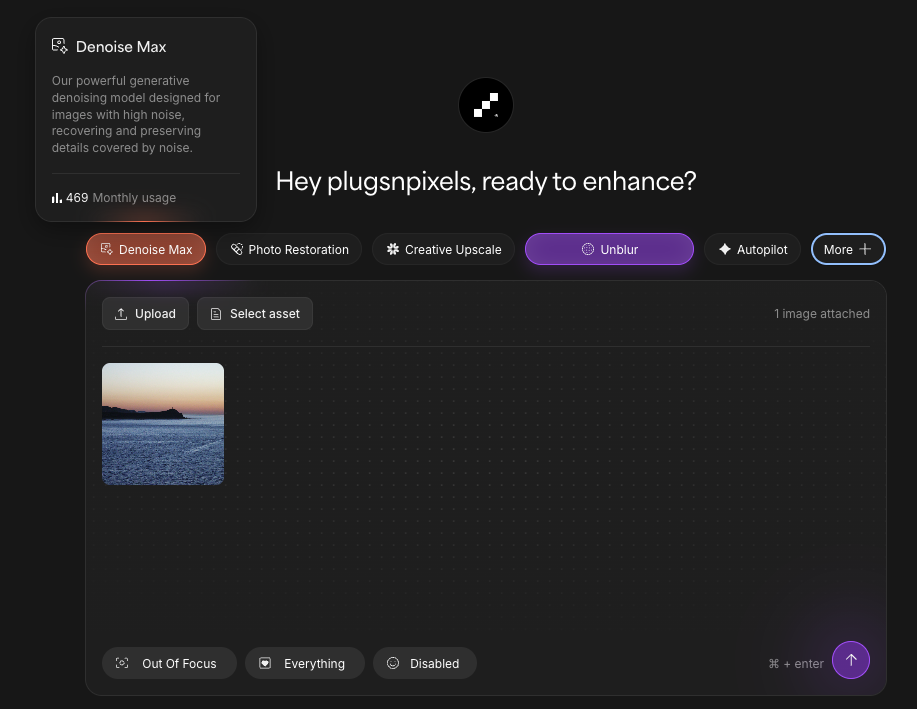
Also, after the edit is returned, where are we? All I can seem to do is Download or view the Pipeline. I can’t adjust settings to try again.
Wait! I found it, but it only seems to work on the first step of an edit:
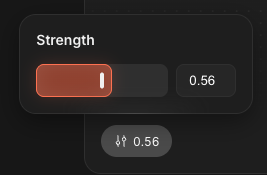
Starting over as I said above. Am I getting auto suggestions for the image I uploaded? Or are these buttons just offering all of the available options?

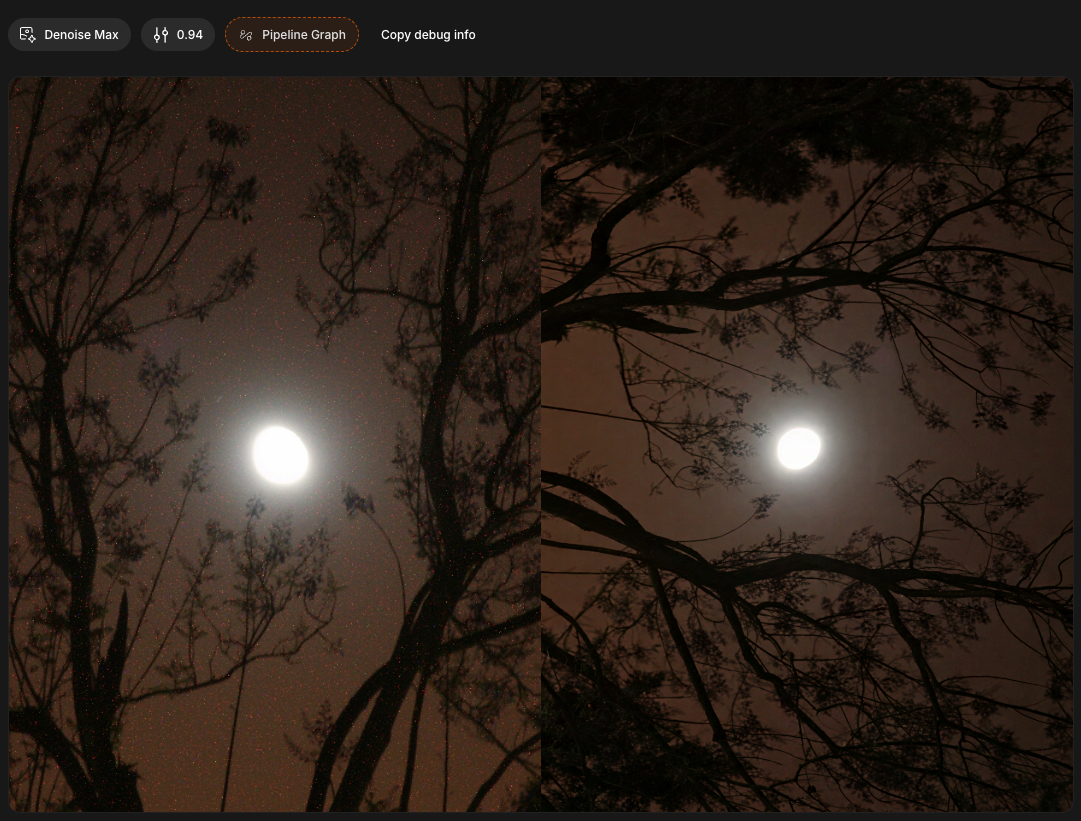
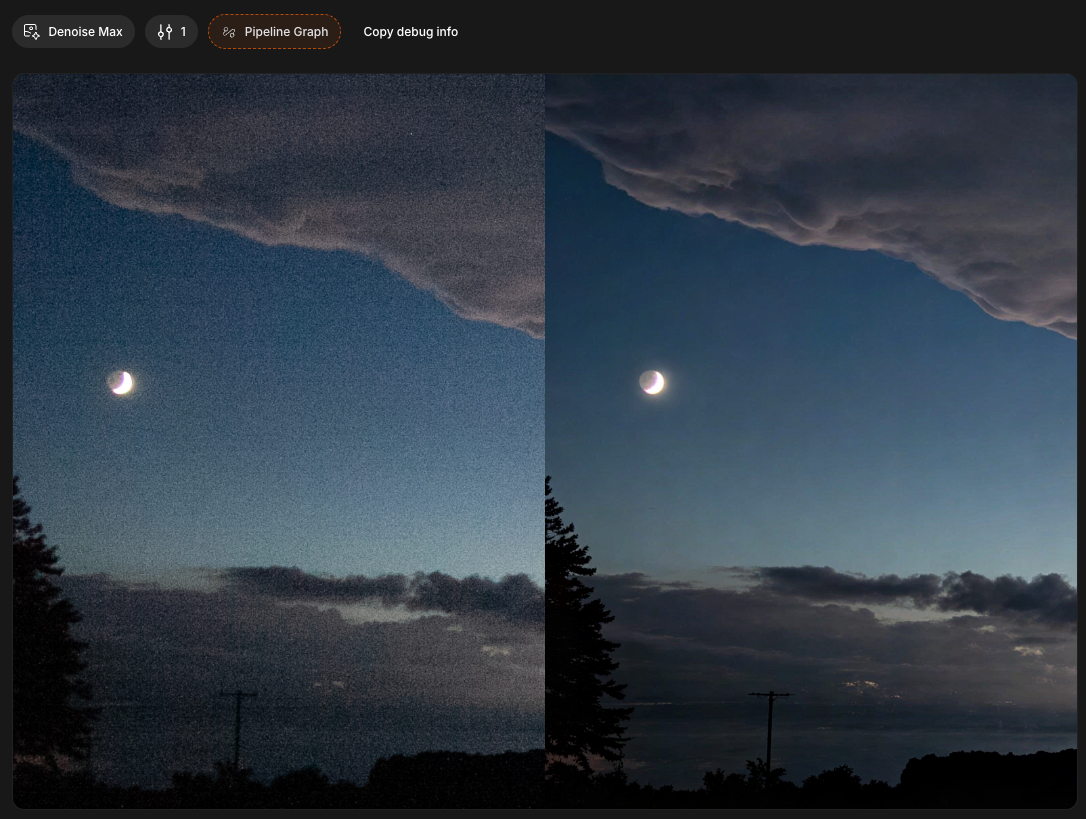
Sticking with the instructions, I will use DeNoise MAX again on a noisy nighttime 2003 digital image with a hit-or-miss setting of .90. The result is good but the app does not maintain the image rotation, like we’ve seen before in the desktop apps:
Before I tested DeNoise MAX specifically I tried the colorization option, because that’s what I mainly use Nano for. The original:
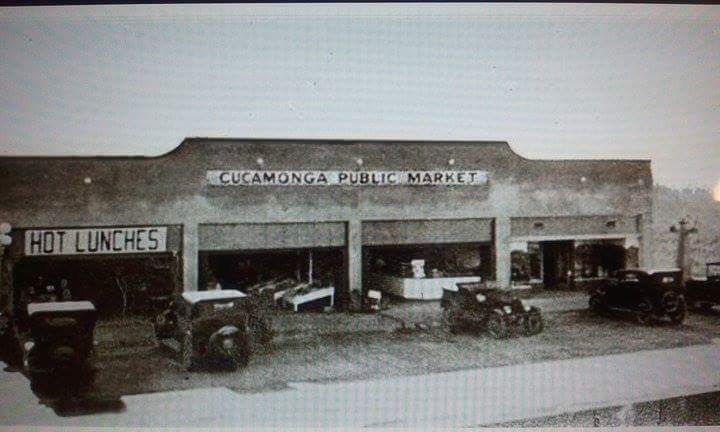
Here is the Topaz online version (there is no color using the default setting):
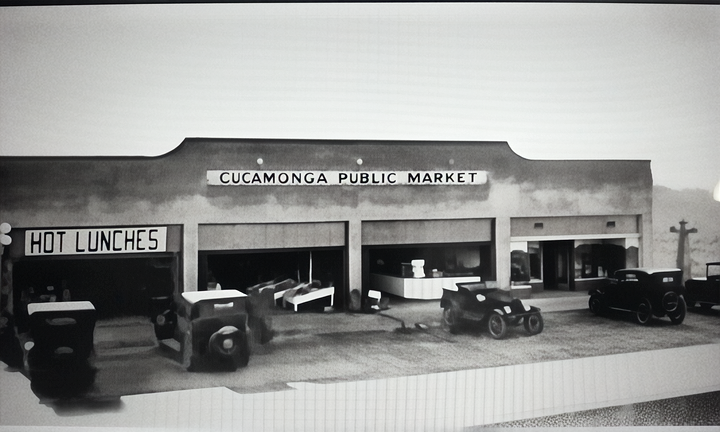
Nano:

Topaz color but at level 5, seemingly without any other needed enhancements or the means to add them:
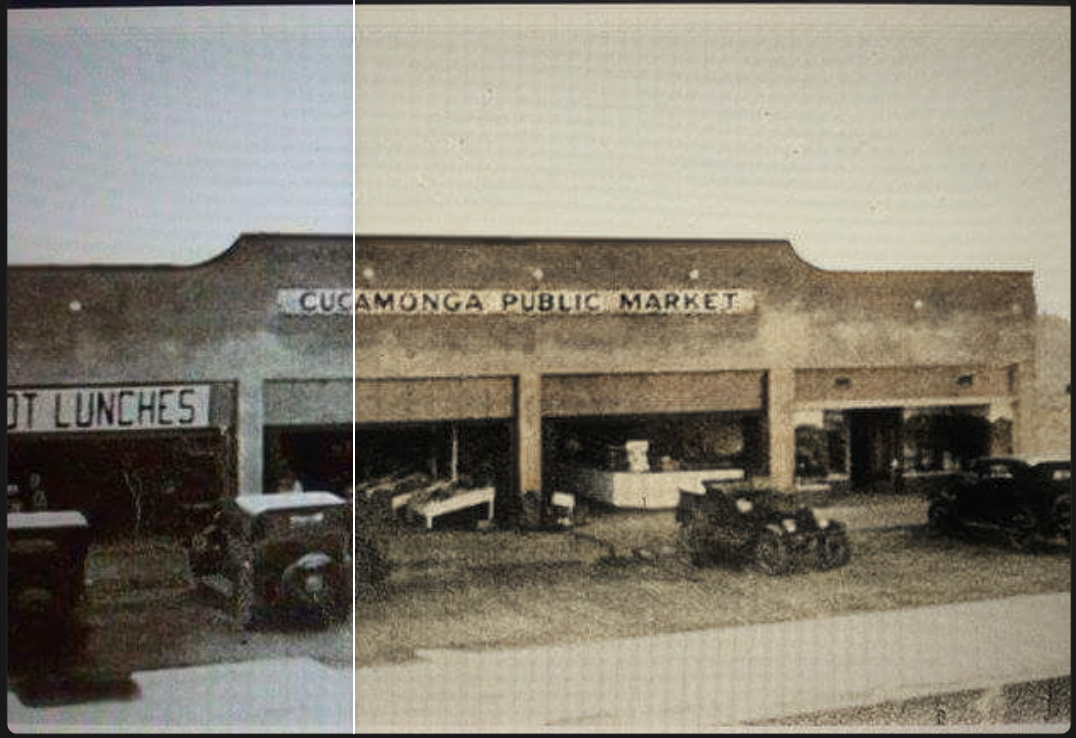
The separate “Photo Restoration” option also includes color, let’s see… Nope:
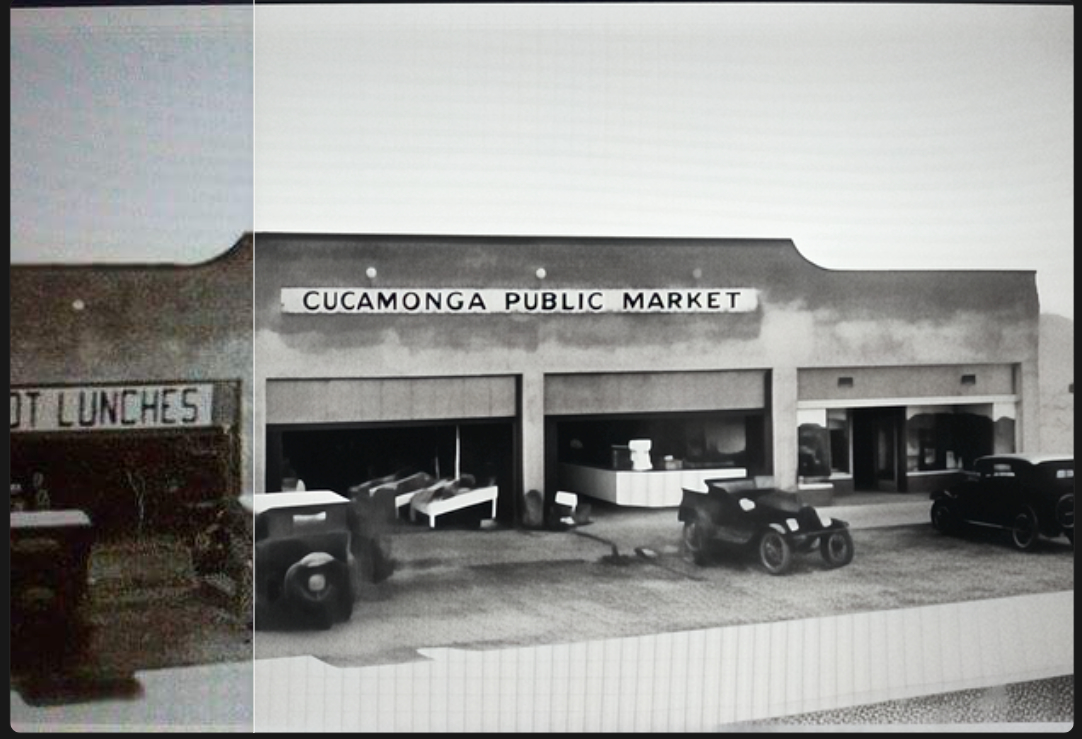
Anyway, this online Express experience seems very disjointed and limited.
bizarre result: old photo removes all the noise and restores details EXCEPT on the face… like the subject is the backround???
I’m trying to take the survey. It asks whether DeNoise MAX is better than existing Topaz Labs Denoise models. I cannot compare right now, once again I am having the dead-end option account issue when launching Photo… (Gigapixel does not do this.) I am logged into the same account right now to test the beta!
Solution: Quit and relaunch Photo… Why can’t this be handled in the current dialog?

Also, the new dialog does not remember your existing and already-used previous login creds, it really should.
As for which is better – here is a crop of the original older digital image at 100%:
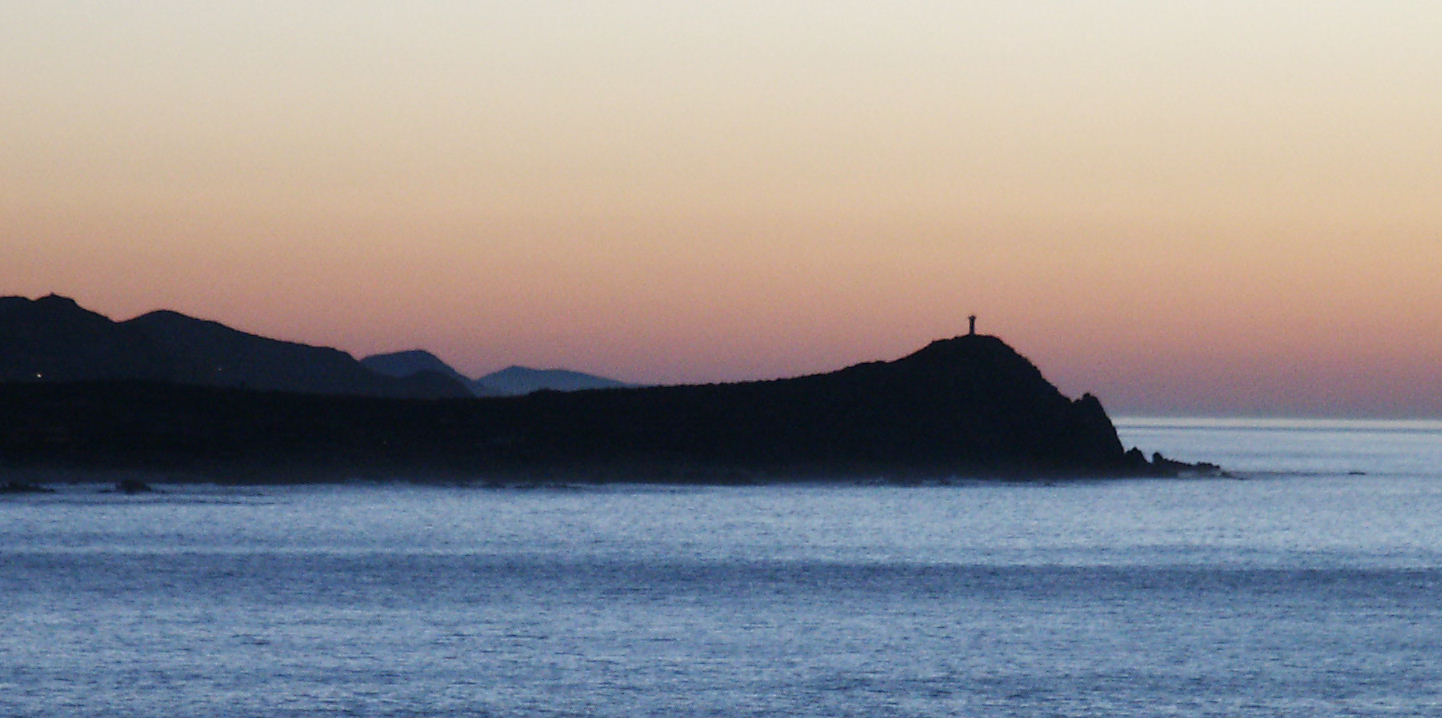
Here is a comparison between the beta and Photo at the same strength (56), at 100%:
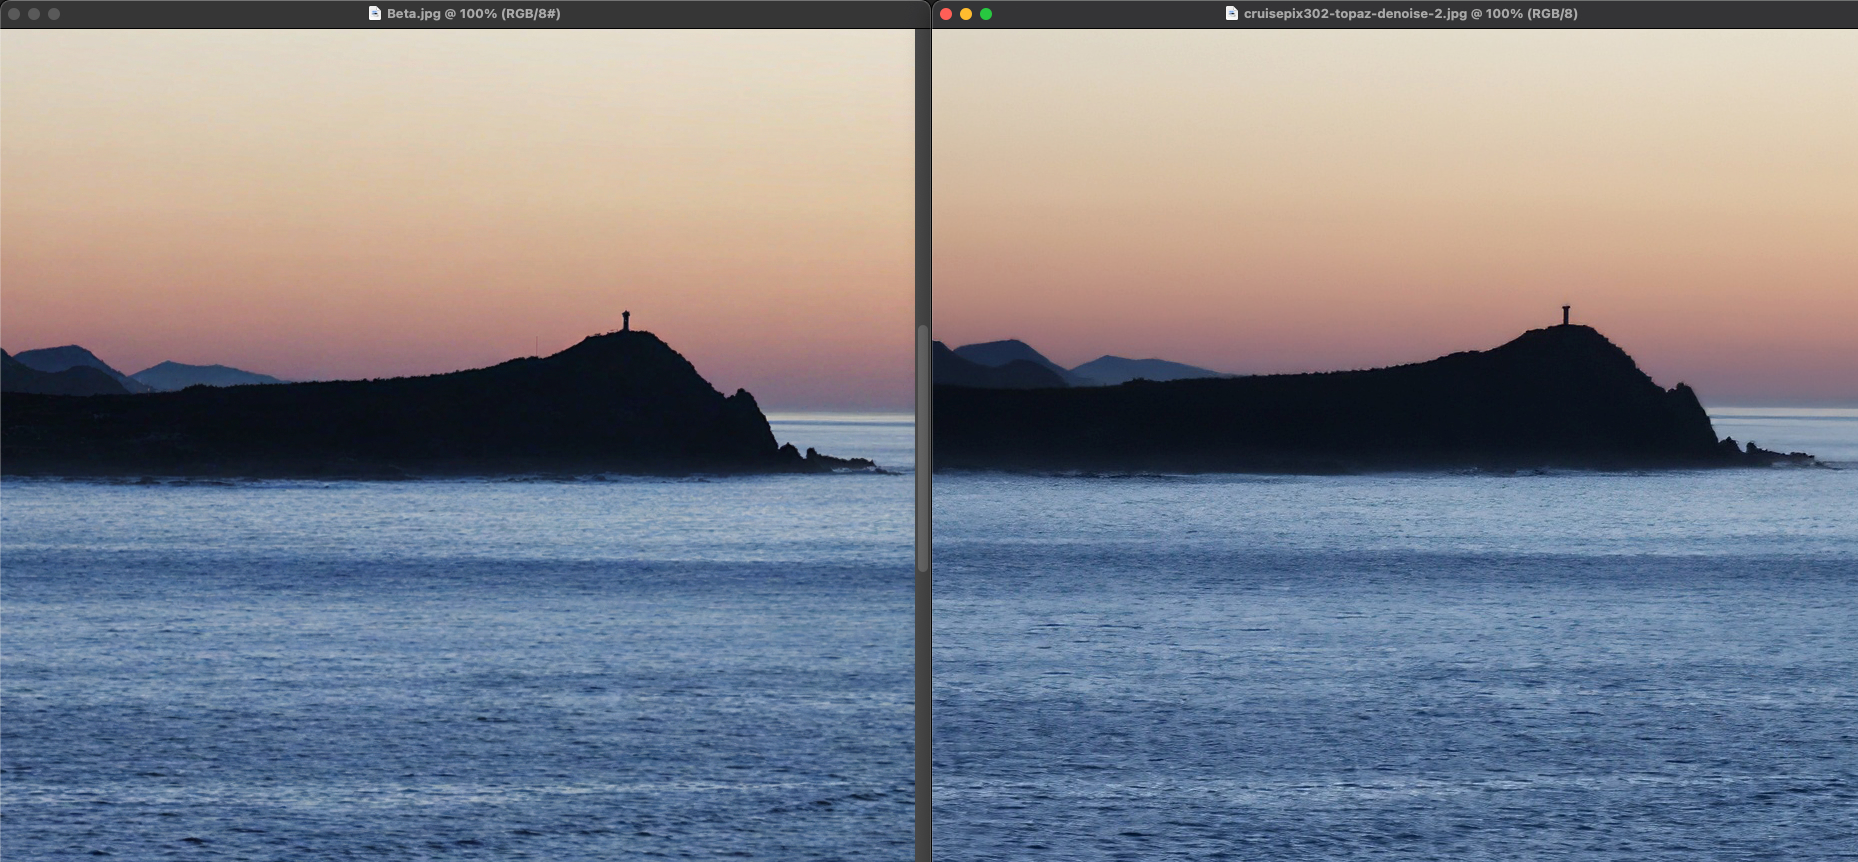
The beta seems better overall except for adding a thin vertical line to the left of the lighthouse.
Skin texture could be a little bit better if you use 100 strength for this heavy noise image.
still it deformed my face i look like a totally different person and a more powerful setting would just make it worse.
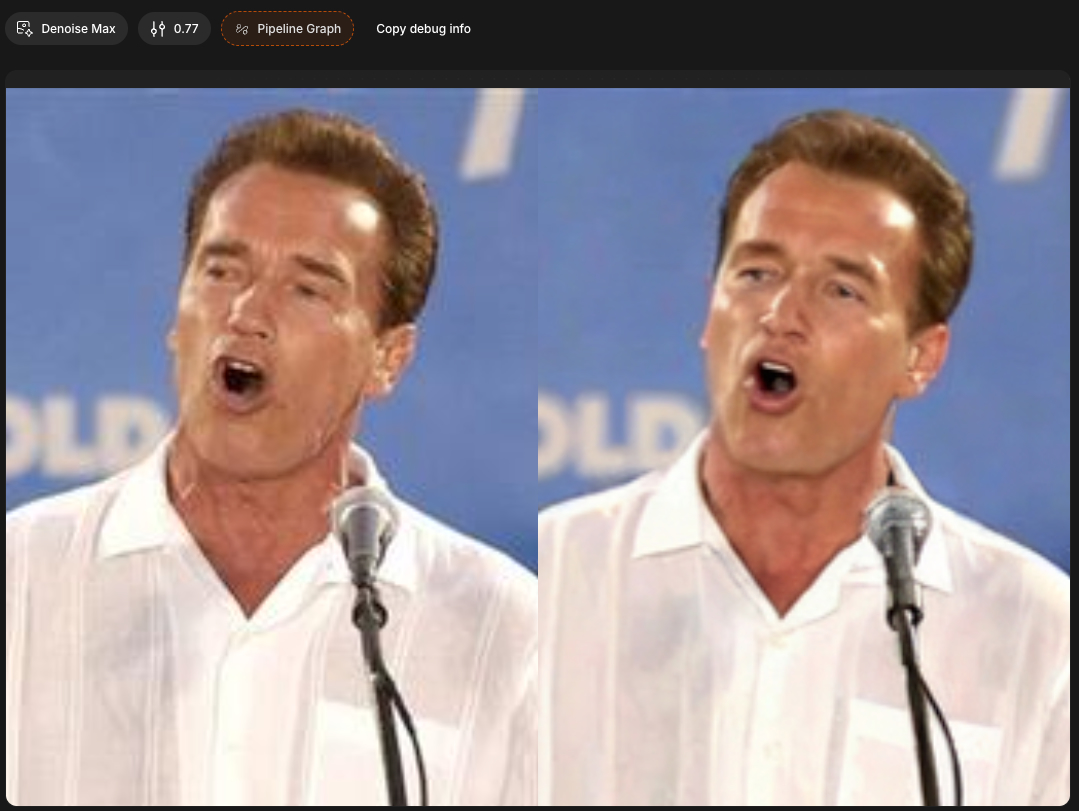
I am having no luck with faces, unlike Gigapixel. Here is Arnold at a random 77. “Less noise” but mushy and he now looks like some other actor. It would be nice to be able to adjust the setting without going back and starting over!
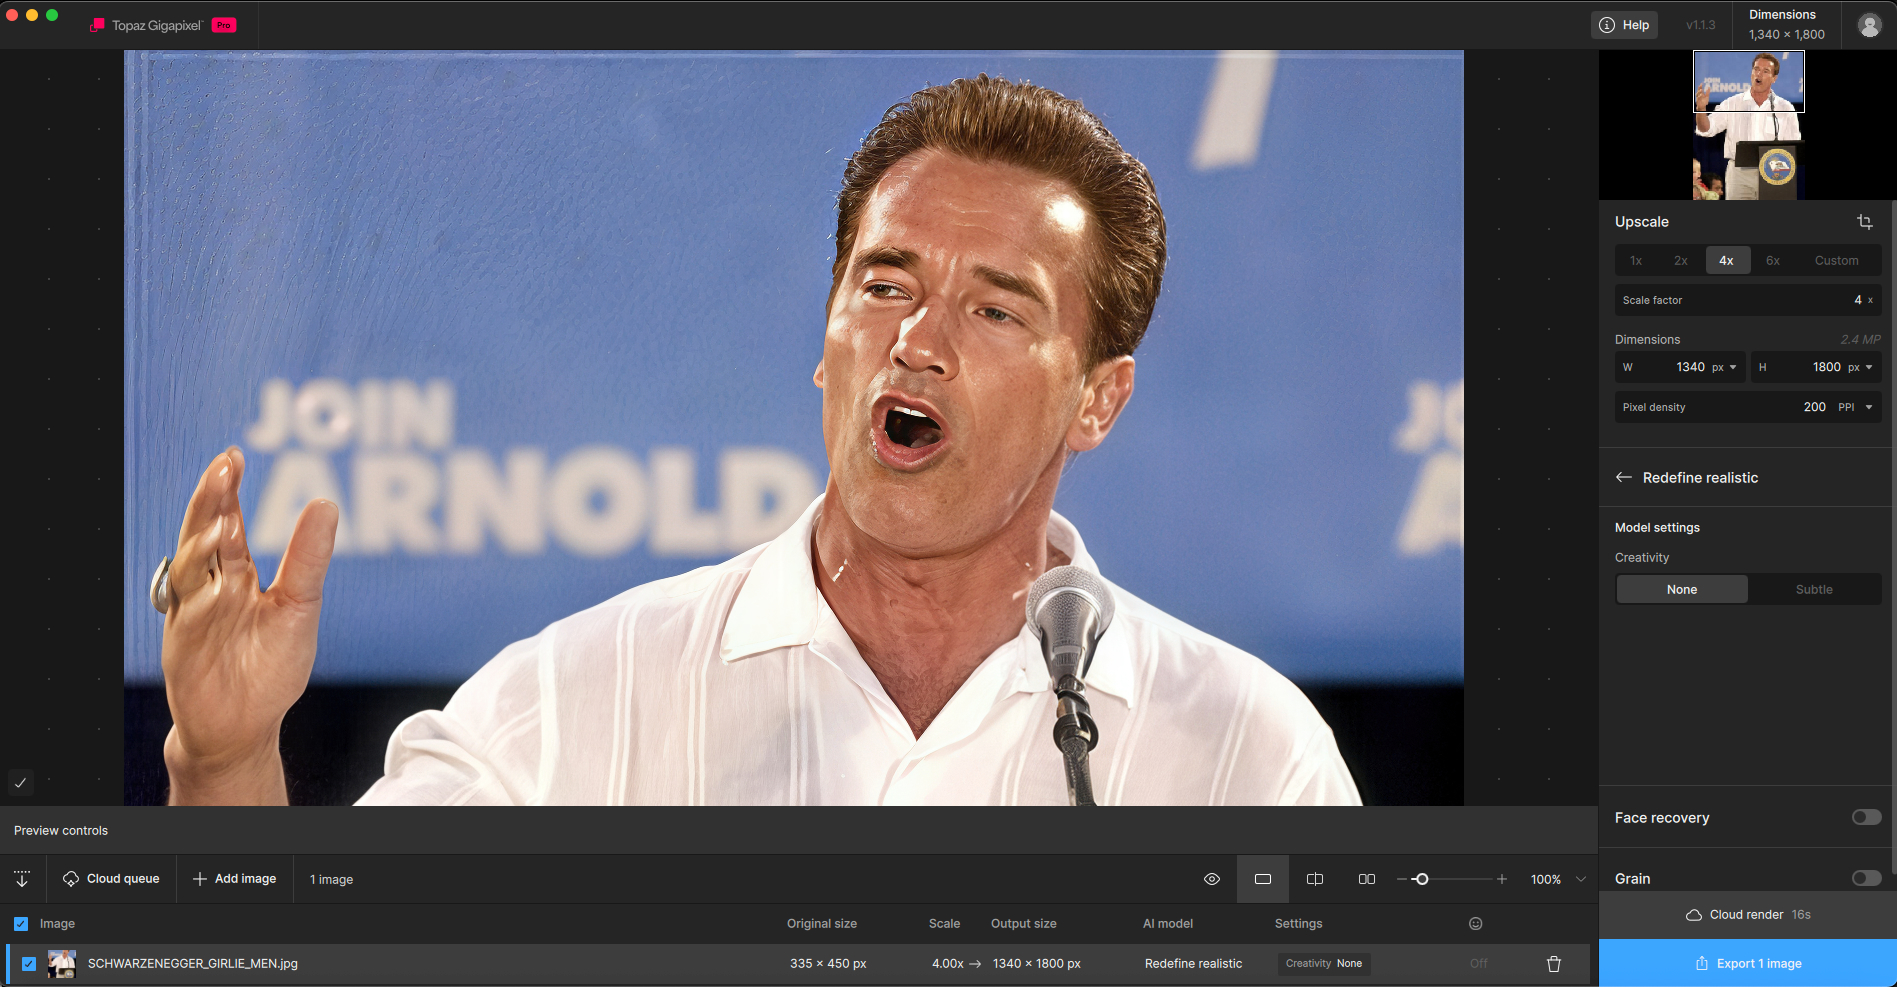
Gigapixel local previews (not perfect either but not mushy!):

I just took another look at it and think it would do a good job; it has high resolution but struggles with gradients and generates too many unnecessary details or remove them ← which ultimately renders the result unusable because it deviates too far from the desired outcome.
On top of that, the interface isn’t exactly conducive to productivity.
Thanks, maybe you can post some examples.
I’ll let Lingyu chime in as well if he has anything to add, but from what I’m seeing, it’s important that Denoise Max feedback is based on noisy images.
For example, the issues in the Arnold image, or the low-quality image where the face was altered too much, are not good candidates for this denoise model. These are cases of compression artifacts and low-quality image artifacts, not noise. Noise typically comes from high ISO, low light conditions, and is most visible in darker areas. It can also be present in RAW files.
Compression artifacts, low-quality files, or images with grain are not true noise and are better suited for upscaling models, such as Standard Max. These types of images are not good candidates for testing a denoise model.
Another type of case, is if a RAW file is converted to a non-RAW format, the RAW noise becomes flattened across the image. Denoise Max can help in these cases. This is especially useful for users working in Photoshop workflows, where RAW Denoise cannot be used because Photoshop sends a non-RAW file to Topaz.
Let us know if you’re able to test with noisy images and have results to share. We’ve already seen some great noise examples and survey feedback, thank you for that. There are still a few more days to test if you have additional results to share.
Note on the UI: The beta being available in this cloud UI was intentional. The model was not ready for Topaz Photo implementation yet, but we wanted to gather feedback as early as possible. The feedback needed is specifically based on noisy images, compared against results from the current denoising models available in Topaz Photo.
2 Likes
OK, thanks for the clarification!
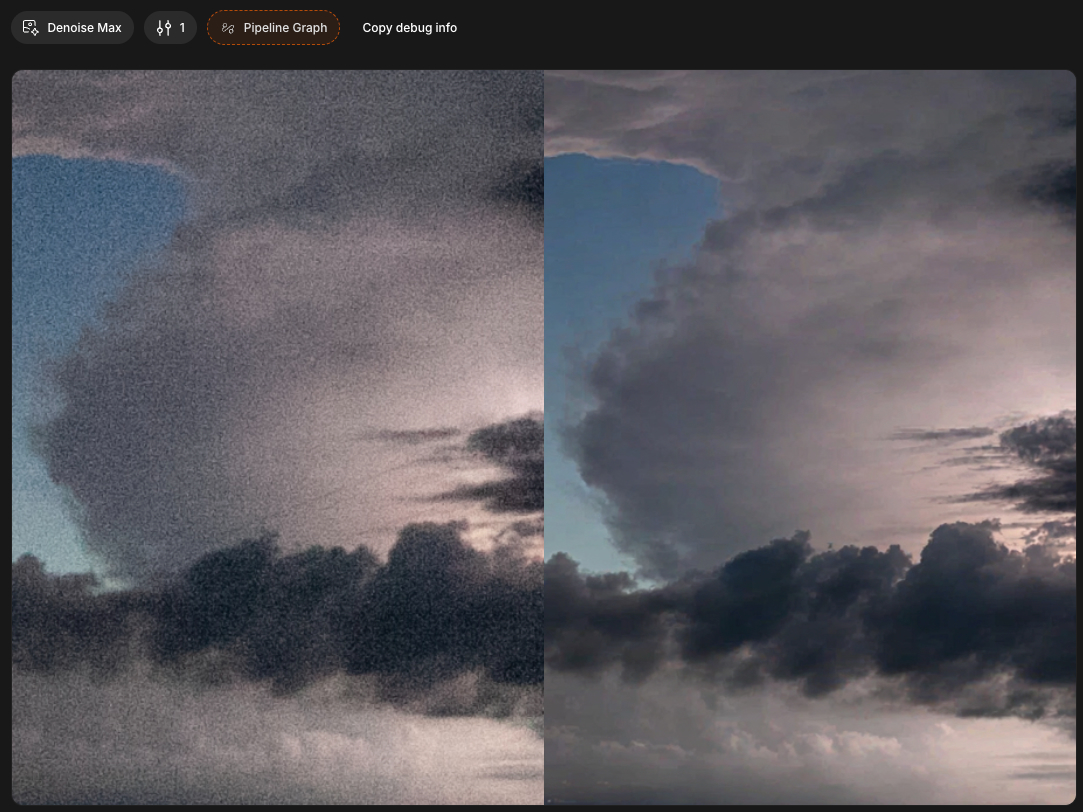
Here is a 2009 CR2 converted to JPEG (I did not take this one but it’s ISO 12800 and is one of the noisiest images I have on hand).
Cranked to 1.0 in the beta. I do not know where 100% view is in this GUI but you can still see the results:
1 Like