@WarrENDeatH
Ok, I mentioned I was going to post these in the other thread.
I have spent most of the time recently trying to get proteus to work with these upscales, but Proteus still isn’t a good upscaler for these DVD’s - no matter how much I try and fenangle the input and the output, the output never seems to get close to the general quality of the older models. Usually, it removes too much detail and you go into that plastic territory that I try to avoid.
My main reason for trying to get results with Proteus is obviously because the newer versions have made that the go to and the results I am about to post here are not possible in V3. I have been trying to replicate these kind of results in V3 to bring it “up to date” so to speak.
The only warning I will give, is that the upscale isn’t that long per episode, but to use this method you need both an older version of the app (I use V2.3) and some setup of using Avisynth to be able to replicate this.
Artemis V8 brings about an increase in details unlike any other model I have played with, but it does have flaws. The more Noise there is, the more Noise makes it through to the end result. This is ok in some aspects - and can add to the natural look - but at the same time is a balancing act, because if there is too much, it makes the end result look too edited.
After a week of trial and error, adjusting the inputs (imperative with Artemis) this is a selection of three extracts, from the same episode, from my that had the same upscale process done (8th upscale of this episode this week), but with each one having different treatments after completion. Make sure to download the samples, not watch them in browser or it may get “encoded” and be crappier quality:
-
This is the original upscale. The only post upscale edits I did were for colour correction.
S05E11 - Original.mp4 - Google Drive
-
This is the original upscale, but on export from Premiere, run through NEAT Videos denoising plugin (this is a paid for plugin i bought).
S05E11 Noise Reduced.mp4 - Google Drive
-
This is the original Upscale, also run through the same denoising, but then artificial grain added to see if the result might be better denoised and then added with grain.
S05E11 Noise reduced grain added.mp4 - Google Drive
This is probably about the best I can accomplish that satisfies the following compromises:
- The time taken to upscale into the image sequence, on my 5x year old 1080, is about 3.5 hours.
- If not doing any noise reduction, or grain addition, the re-assembly of the image sequence takes me 20x minutes. Total upscale, reassembly and audio added back in of < 4x hours per episode. This sort of time scale is REQUIRED for episodes of Voyager and DS9. Very few people can do the processes Joel does on Extremetech and then multiply that out across 7x seasons. This time scale at least makes it reasonable.
- Middle ground and background faces can be atrocious in Topaz. This method typically tries to modify them the least - that is with the least amount of noticeable artifacts. Nothing will be perfect until Topaz gets much better at this, but for me, I am happy with the compromise. Its up to your personal preferences if you are with these examples.
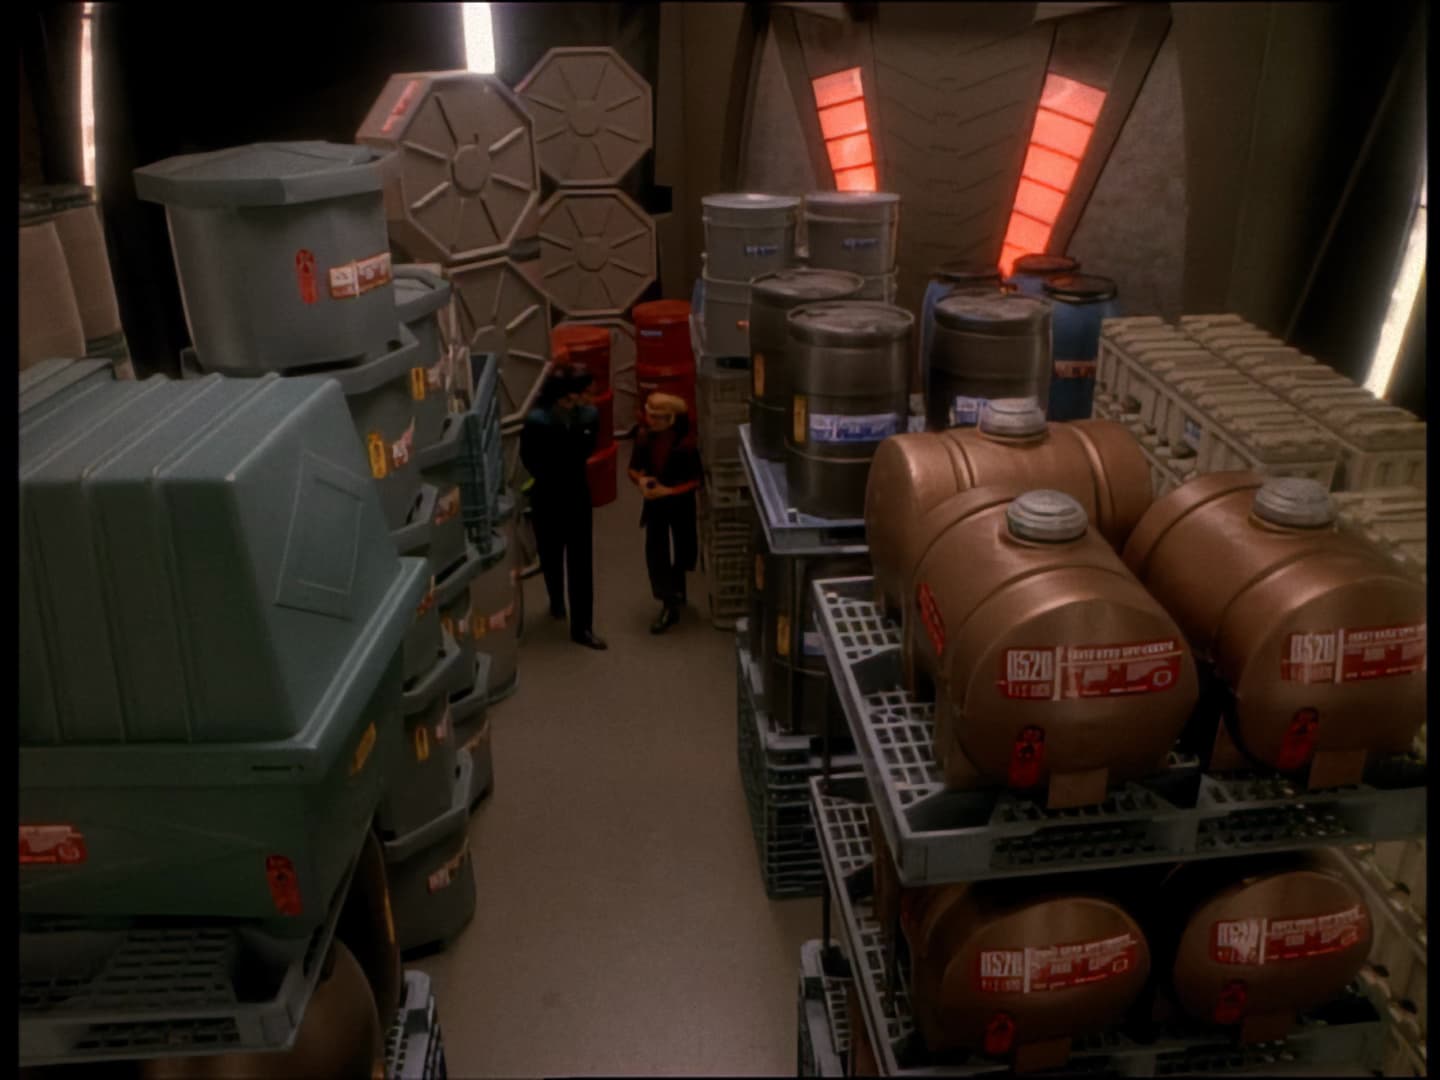
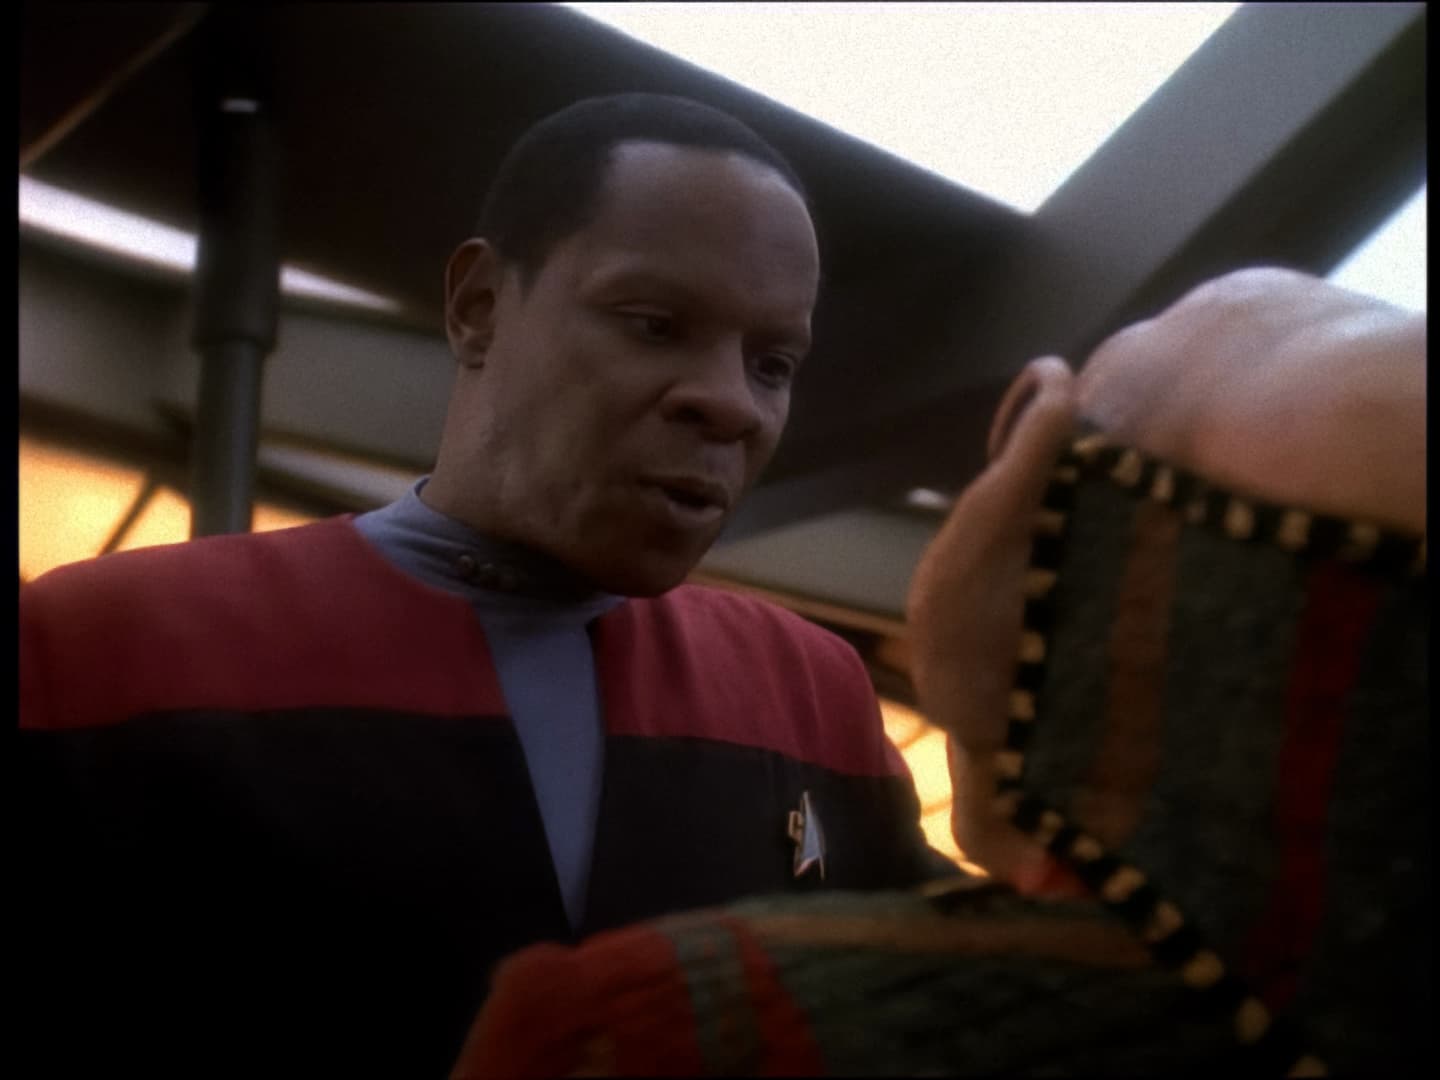
- At the same time, when faces are closer to camera, it pulls out almost unmatched levels of details whilst trying to stay as close to “natural” as it can be. Take for example this side by side from the same extracts above: Voyagder S05E11 Comparison - Imgsli
- Note that this uses the NTSC DVD’s This process will NOT WORK properly if tried on a PAL dvd copy.
But in any event, if anyone has improvements on the process at all, I try everything I see posted always - my method is not the be all end all, and certainly may not be the best. If you can get better results and it doesn’t take days to process each episode, I am all for it.
Now some last warnings:
- Different episodes can be different. While I am hopeful this is mostly universal, you may get varying results depending on the episode.
- Almost every episode of Voyager avoids the whole different framerate for the CGI sections that is in a lot more of the DS9 episodes. This script should work on just about every episdoes of Voyager - EXCEPT - Episode 1, Caretaker. That is the only episode I have encountered that is stuck with the same variable framerate in the CGI that is in DS9. The easiest way to deal with that episode is to use my alterantive script that multiplies everything out to 59.94 FPS, but it does take a lot longer (double episode 2.5x the frames) or else you have to live with some jerkiness in the CGI parts. This script replaces the line
AnimeIVTC(mode = 1)
With:
A=Tfm(field=1,mode=0,slow=2,pp=2,mchroma=false,cthresh=-1,micmatching=0).converttorgb().generalconvolution(matrix = "0 -1 0 0 4 0 0 -1 0",divisor=2,auto=false).converttoyv12()
B=Tfm(field=0,mode=0,slow=2,pp=2,mchroma=false,cthresh=-1,micmatching=0).converttorgb().generalconvolution(matrix = "0 -1 0 0 4 0 0 -1 0",divisor=2,auto=false).converttoyv12()
C=Tfm(field=1,mode=0,slow=2,mchroma=false,cthresh=-1,clip2=A,d2v="D:\Video\NTSC Season 5\Disk 1\Episode 1\VTS_03_1.d2v",flags=1,micmatching=0)
D=Tfm(field=0,mode=0,slow=2,mchroma=false,cthresh=-1,clip2=B,d2v="D:\Video\NTSC Season 5\Disk 1\Episode 1\VTS_03_1.d2v",flags=1,micmatching=0)
Noting that this references the same d2v file, so you need to amend those links to match yours (in guide below)
What is about to follow below, is a step by step on replicating this process. If not interested, feel free to skip this. If you are already experienced, you can ignore most of this and take the pertinent information like the scripts themselves.
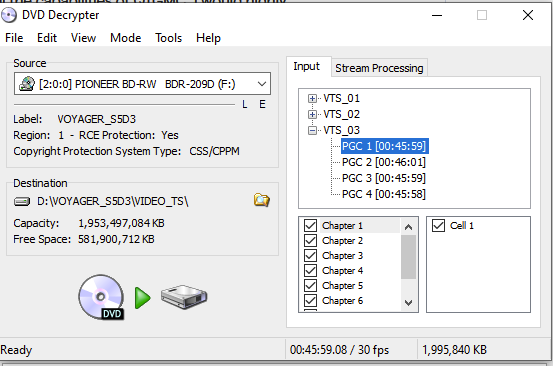
Step 1 - Extract the DVD using any application that does NOT process the extract. For Star Trek, due to age, I uses DVD Decryptor. Its old, but works fine on all these old DVD’s. I won’t link it here and you can use your own version, but you want the VOB file.
If using the above, you select the episode like below, select Stream Processing and Enable it, then I usually just leave the multi channel audio and video (but that’s up to you) then click the Decrypt, and it will save the VOB file of that episode to a location you choose on the drive.
Step 2 - Download the dgmpgdec158.zip version at this location DGMPGDec Old Versions Downloads - VideoHelp
Extract the Zip and you will have an application inside called DGIndex. Open it, then import the Vob file you just saved. Make sure “Video > Field Operation” is set to Honour Pulldown Flags and then File > Save Project and Demux Video. Choose a location (can be same folder as the vob) and it will create both a d2v file for importing into Avisynth and will also extract the Audio Stream as an ac3 file for using later on re-assembly.
Step 3 - This is complicated if you do not understand how to run these applications. I will help for a bit, but I am assuming you know your way around adding applications to the PC.
You need Avisynth 64 bit - https://avs-plus.net/ - and AVSPmod 64 bit - Releases · AvsPmod/AvsPmod · GitHub .
I will mention that AVSPmod is not necessary technically, but it allows for live changes to the script, allowing you to actually see what it does to the input file when editing the scripts. That is, if you want to experiment with changing the input script, this will show you what it does immediately and for me, is imperative when working with Avisynth scripts.
Lastly, Avisynth works on Plugins. To save time, this is my 64x bit Plugin Folder. It needs to go inside the Avisynth+ directory and alls cripts inside a folder called “plugins64+”. This links is the contents of my plugins64+ folder.
This will allow you to run all the scripts and plugins I use in any script I post. As long as Avisynth is installed properly and the plugins are installed properly, you can bypass the Avspmod usage entirely and just save this script file:
Script.zip (857 Bytes)
NOTE: The first couple of lines includes an absolute address to the d2v file of the episode you extracted in Step 2. Its saved to my location, so you must edit that line to match your own location of file for it to work. This is where AVSPmod comes in handy as you can edit the script live and make sure it loads.
If you would prefer to just copy the script, this is it currently:
SetFilterMTMode("DEFAULT_MT_MODE", 3)
D2VSource("D:\Video\NTSC Season 5\Disk 3\Episode 11\VTS_03_1.d2v")ConvertToYV12()

checkmate(tthr2=0)

AnimeIVTC(mode = 1)

src = last

blurred = BilinearResize(360,height).nnedi3_rpow2(2, cshift="Spline36Resize", fwidth=src.width, fheight=src.height).Sharpen(0.3, 0.0)

emask = Overlay(blurred.mt_convolution(horizontal="1", vertical="0 1 -1", chroma="-128"), blurred.mt_convolution(horizontal="1", vertical="-1 1 0", chroma="-128"), mode="add").mt_expand().mt_expand().ColorYUV(off_y=-3).ColorYUV(gain_y=10000).GreyScale()
smask = src.SaturationMask().mt_expand(mode="vertical").ColorYUV(off_y=-5).ColorYUV(gain_y=5000).GreyScale()
mmask = src.mt_motion(thy1=5, thy2=5, thT=255).mt_expand(mode="vertical").mt_expand().GreyScale()

fmask = Overlay(emask, smask, mode="multiply")
fmask = Overlay(fmask, mmask, mode="multiply").Blur(1.0)
Overlay(src, blurred, mask=fmask)
TemporalDegrain2()


  Crop(6, 6, 708, 468)


   xaa(ow = 720, oh = 540, mask = 1, chroma = 1, nns = 4)


Prefetch(4)

##########################################################################
#
# Saturation, assumes full range, returns 0 to 255
#
##########################################################################

function SaturationMask(clip c)
{
    U = UtoY(c)
    V = VtoY(c)
    mt_lutxy(U, V, expr="x 128 - abs 2 * dup *    y 128 - abs 2 * dup *   + 0.5 ^")
    PointResize(c.width, c.height)
}

##########################################################################
Step 4 - You need to download and install Version 2.3 of Topaz. BE WARNED these installs overwrite anything in the V2 or V1 versions of Topaz if the folder already exists. So if you have a different version installed, you may want to copy that folder and save it elsewhere, or you will need to reinstall that version again later. Do not delete all models.
Glynn Powell maintains a link of previous versions on Facebook - https://pastebin.com/raw/yVgBGHNi?fbclid=IwAR3U__nKj3iHM4NEFZ_1PAwZWNjmcgVQ4Q_J7OKA1oOSd5flJ21Wu3fY-pI thanks to him for this list.
Go into the model folders and add the following (extract the json from the zip and place it in the models folder). This adds back Artemis LQ V8 to the list of model options. Restarting Topaz is necessary if it was open when you did this.
artemis-lq-8.zip (1.1 KB)
Step 5 - Drag the Script file from Step 3 directly onto Topaz. It will automatically open the script file and add it like a video into Topaz. If this step fails, and you do not get what looks like a video input that should have (for a normal episode) about 66k frames, then something has gone wrong with the script and you must use AVSPmod to help diagnose. Main issues are not loading the plugins correctly or not changing that location of the d2v file properly.
Step 6 - At this point, Topaz handles the input much like a normal video input, so you can do normal processes in Topaz. The only main caveat is this script takes a while to frameserve, so when you change the slider bar, it will be slow and almost unresponsive. You have to be patient. It may also crash due to instability in the script plugins that can always occur.
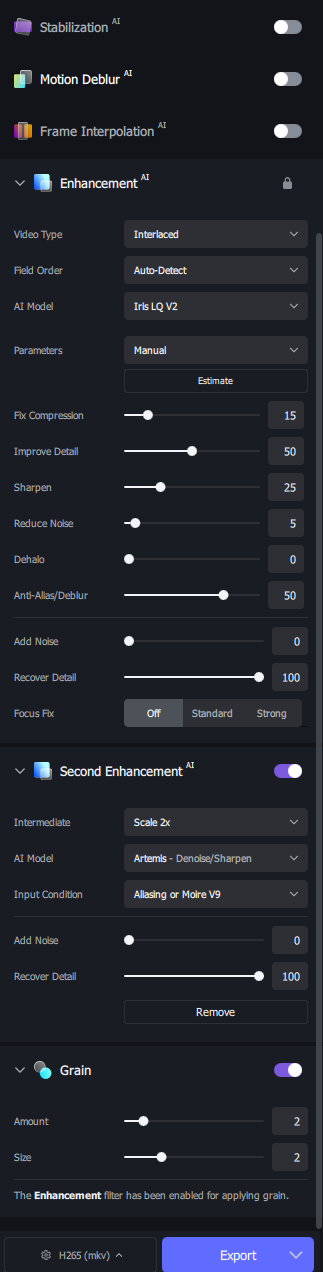
I would highly recommend running the export as an image sequence (just use PNG files unless you have insane amounts of space for tiffs - they are easier to work with). Export, with Artemis V8 at 2x Upscale (200%) should replicate my method for the original file upscale.
Step 7 - Post Processing. This one is a little hard - I use Premiere for all post processing and not everyone is going to have that. It is going to be up to you and what you have access to as to re-assembly of the image sequence.
What I do is import the image sequence into Premiere, modify the input to read as 23.976 (which is what this script exports as), then create a new sequence based on that import. I then do some colour correction to my taste, and as per the examples above, experiment with noise reduction and adding grain. I export currently as MP4 and H264 - but this is where you can get very creative with how you want to save it.
You can of course add grain during the Topaz upscale instead, and if you don’t want any post edits for colour correction, usually there are free applications that can re-assemble the sequence.
Step 8 - I use Avidemux to add back in the audio. Its a matter of setting the muxer to the same kind of file, adding in the audio track extracted with the d2v and saving it. Takes all of 5-10x seconds. But this is also up to you.
https://avidemux.sourceforge.net/download.html