Topaz Photo Open Beta 1.1.0.2b

Hello everyone!

We’re trying a new format for beta testing with this release. Instead of a limited group, this will be an open beta that anyone who owns Topaz Photo can install and test. If you have a Topaz Photo license, you can participate—no special signup required. This open beta will run for approximately one month, giving you time to try new models and improvements in your real workflows.

For this beta, we have 3 new models that we hope you will try! These models are set as the default so that you can easily test them.

  • Portrait Sharpen — High Resolution Detail for Faces and People
  • Adjust Lighting v3 — Better Results in Difficult Lighting
  • Dust & Scratch v2 — Cleaner Restorations, Better Detail Preservation

Please remember to fill out the survey and comment below with your feedback.

Use this link to access the survey for this Beta:
Topaz Photo Beta feedback survey


v1.1.0.2b
Released December 16th, 2025
Windows: Download
Windows ARM : Download
Mac: Download


Portrait Sharpen — High Resolution Detail for Faces and People

We’re introducing Portrait Sharpen, a new model trained specifically for portraits and people photography. Portraits make up a large percentage of the images processed in Topaz Photo, yet none of the previous Sharpen models were designed for this image type. Existing models often produce results that look smooth, artificial, or simply did not have noticeable improvement especially on medium and high-resolution photos.

The Portrait Sharpen model was trained on high-quality portrait images to better handle the fine details that make people look natural — hair texture, facial features, and clothing details. The goal is to deliver sharp, clean detail without exaggeration or the “plastic” effect that can appear with older models.

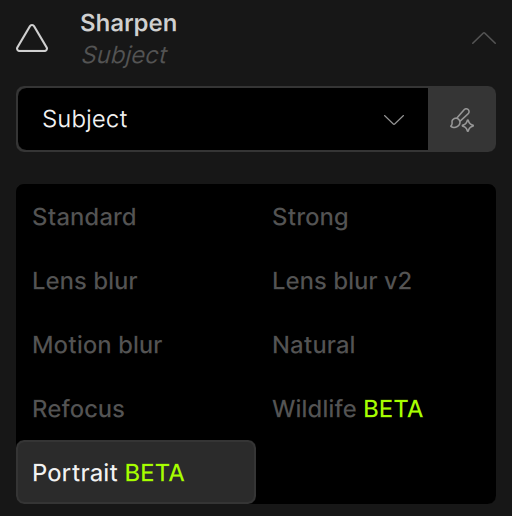
To use it, add Sharpen then pick it from the model selector. In this beta, the model is automatically selected.

For closed beta users who have tested this model before, we have adjusted the strength and opacity parameters to produce a better result compared to the previous beta.

For the Best Results

This model should be used only on high-resolution (5MP or larger) portrait images that are already denoised and deblurred. RAW images are the best to use with Portrait Sharpen. We recommend running Denoise and Sharpen first to remove distractions and prepare the image before applying Portrait Sharpen. Attached are sample files you can test the new model with.

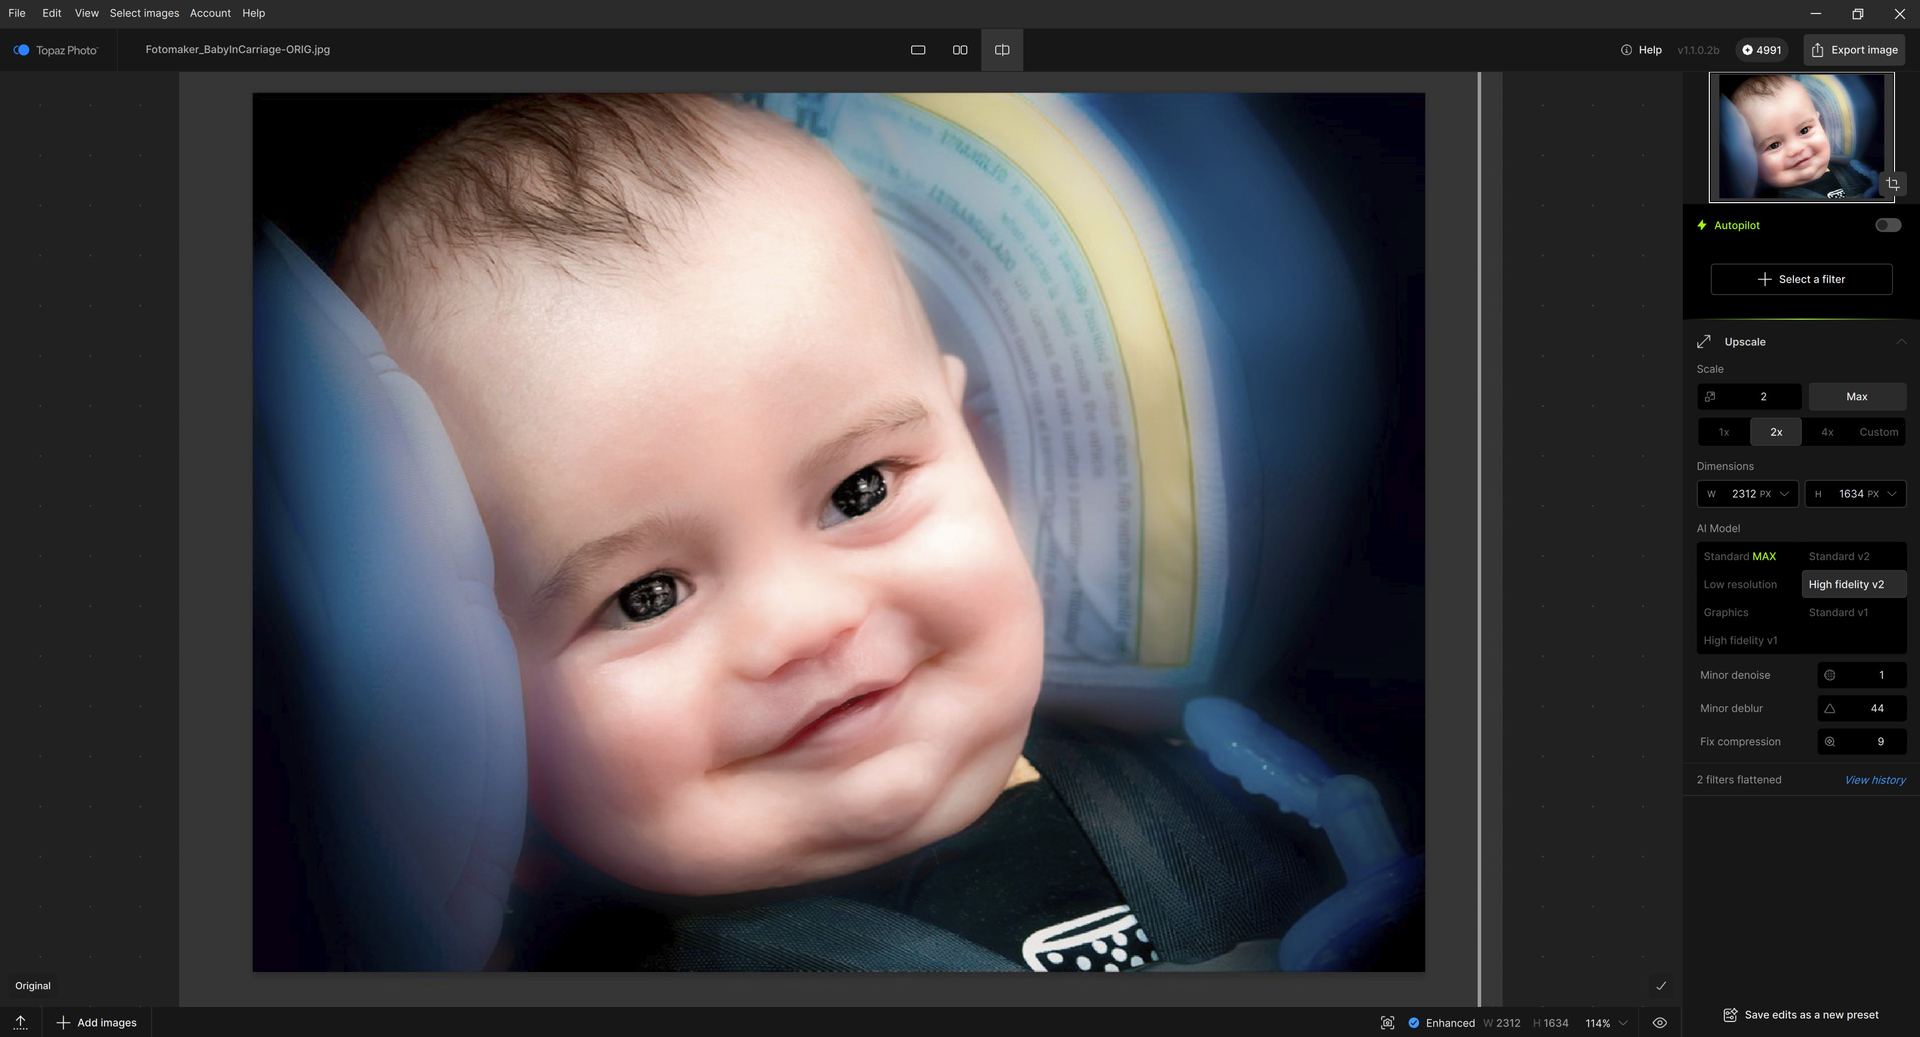
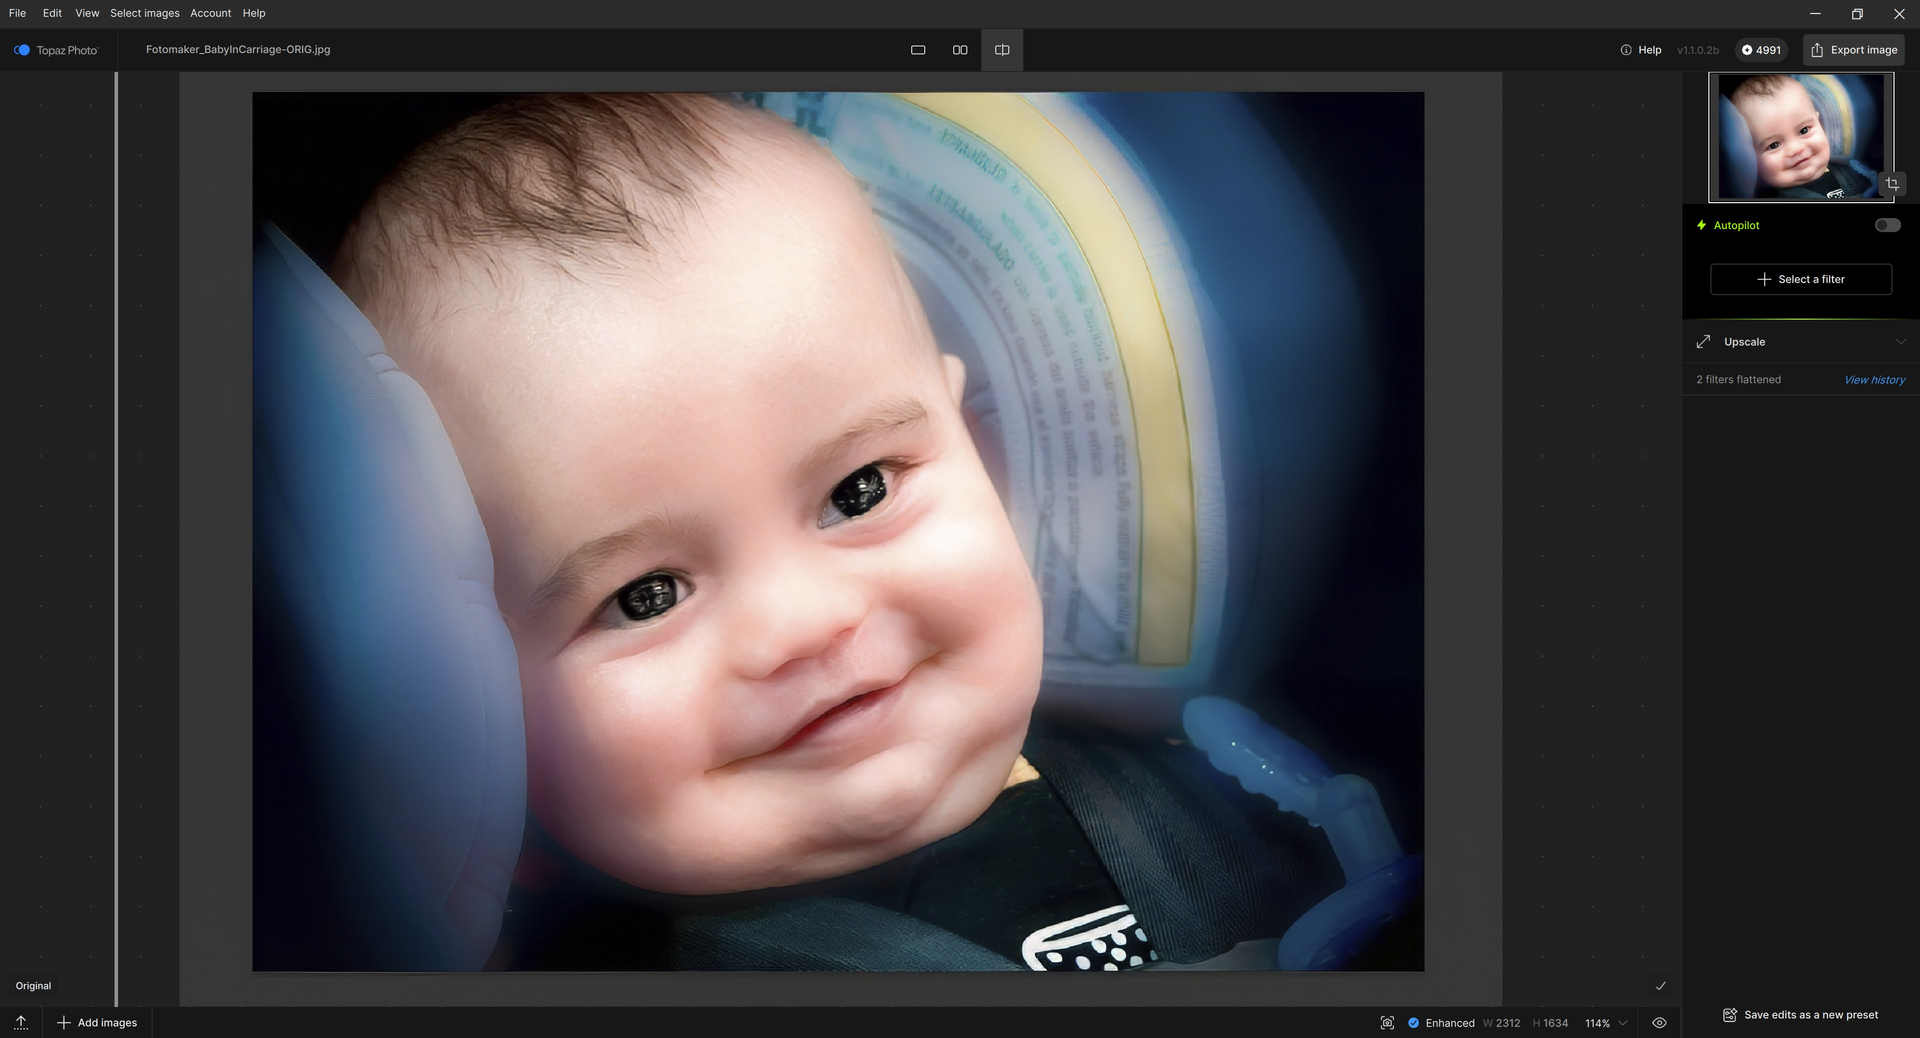
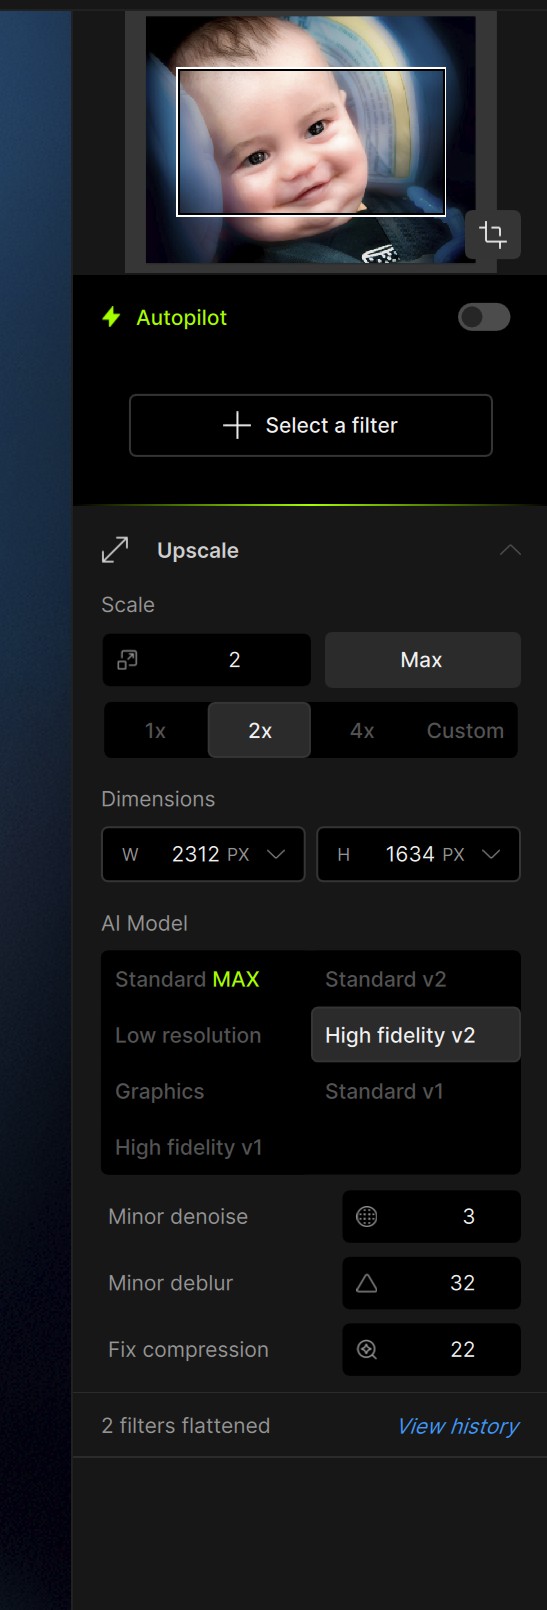
For smaller or low-resolution portraits, use Upscale first to increase pixel detail, then apply Portrait Sharpen as a final step for natural, lifelike results.

Click here to download sample images for Portrait Sharpen.

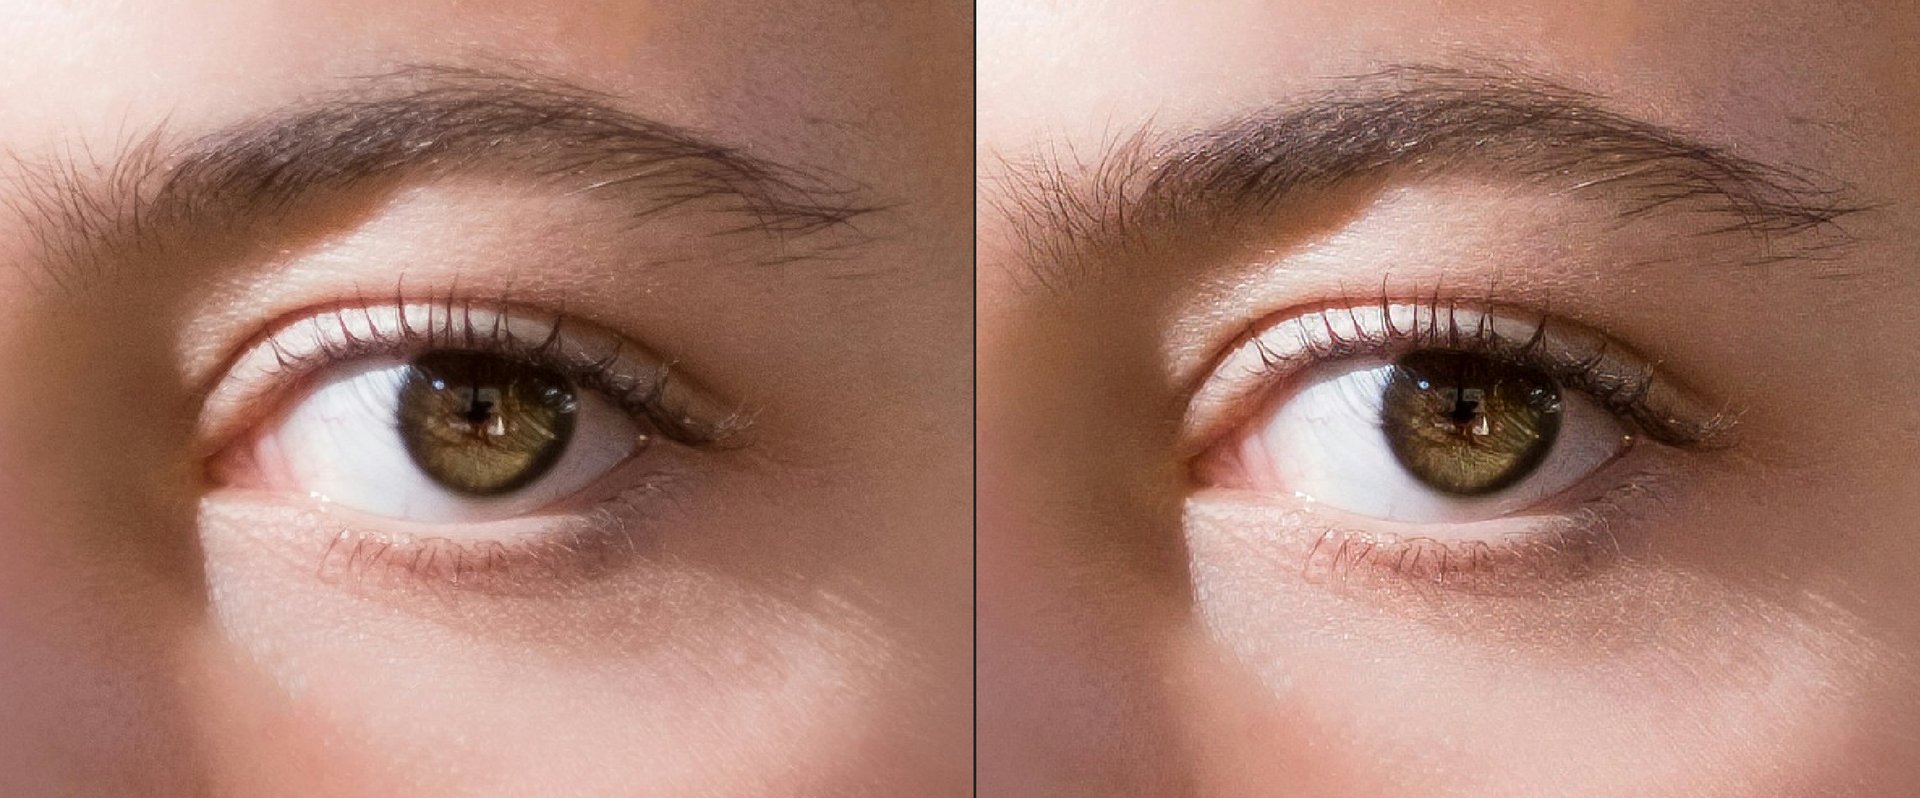
Here is an example of an eye sharpened with the Standard model (original on left, output on right). The eyebrow hairs are smudged together, skin details are over-sharpened and changed. Patterns and textures are created on the skin.

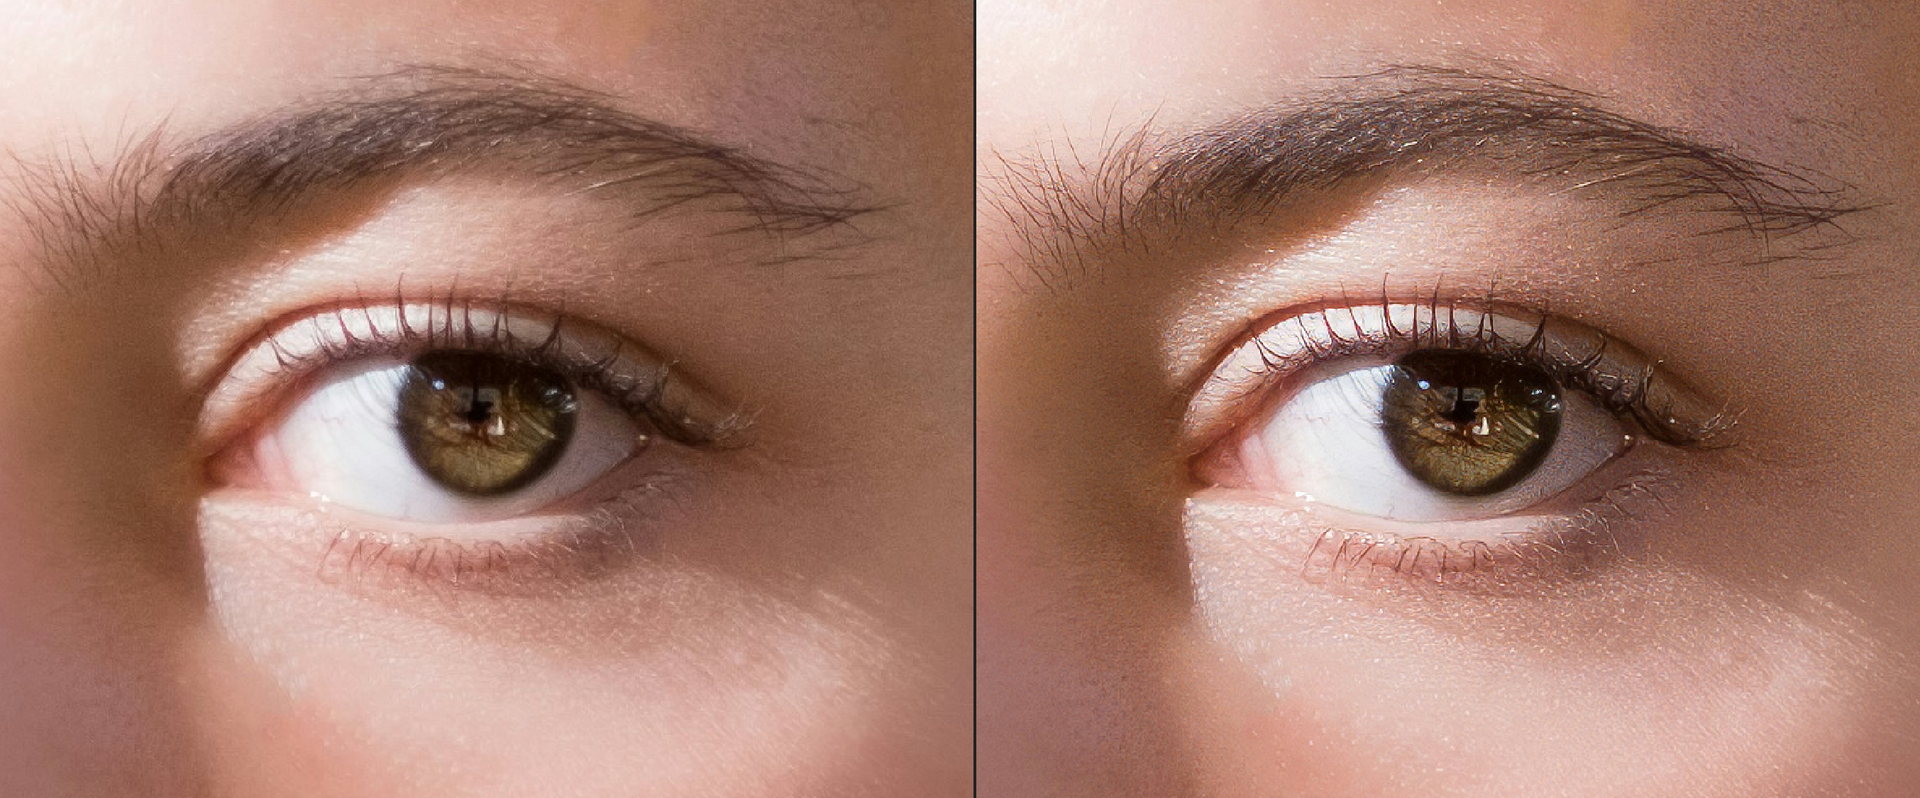
And an example with the Portrait model. Skin texture is enhanced instead of over-sharpened. Details are amplified to become eye-caching (excuse the pun).

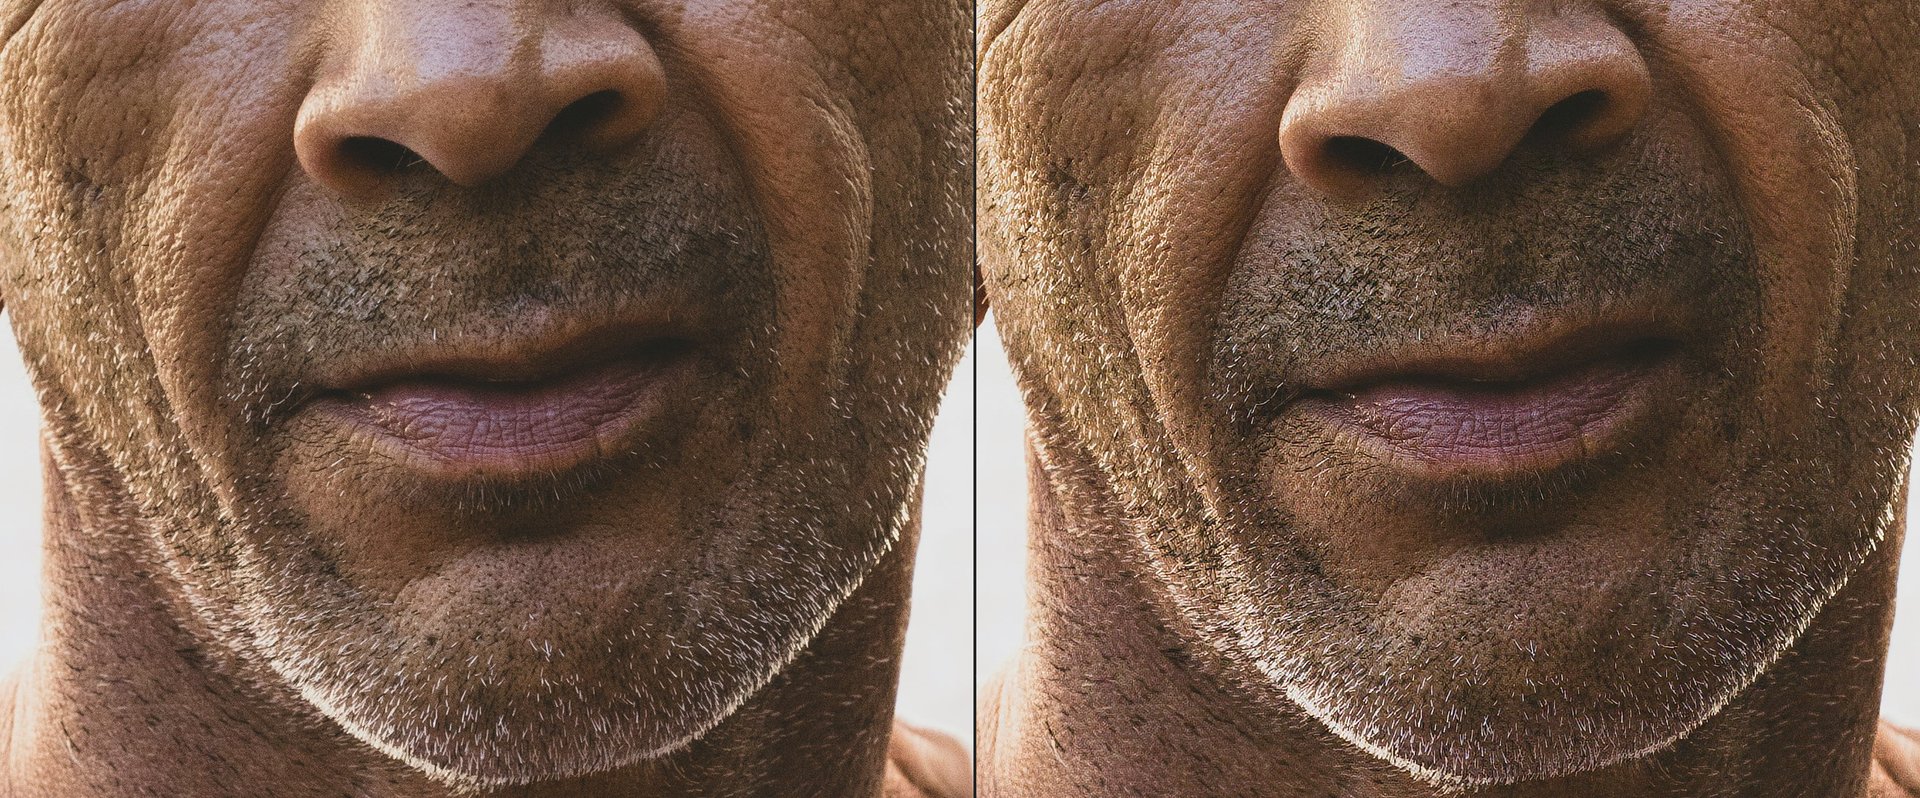
For this face, the Standard model enhances the face but does not enhance the skin texture or facial hair. There is also a noticeable shift in brightness on the facial hair.

With the Portrait model, the image is enhanced without a change in exposure. Skin details are finer and more natural. Facial hair is sharpened without losing the quality of hair.

Please try it on a range of portrait images — close-ups, group photos, and candid shots — and let us know what you think. Do faces, hair, and fabrics look more realistic? Does it produce the level of natural detail you expect? Your feedback will help us fine-tune the model for final release.

Adjust Lighting v3 — Better Results in Difficult Lighting

We’re introducing Adjust Lighting v3, an update to one of the most widely used models in Topaz Photo. Adjust Lighting has always been designed to optimize lighting. The v2 model is able to fine-tune already well-lit photos and fix mild lighting issues. However, v2 struggles with underexposed or overexposed images. With v3, we focused on expanding the model’s ability to correct challenging lighting conditions to expand it’s usage for more images.

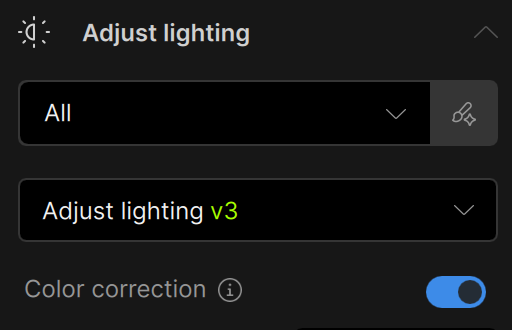
In this beta, Adjust Lighting will default to the v3 model so you can immediately experience the improvements. The new model is trained to better recover detail from dark shadows and blown highlights, making it more effective across a wider range of real-world images. In addition to improved lighting correction, v3 produces results that are slightly more vibrant and visually pleasing compared to v2, while still maintaining a natural look.

If you want to push vibrance even further, toggle on the color correction to further enhance colors in your image.

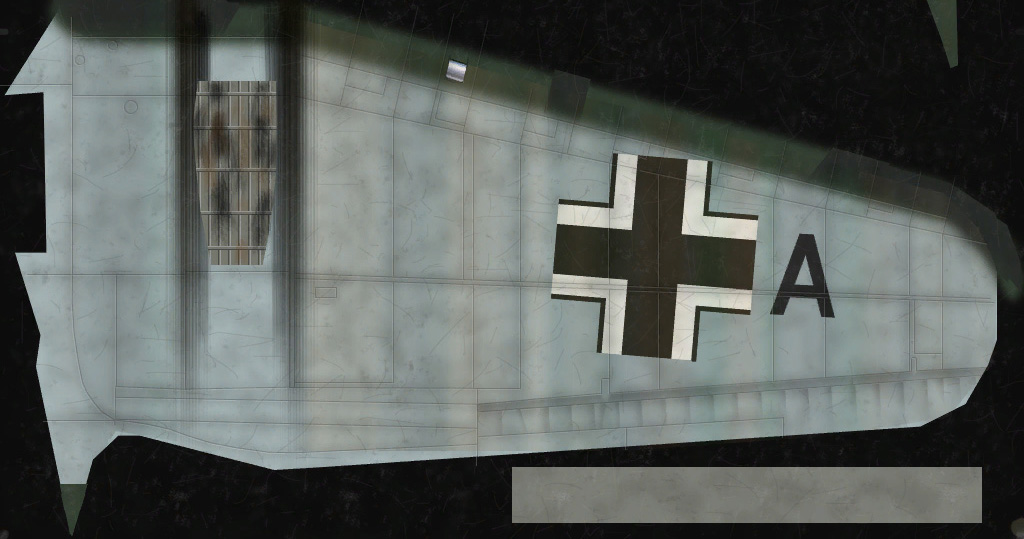
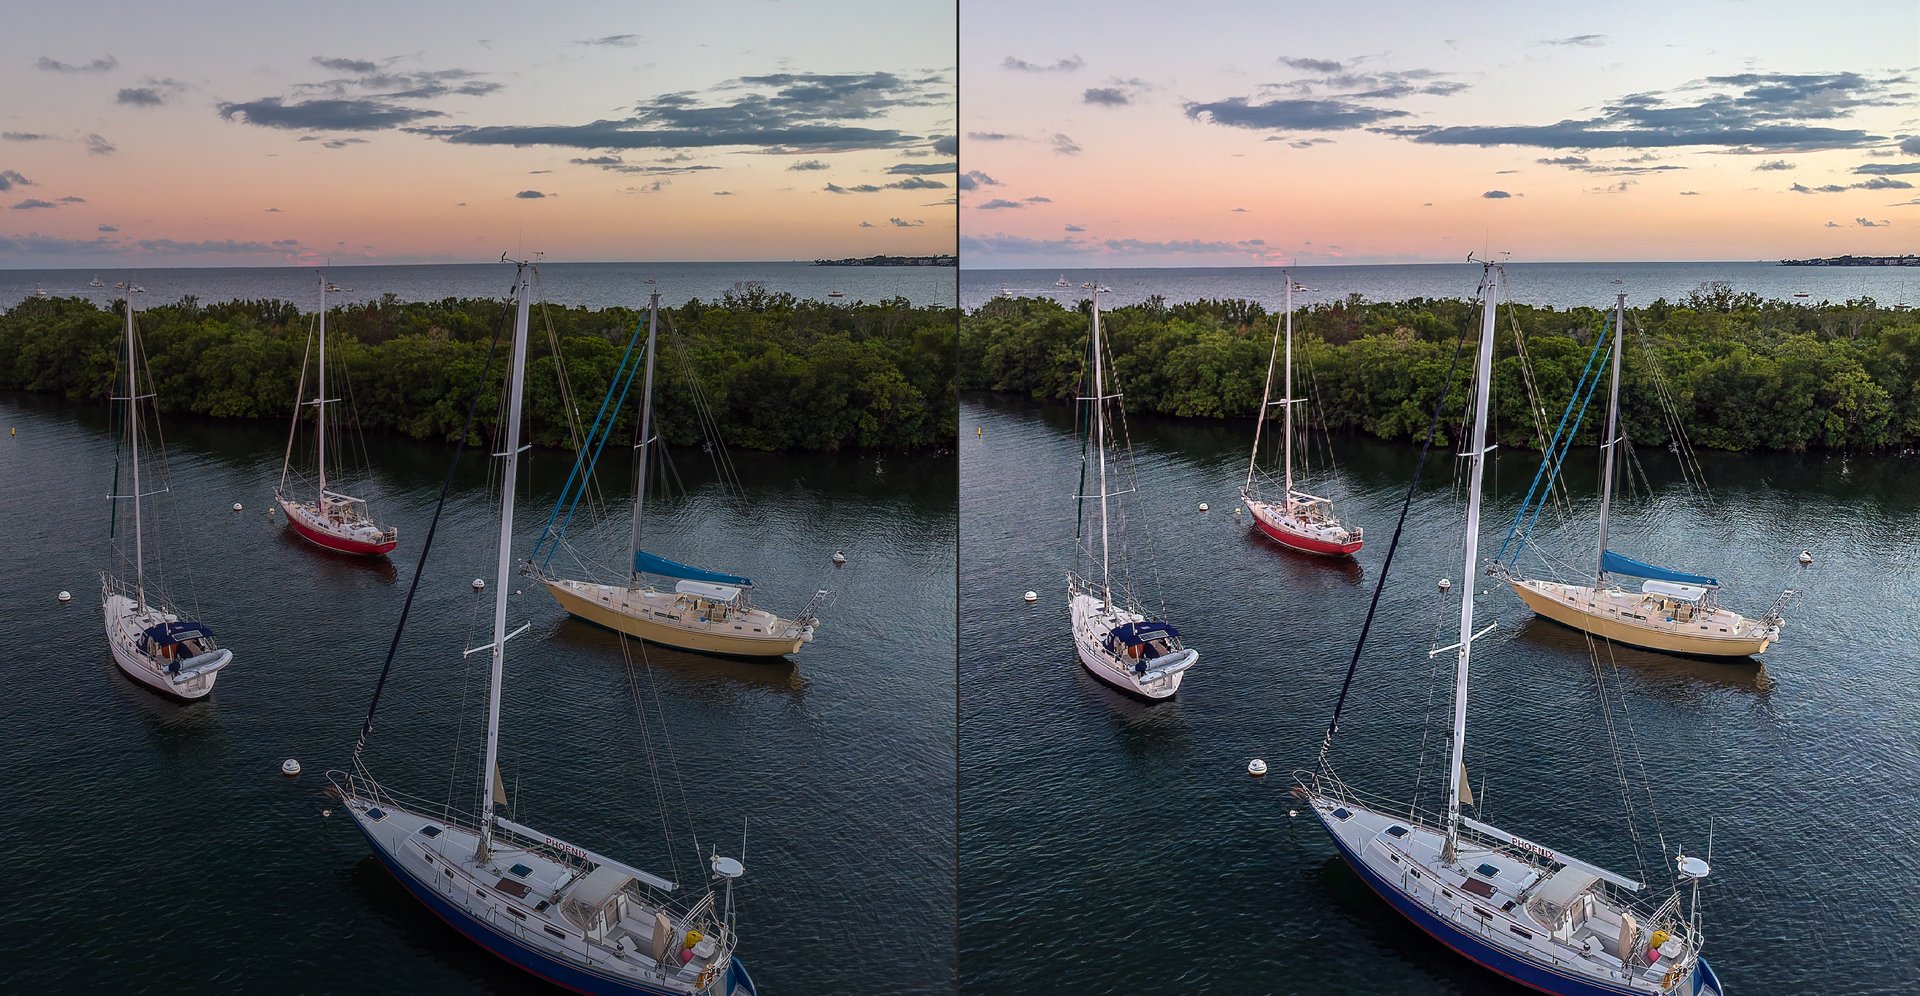
Below, we’ll share example before-and-after results demonstrating how Adjust Lighting v3 performs on underexposed, overexposed, and mixed-lighting images. Click here to download sample images to use with the new model.

Dust & Scratch v2 — Cleaner Restorations, Better Detail Preservation

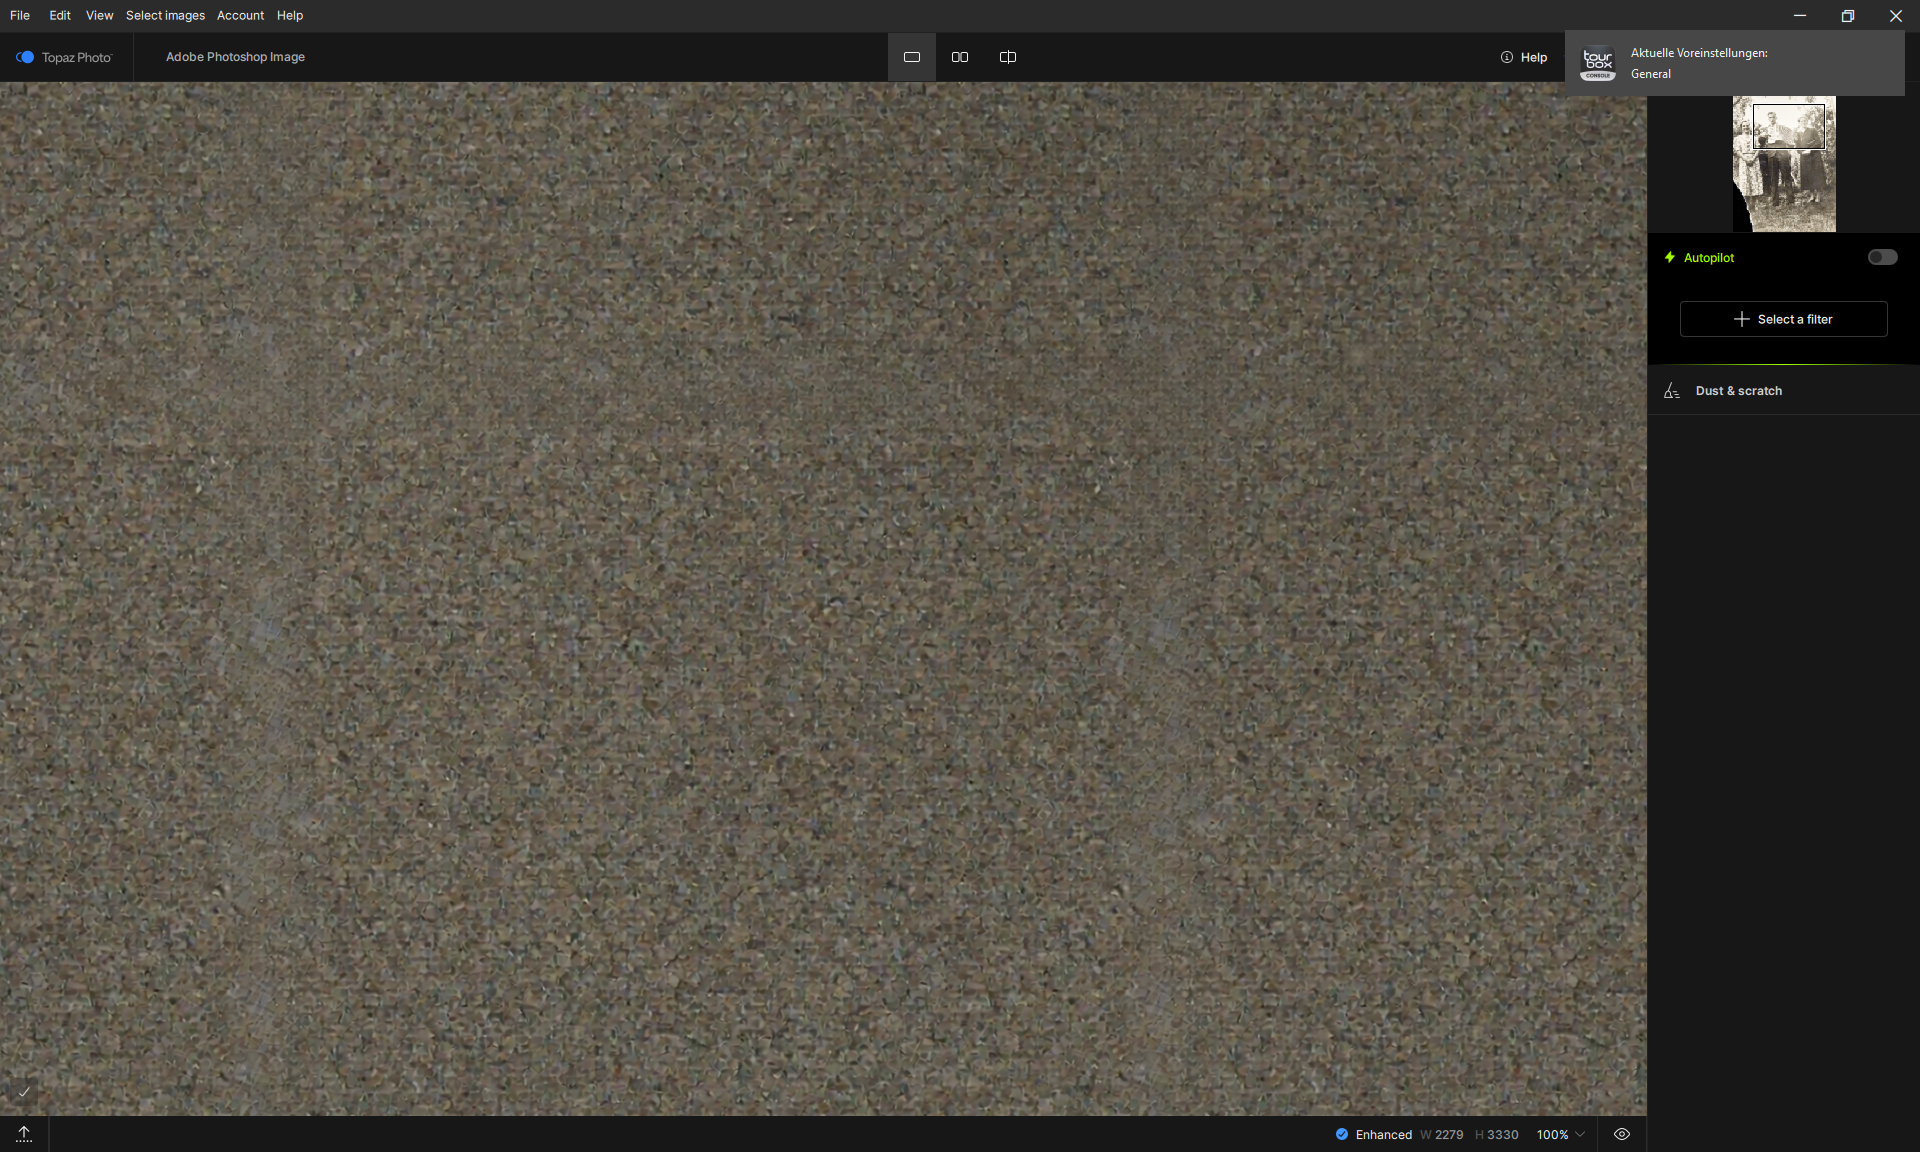
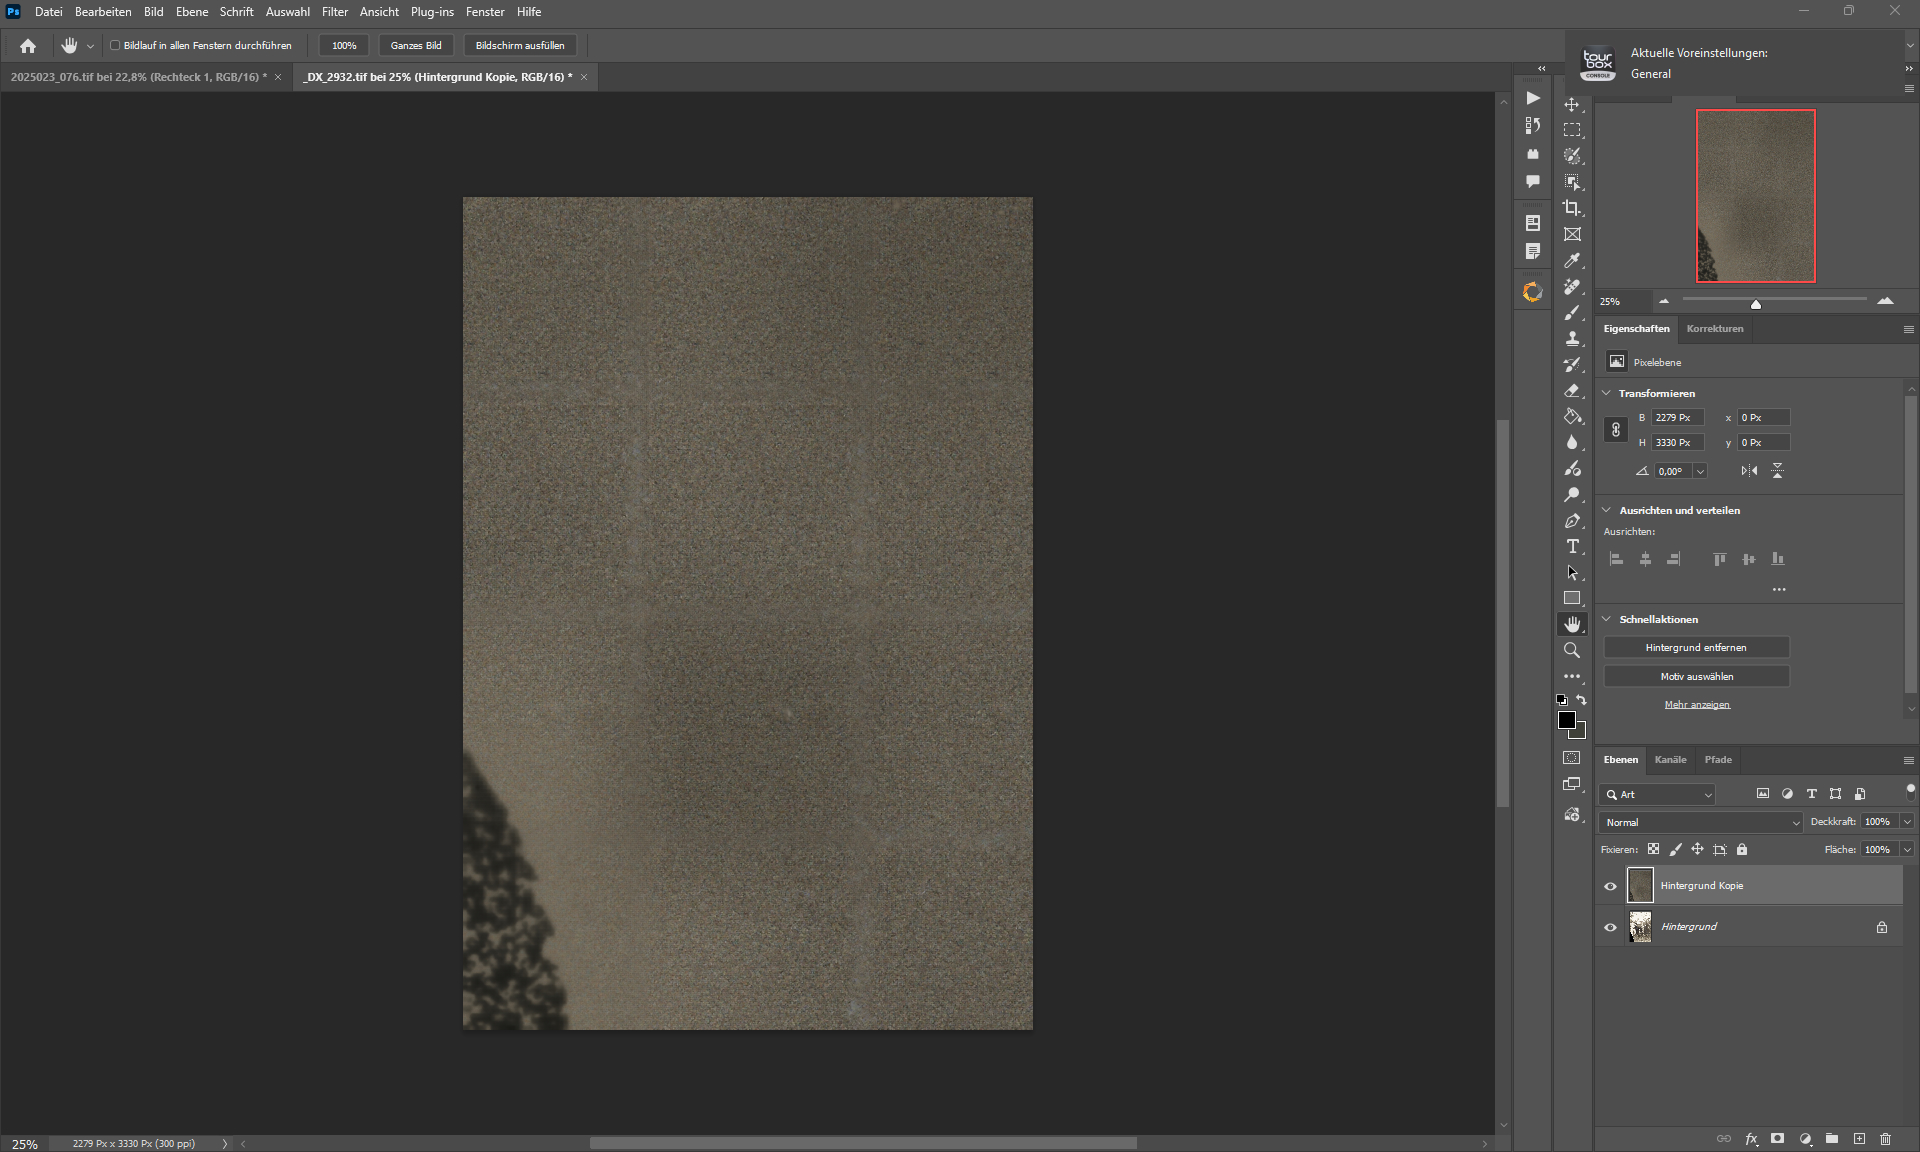
Dust & Scratch is a powerful, time-saving tool for anyone working with film scans, archival photos, and damaged prints. With Dust & Scratch v2, we’re introducing a major model update focused on improving cleanup quality while better preserving original image detail.

This new model includes several key improvements:

  • Better dust removal for small particles and fine surface debris
  • Better scratch removal for thin scratches
  • Fixed issues where original image details were mistakenly removed
  • Improved edge handling, eliminating cases where borders and edges had worse results than the rest of the image

Changes to Workflow

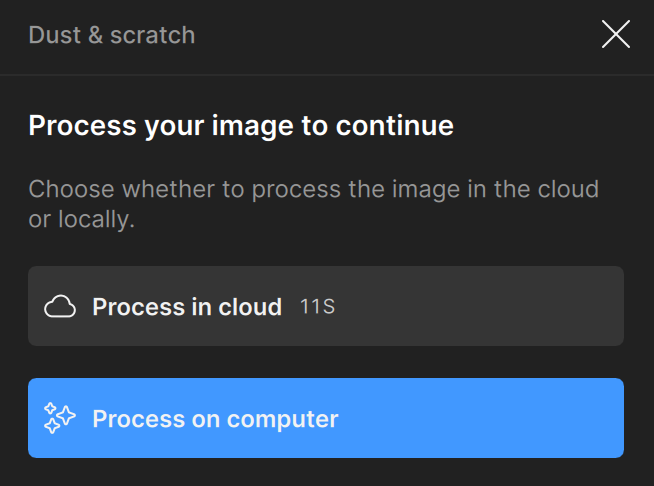
Dust & Scratch v2 is available for both local render and cloud render so you can use it on-device or take advantage of faster processing in the cloud.

NOTE: the v1 model is no longer available for use. All local and cloud render will use the v2 model only.

We removed the spot healing step that ran directly after Dust & Scratch processes, as this tool is now included in the enhancement list to be used as needed.

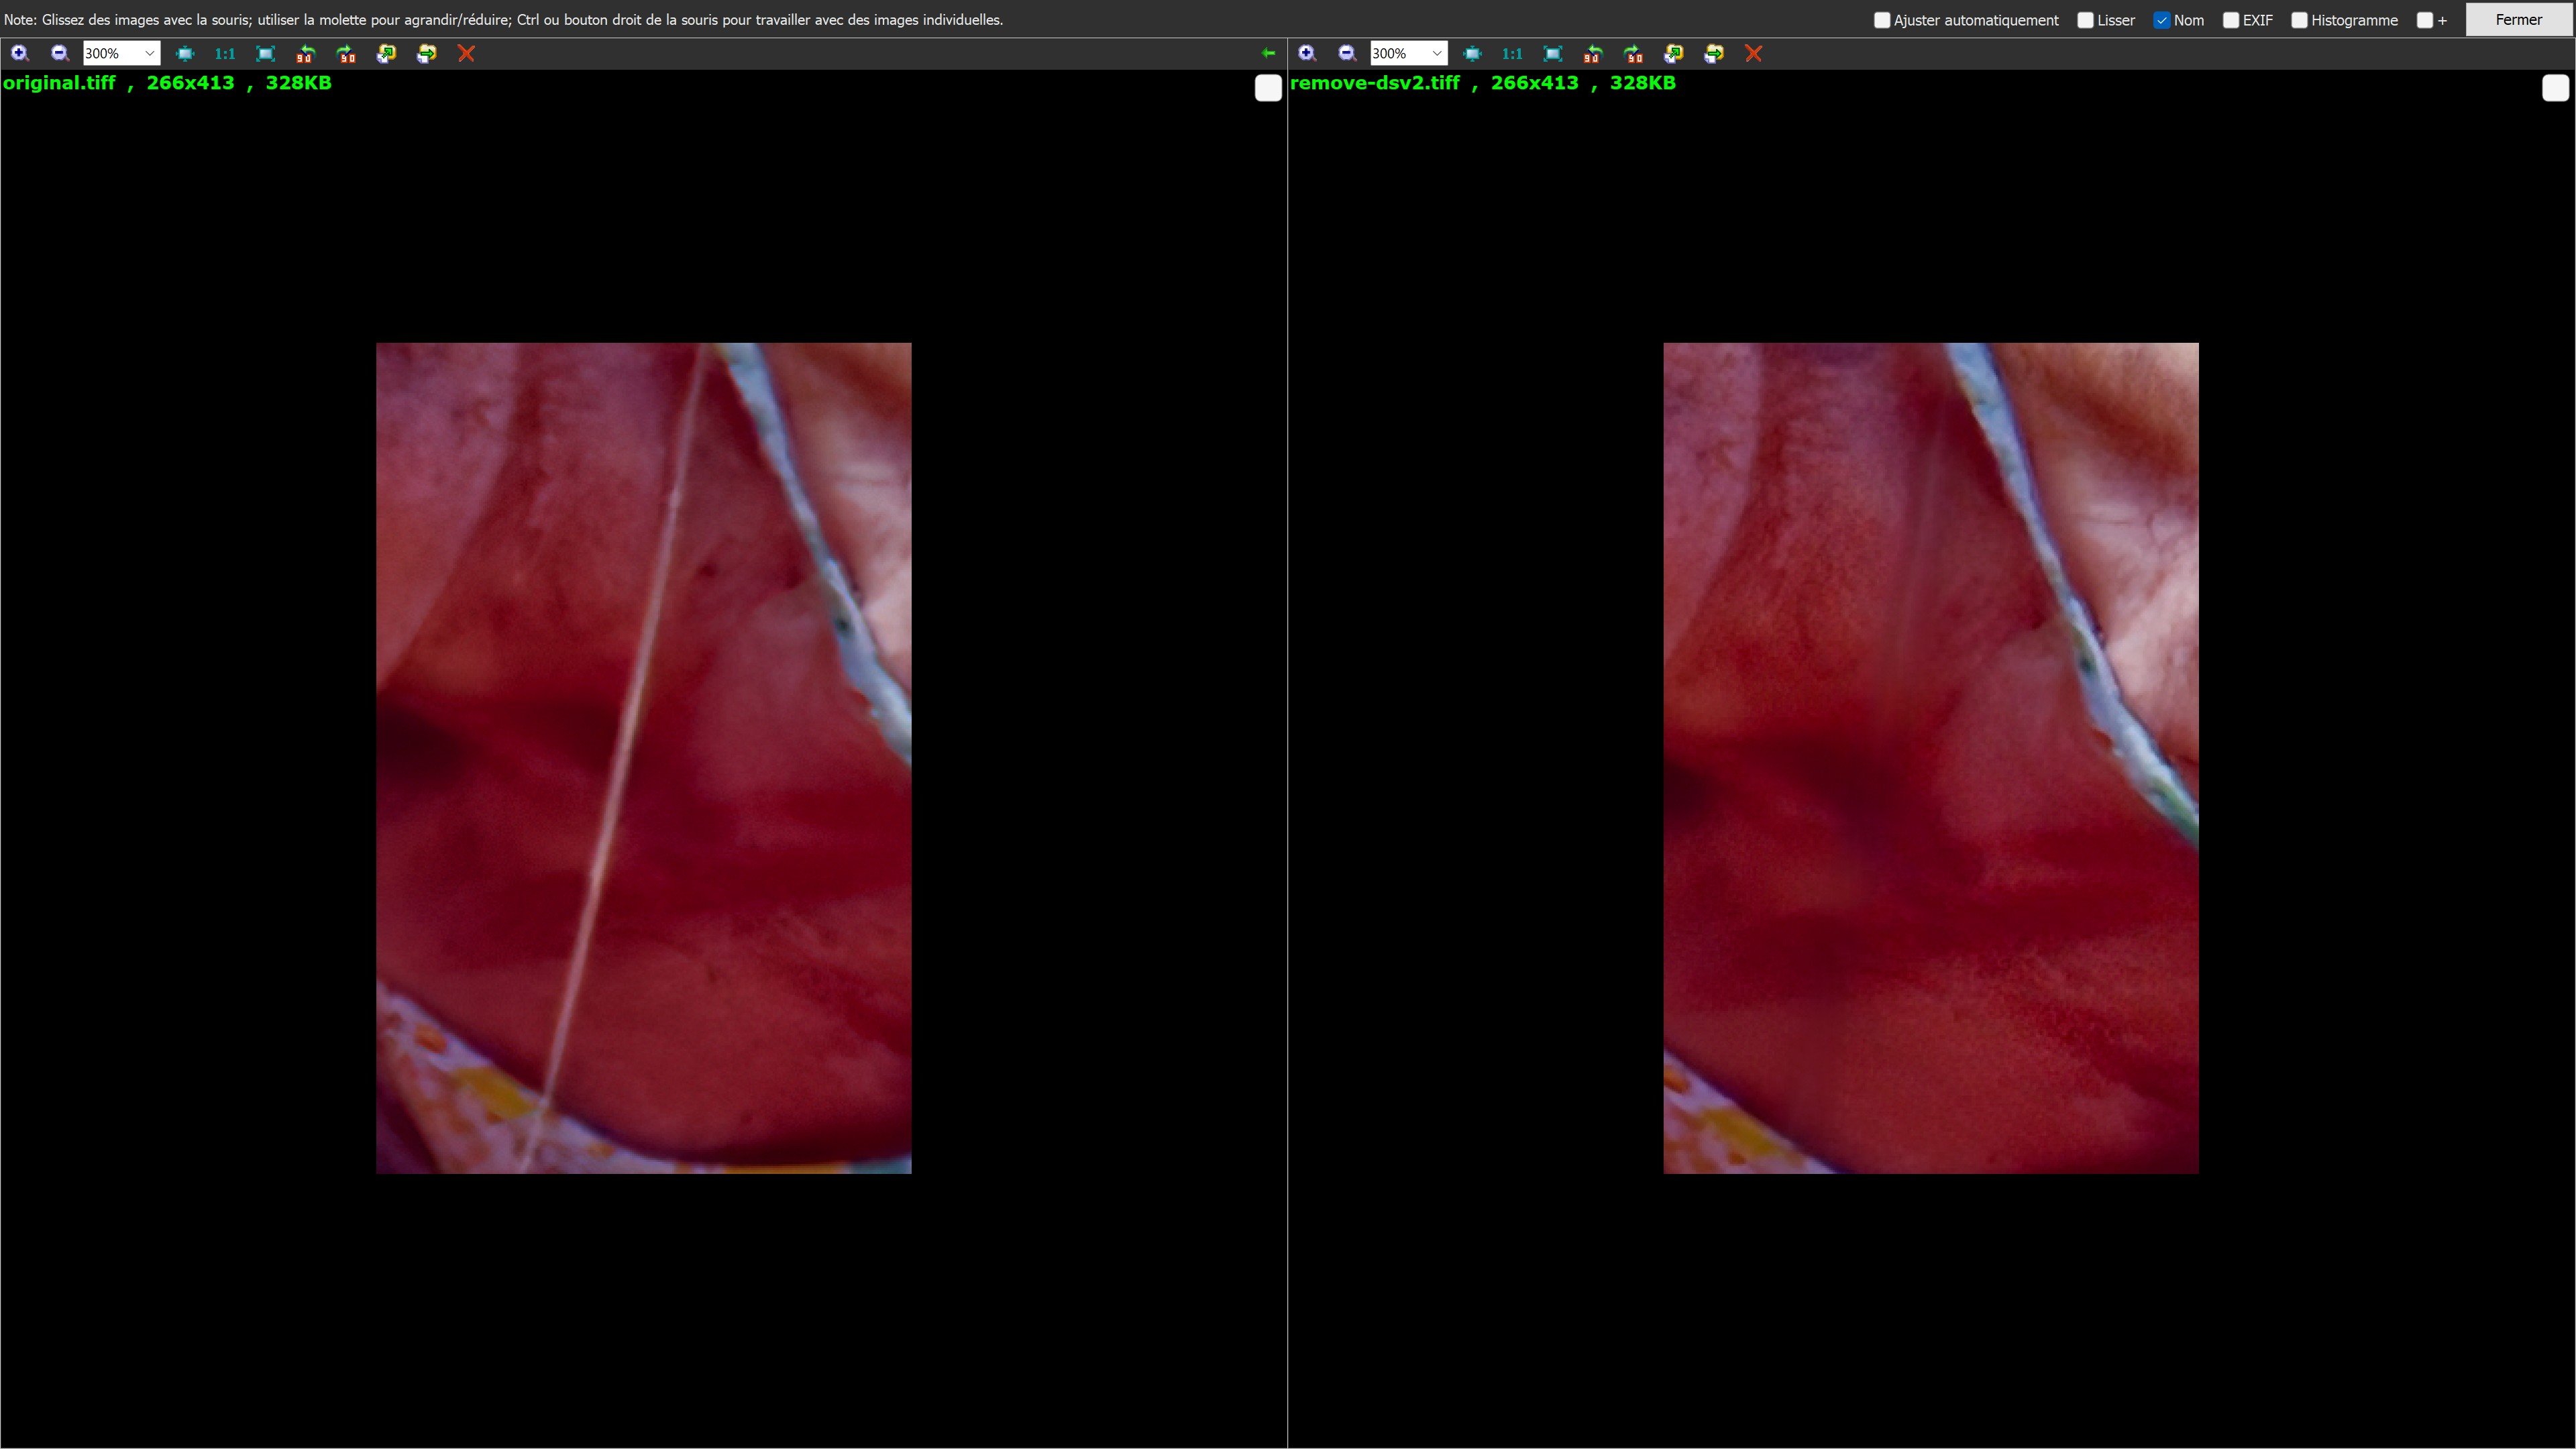
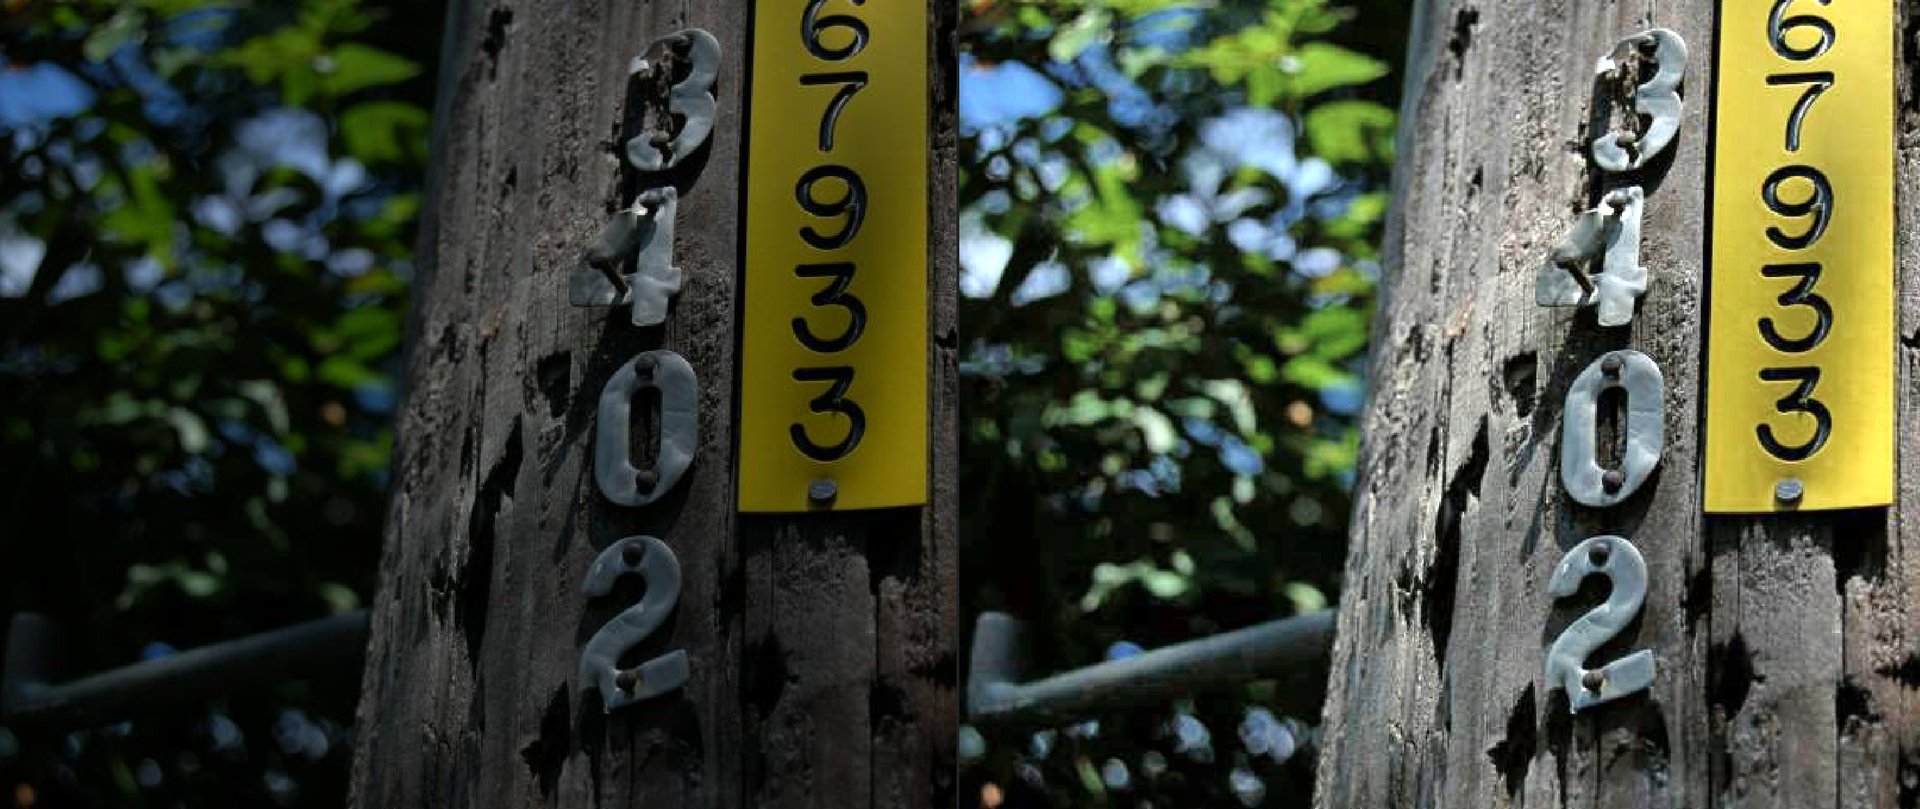
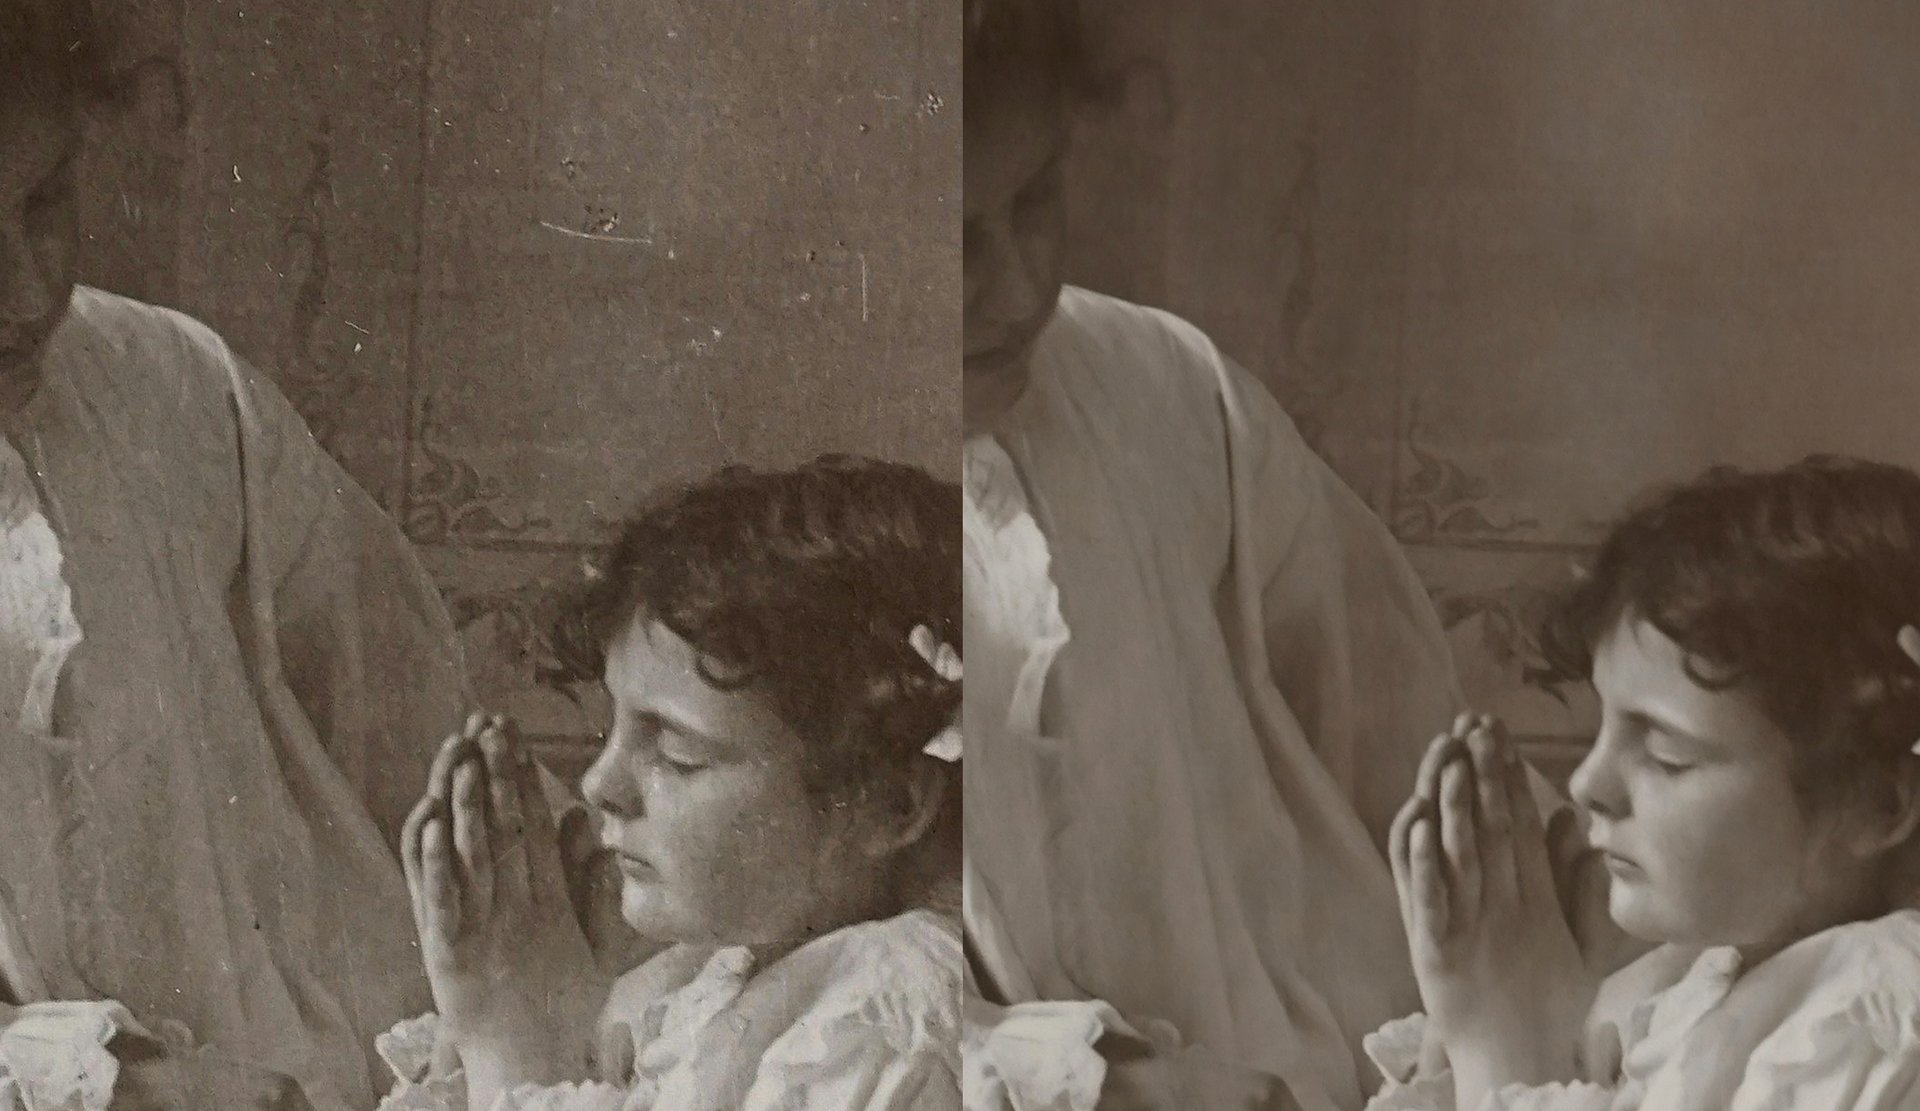
Of course, we have to show off the new model with some examples. Click here to download images for testing. Before and afters with Dust & Scratch v2:


Known Issues

  • Dust & scratch v2 local processing for NVIDIA 4000 series and Win ARM not working. Please use cloud render instead

Changelog

  • Sharpen - Portrait model
  • Adjust Lighting v3 model
  • Dust & scratch v2 model

Lingyu Kong
Technical Product Manager
Image AI

8 Likes

Hi Lingyu.

What a fantastic idea similar to Adobe allowing everyone access to the Beta versions thank you very much appreciated :+1: :+1:

3 Likes


Sharpen has tile problems, it leaves marks in dark areas and, like Wildlife beta, displacement can occur.

I don’t mind this in wildlife or nature images, but if marks appear on clothing etc., the model is unusable for me.


Model output is broken.


is an 8-bit model, it is logical that tone value breaks occur with an accuracy of 8 bits.


Value breaks.

The breaks are so severe that they can be clearly seen in the histogram.


input


Extreme angle in curves (manual), no breaks thanks to 16-bit processing.

3 Likes

I haven’t yet tried this new version, yet, other than to see if I could use it with RAW photos directly imported from Lightroom from my Canon EOS R6 Mark III. I must tell you how disappointed I am that 3 weeks after it was released, you still don’t have drivers embedded in this software. I’ll certainly be testing with my R1 and my R5 Mark II, however.

Thanks, I shared the feedback about the Sharpen and Adjust Lighting model with researchers.

What hardware are you using for processing Dust & Scratch v2? Is the driver up to date as well?

RTX 4090 - NVIDIA Studio Driver 591.44 | Windows 11

Yes, most actual Studio driver.

Hi.

Topaz use a third party RAW Library from LIbRaw so, I’m afraid until LIbRaw updates it’s library to include the Canon EOS R6 III it’s basically out of Topaz’s hands having said that, Topaz do regularly check for Camera updates and as soon as one is available Topaz will add it to the next release

Here’s some information about Camera Support

Here’s a for the latest LibRaw list

Hope this helps

3 Likes

Sample of Topaz Photo Beta Memory.txt (441.9 KB)

Sample of Topaz Photo Beta.txt (2.9 MB)

I’m running the beta on a 2024 24” M4 iMac with 32 gigs of RAM on Tahoe 26.2. I was initially surprised to see that the beta took up substantially less space on my drive than the latest released version. When I ran my first batch of 94 images, the process went smoothly and the results were excellent. What caught my attention was that App Tamer (a resource monitor) alerted me that the beta was using 98 to 100% of the CPU. That was substantially more than in the release version. To illustrate the CPU and RAM usage, I let the Activity Monitor take a sample of the running processes. Those are the attached text files. So far this beta of a future release is looking good, though the CPU usage needs to be considered.

1 Like

Win 11 Pro desktop PC. Phot 1.1.0.2b. Standalone. NVIDIA RTX 5090 processor - current Studio driver.

Test image: Baby - .jpg orig. older photo. Wispy hair on forehead. Large eyes. Image was soft to start.

  • I ran Denoise, Sharpen - Portrait, Upscale - High Fidelity 2:

    • Impressions: Sharpen - Portrait is too aggressive. Needs to be dialed back for more gradual sharpening across the full span of the slider bar. By just over level 14 the kid’s eyes were “breaking”. I had to dial Opacity down a lot. I would have tried the “Wildlife” filter for the kid’s hair and eyes because even though it ended up not getting the Wildlife/Fine Details designation afterall, it’s very good for fine details…

  • Added a Color Balance Layer: (Subject only)

    • Impression: I find the Temperature slider worthless (as noted in previous closed betas a while ago). It should go back to how it used to be with cool → warm color indicators at opposite ends of the slider to show users which direction cools and which warms. The numbers that are in there now are meaningless and useless (as noted in past). I wouldn’t even be a fan of Kelvin numbers because they wouldn’t automatically be meaningful to a lot of users either. But at least they’d mean something vs the integers that are in there now. The blue → yellow scale (colors showing) would be the easiest to work with and indicative of which way to pull a slider handle.

  • Other Impressions:

    • Still not at all a fan of the “accordion” pop out controls panel. Really really dislike that (have all along). Just want the controls and filter options to stay in the very vacant righthand panel and be openable and closable with carets that rotate from sideways to down (to expand). And lose the Add a Filter. Just click on what’s desired and it adds a layer. And I’d like the option to control whether they all stay open, all stay closed after moving to another panel or some mix (most frequently used panels stay open) - just like is possible in Adobe Camera Raw.

    • The Order of the Upscaling Models is totally screwy (I’ve also mentioned that in past closed betas). Seems as if Standard v1 then v2 should come before Standard MAX if Std is less intense than Max. Then Low Res, then High Fidelity 1 ,then High Fidelity 2 and finally, Graphics (because that gets out of the photog category). It’s totally convoluted and mixed up and illogical now:

    • Standard industry location for Export buttons is lower right of UI’s. (It’s sort of like GAAP - generally accepted acctg practices).

6 Likes

Thank you. We are working on a fix for the 40 series.

1 Like

I just tried the dust and schrath version 2.

I am finding it very efficient but it’s still annoying it sometimes remove very existing details. Will it be possible to have a strategy to preserve some part with these details. Currently the minus option for the additional damage to restore (ALT KEY) looks doing nothing so would it be a way to preserve some details ?

here the example the golden chain on the the skin was remove

Dust & Scratch v2 is very much improved. My use case is on scanned negatives and slides, some with long horizontal scratches that occurred during film advance due to dirt or camera damage. For scratches that are at least readily apparent, D&S2 is quite effective at find & fix. For scratches that are less obvious, ranging down to faint, it has trouble detecting them. If they’re faint, manual touchup doesn’t work well or at all.

This kind of scratch, regardless of its severity, is always within ± 1° of horizontal (because film advance mechanics). If D&S training could include that parameter, it would increase its ability to find faint film transport scratches. Any chance of incorporating that in training or as an explicit user-supplied input?

2 Likes

Both the Dust & Scratch and the Spot Healing functions need an editor that lets you be selective where/when you may want to reverse the removal. The post process editor’s undo function that is provided indicates that this is possible, as long as you are willing to reverse everything sequentially. It does not provide any way to protect/restore parts of the original that got zapped in the initial application, or to fix an individual edit back in the early part of the sequence. Since it automatically tries to process the edit as soon as you mark out a small area, doing lots of edits is constantly interrupted by the refreshing process. These delays get progressively longer as it holds more and more discrete areas in memory for the undo function. It would be nice if it could just wait until you click done before processing, to provide time so the right click depainting function could be used to remove inadvertent selections before they get applied.

For example, try applying Dust and Scratch and then additional edits to this image to remove the proliferation of small black scratches that it ignores. If you don’t get everything perfectly right on the first pass your editing options to correct it are pretty limited. Dust and Scratch also goes aggressively after the exhaust streaks, and there is no way provided to restore them.

@michael-3397

Thanks for the feedback. Will be exploring ways to make the dust & scratch model better at keeping important details and how to deselect areas that you would like to preserve from the original.

Sounds like the behavior of the spot healing is getting in the way of how you want to use it as well.

1 Like

We just released v1.1.0. Please try the models in the latest version, we will continue discussion on the new post!

1 Like

@art-7604 -

We released v1.1.1 and would like you to test your native RAW CR3 files in it for your R6 Mark III, let us know how it goes and send us details if any issues remain - at support@topazlabs.com

Topaz Photo v1.1.1
Windows: Download
Mac: Download

1 Like