Yes like that since 0.1
1 Like
I’m using a Sony RX100 M4 and I have exactly the same problem with camera profile. I do not see any color cast though when I open the (by Photo AI) processed DNG file in Lightroom. The image look the same as the original, except for geometrical as camera profile is not recognised by Lightroom.
I also discovered another issue: When I applied sharpening on the same DNG file in Photo AI I came up0 blue stripes on the preview, but not on the output file.
I can also provide files and screenshots if required
MacBook Pro 15-2018 2,6GHz i7 Radeon Pro 560X 4Gb - Monterey 12.5.1
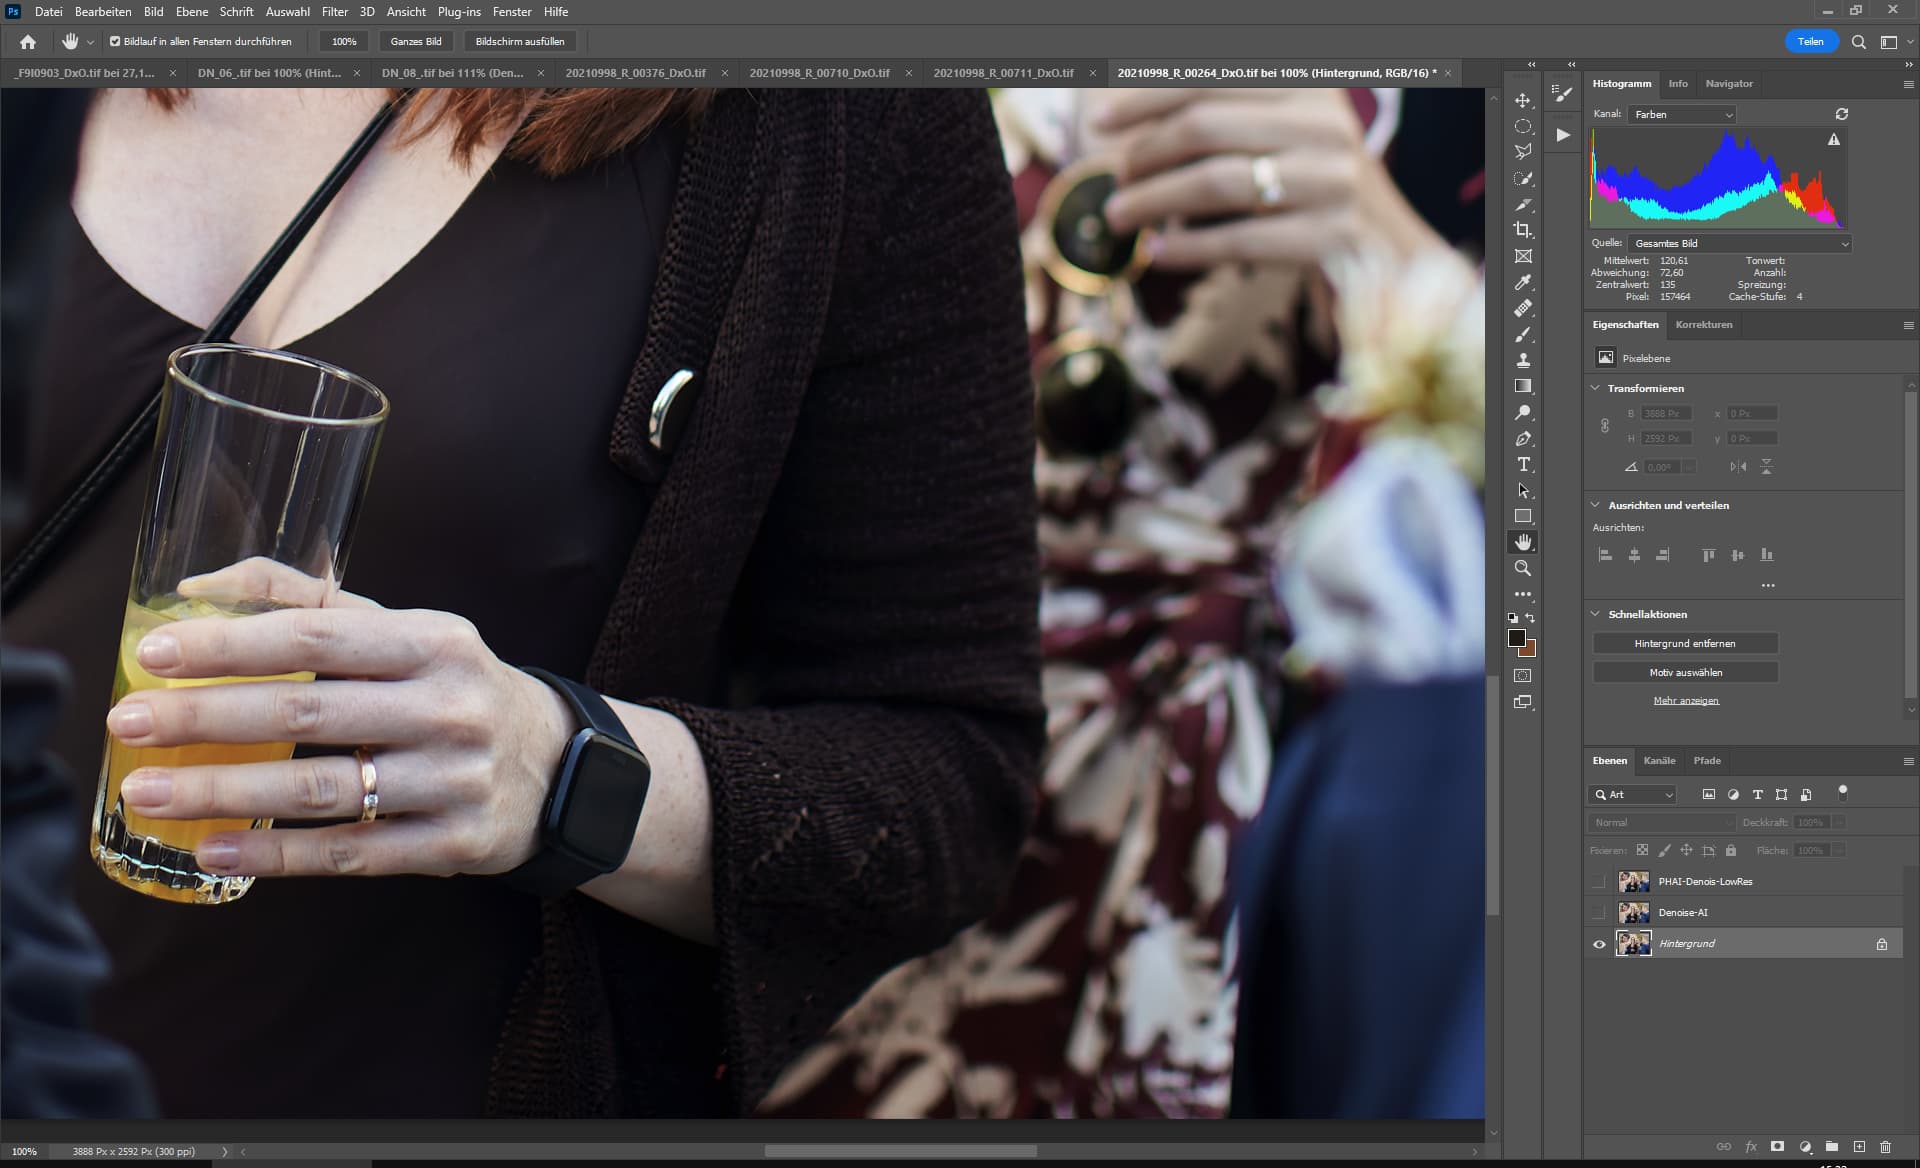
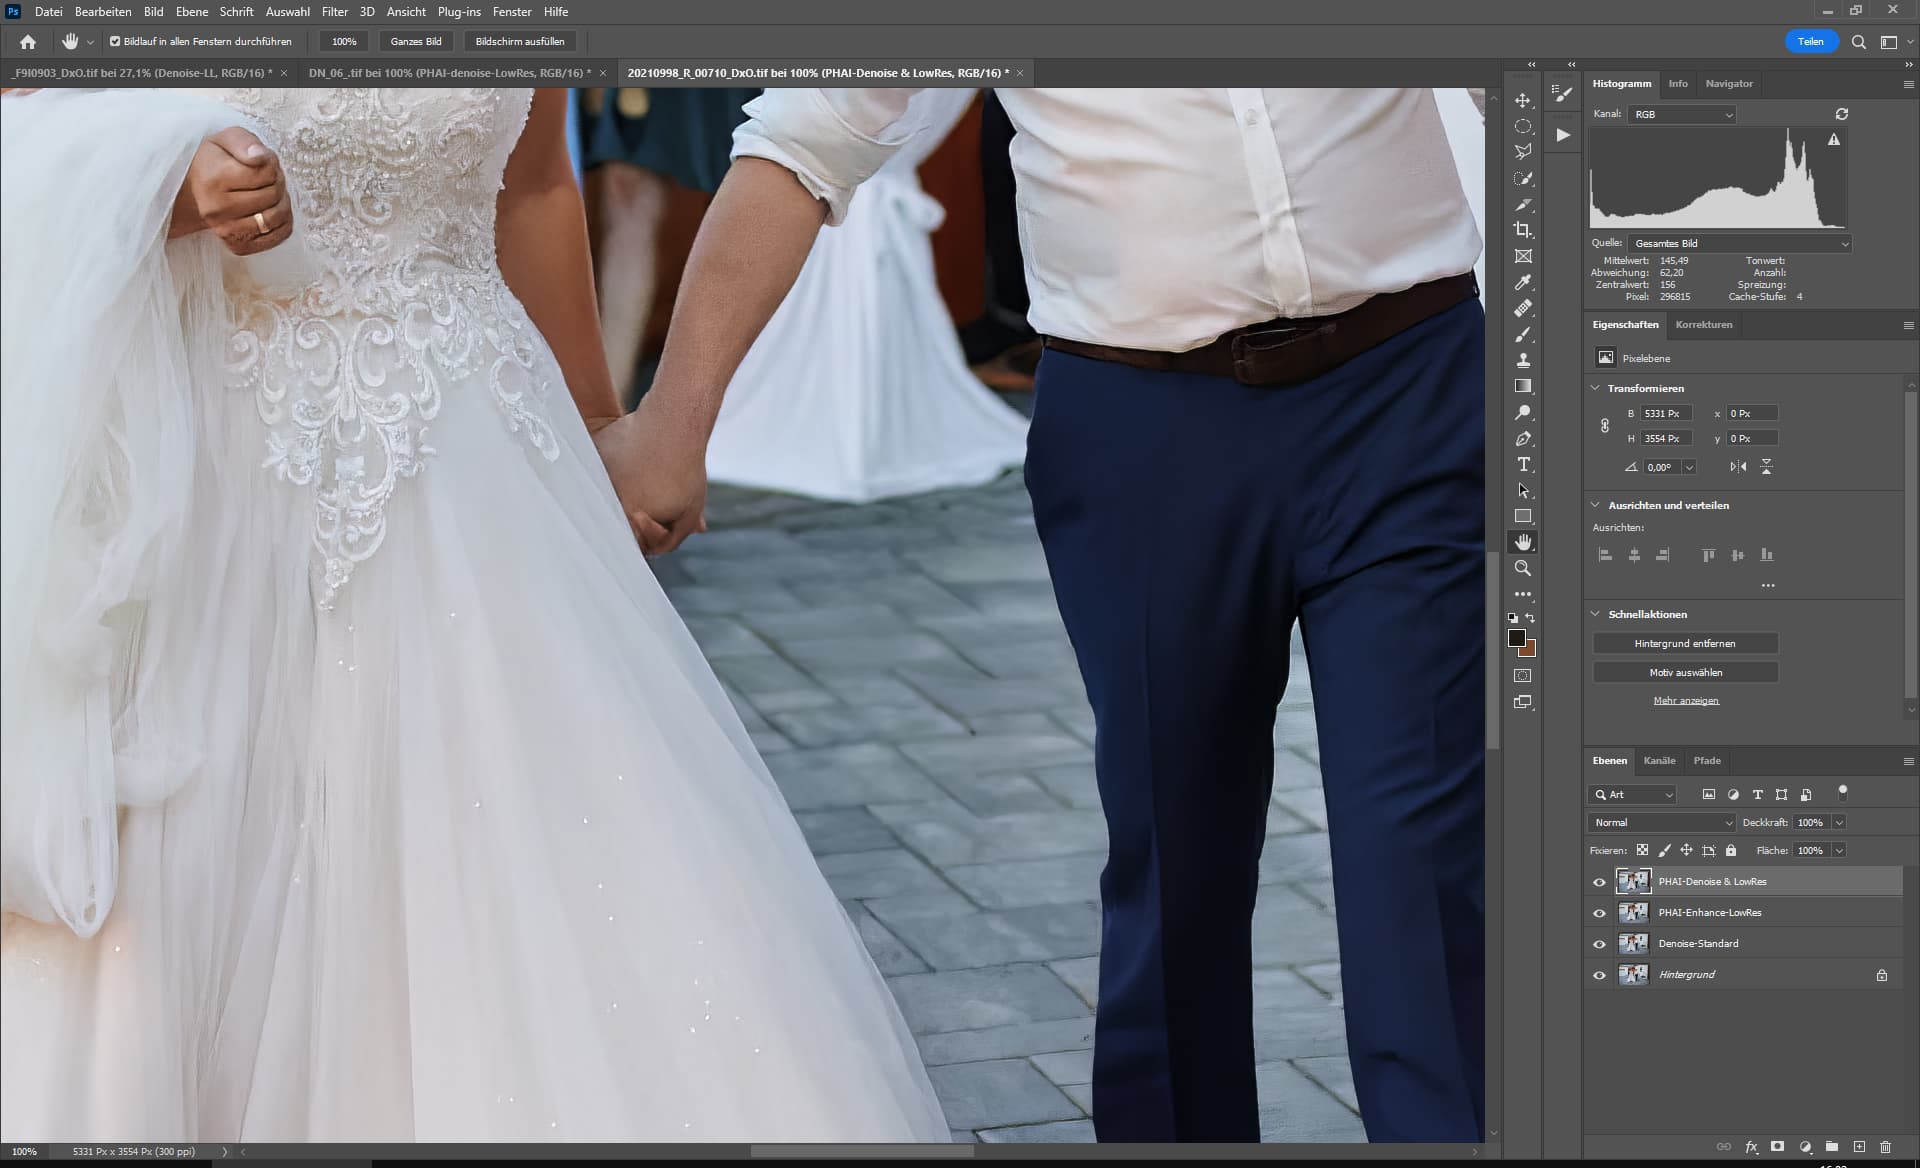
Prologue: Here only the plugin in Photoshop was used.
Bug: You have to click into the image beforehand so that it works correctly afterwards, otherwise it is recalculated every time.
Bug: Enhance LowRes: has problems with red colors, they get a color shift.
Notice:
I forgot, in PHAI you have the possibility to stack filters, as I always do in Photoshop, the result can be much better.
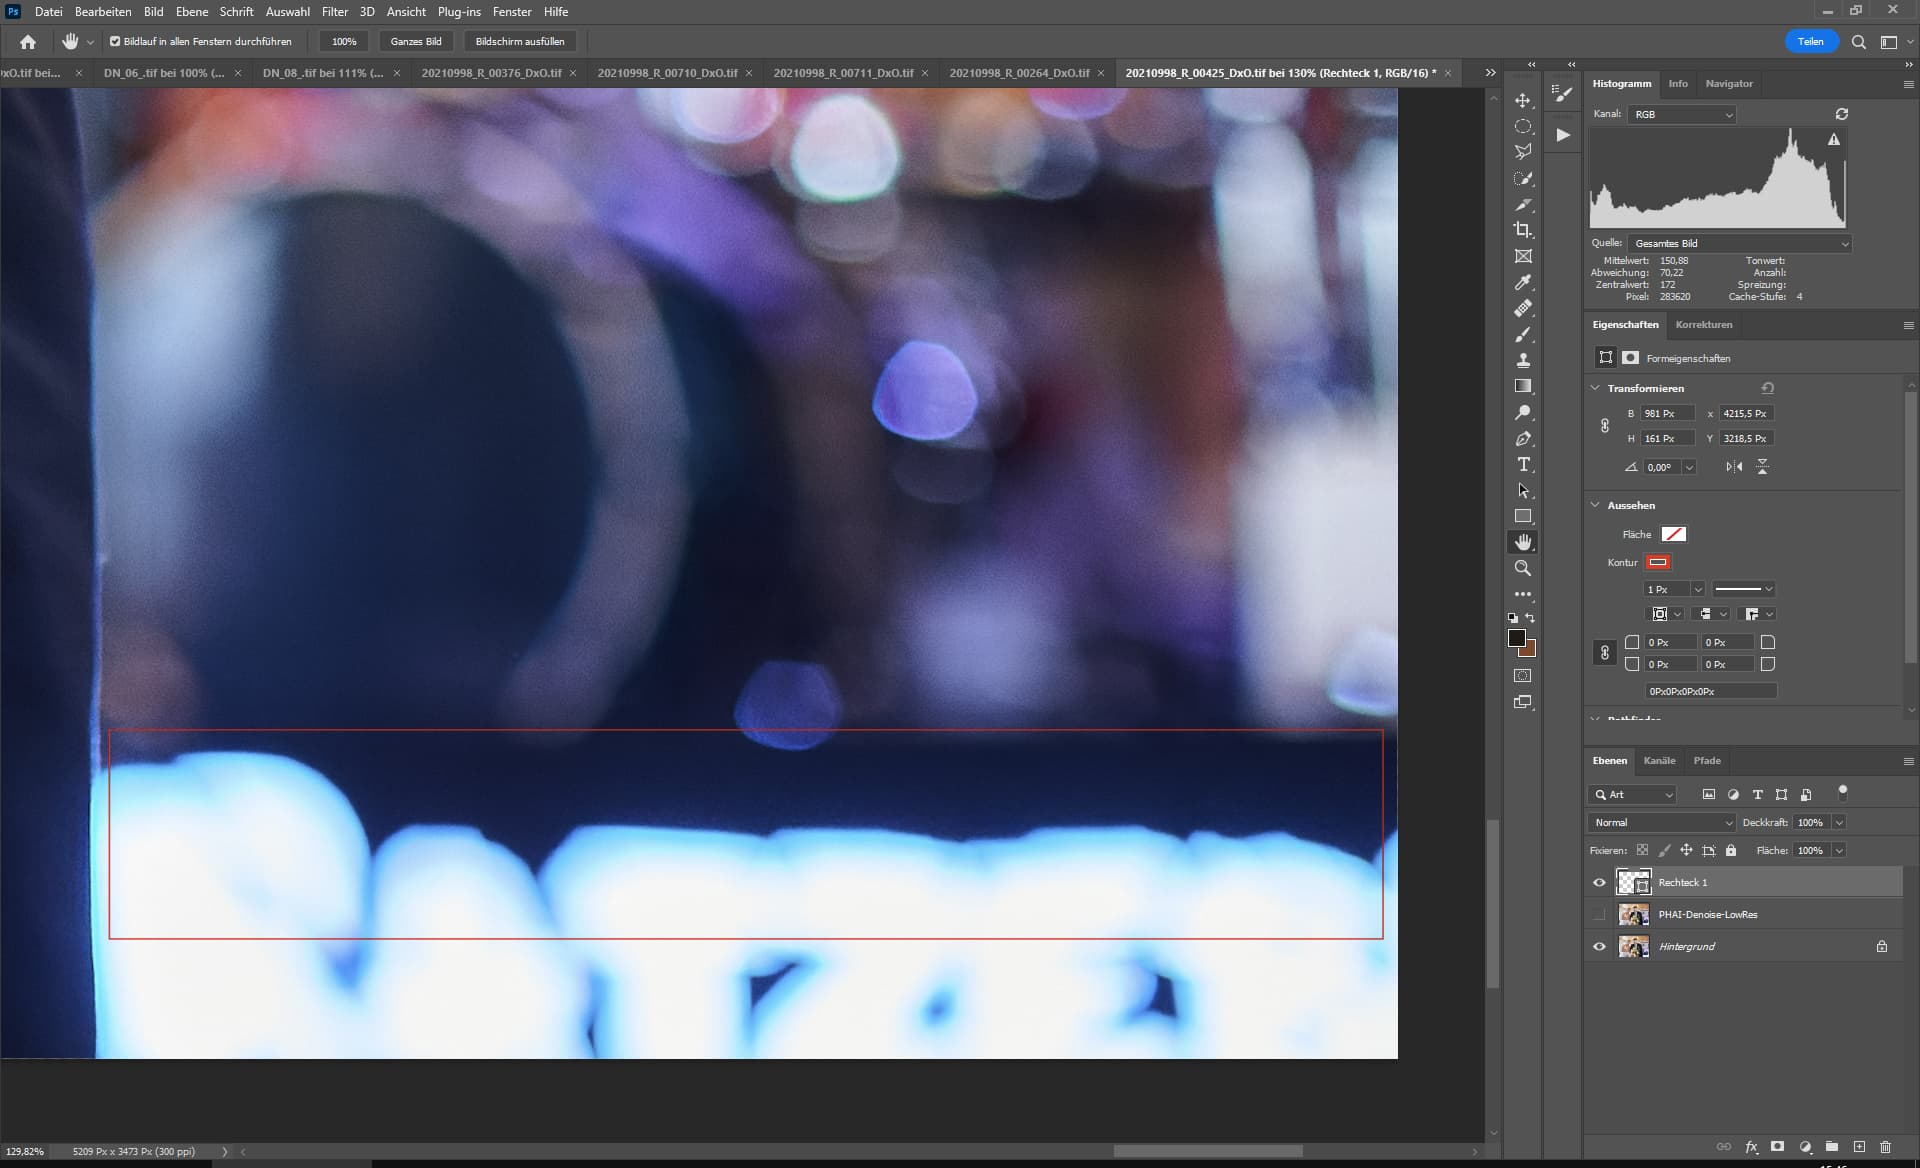
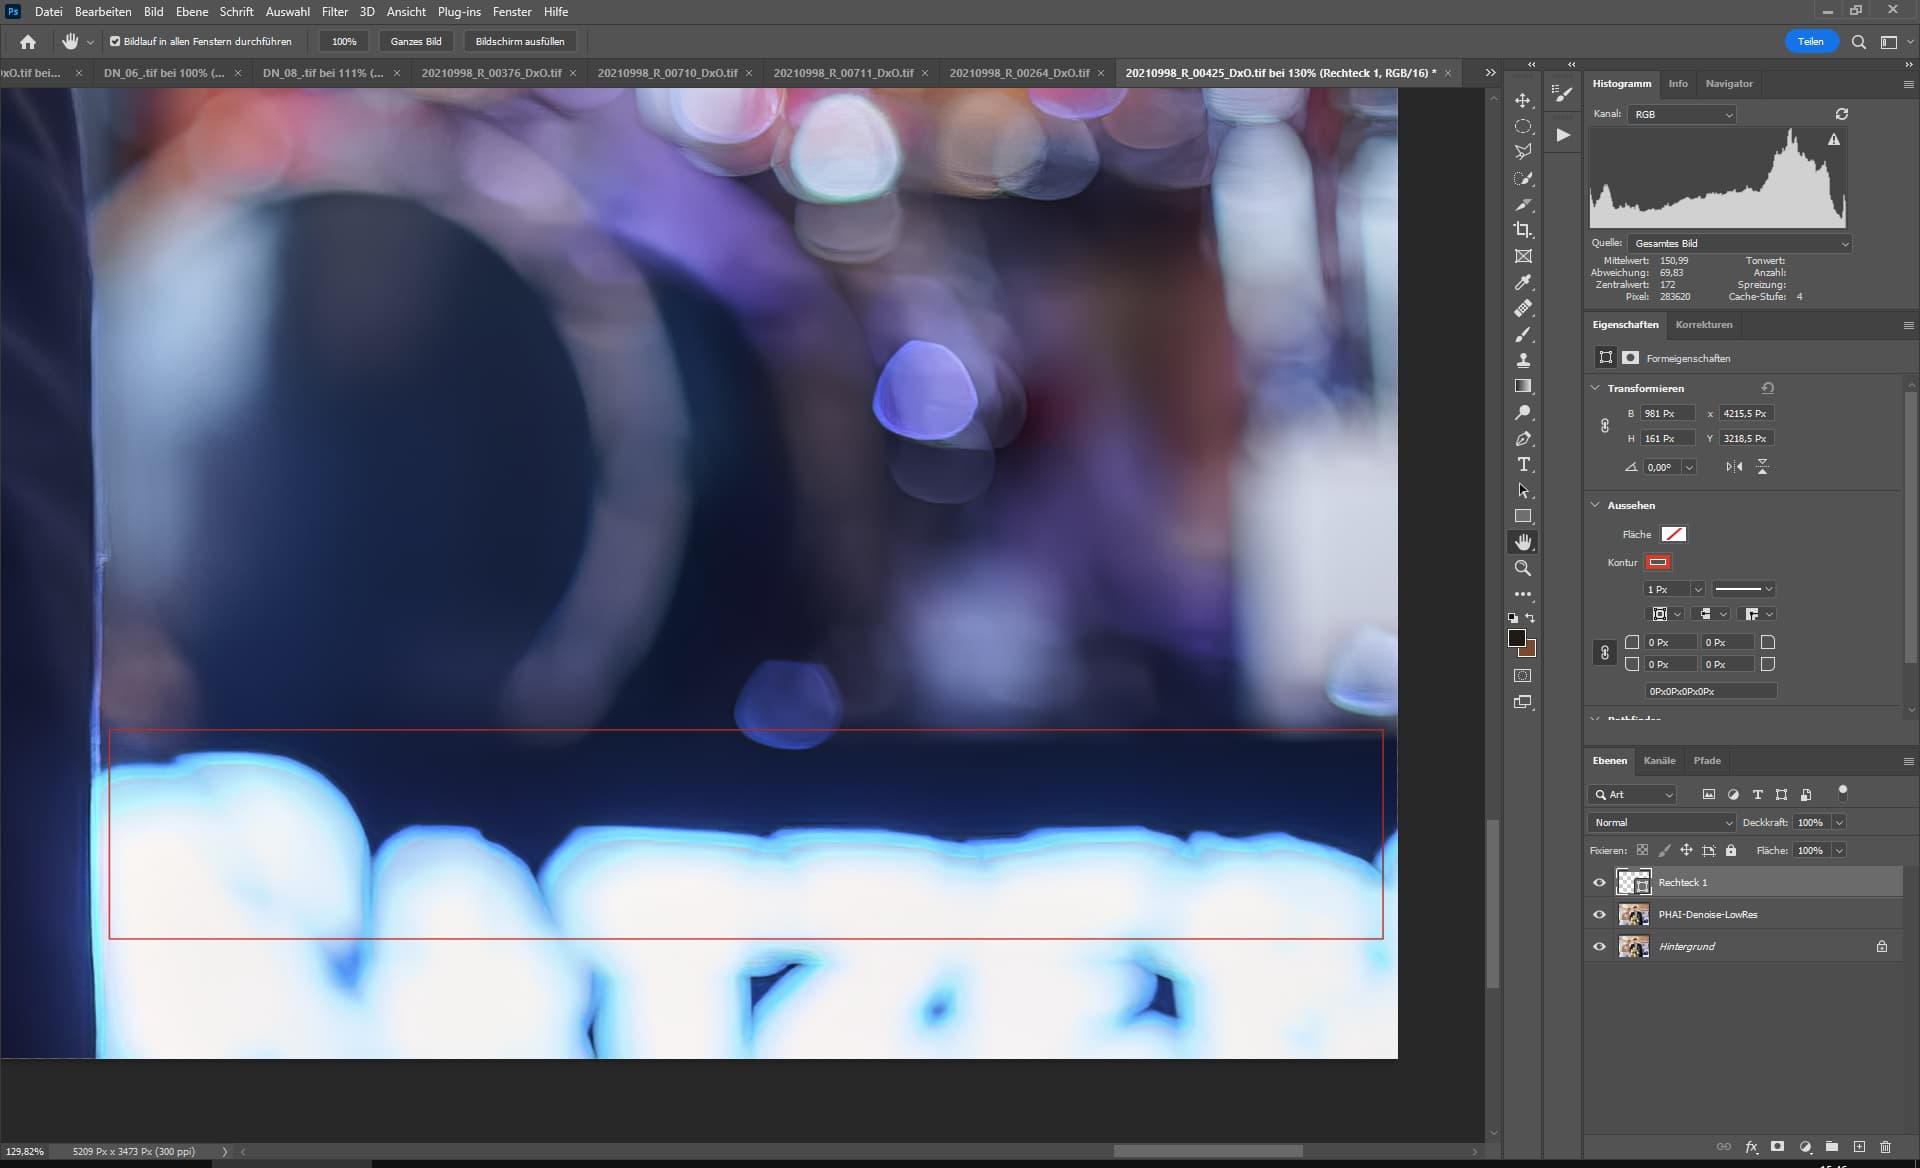
However, no areas outside the focus range (in the bokeh) should be sharpened.
This also includes faces and their enhancement filters.
Otherwise it will look artificial.
Update I: Since we deliver the images in 4K resolution, the effect of background sharpening is not as dramatic as first thought, but it should be reduced to prevent errors.
Update II: It is not Enhance LowRes that causes the background sharpening problem, it is PHAI Denoise, which brings us back to the topic of manual influence.
The face enhancement filter can also save noisy faces, and quite dramatically at that.
Which is why I’m starting to like the function outside of enlarging images.
It would be great if the mask would be displayed additionally in the navigation window.
Notice Update:
If I had the possibility that I can influence denoise in PHAI to influence how enhance gets the image, then that would be super mega because I would then have an advance that I would not use via actions of Photoshop because the effort (time-wise) would be too great for me to run that.
The progress I would then get with noisy wedding photos would be so great that I would use PHAI there.
Provided that the behavior goes away that blurred backgrounds or areas are sharpened.
I find this also interesting for normal users, because then they also have the possibility to use stacked filters without having to know much.
At Capture One on instagram, the users were also recently very taken when a photographer has shown how he works on shadows and highlights of images differently via layers and masks via luminance selections.
Idea:
What if Enhance would get downsampling options?
At the moment we have 1x with 1x output, interesting would be 2x with 1x output.
I always find it strange when it sharpens in the middle of an image even though there is nothing to sharpen.
Enhance with LowRes.

Original
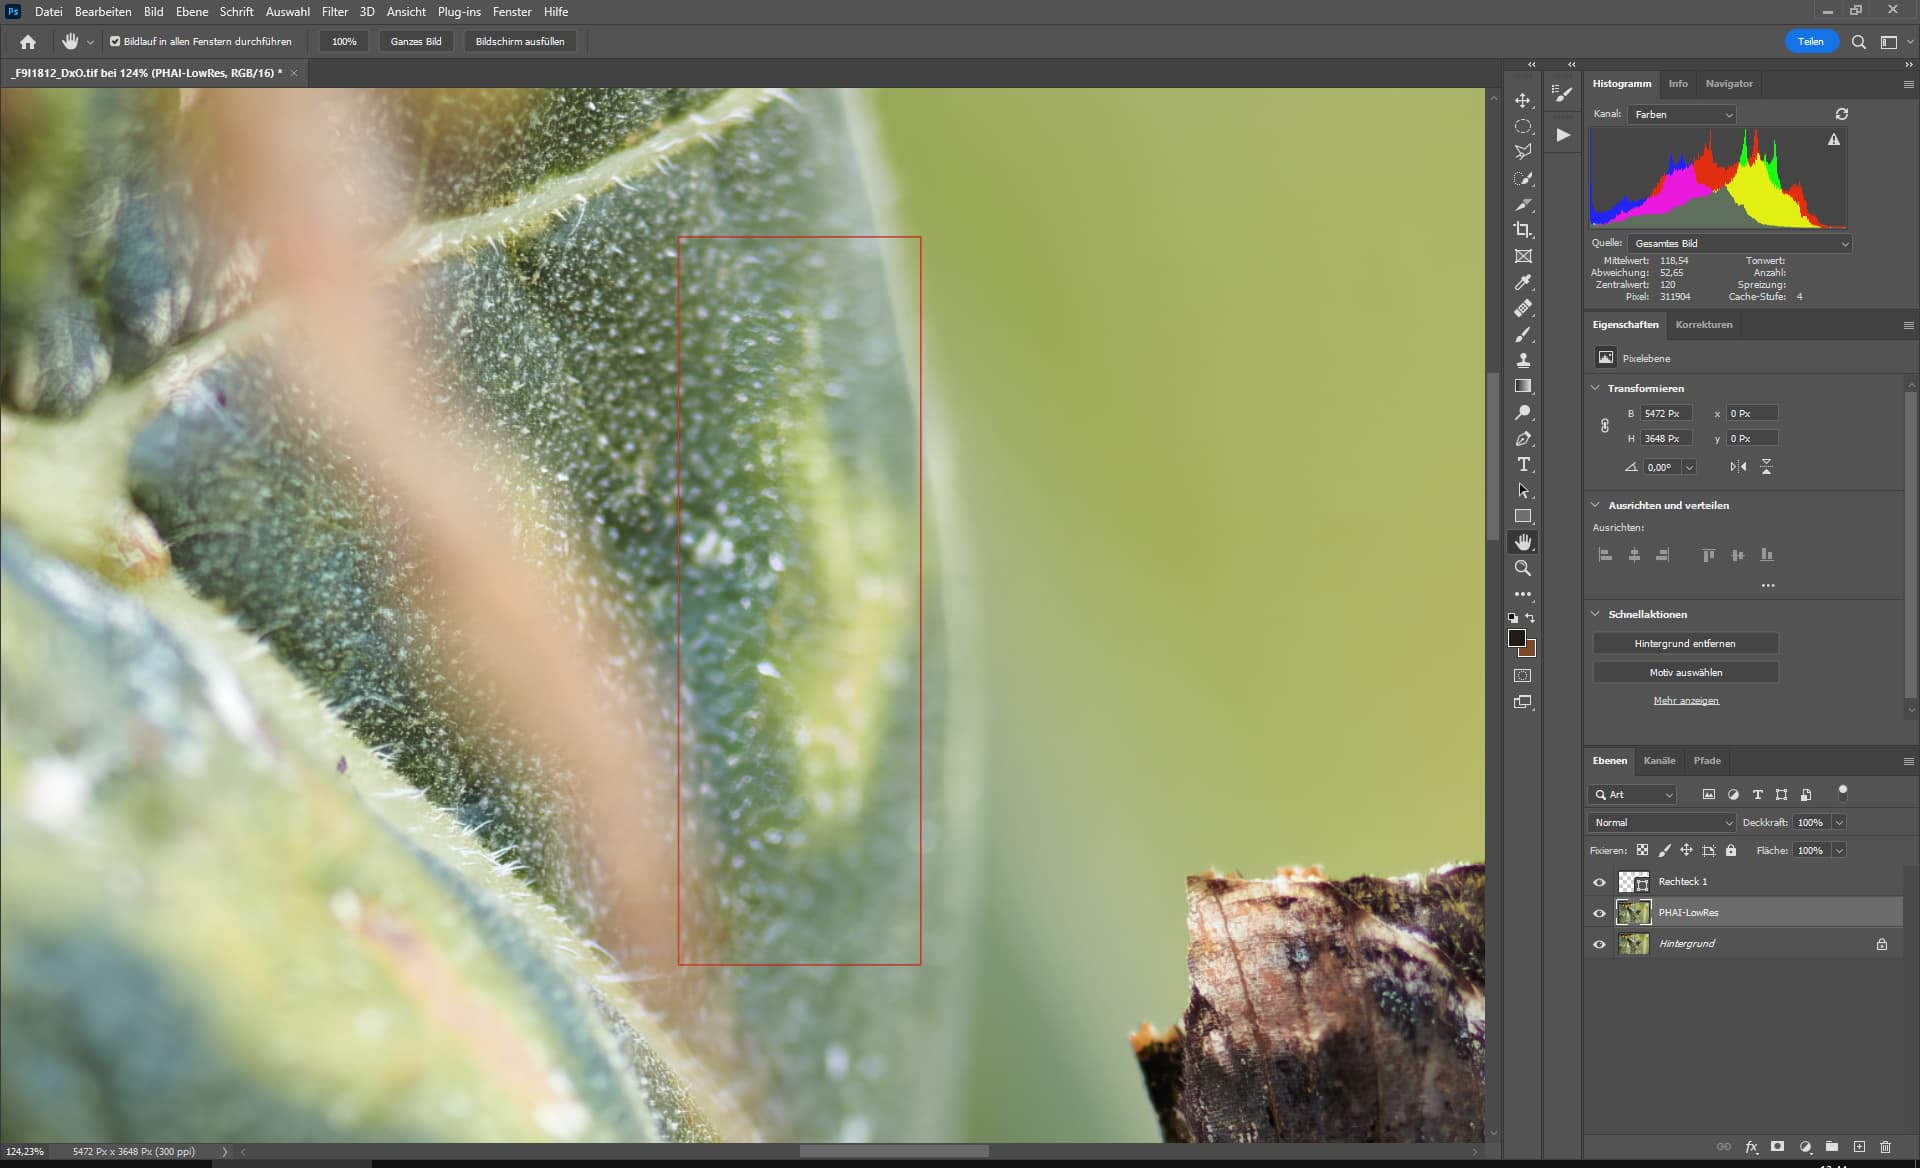
Photo-AI LowRes
Compared to LowRes, PHAI-Denoise is really bad here, no version of TopazLabs has been able to denoise this image so well while keeping the details.
Yes there are still problem areas but this already looks very good, I wish LowRes would keep the patterns better, because it merges them into lines.

PHAI-Auto-Denoise
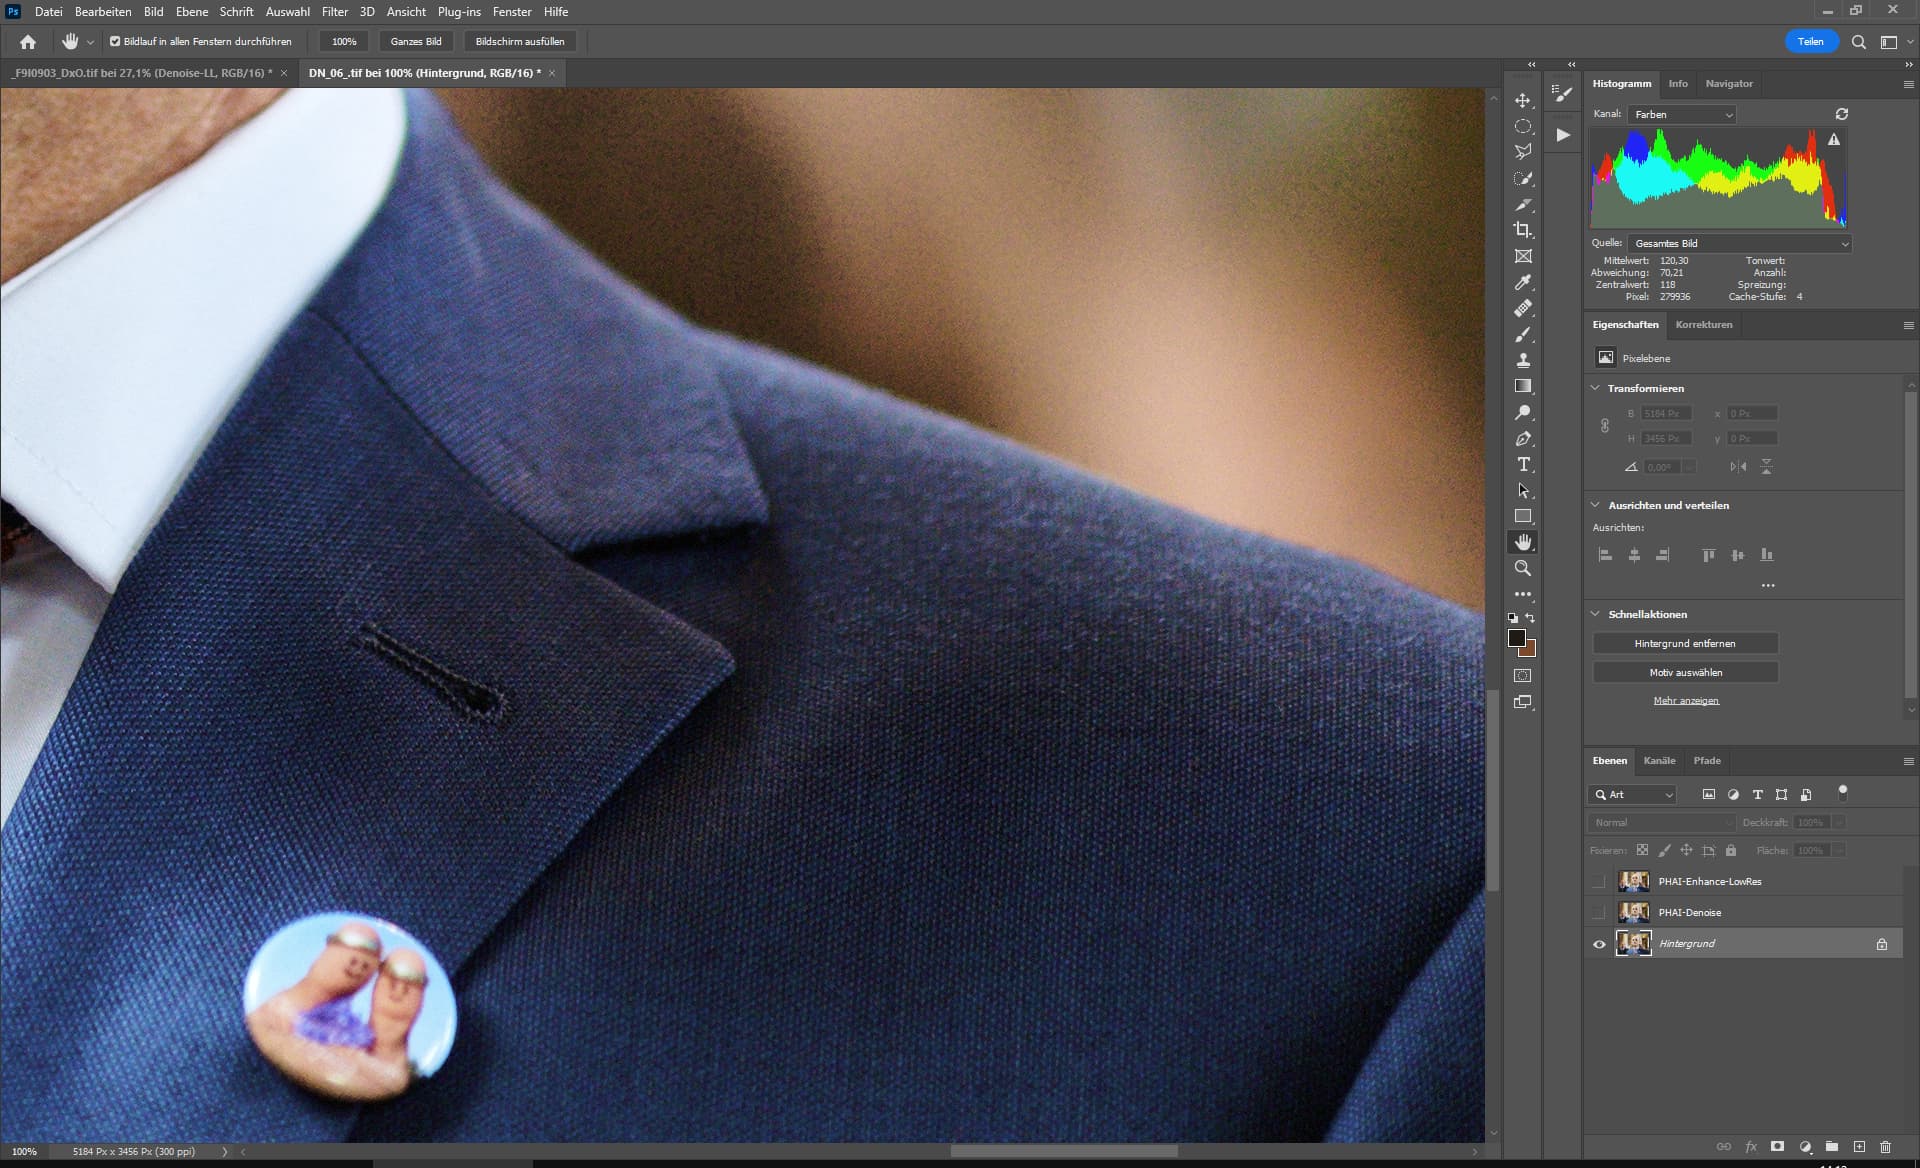
Original

PHAI-Enhance-LowRes
PHAI-Auto-Denoise

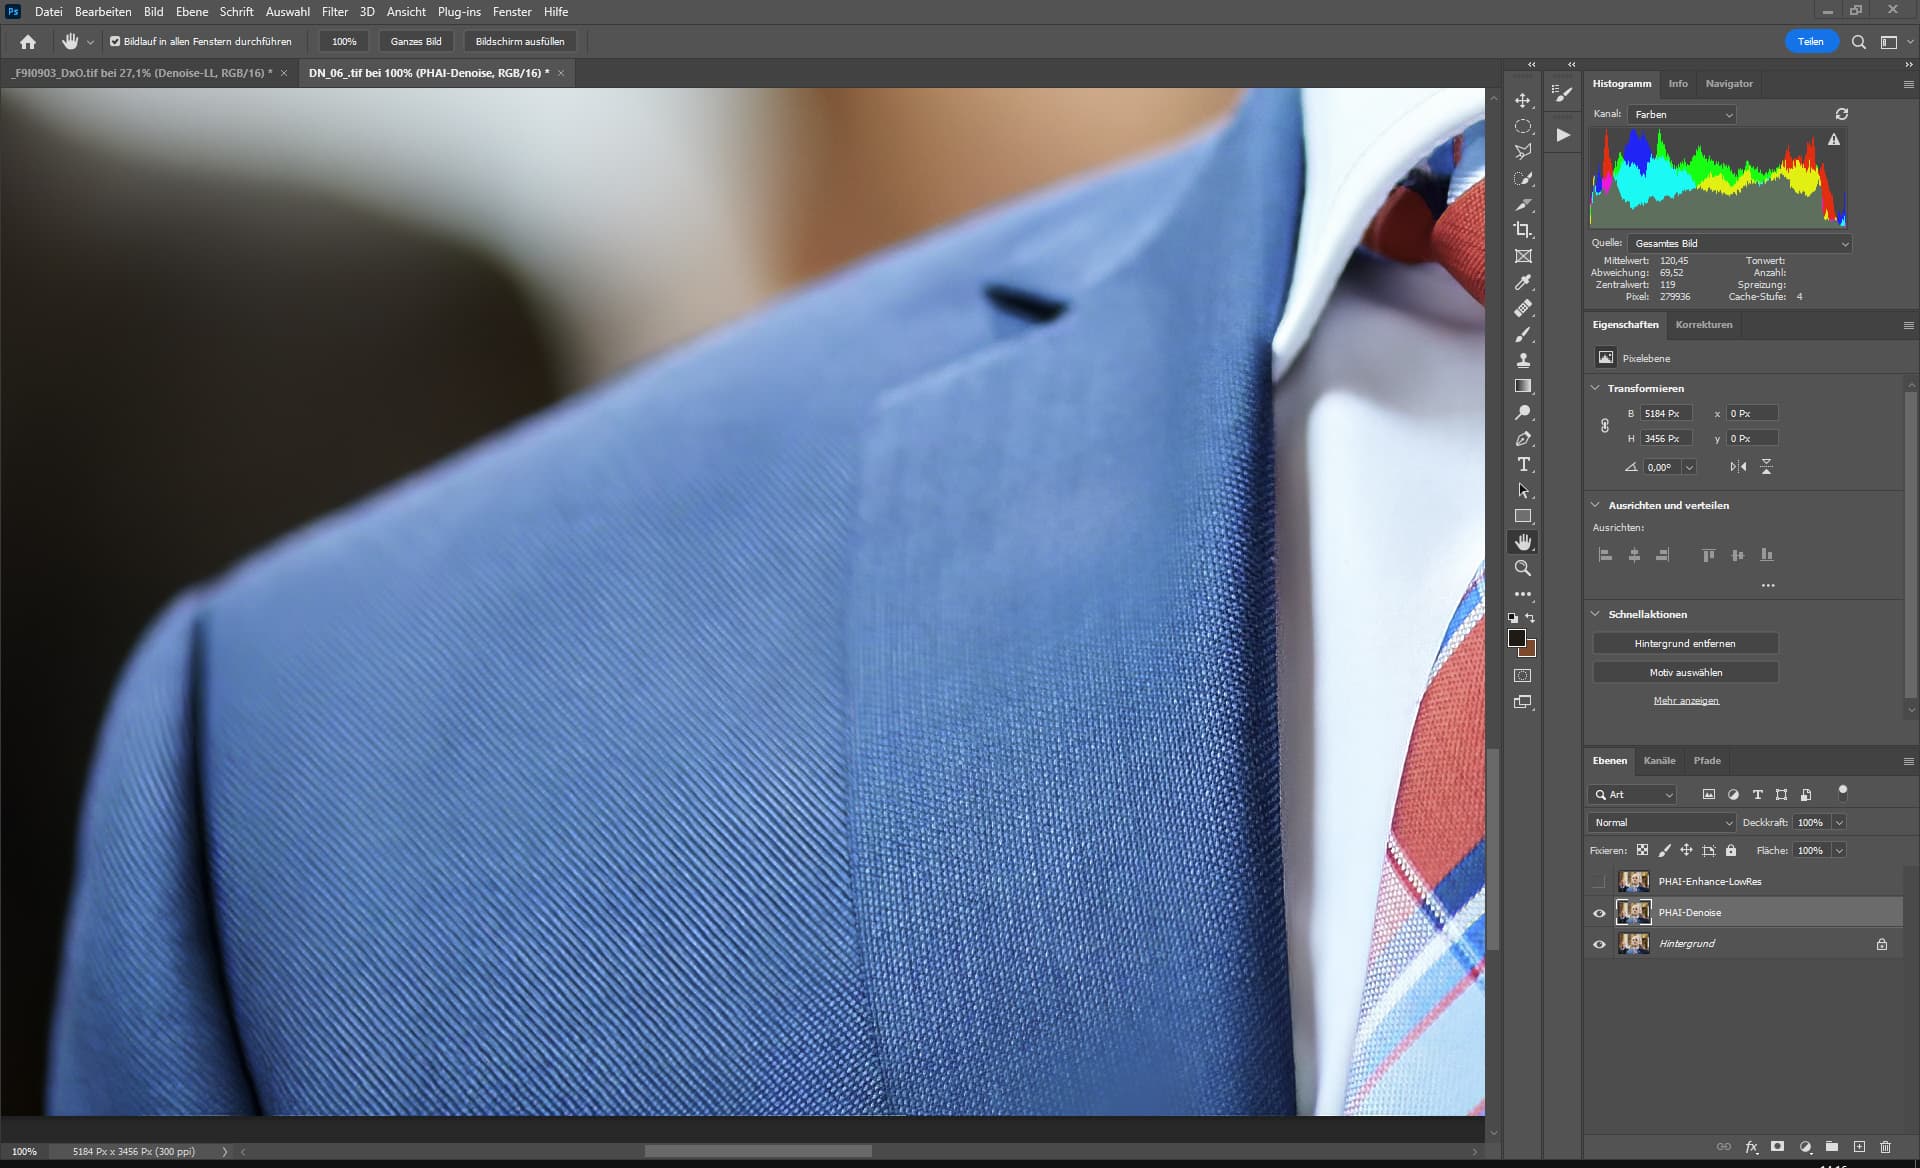
Original

PHAI-Enhance-LowRes
If the noise becomes even stronger, LowRes fails, it then no longer manages the color noise.
Here, the above-mentioned problem with the blurred areas that are sharpened by Enhance LowRes.
Notice: Who wonders why I denoised this picture.
You can’t sort the images by any values, that would take too long (you would have to look at them all individually, up to 1600 images), that’s why we do the enhancement of the images with all of them.
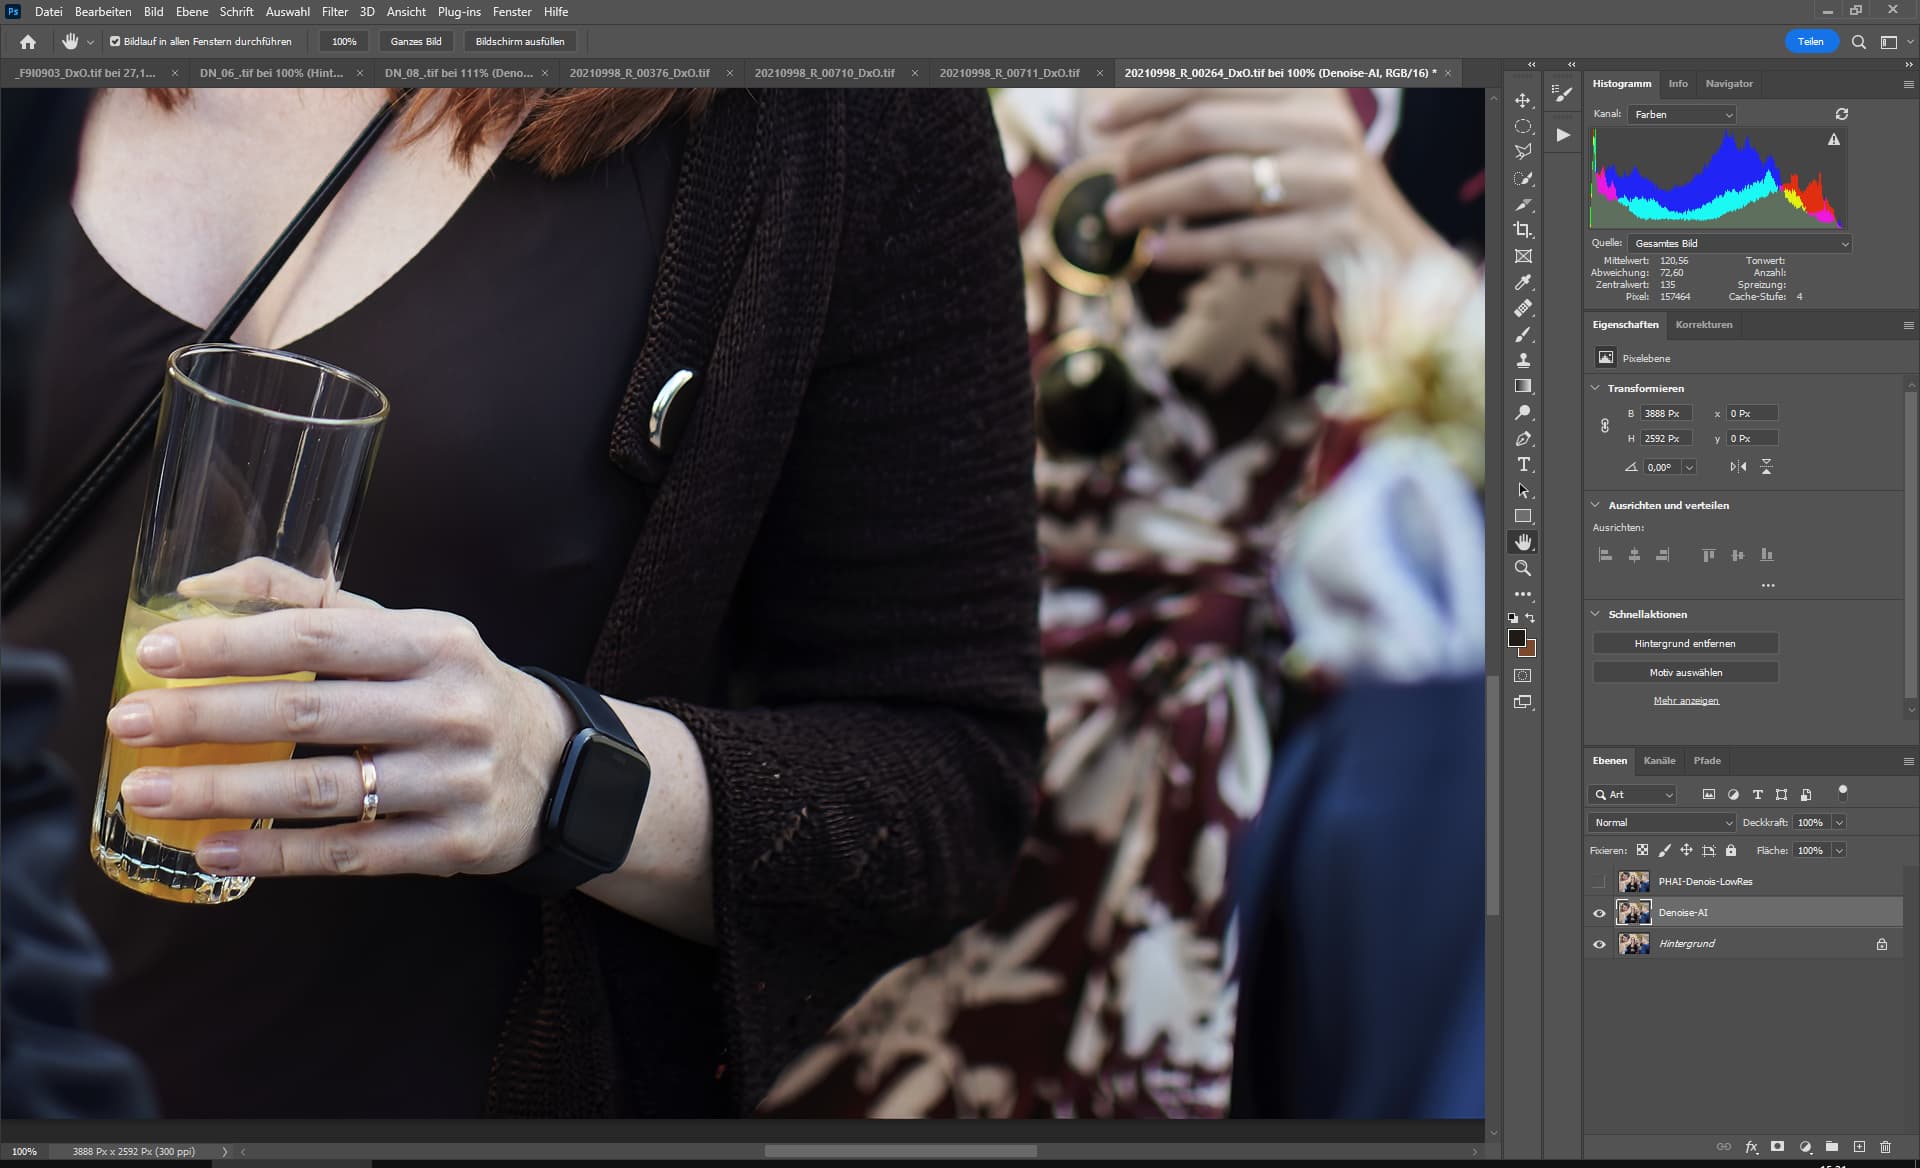
Denoise-AI-Standard
Original

PHAI-Denoise (Auto) & Enhance LowRes
**Bug:**PHAI Denoise can lead to tonal value breaks, like the problem that exists in Gigapixel right now.
Original
PHAI-Denoise & Enhance-LowRes
Here is a comparison between Denoise AI - Standard, PHAI- Enhance LowRes & PHAI Denoise (Auto) Enhance LowRes.
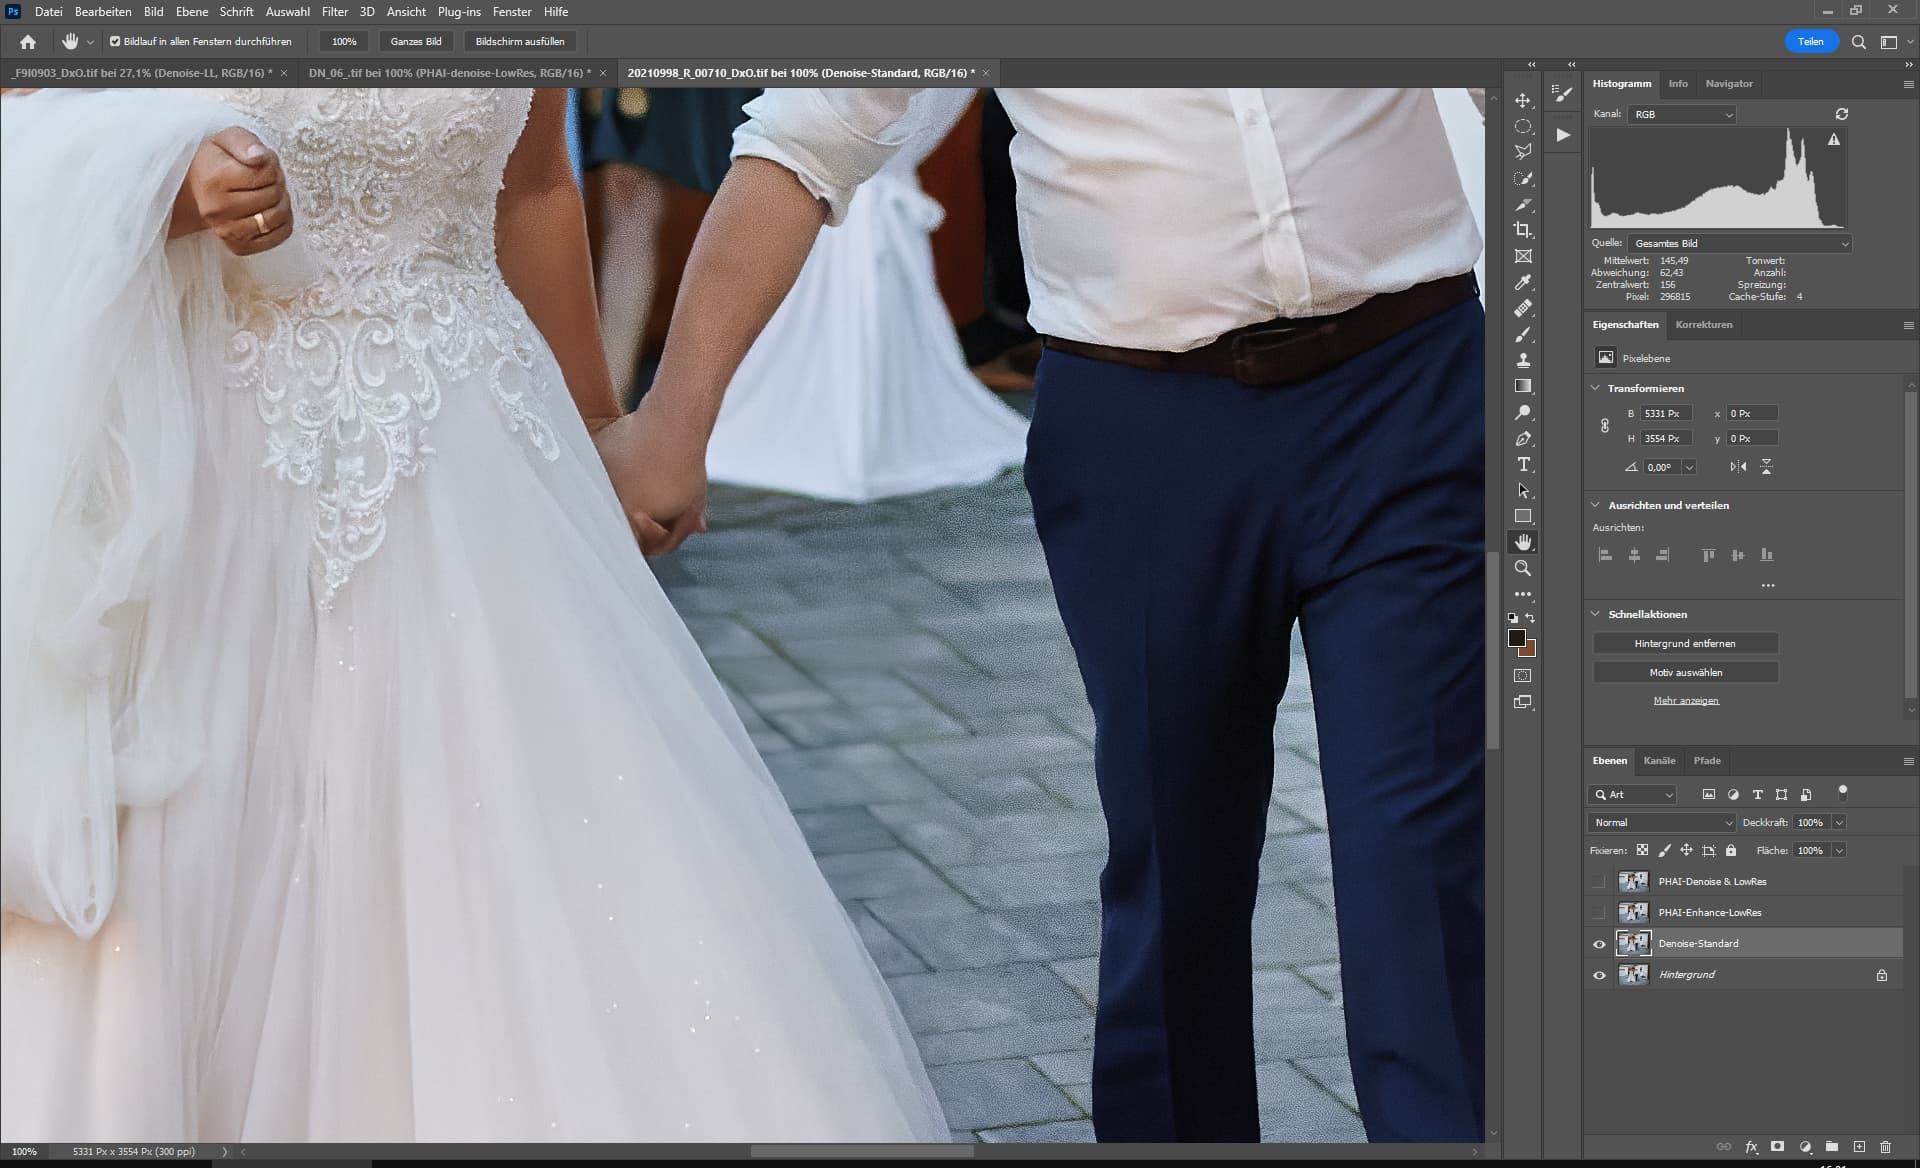
Denoise AI - Standard - Yes that has areas with total failure, however, you do not have to fear that as with Denoise AI details are lost.

Original → The noise comes from DxO DeepPrime, the image was processed with Capture One (here sharpened with 0.2 at 500%)
PHAI Denoise (Auto) & Enhance LowRes

PHAI - Enhance LowRes
So now my eyes and brain fall out from seeing and thinking. ![]()
![]()
3 Likes
Hi Anthony,
Awesome work! Are there any plans to add the PS_Plugins_x64 plugins so it can be used with Affinity Photo? Thanks!
Good catch… PAI is indeed saving the file back to the proper folder in LR but is not synchronizing the catalogue for that folder…
And I can see why… LR creates/sends a .TIF file and PAI sends a .TIFF file back… Note the difference in extension .TIF versus .TIFF
1 Like
Exactly the same problem here in W10 LR Classic latest version. LR generates a TIF file, and Photo AI saves a TIFF copy. After syncing, the Photo AI version shows up.
1 Like
I just installed version 0.7 and sent a Nikon (NEF) file from Lightroom to Photo AI (as a tiff). It removed the noise but did not add sharpening. When I applied this myself and then selected Save to Adobe Lightroom Classic, the image would not save with adjustments.
I tried closing and reopening Lightroom, restarting my Windows 10 computer but had no luck. I also tried saving only having used the Autopilot settings but again with no luck.
Just saw other posts about the same issue. Sorry for the duplication.
MAC M1 PRO, 12.5.1
Capture One 22 15.3.2.11
C1 edit with function create a .tif file and opens it in Photo AI. After editing, Photo AI saves the file but in tiff extension, not in tif as the original file was. So it does not overwrite the file and it does not appears in C1.
In 0.6 it worked fine.
1 Like
Check the folder (original file folder, which sent to photo ai) and the file extension. If you send a .tif file Photo AI will save it in .tiff and does not appear in the editor. Same problem with C1 after installed 0.7.
So, @anthony.lawn, are we going to get an ‘advanced’ option to disable autopilot? I am still holding out hope that I can scale images by 2x, apply the enhance-natural filter and do all of this in batches. Thanks!
1 Like
This. There is a major advantage in workflow with this program for batch processing large numbers of files…but it almost seems that the autopilot settings have increased aggressiveness with denoising than the initial version. The auto settings on the regular versions are also too aggressive. Sometimes I need to batch process a large number of files from a festival shoot and I need to be able to have a little more control over the denoise function to avoid artifacts.
I don’t usually process images in batch. But your comment & David’s prompted me to load a small batch (4) of images to see what happens…
It seems as if each image must be processed individually by the AutoPilot.
Even when I clicked on the 1st image (bottom of UI) then on DeNoise to make custom settings it returned to the AutoPilot for the next image.
Strikes me that (at least) two things are needed:
1- A Preference setting (on/off switch style) in the File menu to disable AutoPilot for users who know they don’t want to even start with AutoPilot. Something like that can be easily turned on again if desired.
2- For batch process users, some way to have a Select All (images) option (or, Apply to All); if you want a common setting applied across the full batch (which if you shot in a certain light or at a certain time in a certain place seems that similar settings should solve any capture issues en masse). Versus having to set up each image individually with its own settings.
Exactly. “Apply to all” after setting parameters once would make my life a whole lot easier (not that that is a great reason for the setting, but hey…).
1 Like
Left computer running all day and Photo AI v0.71 eventually finished installing. It took over 7 hours.
Windows 10
Intel i7
32gig RAM
SSD
You might notice there was an ‘apply settings to all’ option in v0.6 and older but after I pointed out that on multiple images, autopilot runs on all subsequent images after you apply manual settings to the first image, they removed that option. If and when it comes back, it has to come with a ‘disable autopilot’ option.
1 Like
Sounds like you don’t load a batch that requires similar settings across the batch, then run subsequent batches that each need common settings that differ from the previous batch(es).
The A.P. on/off Pref option would be desirable. Even to users like me who don’t typically run batches.
1 Like
I have been using v0.6 without any issues and with excellent results, today installed v0.7.1. The selected photo does not appear on the screen, just a black screen.
Using 2020 MBP M1 16/1TB, worked flawlessly with V0.6, used auto and M1 accelerator, no issues.
That’s exactly something I’m targeting. My girlfriend runs on many events and the photos that are taken there are always bad, because the effort to edit all these pictures immensely takes a lot of time. This also includes the denoising.
We professionals know exactly what we want to achieve and that’s why we need manual customization options.
1 Like
I am experiencing first steps with version 0.71. 2 things: First: Is there a way to edit the mask like in sharpen AI before? If no, that is one thing I would like to see. The automatic masking is good, but sometimes needs a little editing to make it perfect. Second: The Photoshop and Lighttroom plugoins work, but when using the Photo AI plugin from lightoom, non of the enhancements are savved to lightroom. The edited picture looks like the unedited picture. It does work in Photoshop though
You really need to be able to copy settings from one image across multiple others and effectively disable autopilot. Classic use case is making a 360 x 180 Pano all 35 files need to be treated the same.