Well, Topaz Adjust used to add the “zhuzh” but they’re getting away from that type of effect for now. So I would like to see at the very least a Levels option which is way handy, but auto-color would be perfectly appropriate to go along with the other existing treatments. Such a technology could be included in Enhance if the devs want to keep the controls tight.
Otherwise you need to take the results elsewhere to finish them off. Or we can do it bass-akwards and make the tonal fixes before entering Photo AI. Neither approach should be necessary if this is intended to be an all-in-one photo fixer.
A couple of Enhancement requests:
Background: I have to enhance several hundred of real estate photos a week, (mostly interiors). I receive the photos in 1000x667 resolution from the server. I need to be able to work in batches (by folders, 1 per property).
Desired enhancements:
Be able to scale all images loaded into AI. Right now I have to do it one by one. Select all >> set the scale to 3 would be great.
Apply the LINES scaling model. That is the model I use in GigaPixel for the best results. But I don’t see it in AI
An option to bring in a folder, with subfolders, and have this structure replicated automatically for the output. eg: This Weeks Photos Sub: Property 1, Property 2… results to This Weeks Photos AI - Property 1, Property 2…
Auto Upright straightening. I do this now when importing to LightRoom Classic, but if AI could do it it would save me time. I understand this is a bit of a wish, but I would love to have it.
A fix for this was planned for this update, although there were a few hiccups that prevented it from making it in. This should be fixed in the very near future, though.
For the time being, any images in sRGB colorspace will work as intended.
The current logic for subject detection was to disregard any results that make up <5% of the total image, and that’s probably what happened here. There have been internal discussions about removing this threshold completely, or at least reducing it considerably.
Thanks Anthony - but if someone’s doing an artsy negative space type of photography then that would exclude their content… (that could include product photog, fine art, some wedding, some cinematic, etc.)
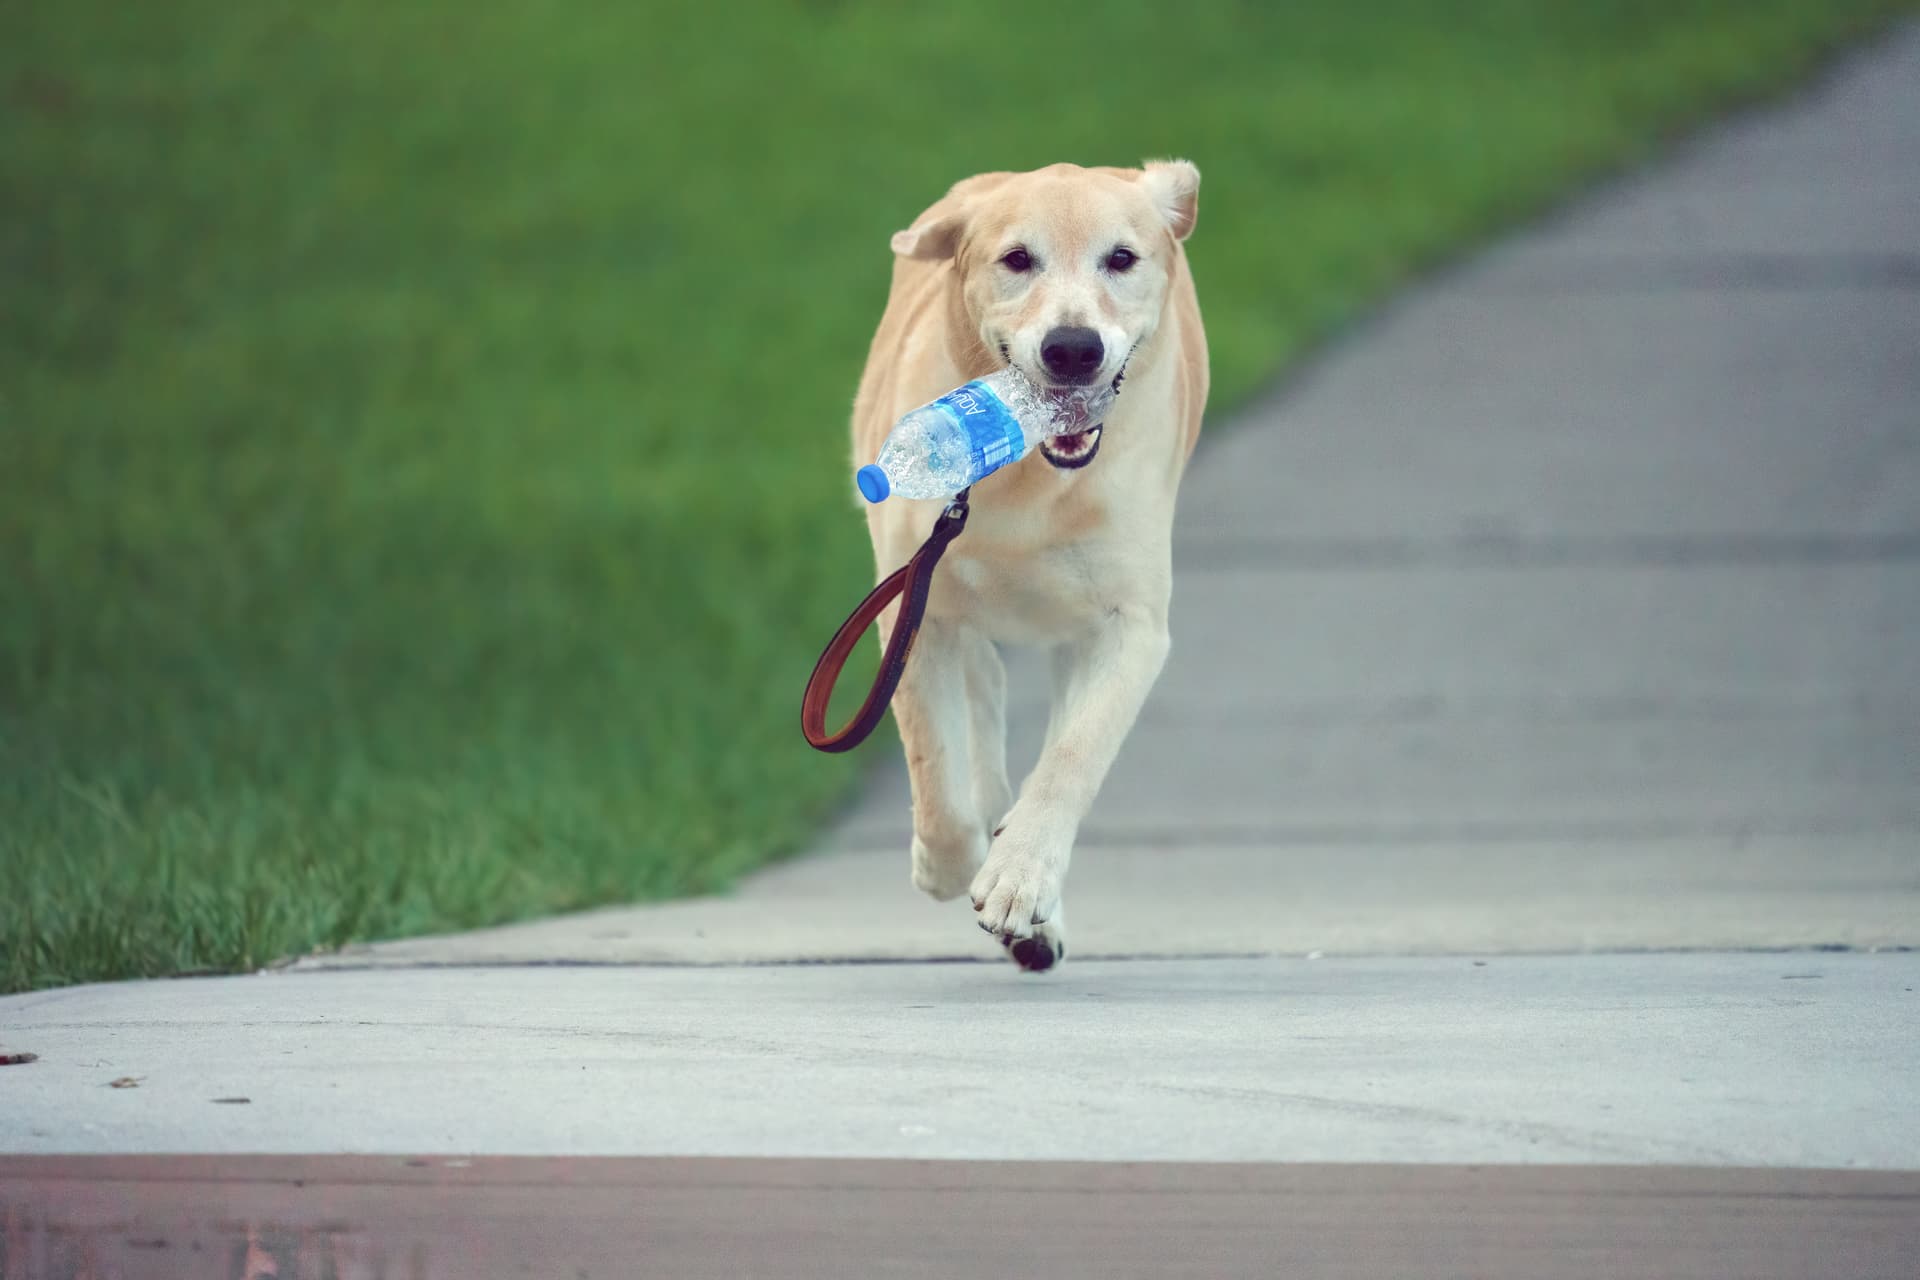
I like this version. It does think my image has severe noise but it doesn’t. Shot in good light at iso 100. Maybe the long exposure (2 sec) fooled it? Processed it well enough though. Its a raw with blown out highlights. Doesn’t handle them quite as well as Capture One or Photolab.
Photo AI is a great piece of software and actually overdue in the Topaz universe, even if there is already a crossover within the existing programmes.
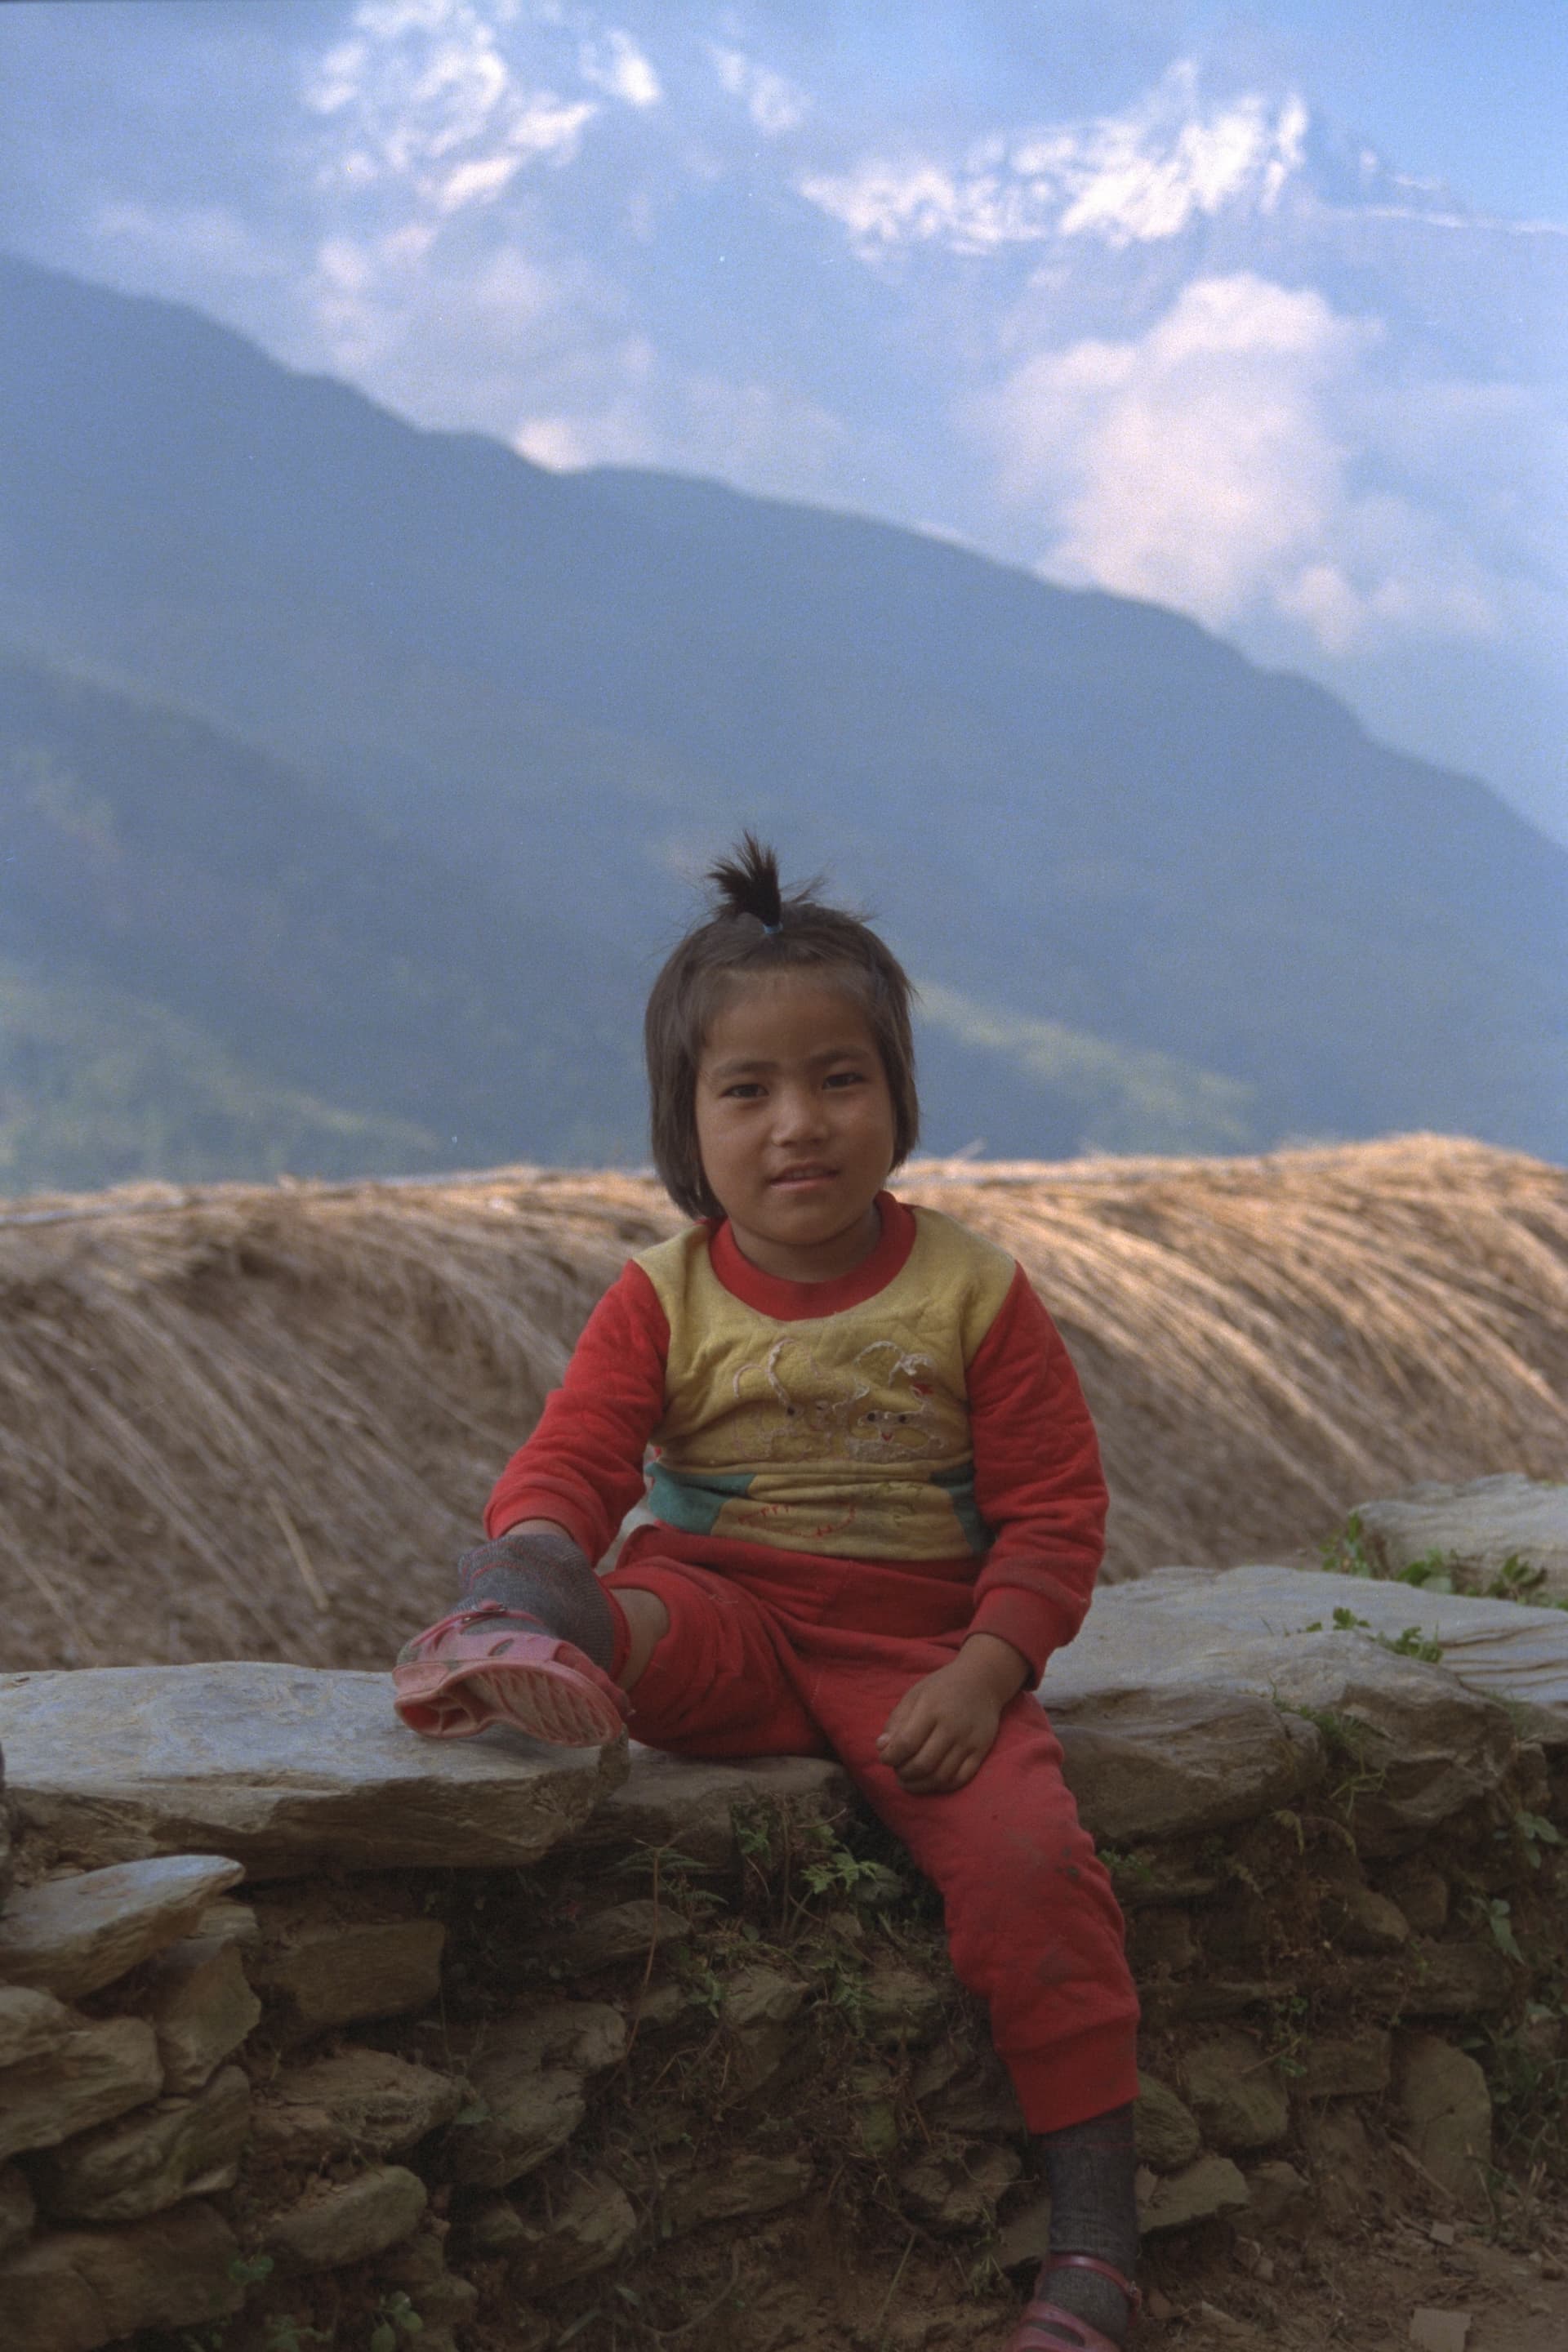
With the version 0.5 I have restored some photos from the last century in the last few days and the results are impressive.
But for Photo AI to be of long-term use to me, the following functions would have to be added:
Mask editing, analogous to Sharpen AI, for Denoise too.
Auto Detected Subjects for the Denoise function analogous to Sharpen AI: I photograph a lot of hockey and here the floors are often structured. These are smoothed mercilessly by Denoise, which looks terrible (was also like this in DeNoise AI). I am sure that a similar problem occurs in other sports. By limiting Denoise to the individuals, this could be avoided.
Recover Original Detail: this can often improve the artificial look after denoising.
Just downloaded and tested PAI 0.6 - still same problem in that the Remove Noise slider has no effect on the image - just leaves it as per the Autopilot. I was originally testing this as a PS PlugIn but also tested standalone and still same problem. Have tried Auto/CPU/GPU and no difference.
I have some issues when using a dual screen setup. When trying to move the Photo AI screen to the second monitor strange things start to happen. I get 2 program windows, the right one is controlling the left one, there is a mouse misalignment when moving the compare before/after line and clicking on buttons in the screen results in changing the screens aspect from full screen to floating.
WIN 10 AMD Ryzen 7 2700 Eight-Core Processor 3.20 GHz 32GB RAM NVIDIA GeForce GTX 1660 in extended screen mode EIZO screens. (2 exactly the same models)
I will upload a screen recording of it to Dropbox as I can’t upload a movie here.
So far, 0.6.0 seems to produce amazing results. I am concerned that it breaks a subtle workflow of mine, namely that I opened it today on my MacBook Pro and it told me I’m already using my seat on my iMac 5k (which was true). This was not the case for the Bundle apps (Noise, Sharp, Giga). I could freely move my image library between the two machines (based on needs) via my SSD external photo library. I’d hate to avoid using Photo AI (and revert to the current individual methods) because of this restriction.
Also, need the preferences. I don’t like it automatically overwriting the original, when launched with Open With on macOS. I like the ability to add the suffix and create a new file.
Also, when running v0.6 in standalone mode, the results using AUTO and Manual settings with Sharpening are subpar compared to AI Denoise. ISO 5000 a7riv.
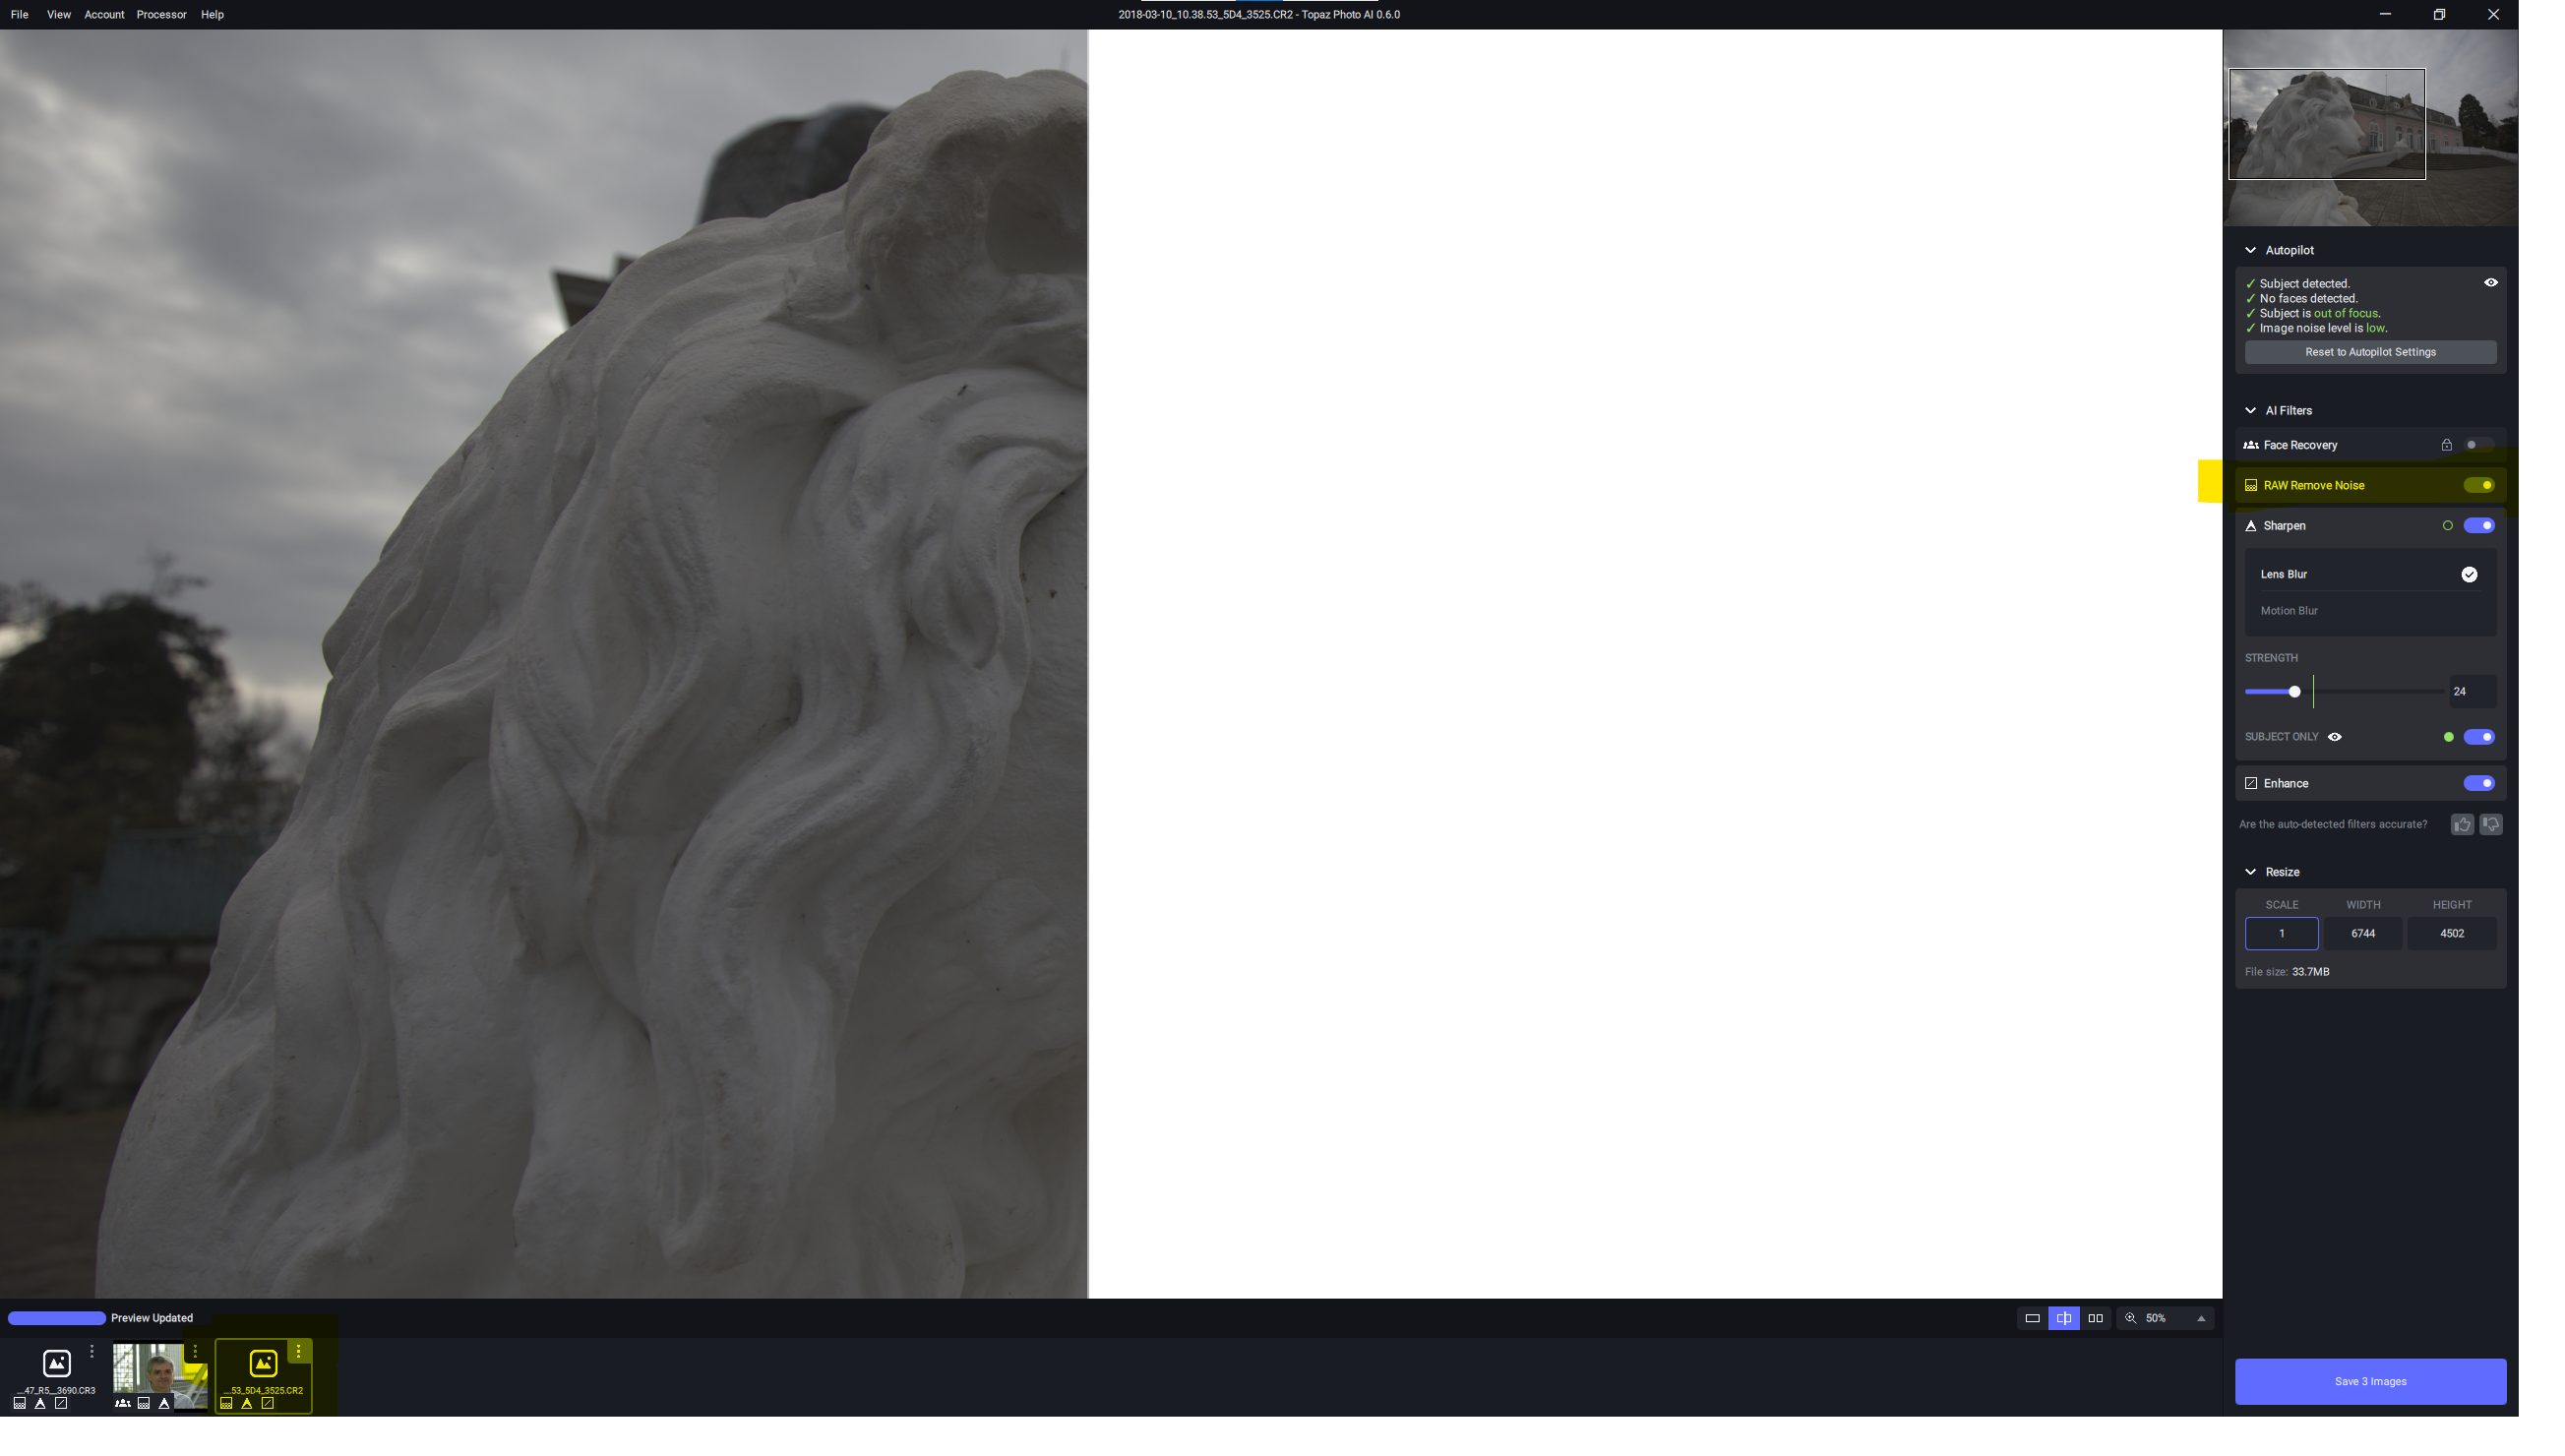
1. White output @ Cr2 Files
As i mentioend before @ V0.4., white output seems to be fixed in GPU Mode using Canon EOS R5 .cr3 Raw and Nikon NEF-File.
But not fixed in GPU Mode using Canon EOS 5D IV .cr2 Raw. Preview and Output is white now (after beeing black @ V0.4 and white @ V0.3.)
The output @ my cr2 Raw of my Canon EOS 5DIV becomes white as soon as Denoise is activated, no metter which value you enter.
Denoise deactivated
2. no Thumbnails for Canon cr2 and cr3 files
There are still NO thumbnails shown using cr2 or cr3 files. using old NEF file it shows up thumbnails. See screenshot above.
3. Zoom factor
The zoom factor is now preserved when changing the display mode!
4. Sharpen: Type and Value
When you open the sharpen box, “Motion blur” is always selected! Also for studio shots of objects taken with a tripod and thus definitely NO camera and object movement!
And I noticed that with cr2 and cr3 files you have to be much more careful when sharpening, with a maximum value of 5-6, to avoid over-sharpening than with the Nikon .NEF file.
Function “Subject only” works well!
(This function is of course only offered if an object has been detected).
5. Enhance
If you turn on “Enhance”, the selection is ALWAYS at “Low Resolution”. Even with the 30 megapixel image of the 5D IV or the 45 megapixel image of my EOS R5!
6. Files and involved system
I submiited the Logfile and the cr2 to Dropbox as well. Filenames starting with UP_
(Windows 10 Version 21H1 (Build 19043.1889), Intel I9-9900K, Asus RTX 2060 with the latest NVIDIA Studio-Driver 516.94)
I’m having the same experiences with images I’ve run.
My personal preference would be for the sharpening & denoising to be applied by PAI at the chosen level equally throughout the image (from foreground to midground to background) that I, as a user, should be able to control where I want it actually applied via masking (available across the entire image). Feathered (for gradual transitions) or sharp-edged; depending on the content.