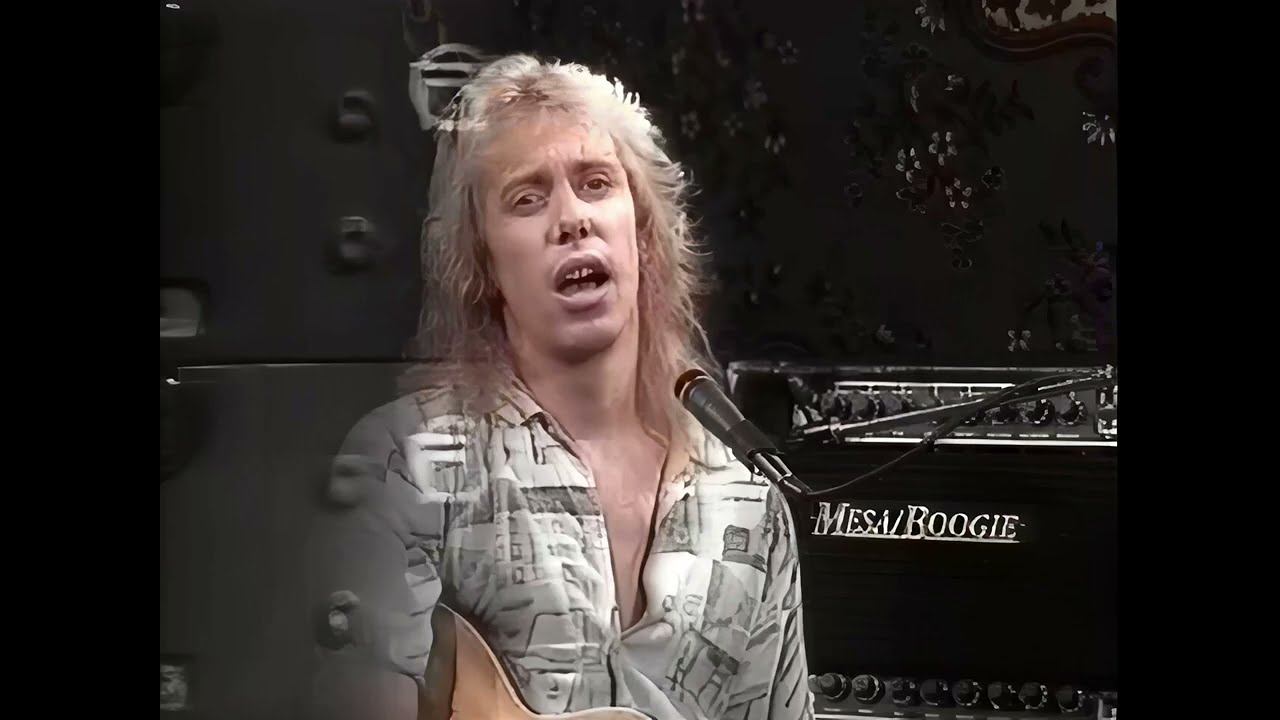
Star Licks Master Guitar lessons (Vhs from the 80’s) A Guide

Ok this guide which I have written is mostly from experience and topics as discussed on video vhs trasfers (Tbc) time base correctors, the Topaz forum’s and countless youtube tutorials on color grading etc and learning along the way.

Equipment used

Pc Specialist AMD Ryzen 9 Cpu with Geforce RTX 3070, Corsair 64GB DDR4

Panasonic NV-HS860 – Super VHS – SVHS + TBC & DNR

A useful guide on S-VHS and TBC below.

https://www.digitalfaq.com/forum/video-restore/1567-vcr-buying-guide.html

Elgato video capture Usb Device

AMAZON

https://www.amazon.co.uk/Elgato-Video-Capture-Digitise-iPad-White/dp/B0029U2YSA?th=1

SOFTWARE USED

Video Software

Video AI 5.2.3.1.b

Davinci Resolve Studio 19 (for color grading)

Macromedia Fireworks (for image and text enhancement) you could use photoshop.

Audio Software

Reaper REAPER | Download

I used the plugin called ReaFir to remove noise and Eq to enhance the sound and add some stereo effect.

FFMPEG Download FFmpeg

I also used a fonts website called Myfont.com , they have a very neat feature where you can upload an image of a font you require and it gives you matching fonts, what I did here is instead of buying the fonts I just copied the font image (png) into my graphics editor.

I also used https://www.lalal.ai/ to split the audio into guitar and vocal and cleaned these up in my Daw (reaper) and also added delay, reverb to the guitar track and noise reduction on the vocal mic.

So ill break the sequence down into steps.

Step 1:

Transfer the VHS to digital using the S-VHS VCR with TBC engaged and use egato to transfer to digital.

Step2:

Use a video editor such as Davinci Resolve to cut the video where you want it to start and end and increase the zoom to eliminate any black borders (this was 4x3 square aspect ratio).

Than export this as your master

Option here now is to use the Auto Detect Scene Cuts changes in Davinci Resolve to split the video into scenes and than export all scenes.

You now should have the different scenes ie face shots etc which you can use in Video AI ie you can use Iris on face shots and Rhea on other scenes etc.

At this stage you can if required split the audio using FFMPEG

https://www.ffmpeg.org/download.html

command below and enhance or edit the audio track.

ffmpeg -i youvideo.mp4 -vn -acodec pcm_s16le -ar 48000 -ac 2 youvideo.wav

Step 3:

Import either your master you have just created in Step2 or the scenes you want into Video AI and than export them with no audio.

Step 4:

Re-import the scenes or the Video AI enhanced master back into Davinci Resolve with the project you created in Step 2.

You can also at this stage import your new audio track too.

Create a new track for the enhanced video you created in Step 3 and drag the movie file onto it, it should align perfectly.

If you have used scenes you will need to join these together.

You now have your enhanced movie file ready to colour grade.

(note: Its best to color grade in scenes if you have scenes cut you can use Davinci Resolves magic mask or face detection which tracks the face and lets you apply color to the face as well as eyebag removal or glare removal etc).

In the next post I will post some examples of star licks projects using the above methods.

The star licks VHS cassettes I have mostly have a green tint to them and the color is very week, I am not sure if these was how they was mastered but the VHS Cassettes I have have had very little play and kept in good condition, definitely seems odd compared to today’s standards.

So using the steps in the first post I used Iris going from SD to 4K on the face shots and Rhea on the Guitar shots.

On the Brian may transfer I used the Nyx – HQ Denoise model to clean up some of the background noise.

I did a compare using PNG outputs first going from SD to HD than HD to 4K than SD to 4K and actually got better details with hair and the eyes going straight to 4k which was not what I was expecting.

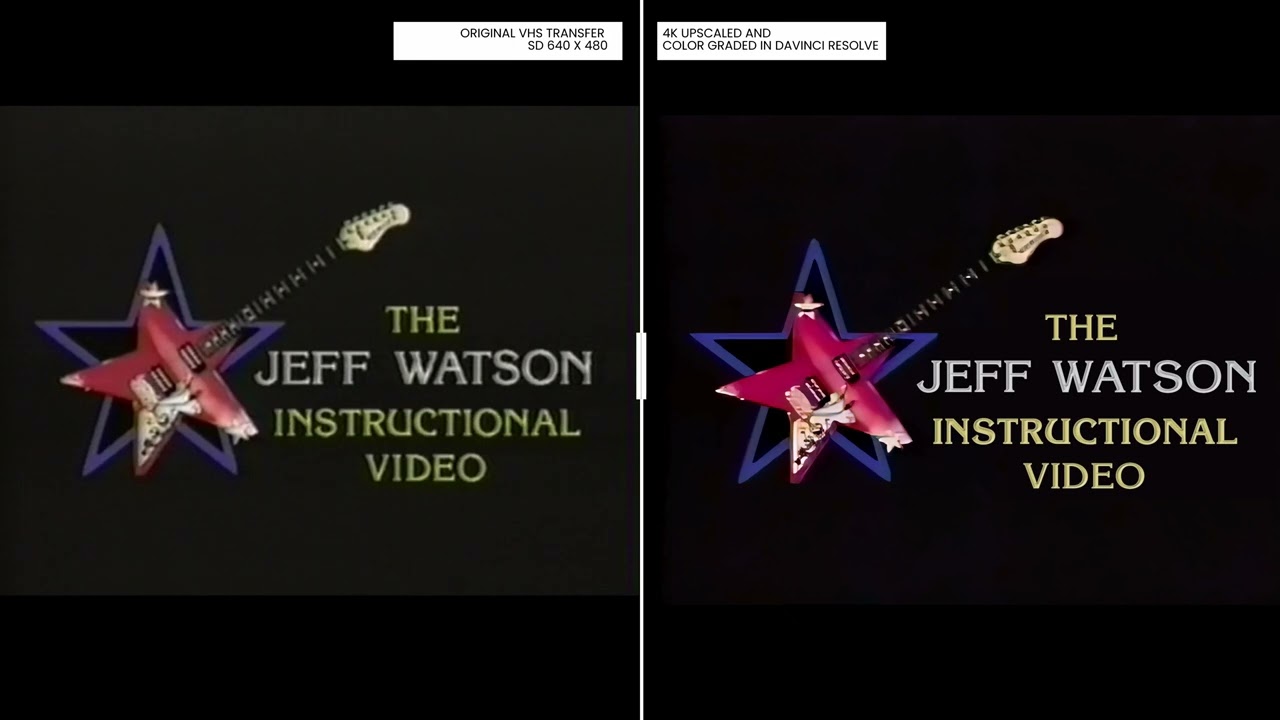
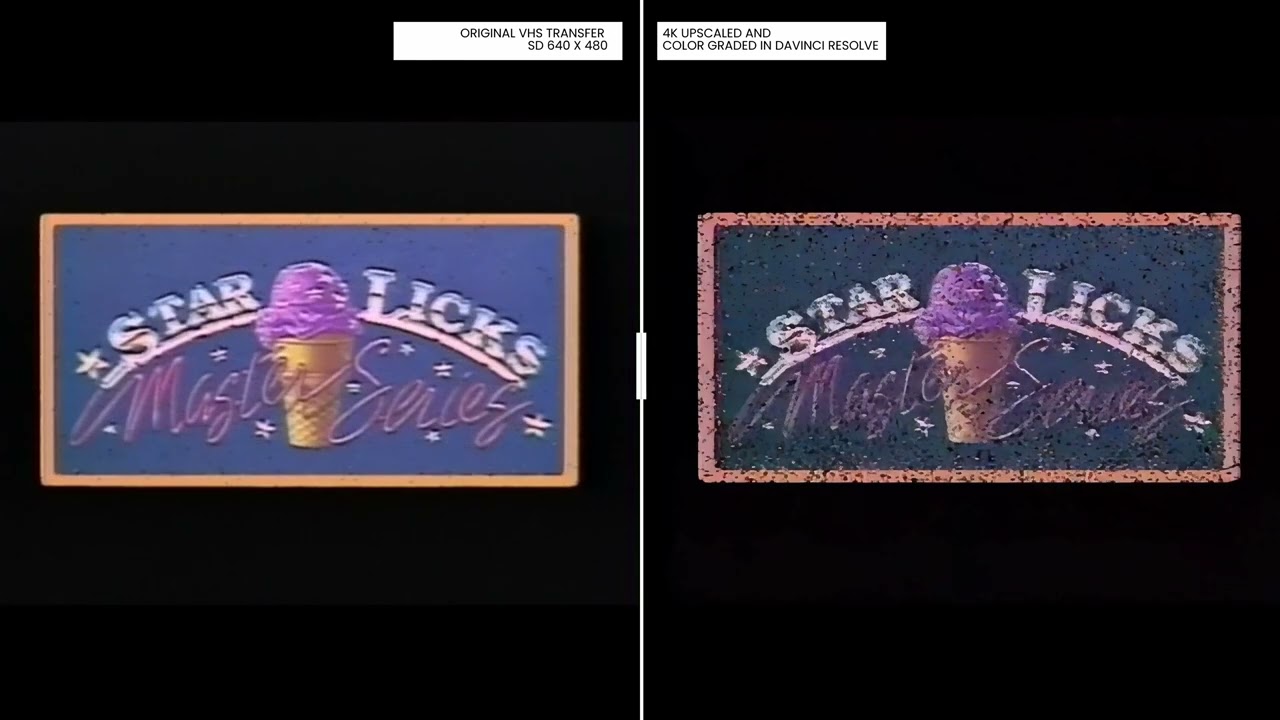
In the Opening sequence I used the myfonts.com to capture the fonts and put those overlapping the original titles etc and animated them.

You basically upload a screengrab of the text you want and it will search for the closest match for you.
You can than specify the color of the font and background.

I did try Rhea but it could not get rid of the blur surrounding text.

See below.

In the posts below i will post the differant Star Licks Videos i have upgraded including :slight_smile:
Brian May (Queen)
Tony Iommi (Black Sabbath)
Jeff Watson (Night Ranger)
Brad Gillis (Night Ranger)

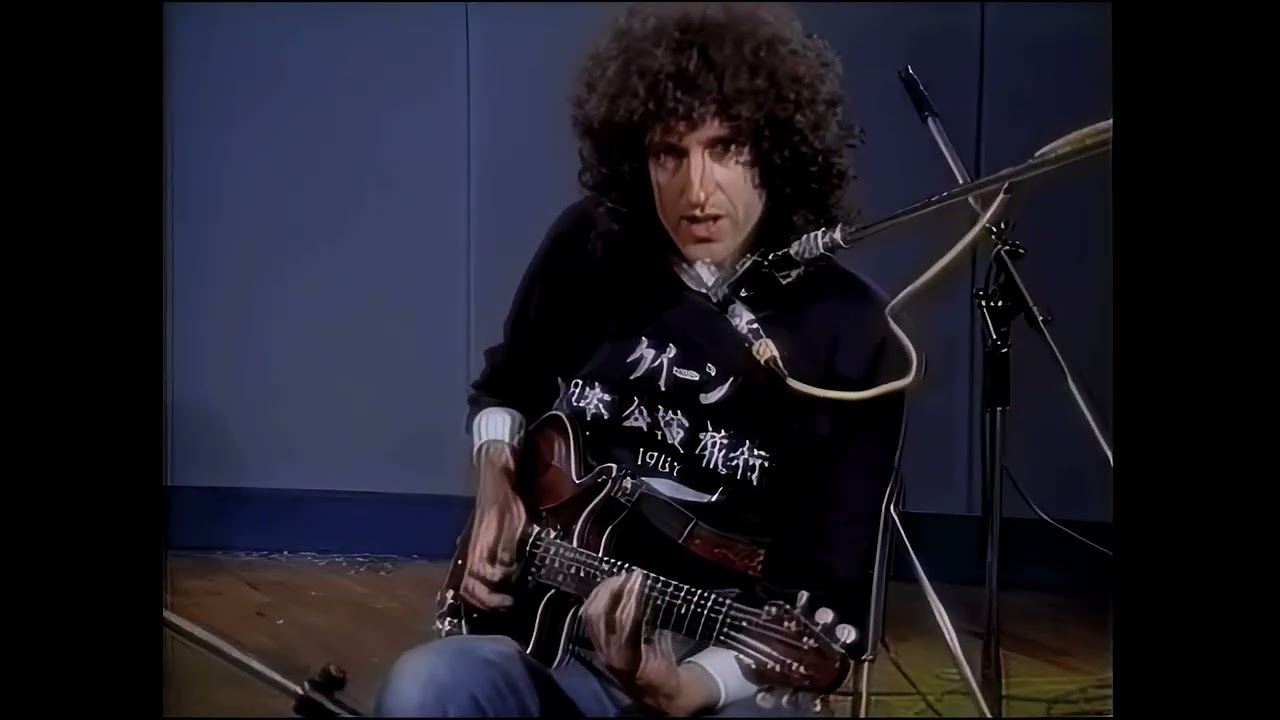
Star Licks Brian May from Queen Master Series

I first used Nyx – HQ Denoise model to clean up the video.

Than re-imported that and used Iris to upscale to 4k which I used on the whole video sequence as their was not that much difference using Rhea on the guitar only clips so I processed the whole video this time.

Than imported into Davinci Resolve Studio to ColorGrade.

I did split the video sequence up into scenes to work on different elements such as face features etc.

Brian May comparisons before after below

In this static shot below when upscaled to 4K the text was blured and unreadable with no detail at all.

What I managed to do using my image editor (macromedia fireworks) you could also use photoshop for this I overlayed text mostly used my myfonts and used Gaussian blur so the text would sit nice with the image and not appear to be ontop of the image.

You can see a sequence on youtube below with brian may performing Brighton rock solo with a two repeat delay/echo.

The above was split into scenes and color corrected with some face refinement as detailed below.

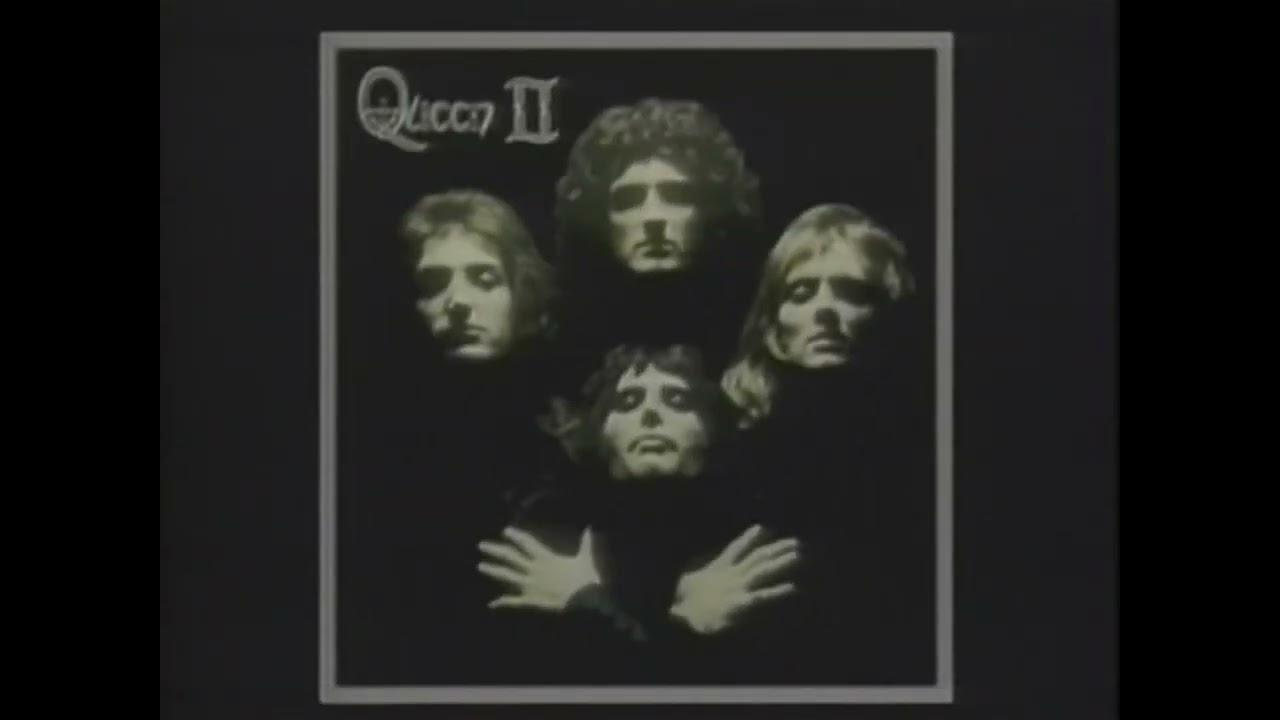
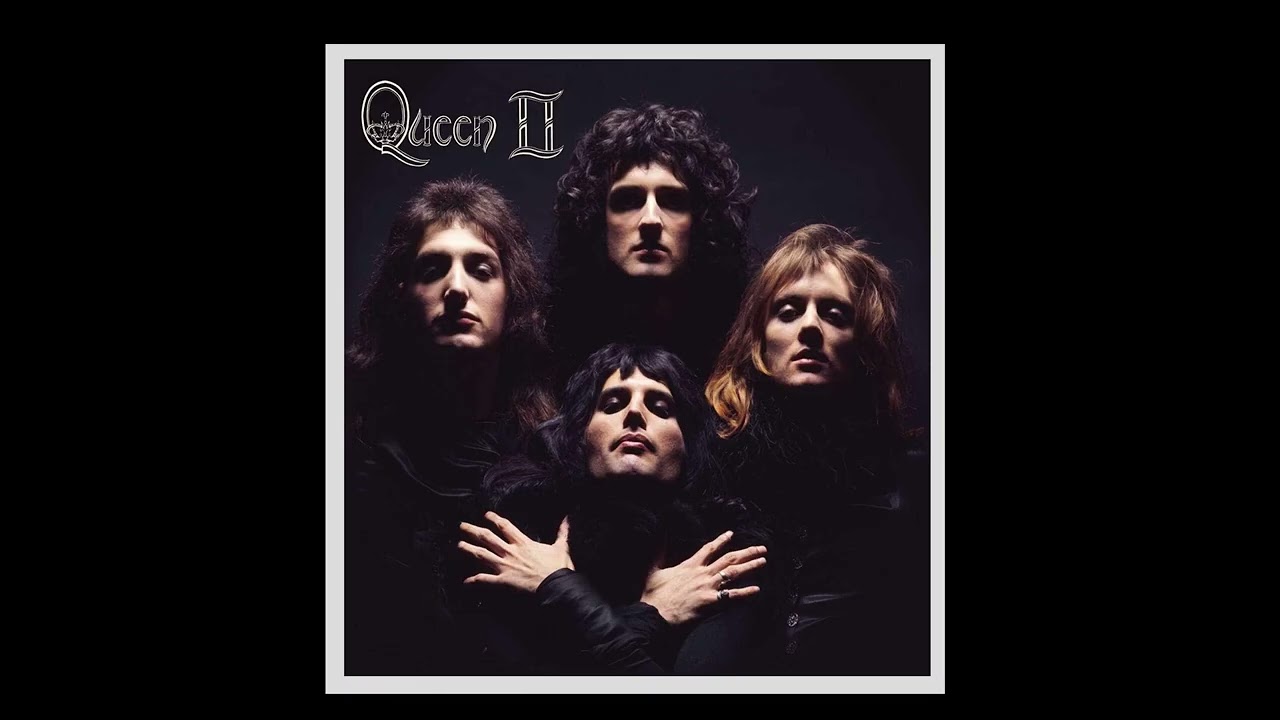
There was also in between songs animated album covers with mono or poor audio.

I replaced these with new album covers in 4k and used Davinci Resolve Fusion to animate the album covers zooming in and flipping etc, you can notice the improved audio on this too with a bigger stereo soundscape.

Original VHS transfer below.

and the 4k enhanced version below.

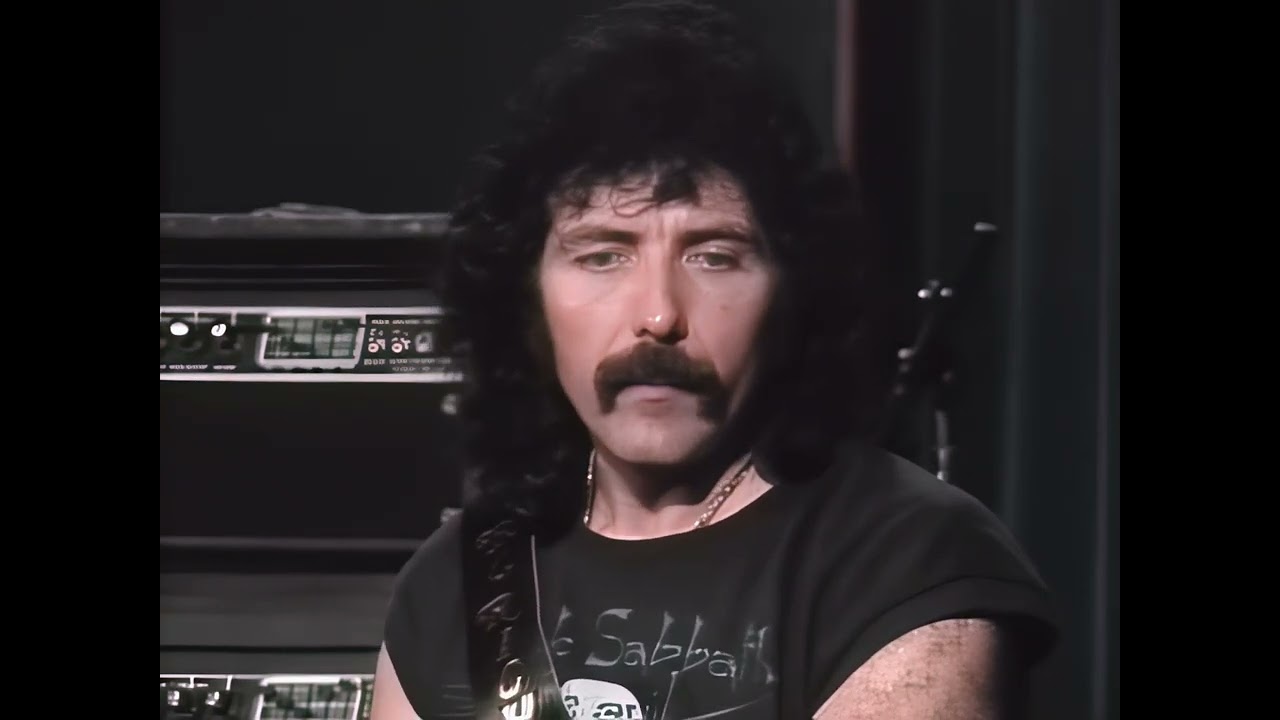
Tony Iommi Star Licks Master Series

With this I basically ran it though Iris to 2560x1920 than to squeeze abit more details out of the eyes and hair I put it thought Proteus Enhance MQ for my final master to be color graded.

Than in Davinci Resolve I ran Detect Scene Cuts and color graded each scene.

The thing with these 80’s star licks videos that with the different angle shots it suffered from light glare so sometimes you would get glare on his nose or cheeks etc, as with all the star licks videos I have seen they seem to suffer from a green tint.

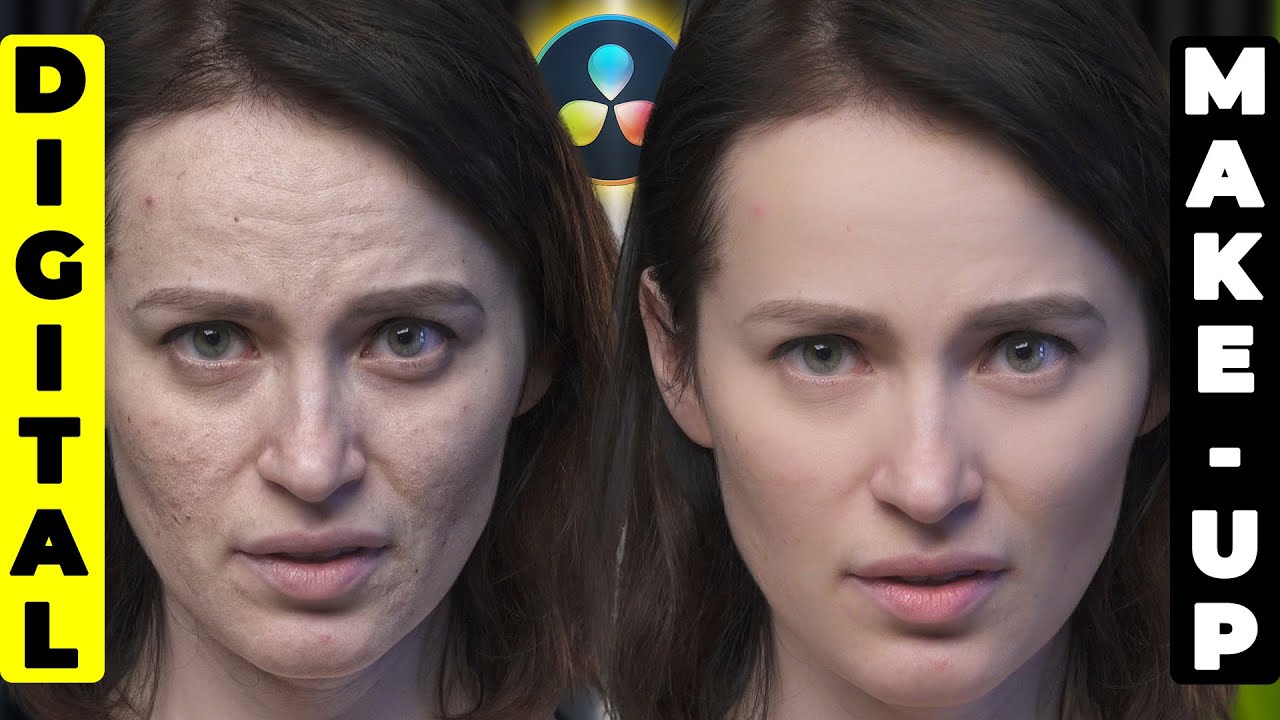
I used the Face refinement tool which tracks the movement of the face it can enhance the color of the skin,eyes lips teeth etc and eliminate the glare.

Some comparisons below.

On the video below I also over layed the TONY IOMMI TITLE as the guitar solo starts, this was from Myfonts.

The first few Minutes of the video below.

On this still shot of tony’s effects rack unit this was upscaled and color graded and I replaced the text again from myfonts.com

There was also animated album covers which I redid with newer versions of the album covers and did the animation in Fusion.

Something below which shows the quality difference

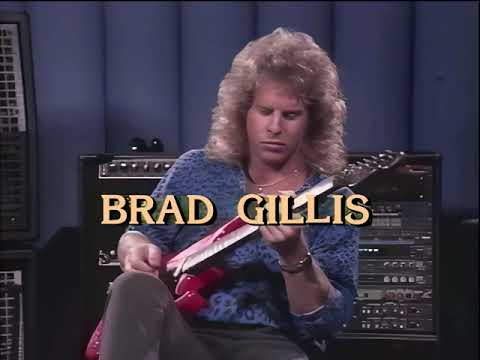
Brad Gillis Star Licks Master Series.

This VHS was an import so was NTSC at a frame rate of 29.79,so I had to send this away to get transferred.

When I got it back I had a pro res file to work with.

I basically did the same work flow as with the Jeff Watson.

I ran the guitar scenes thru Rhea to 4k 2560x1920 4x3

The face scenes I ran thru Iris to HD 1280x960, than I re-imported and ran thru Iris again to 2560x1920.

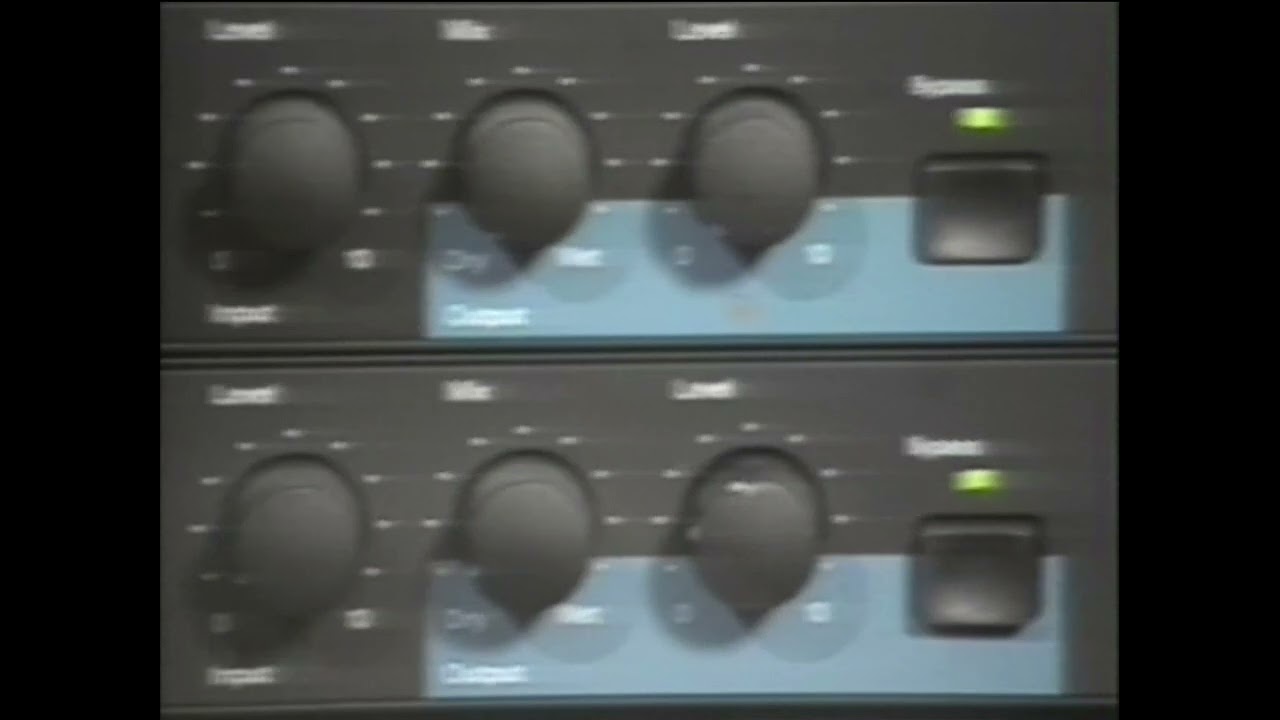
As with the Jeff Watson Video there was a few scenes of the effects rack he uses with camera motion so I used Rhea with Motion deblur with this, it did improve the text and the buttons/lights on the rack units some what, when you do pause the video there is still quite a bit of motion blur.

Comparisons Below

https://imgsli.com/MjkyNzQ1/0/1

As I said previously there does seem to abit of green in these star licks videos from the 80’s, it took me a while using Davinci Resolve to get the green out, I had to use the magic mask tool in davinci resolve to get green highlights out of brads hair.

On the video below I also overlayed the BRAD GILLIS TITLE as the guitar solo starts, this was from Myfonts.com

You can see the first few minutes below.

Jeff Watson Star Licks Master Series.

I first split this into scenes I.E face and guitar scenes.

I ran the guitar scenes through Rhea to 4k 2560x1920 4x3

There was a few scenes of the effects rack he uses with camera motion so I used Rhea with Motion deblur with this, it did improve the text and the buttons/lights on the rack units some what, when you do pause the video there is still quite abit of motion blur.

4k version below

and original SD version.

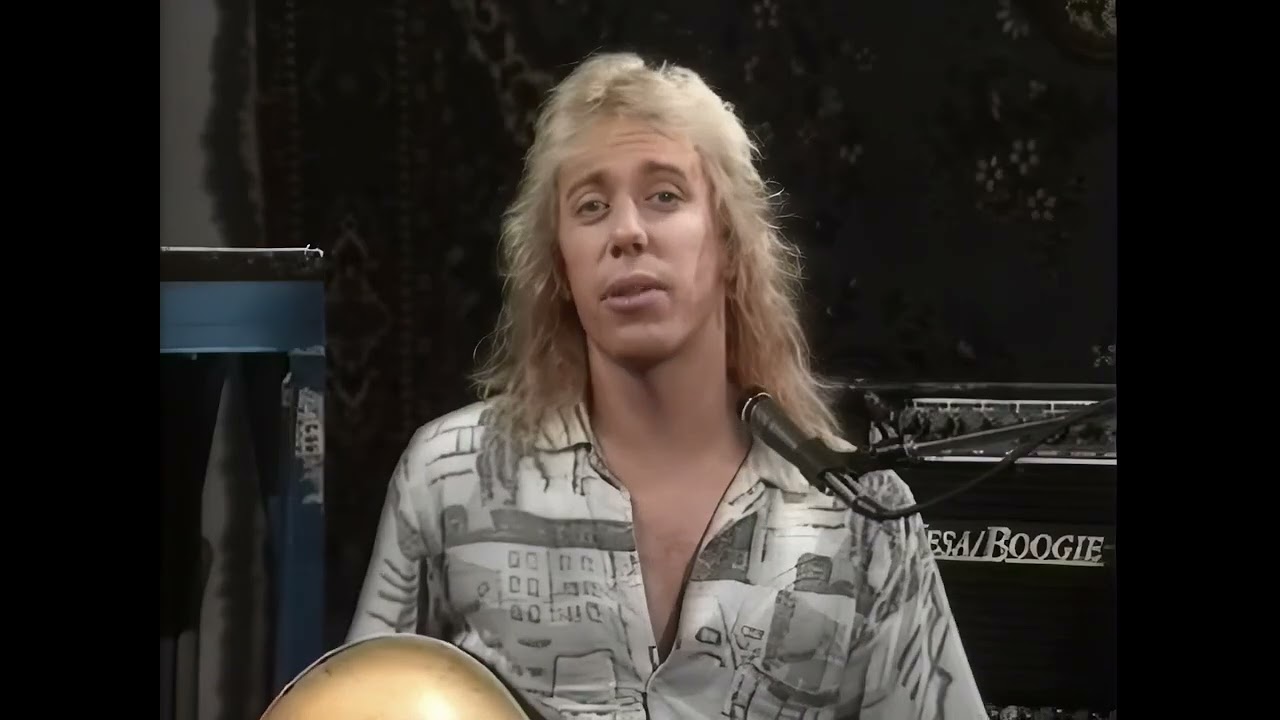
The face scenes I ran through Iris to HD 1280x960, than I re-imported and ran Iris again to 2560x1920.

I then joined the clips up in Davinci Resolve and color graded each scene/clip.

Comparisons below

Here is a short 7min clip featuring the opening scenes and jeff talking about his equipment.