a HINT for small images/faces
lets say you have an image ~16MP (5000x3000pix)
one person full body, so the head region is aprox 600pix
procedure:
x4 low resolution (maybe facerecover 0.2 or more) and a bit denoise
second
x0.5 Redefinde-Beta
with creative 2
→ you have the best img you can get (~1200pix), really!
Yes, the giraffes haven’t lost as much texture - and it enhanced the texture that should have been there but that didn’t appear in the original.
But they’re also the Topaz products’ fave subjects (“wildlife”). ![]()
Feathers: I tried to do something with a crappy photo of a heron (tiny 519x389 crop) that didn’t wait, so I captured it when it was very far and high (the original photo has a longer side = 6000 pixels, so only 519… very bad, but that’s why I purchased Gigapixel).
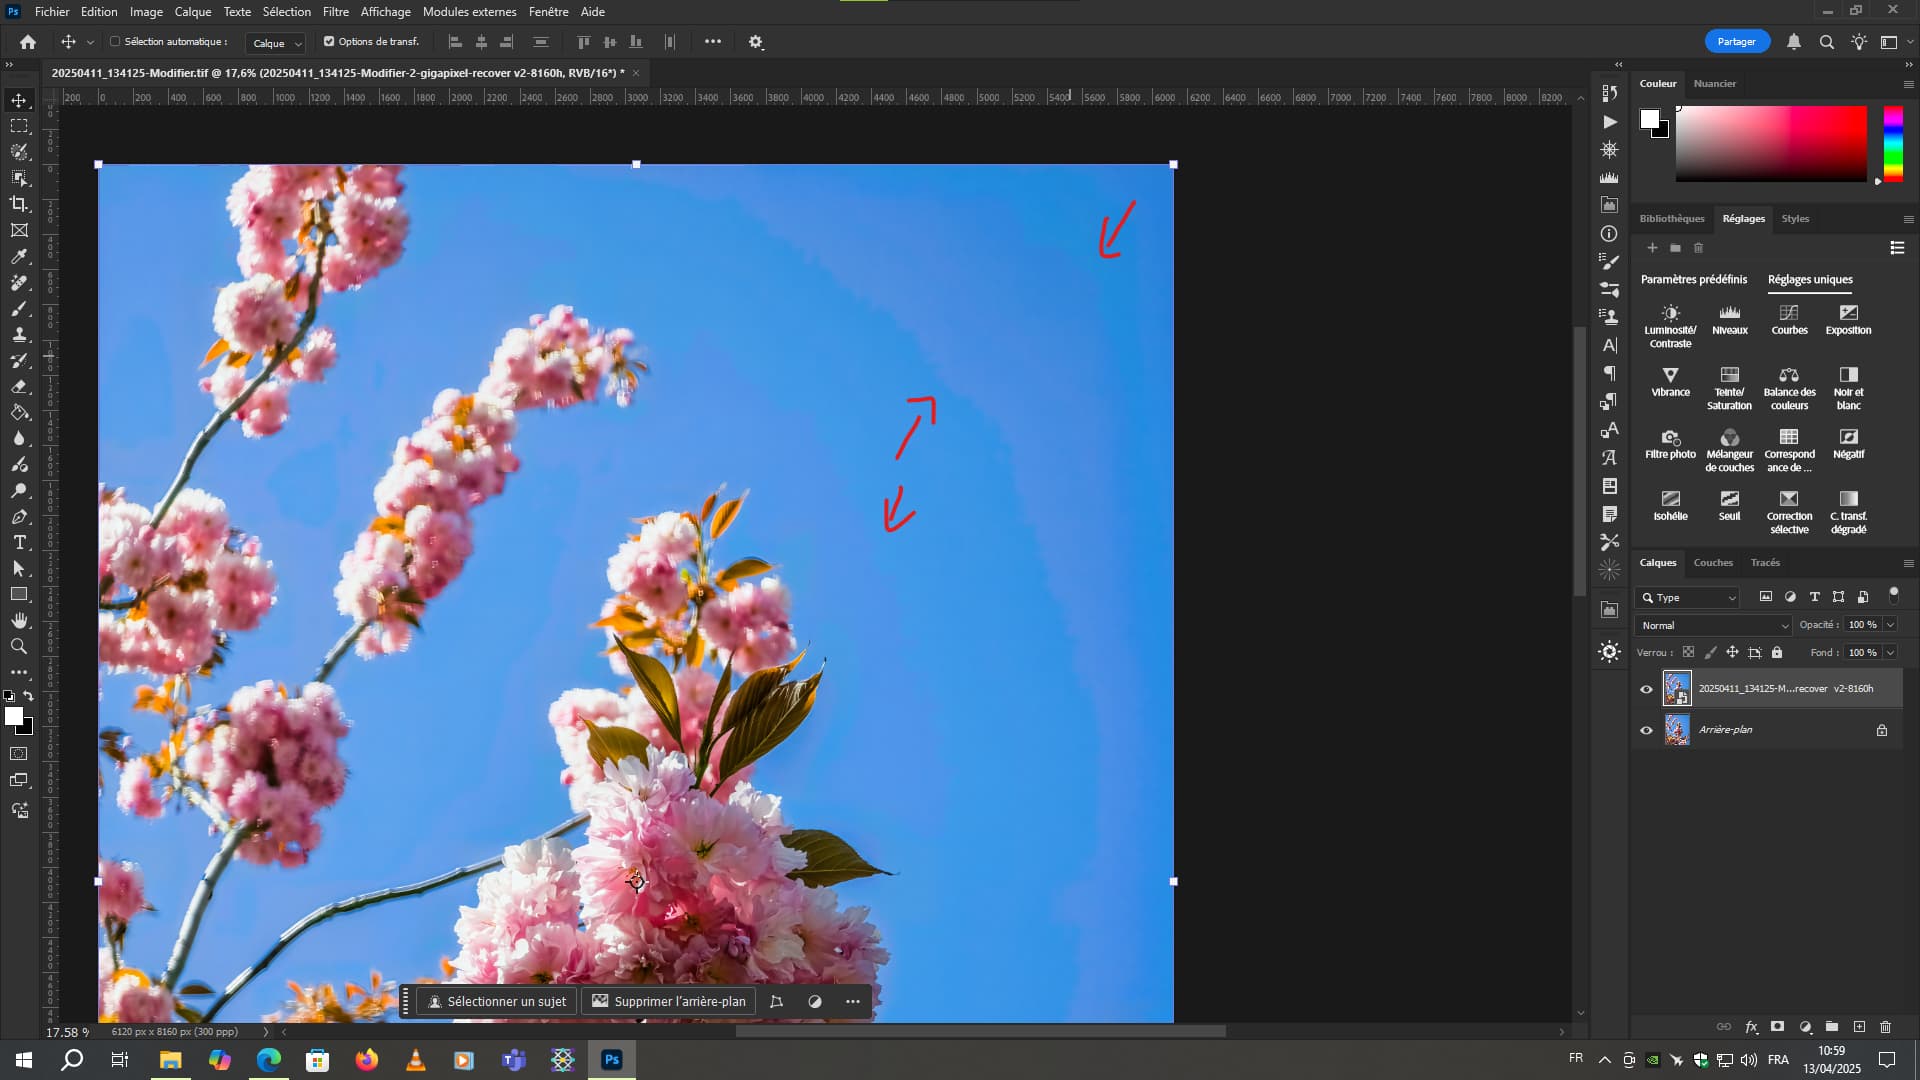
First, I completely cleaned the blue sky to a solid blue (the same as in the original photo). To get rid of minor artifacts from the JPG format, and the like. Then (as I describe the editing process for the doe above) I applied Redefine with C=1 and Upscale=1 (the result was a slight but certain visible improvement). In the next step, I used Redefine with C=2 and T=3 and U=2. And finally, High Fidelity with the default parameters offered and another U=2.
The result really surprised me (positively!). To remember, I wrote a text prompt for Redefine (see below) here – it helped a little, but I don’t know what or what part of it:
A grey heron in the blue sky, flying from left to right with wings spread wide, legs outstretched and a long neck in the shape of a flat letter “S”. The feathers on the back of the wings and at their tips are dark, almost black; the rest of the feathers are white or light gray. The heron flies calmly from one pond to another.

What do you think caused the artifacts around all the edges of the Heron?
I’d say over-sharpening. But it’s easy to correct. The background is a uniform blue. All you have to do is redo the same blue by distorting the bird.
That’s going to be a lot of photos hahaha. But if you’ve got a Facebook account, check out my page ‘HDL photo Pairi Daiza’. I’ve added my albums from 2013 to now.
most depend on original, mostly bad smartphone images! ![]()
same i found out works also for you!
2x upscale v2
after
0.5x redefine c1 or c2
Those white artifacts/(out)lines appear (not only here) whenever I go to Redefine with C > 1. Any changes to Texture do not remove it. The culprit is Creativity (too creative). The attached image shows a situation where the original (after Redefine with C=1) was changed by C=2 (T had no effect). The next step (with High Fidelity) does nothing about it.
Increasing C is hopeless, it makes the image worse, and creates artifacts in the blue sky. Similarly, for Upscale > 2 changes occur, e.g. for U=4 the rear outstretched legs change to a second head, with the beak pointing backwards. I don’t know what to do with it. But the previously mentioned procedure improved the feather texture and created a nice head (the text prompt contributed very significantly to this).

1 Like
on this photo, I had to do a variation with Low res v2. and blur the sky a bit afterwards because there was still the grid problem. For the record, I used the Galaxy S25 Ultra. The latest smartphone from Samsung this year. I shot in Raw

Pure RAW → Capture One → Photoshop → Gigapixel X.X.X (Redefine)

Pure RAW → Capture One

Pure RAW → Capture One → Photoshop → Gigapixel X.X.X (Redefine)

Pure RAW → Capture One
1 Like
I can only say something if I had the original … ^^ but maybe it depend on that r2 recover …
Last day for the current Gigapixel sale!

Gigapixel 8.3.3 was working just fine. (MacBook Pro, Apple M2 chip, 24GB Ram, Sequoia 15.3.2, Painfully slow for large files, but working. Now, when I try to use it, I get an immediate crash.
By the way, is there an option to take the result of a GPAI output directly as input for a second GPAI pass? Two- (or more) pass workflows pretty often occur, especially when starting with Redefine, and it is somewhat annoying to have to drag the input for pass #2 to the GPAI window already containing that image. Or is this functionality already there and I haven’t yet found it?
2 Likes
I’ve been looking for exactly that several times – but never found it. I’d like to have it available too.
Was using the Release version and i wanted to share my expierience in backup with Chat GPT (free version, don’t know which one).
“” Summary of Dialogue – Diffusion-Based Image Generation in a Bavarian Gorge
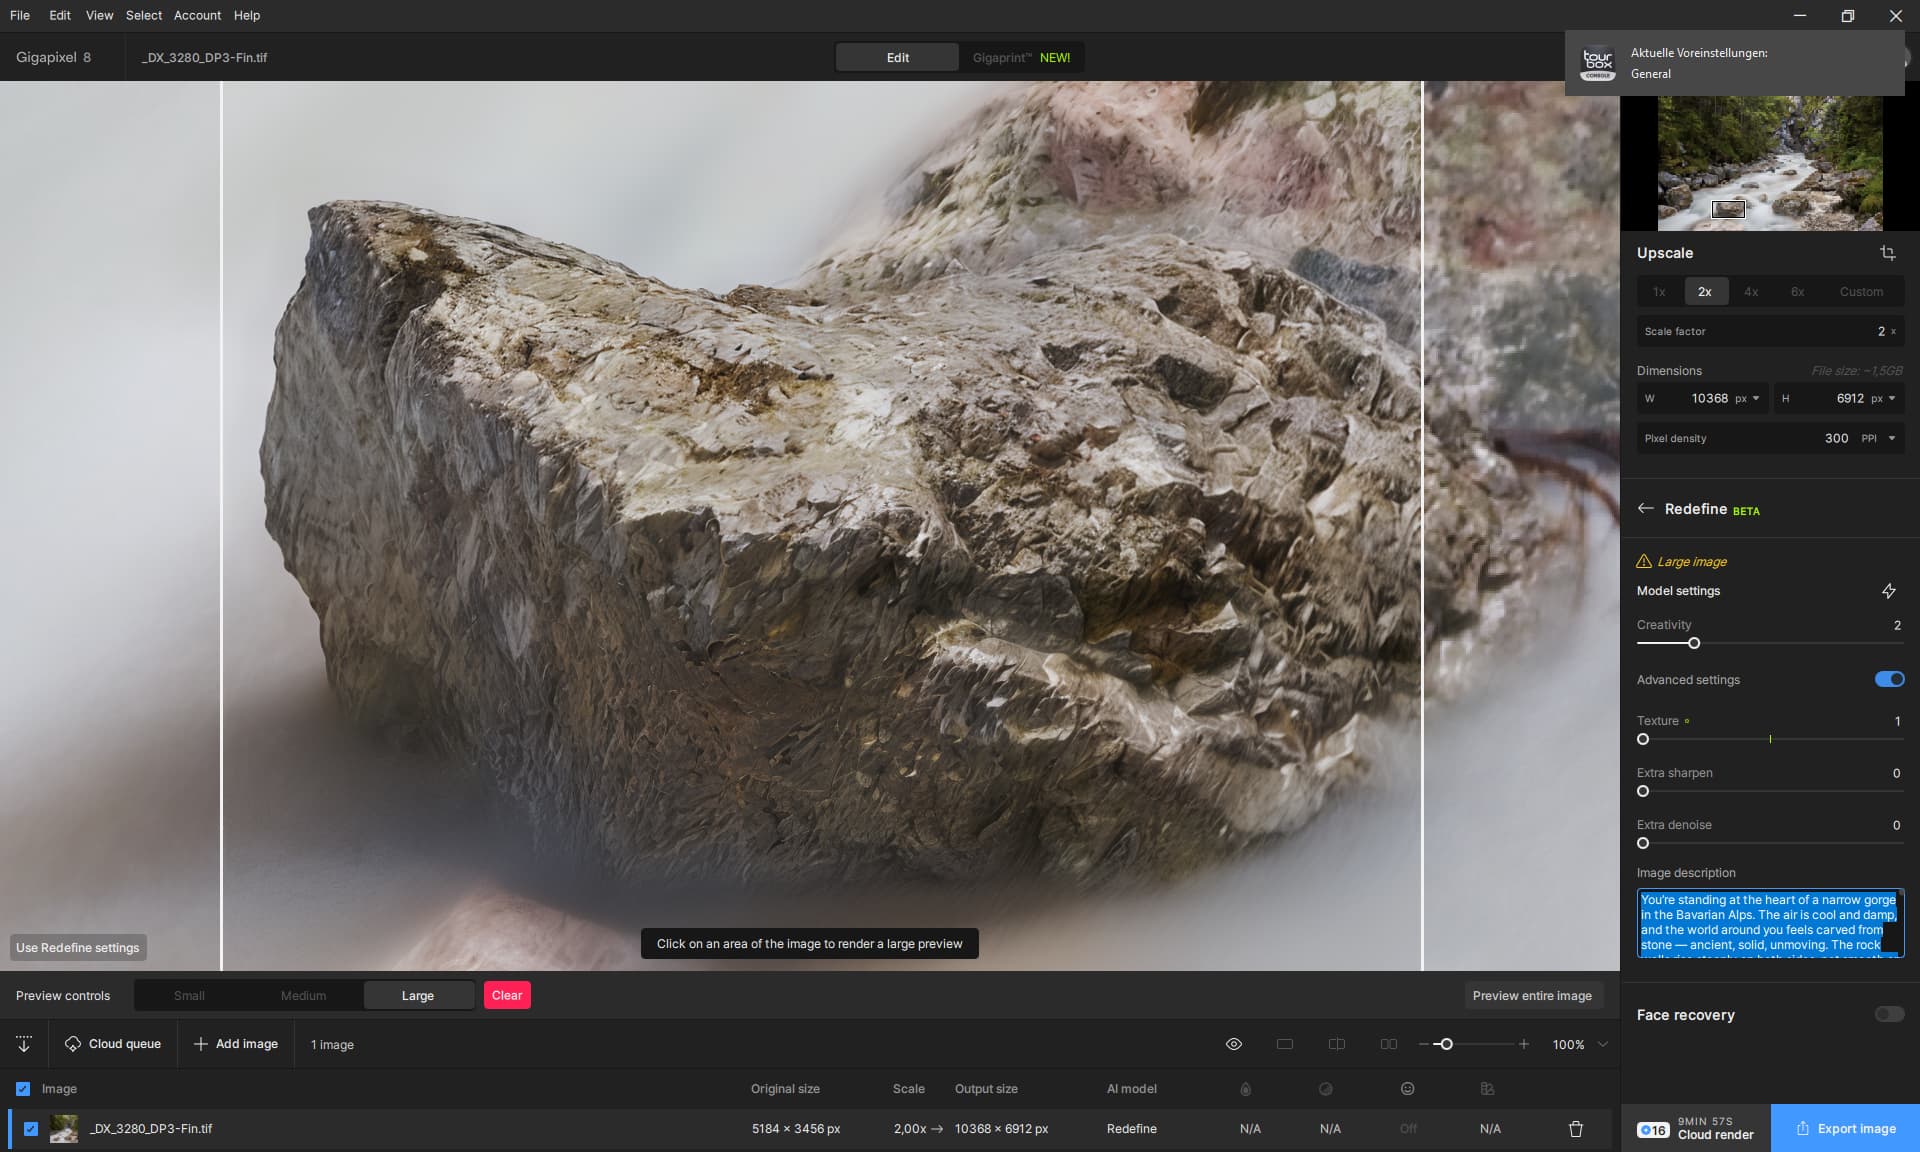
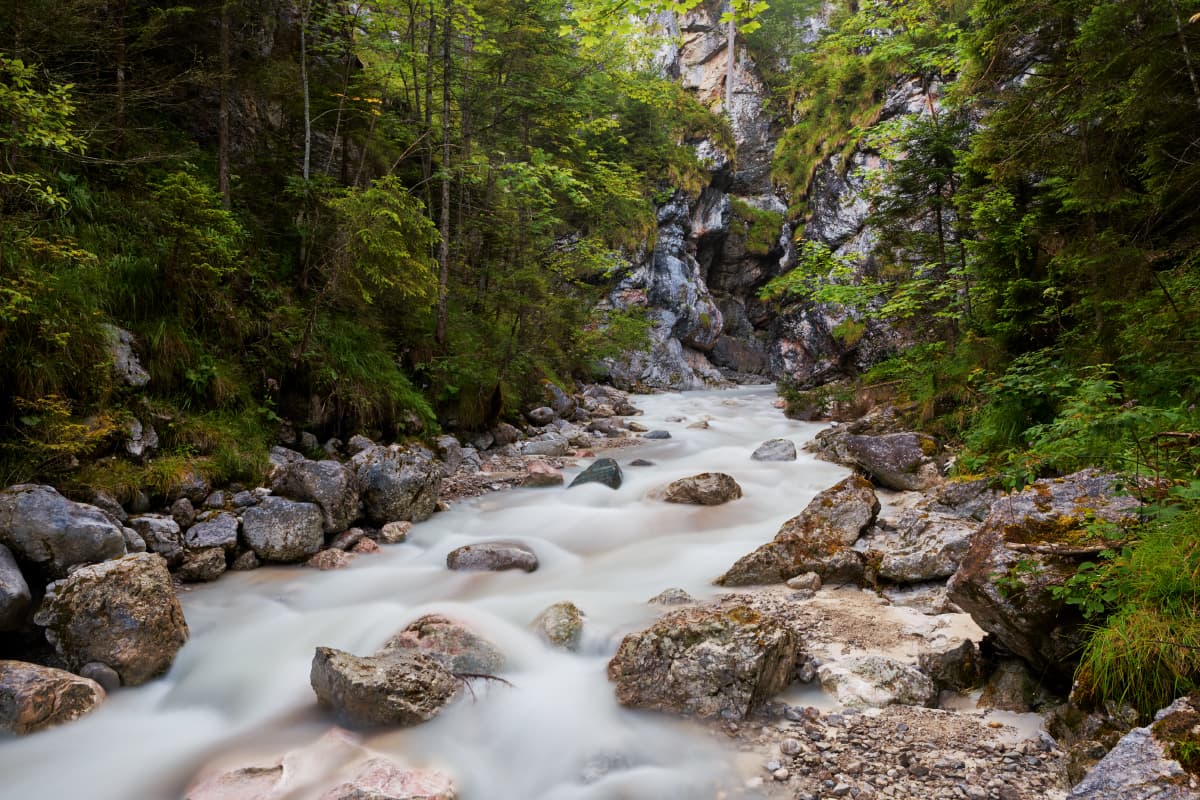
The user is working with a diffusion-based image enlargement model and needs a highly detailed, realistic description of a scene photographed in a narrow gorge (Klamm) in the Bavarian Alps. The goal is to ensure the model captures the depth, textures, and natural distribution of elements in the scene without losing perspective or realism.
Initially, the user requested a poetic, human-centered description — as if explaining the image to a blind person — with special attention to natural detail: flowing water rendered with motion blur, sharp geological features, and authentic alpine vegetation growing in the cracks of the rock walls.
The first version was successful in tone and quality. However, later adjustments caused issues: one version became too technical and lost its human warmth, while another introduced unintended side effects — particularly, the rocks began to appear unnaturally soft or fluid. This happened because the model misunderstood general descriptions like “organic” or “flowing” and applied them globally, softening even the stone surfaces.
To address this, the final version of the image description was carefully revised to clearly separate soft and hard elements: the water is described as blurred and in motion due to long exposure, while the stone is defined as rough, angular, and immovable. The description emphasizes localized detail — making it clear that not every tile should contain every element — and avoids repetition. The scene is described as grounded in nature, with realism prioritized over stylization or artificial smoothness.
The user emphasized that the model works with tiles, and it’s important that details like moss, plants, and light distribution vary naturally across the image — they should appear in the right places, not everywhere, and never feel duplicated or generated.
The final description balances emotion, structure, and technical guidance — allowing the model to generate a high-resolution, realistic image that feels like a true alpine gorge: cold, wild, textured, and alive.“”
Promt used:
You’re standing at the heart of a narrow gorge in the Bavarian Alps. The air is cool and damp, and the world around you feels carved from stone — ancient, solid, unmoving. The rock walls rise steeply on both sides, not smooth or flowing, but sharp-edged and fractured. You can almost feel the texture with your fingertips: coarse, cold, gritty. These are real alpine cliffs — broken, chiseled, layered with time.
The stone is not soft. Its surface is rough and angular, with cracks that run deep and sharp shadows that define every ledge and outcrop. Some areas glisten with moisture, but the rock remains hard — never melting, never rounded unnaturally.
At the base of the gorge, a stream flows fast over the rocks. Unlike the stone, the water is soft in motion. Because of the long exposure, it appears blurred — like silk drawn across the image — but only the water moves this way. The rest of the world stays still, crisp, grounded. The contrast between the rushing water and the still stone gives the scene its quiet tension.
Light filters down from far above — not evenly, but in patches, revealing some surfaces while leaving others in cool shadow. This shifting light brings out the texture of the rocks — the way they splinter, the way they catch the moss and alpine plants that grow only where the cracks allow. Tiny ferns, mountain grasses, and delicate mosses grow in scattered places — never everywhere, just where nature has made space.
Each part of the image holds its own story. Not every tile needs every element. Let the roughness of the stone dominate in one part, the softness of blurred water in another. Let the vegetation appear where it belongs, not repeated, but rare and precise.
The scene is wild and grounded in truth. Nothing here should feel melted, artificial, or polished. The gorge is harsh, real, and alive — a place shaped by force, not fantasy.
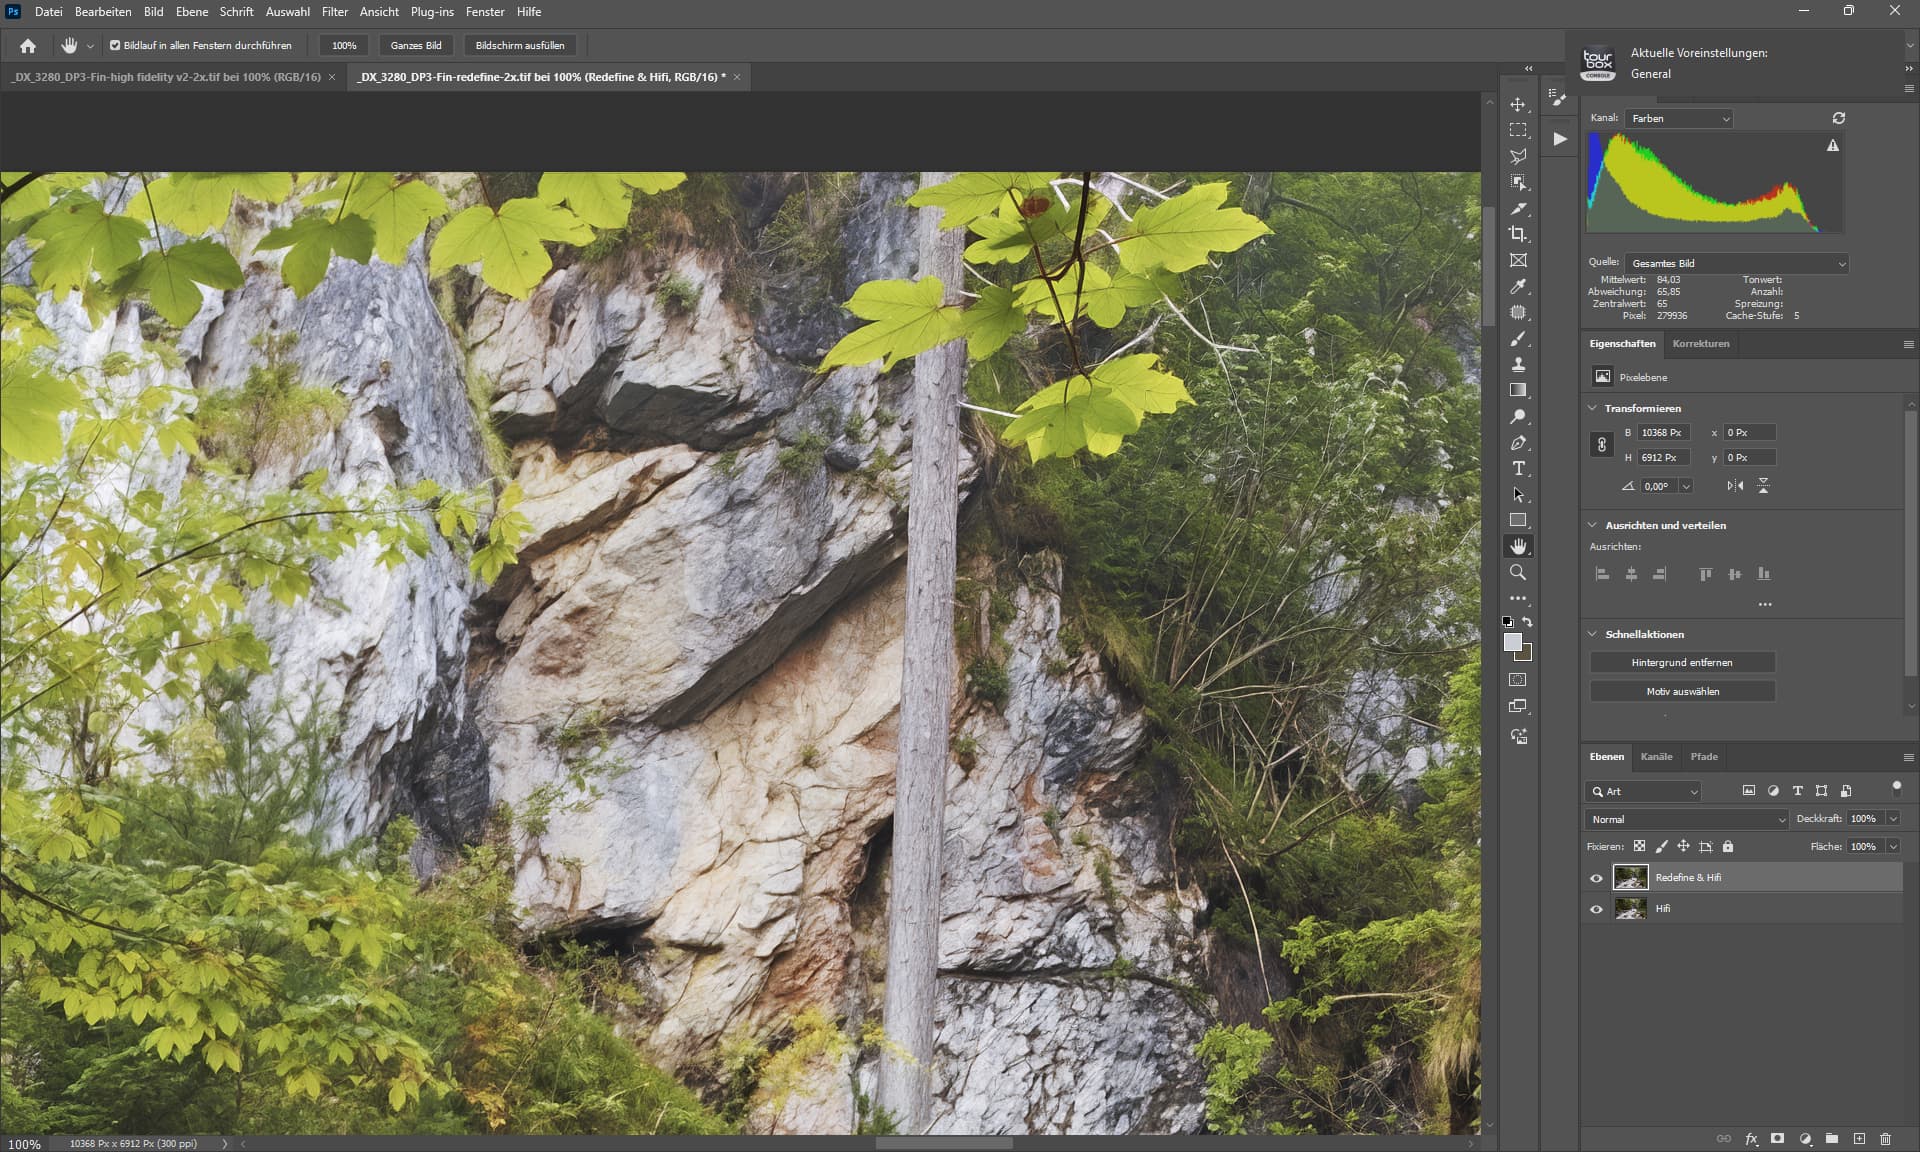
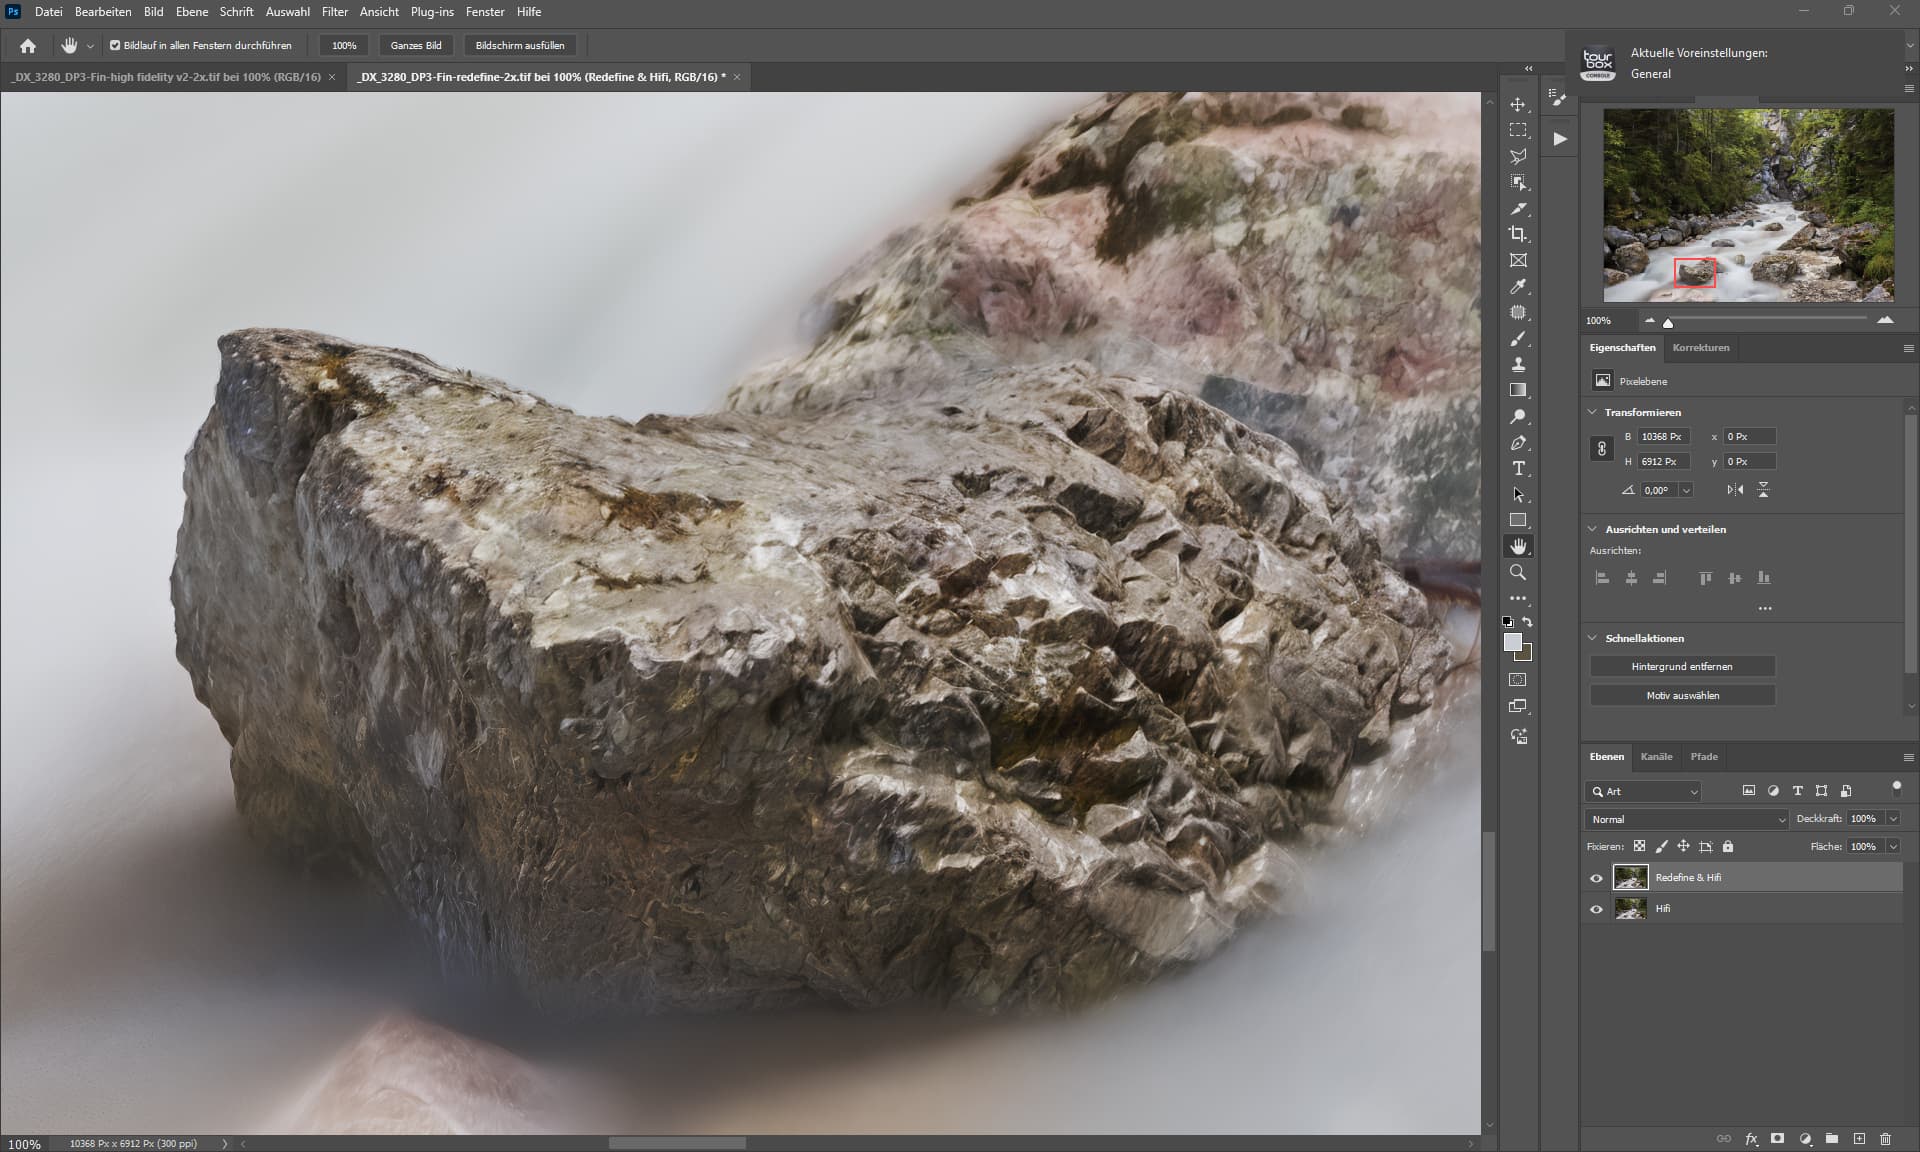
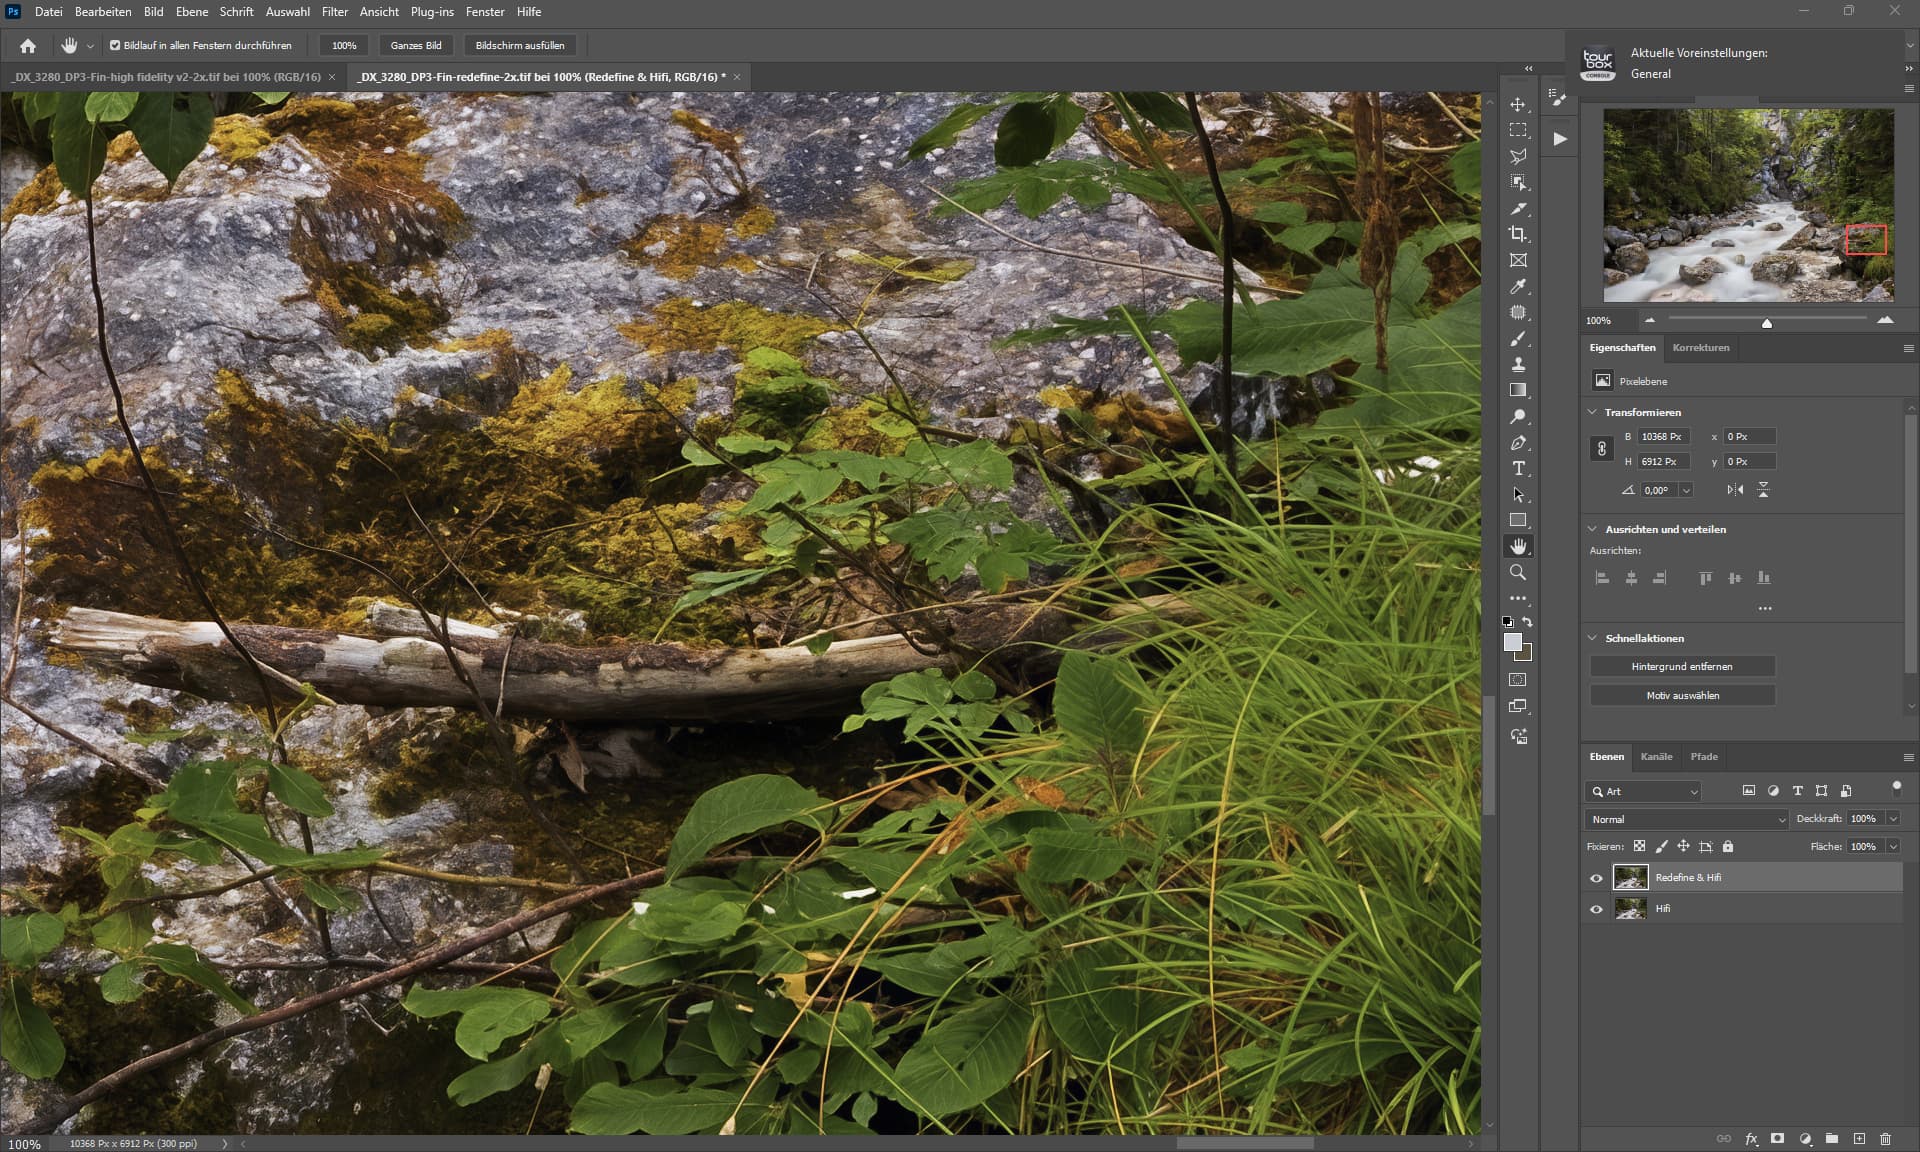
Redefine & Hifi & DxO Nik output sharpener

Hifi
Redefine & Hifi & DxO Nik output sharpener

Hifi
Redefine & Hifi & DxO Nik output sharpener

Hifi
The screenshot don’t capture how the image does look in reality, so i did post it here.
In this size you wont see the differences from enlargement.
Camera:
1DX, EF 24mm T/S, stack of 14 images to get the “milky” water.
Workflow:
Pure RAW 5, Capture One Pro, Photoshop, NDA Software (Color & Contrast), Gigapixel 8.3.3, Photoshop, blending the Redefine image into the Hifi image, DxO Nik Output Sharpener.
Nvidia GPU: RTX 4090
Driver:
576.02-desktop-win10-win11-64bit-international-nsd-dch-whql (16.04.25)
Music i was listen to through the whole process. ![]()
1 Like