The prompt I used to restore the image and the following:
“It significantly improves every detail of the photo. The image is sharper and blur-free. The texture of the jackdaw’s feathers is perfectly visible. The micro-details of the feathers are reproduced. The details of the grass are rendered with striking realism. The color of the grass is preserved. The jackdaw is sharper. The bird’s pose is faithfully reproduced. The eye color is preserved. The overall brightness of the image is preserved (cloudy effect). Quality equivalent to that of a Nikon D7200 digital SLR.”
I think so too.
Btw, that “Nikon D7200 digital SLR” is your camera or it serves here as a general representative of good cameras, moreover known to AI?
It’s only used as an example of image quality. Because I know it’s a very good camera. I’ve seen photos of people with this model, and they’re generally very good. ![]()
So by rating this device model, I am directing the quality that the AI should produce ![]() .
.
Here’s another example of photos with extreme enhancement. Going from the quality of a Galaxy S7 smartphone shot in 2018 to a significantly higher quality:
I used Nano Banana + Hypir, sometimes applying two passes of the same model, plus Topaz Photo with the Wonder 2, Standard Max, and High Fidelity models. A little ON1 Resize 2026, a little Flux2 Klein 9B distilled, and finally Gigapixel Redefine. I then blended the best of each in Photoshop and added depth of field using Adobe Camera Raw.
It took me all day to finish improving the two photos, but I’m happy with the result. I think it would be difficult to do better right now.
1 Like
I used Nano Banana + Hypir + Gigapixel Recover v2, as well as Topaz Photo with the Wonder 2, Standard Max, and High Fidelity and Standard models. I also used ON1 Resize 2026, Flux2 Klein 9B distilled, and finally Gigapixel Redefine and a last application with High Fidelity at x4 for certain areas of the grass that were difficult to recover. Enhancing the photo took me about half a day, but I’m quite satisfied with the result. I think it would be difficult to do better at the moment. I had to do a lot of blending and increase the resolution to a very high level before returning to the final resolution of 8160 x 6120 to obtain the best possible grass quality.
On a side note, I also made some minor adjustments to my image comparator.
I like it, there is a “context” of a piece of landscape where your panda moves and lives happily. Lawn, stream, trees, big rock, nice. In our, smaller zoo, we have a red panda too, I found out. I haven’t been there in ages, so when it gets warmer I’ll try to get a picture of her there if she’s not hiding.
You often mention using ON1 Resize; does it have something better or more suitable than the Gigapixel (or Photo) option?
In some cases, yes, it will be better than Gigapixel or Photo. Here, in particular, it was more successful at improving the details of tree bark and trunks, as well as wooden structures. It also improved the grass. So I use this program as an additional option, because I always combine the best areas that each AI model created in each iteration of the same image/photo.
Is it a female?
In Pairi Daiza park, there are 4 red pandas. 2 males and 2 females.
Female. She even already had a baby and is said to be doing very well.
Thanks for the info on ON1 Resize. I just got the ON1 Photo Raw Max 2026, I hope it doesn’t disappoint.
Dac I see and nice ![]()
In principle, you won’t be disappointed. In many situations, it handles certain details well. While it’s not as good as Redefine for fur or feathers, it handles grass or certain images with wood better. It also handles leaf details very well. If you look at the very back of my red panda image, the leaf details were rendered with ON1 Resize.
I haven’t tested ON1 Photo Raw Max 2026, although I have a copy of the software on my hard drive. I have ON1 Photo Raw and RAW Max 2026. I don’t know yet if I’m going to install it or not. I already have Photoshop with Camera Raw and Lightroom Classic.
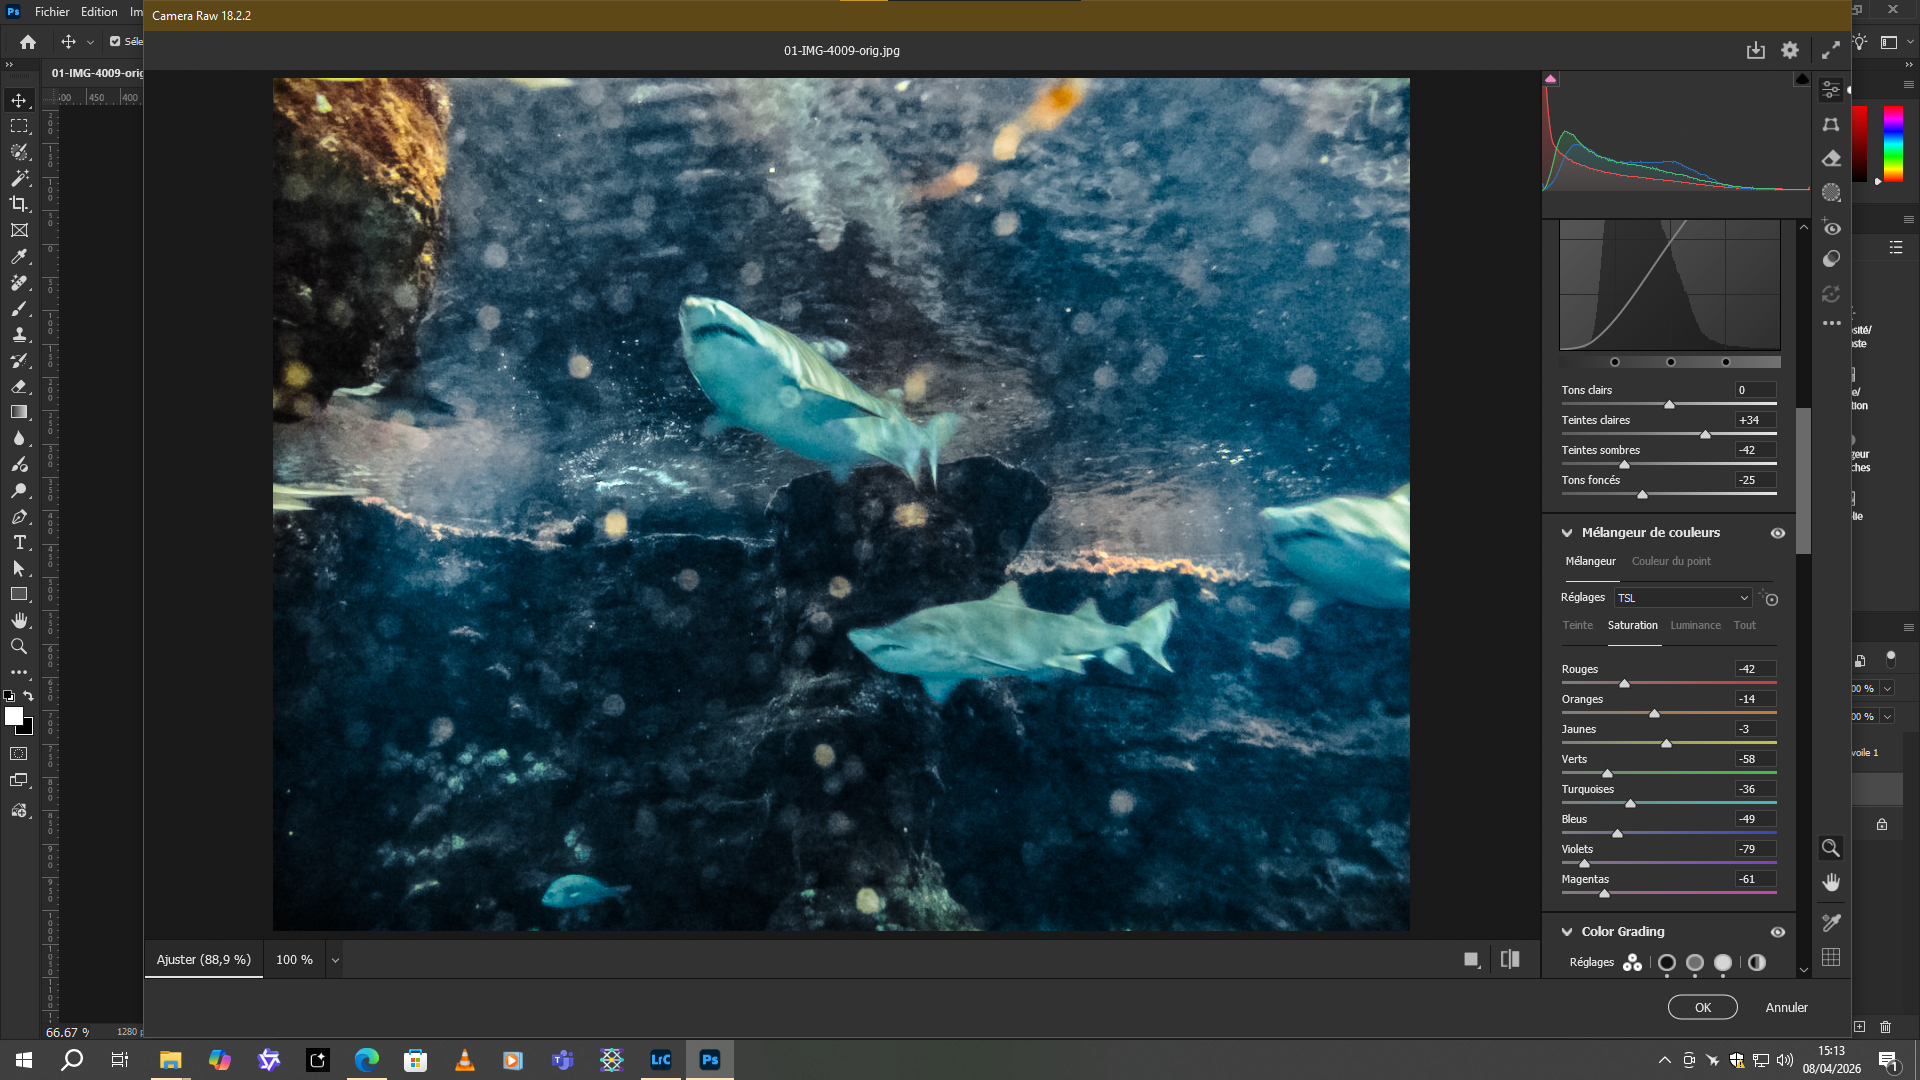
I tried to improve the sharks from the aquarium in Barcelona (old picture from 2013, I forgot to throw it away; Canon Powershot G10 at the time). These photos are complicated. Finally, I got to the moment when for about a minute the corridor by the aquarium was empty of people (no reflections of people in the thick glass) and at the same time the sharks were in a photogenic position.
HitPaw with Nano Banana v. 2 with Maximal Deblur gave me the best result after many tries. Followed by ON1 Resize (just to try that tool and its capabilities aren’t bad). I had to erase some weird stuff (caused by reflections in the water) using ACDSee 2026. It was laborious, but the original is hideous. Then I left it and put it on postimages.org hoping it would work with your before/after comparison. Nano Banana removed the effect of thick glass quite well. Focusing took the most work. So, it’s here:
I also had a Powershot cannon at one time. But it died a long time ago. (Supposedly due to a low battery problem, even though the batteries were fully charged.)
The improvement is truly excellent. But I noticed a small mistake. He removed the shark’s dorsal fin.
She is present here.
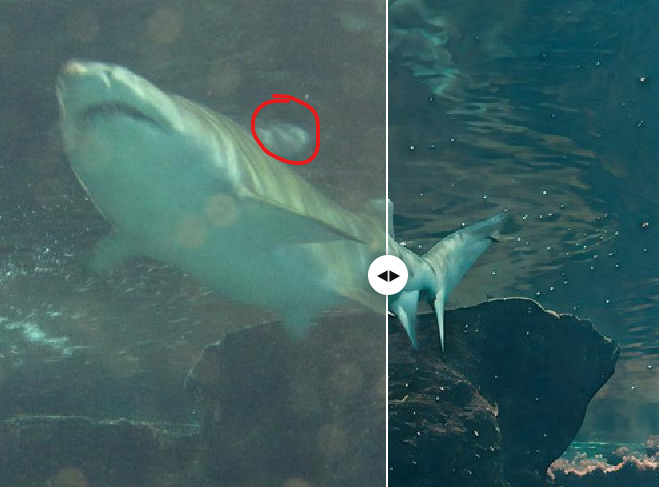
Here, she is no longer
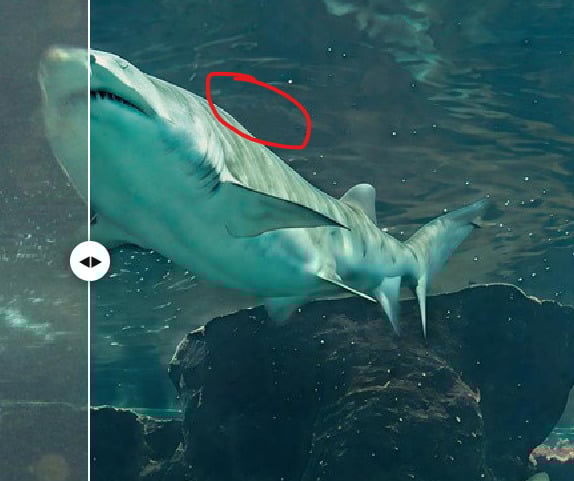
I noticed it right away ![]()
![]()
I made a tutorial for my image comparator. And I translated it into English afterwards.

And my GitHub page
Image-comparator/README_(en).md at imgsli · HDL34/Image-comparator
2 Likes
Yes, I noticed it right away too. But it resisted my several attempts, so I gave up. Of course, it could be achieved somehow, e.g. to smuggle a rear dorsal fin there fraudulently, but my fair attempts usually led to an even worse state (various big bubbles and the like). The picture is not very important to me and it takes too much time. But I was still pleasantly surprised by the result. I will forgive the artificial intelligence for the dorsal fin this time. ![]()
![]()
Perhaps by merging it with an original version that had a fairly strong veil correction filter, we could recover just the fin. It’s just a suggestion to explore ![]() .
.
I wonder (no relation to ‘Wonder’ TM) if the product’s detection sensitivity (generally, not just for one specific model) would benefit from a similar feature to what exists in Photoshop under the Select menu. It’s a long-time feature vs anything new.
There’s an option under Select to make selections using “Select Color Range.” In the dialog box for that feature there are two sliders. Fuzziness and Range. The handles for those sliders can be pulled up or down to adjust sensitivity of what to detect and select (color-wise); other parameters can be set there too that impact how the sliders work.
I believe Fuzziness is degree of tolerance for what someone’s trying to select (perhaps another term for Threshold, Tolerance or Similarity). And, Range controls how far the algorithm looks (ranges) from where the user clicks with the eyedropper to find colors. Low Range is close proximity. High Range looks throughout more and more of the image for color matches.
That kind of feature would probably have helped to recognize the fin with the shark image example; even though that fin is clearly a different tone of the hue than its surroundings.
I think there is also something similar in Affinity, but I haven’t tried it (yet).
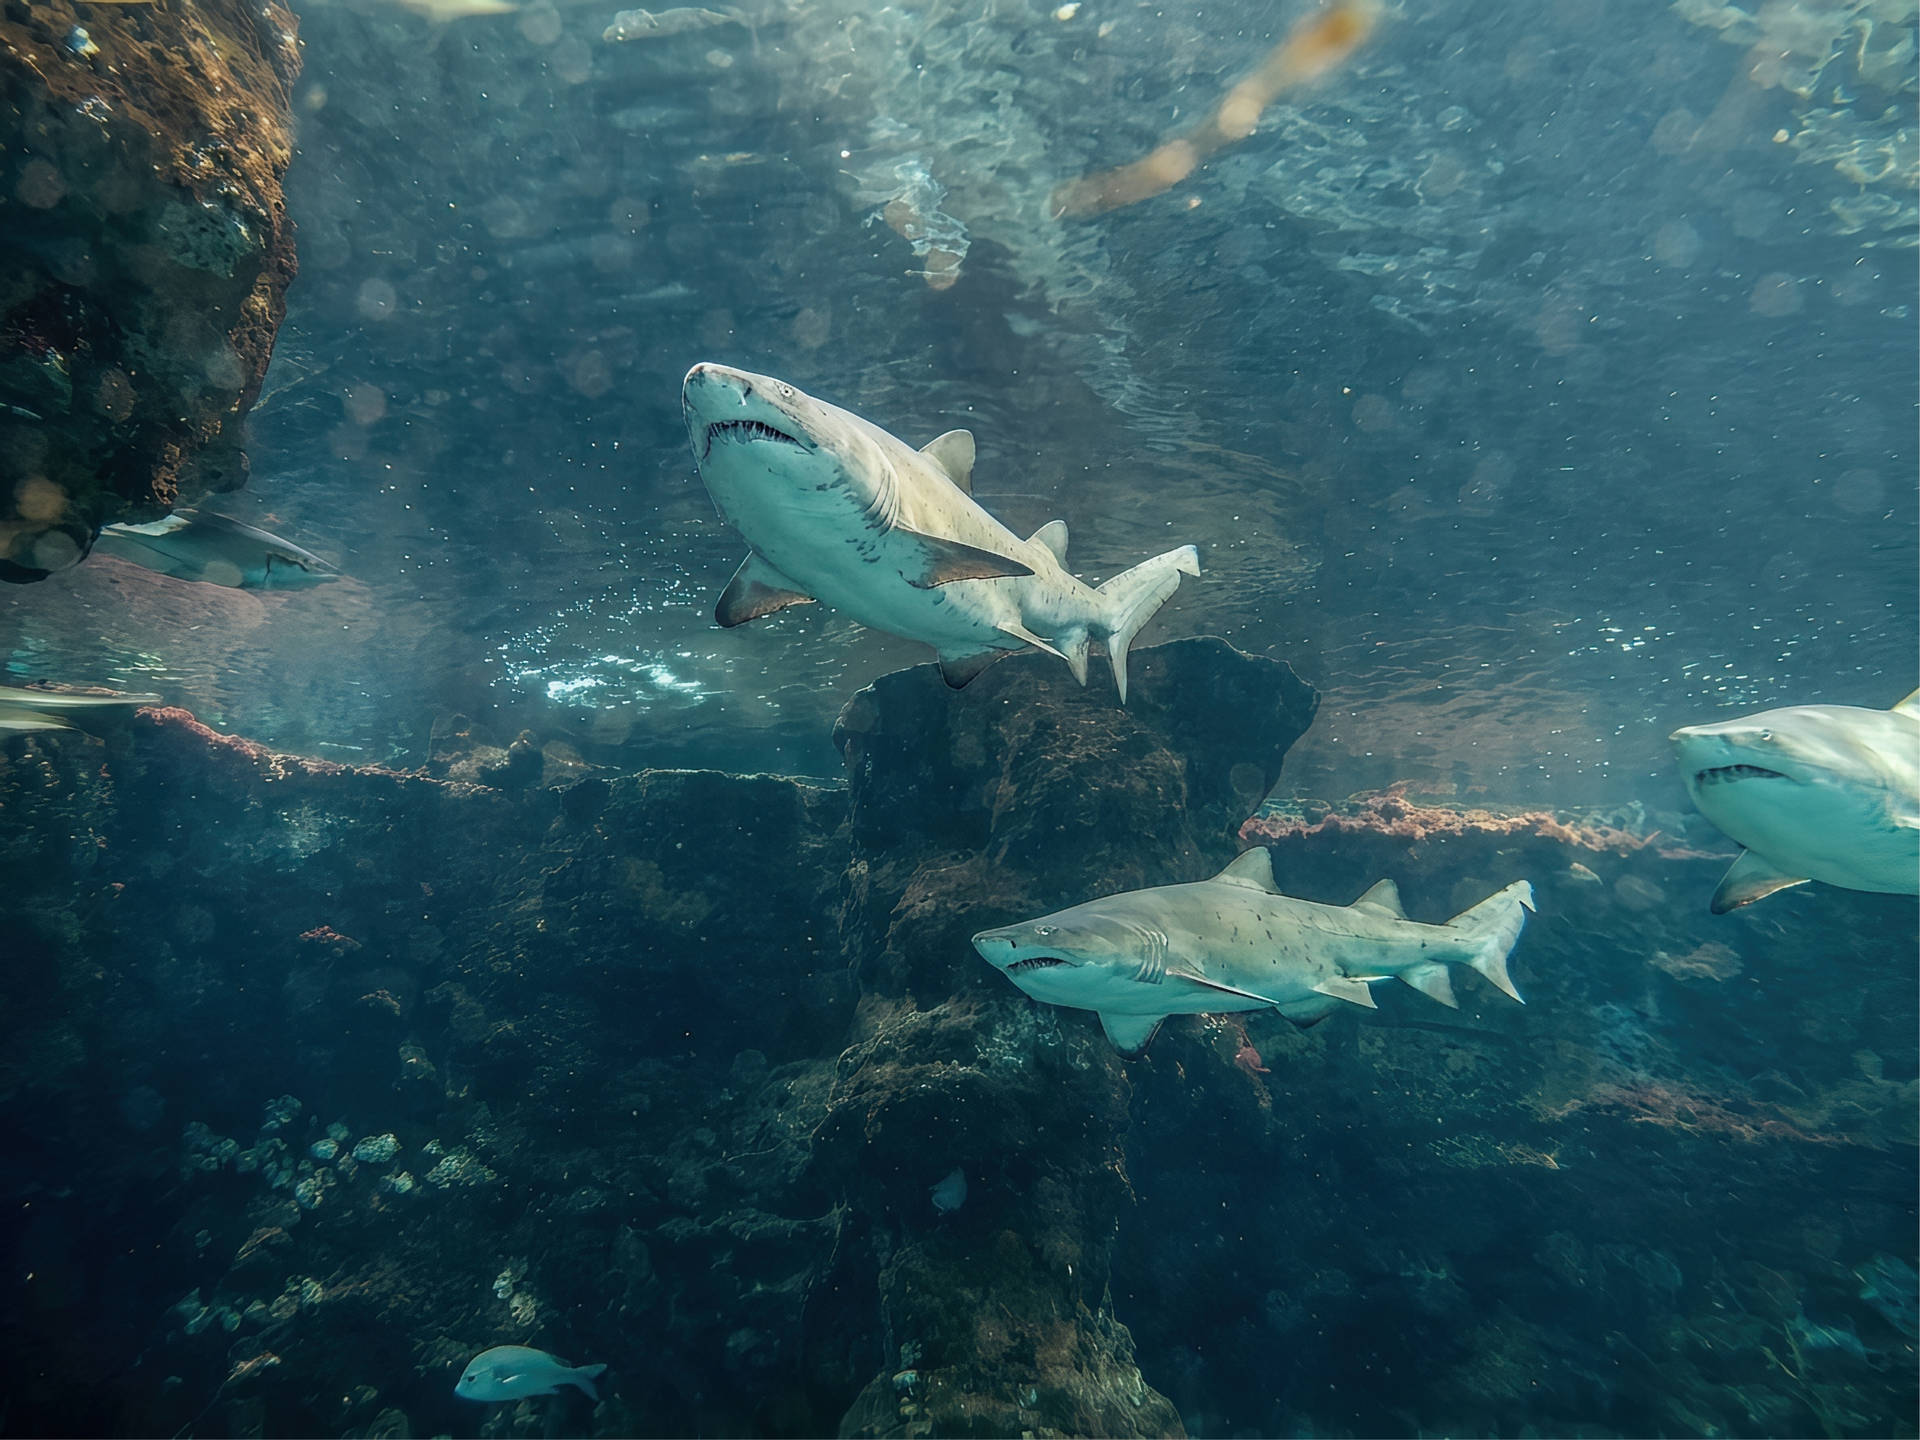
Okay, so to fix what I neglected due to my lack of diligence. I took the original and, with a trembling artist’s hand, drew a rough, rounded triangle in the place where the nice dorsal fin should be (inspiration from other sharks). Then I used a dropper to take paint from a suitable place on the shark and poured it inside the triangle. Of course, it wasn’t pretty at all, but I immediately used the reliable Nano Banana 2 as a rescue. My simple prompt was: Highly detailed shark body parts, same as in nature. The position and shape of the sharks must not be changed. I don’t know if that helped. I didn’t make any further adjustments (just resizing the image), because here it was basically only the fin problem. I’ll be more diligent next time ![]() . The result is here (the shark now smiles happily – a nice fake fin, huh?):
. The result is here (the shark now smiles happily – a nice fake fin, huh?):
1 Like
If one must encounter a shark, one always hopes it will be smiling and cheery!!! ![]()
![]() And, already well fed.
And, already well fed.
That’s a lot of manual work to make the fin findable…. but your result is really cool.
I think the Affinity ‘Select’ Color Range function lets users choose RGB. But I have Affinity 2 and don’t use it regularly.
1 Like
That’s already better. The overall detail is much better than the original without contrast. Here, the details stand out more. All that’s left is to mix the version with the remade fin with the version you showed me the first time, which is great without the blurry spots on the glass. And then it will be absolutely perfect. Worthy of a professional photo ![]() .
.