I had thought about going further, with that Idea of adding your own Grain because, what if I were to tell you can extract the actual monochromatic film Grain from your images or as near as possible and apply that to your enhanced versions and the reason I before didn’t mention it before was because, I didn’t want to over complicate my previous reply.
So, if you’re Interested, more on that later but first you need to read the next piece of information I think you will be pleasantly surprised.
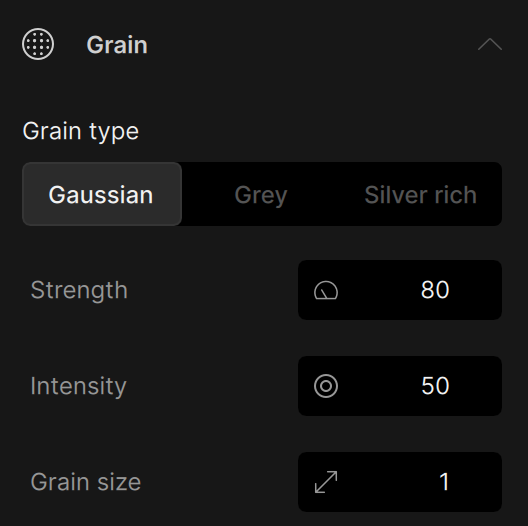
What you wish for Topaz Photo has already granted the Topaz Grain Filter isn’t just a generic noise filter that add the same noise across the whole image it actually uses AI to recreate traditional Film Grain and Digital ISO Noise
Silver Rich: Recreates that organic Film Grain look for each image and apply the Grain in varying amounts across the image based on tonal values.
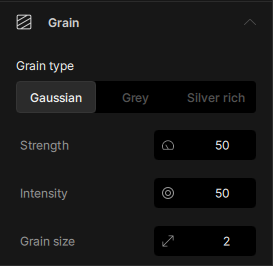
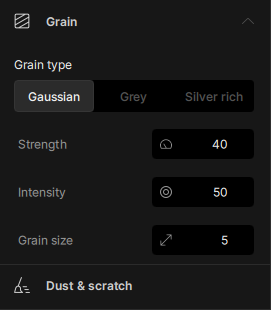
Gaussian: Recreates Digital Noise with a slight RGB colouring and applying noise in varying amounts based on luminosity
Grey: Recreates Digital Noise and apply it based on luminosity values without the RGB colouring for a more pleasing look especially for Compositing.
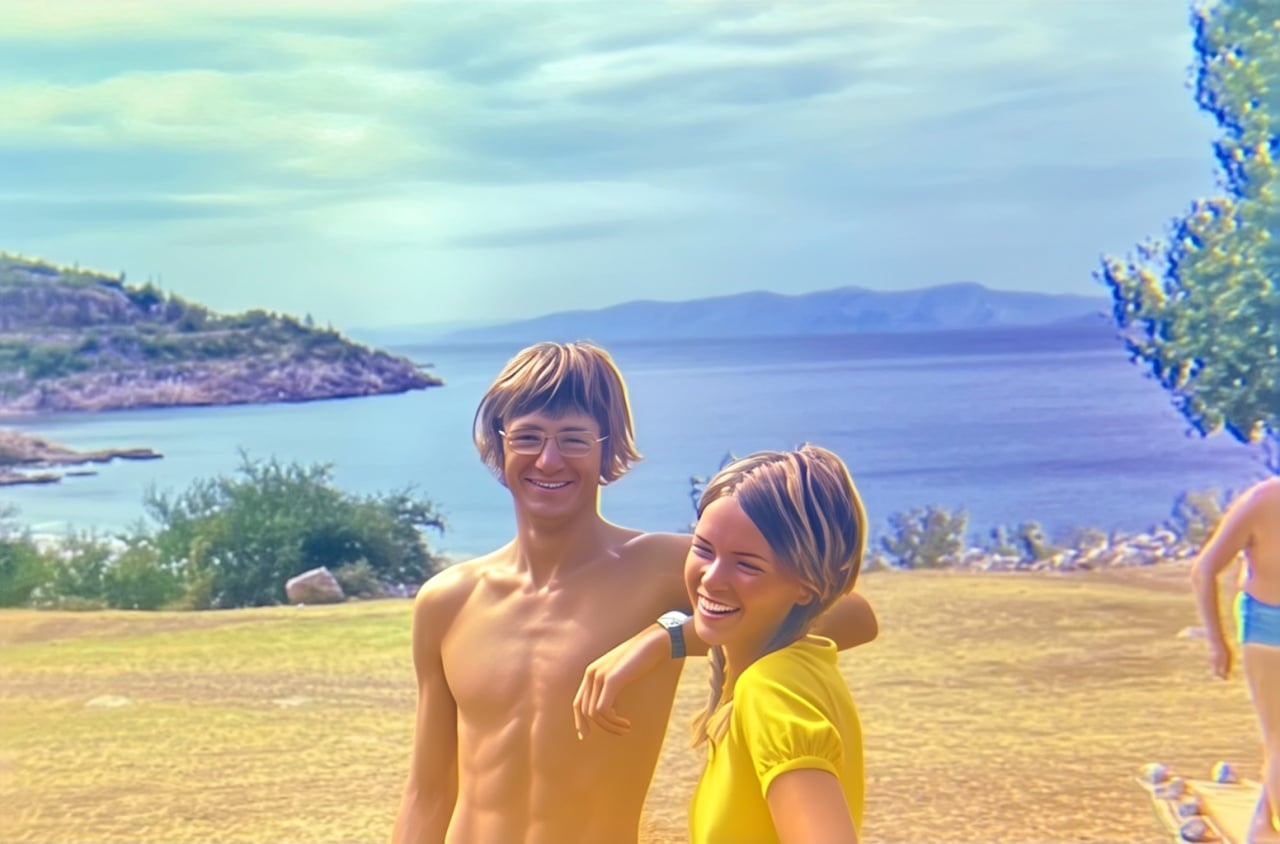
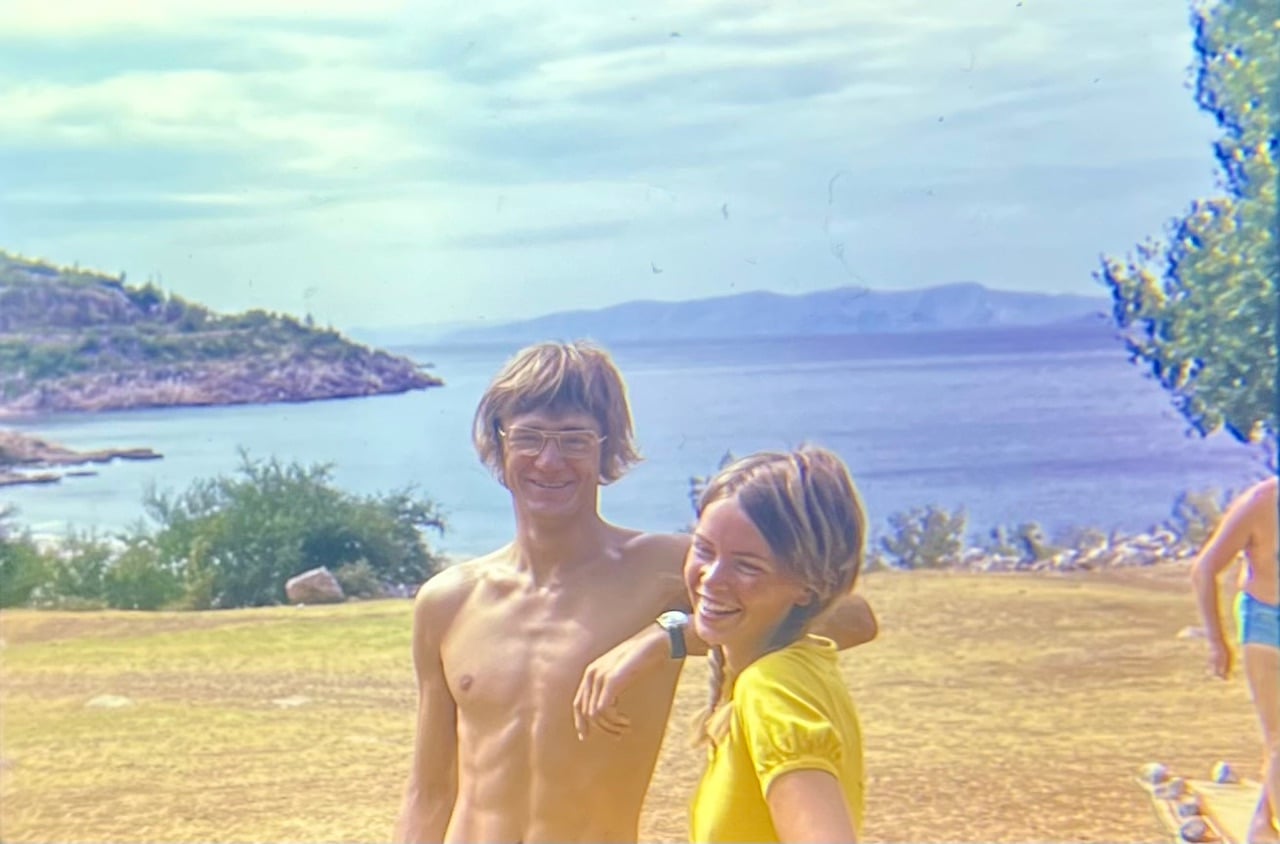
Incidentally, the reason I used Gaussian for your two images was because, although, they were taken with a film camera the scanner had introduced slight RGB colouring and I was staying respectful with to the originals
Here’s the official information from Topaz
Grain - The Finishing Touch for Natural Results
Grain is a new enhancement designed to solve a common problem with AI image processing: overly smooth, artificial-looking textures.
After denoise, sharpen, upscaling, or face recovery, images can sometimes lose natural textures or depth. Grain helps bring that back by adding controlled, realistic texture across the entire image.
This tool is meant to be used as a finishing step, the last enhancement in your processing, to subtly restore organic texture, improve atmosphere, and make results feel more photographic and less “AI-generated”. Avoid using this before other AI models as the grain will be distorted or processed away.
Grain includes three generation modes, with an example for each:
-
Gaussian - Adds fine, randomized grain that includes subtle color noise across channels. Best for recreating natural sensor noise and modern digital texture with smooth, even distribution.
-
Grey - Applies consistent monochromatic grain without introducing color noise. Ideal when you want added texture and depth while keeping color clean and stable.
-
Silver Rich - Simulates classic analog film grain with organic clumping and higher contrast variation. Designed for cinematic and vintage looks where texture becomes part of the aesthetic.
Each mode gives you different stylistic textures to match your image. You also get full control over grain strength, intensity, and size, allowing you to dial in effects from subtle realism to more stylized film looks.
The effect is applied directly to your export and processes nearly instantly, so it won’t slow down your workflow.
Very clever don’t you think, moving on:
Adobe Camera RAW and Lightroom Classic have a very good Grain Filter not as intelligent as the Topaz Photo version simply because, it’s not using Machine Learning but it’s no slouch either when it comes to applying the Grain and don’t forget you can use Topaz Photo as a Plugin with Photoshop and Camera RAW as a filter so, the best of both worlds.
Alternatively, there are quite a few third party image editors Affinity, ON1, DxO and other software for adding grain Dehancer or FilmConvert you can try
Finally applying the Film Grain from your original images using one of the oldest Filters in Photoshop the Dust & Scratches Filter and no AI or complex Layers.
Here’s how:
-
Step 1. Open one of your original untouched images in Photoshop and press Control J to duplicate the Background Layer and zoom in to 100% to see the true strength of the effect.
-
Step 2. Go to the Filter Menu then, Scroll down until you see Noise then, pick Dust & Scratches from the list to open the Filter.
-
Step 3. You will be presented with two Boxes Radius and Threshold think of Radius as the Blur and Threshold as the Texture
The way this works we need to completely Blur the image removing all details with the Radius and bring back the Grain texture with Threshold.
- Step 4. Click on each Box and Type 0 then, change the Radius Number until everything is blurred between 30 and 70 should be significant then, change the Threshold Number to a much lesser extent until you see the Texture return but, don’t overdo it between 6 and 15 should be enough
For the Boat Scene I found a Radius of 40 and a Threshold of 12 is a good amount and for the Church a Radius of 60 and the on 12 will do the job
-
Step 5. Once you’re happy with your settings in the Dust & Scratches Filter Click on OK
-
Step 6. If there are any blemishes left for example, in the Sky then simply remove theses with the Spot Healing Brush.
-
Step 7. Next still with the Dust & Scratches Layer selected goto the Filter Menu and Scroll down to Other then select High Pass from the list
-
Step 8. This one is easy firstly, your view will change to grey don’t panic that’s what we want to happen and secondly, there’s only one Box and change the Number to Two (that’s the Number Two and not a 2,2,Train  sorry couldn’t resist) and Click on OK.
-
Step 9. Simply change the Blending mode of this Layer from Normal to Linear Light and the gey will disappear leaving only the texture behind and you’re done
The reason we selected the High Pass was because one, it makes everything 50% Grey and secondly, it subtracts the Texture Frequency from the colour plus, when you select Linear Light anything that is Grey will become Transparent in appearance.
Tip: if you think the texture is too much Simply reduce the Opacity and if you feel the effect is not enough Simply Duplicate the Layer and either decrease the Opacity or change the Blend Mode to Overlay or Soft Light to reduce the effect and adjust the Opacity accordingly.
Apologies for another delay, but, I hope you’re pleased with the options I’ve provided also, if you’re still interested in knowing more I can tell you how to use the Blend If Sliders to Target the Highlight, Midtones and Shadows separately
Hope this helps
Andy