Here’s a suggestion for Topaz Photo - When there is text within an image, if possible, turn on the preserve text option when autopilot is applied.
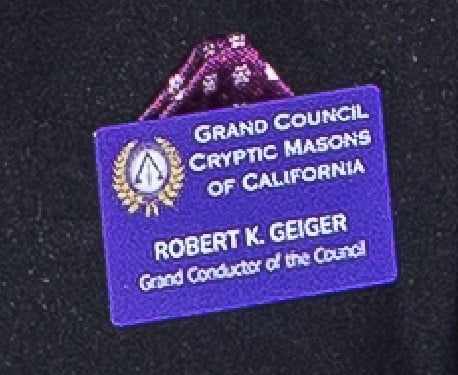
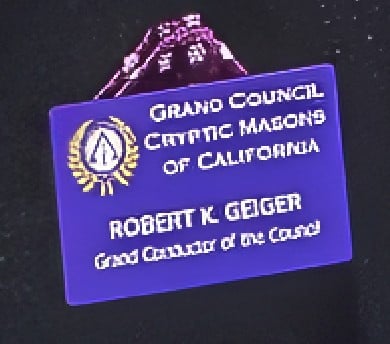
I shoot a lot of people with name badges on, and when the processing image for autopilot - and it’s only applying recover faces and sharpen, or denoise, the names badges don’t look the same.
I have to go through every image and touch them up individually.
If you can add that feature to detect and preserve it, that would be great.
I am doing some closer look at the preserve text, and even when I mask it, it is still being modified a little bit, and looks slightly distorted from the original text.
This is something that I have noticed for a while. Any and all help would be appreciated.
Have you by any chance considered using the Wonder Model for your problem specifically versions 2 and 3 because, unlike using Denoising Sharpening and Upscaling separately the Wonder Models Denoise, Sharpen and Upscale in a single process including enhancing Text
I realise it’s not the solution you’re asking but, it is another option for you
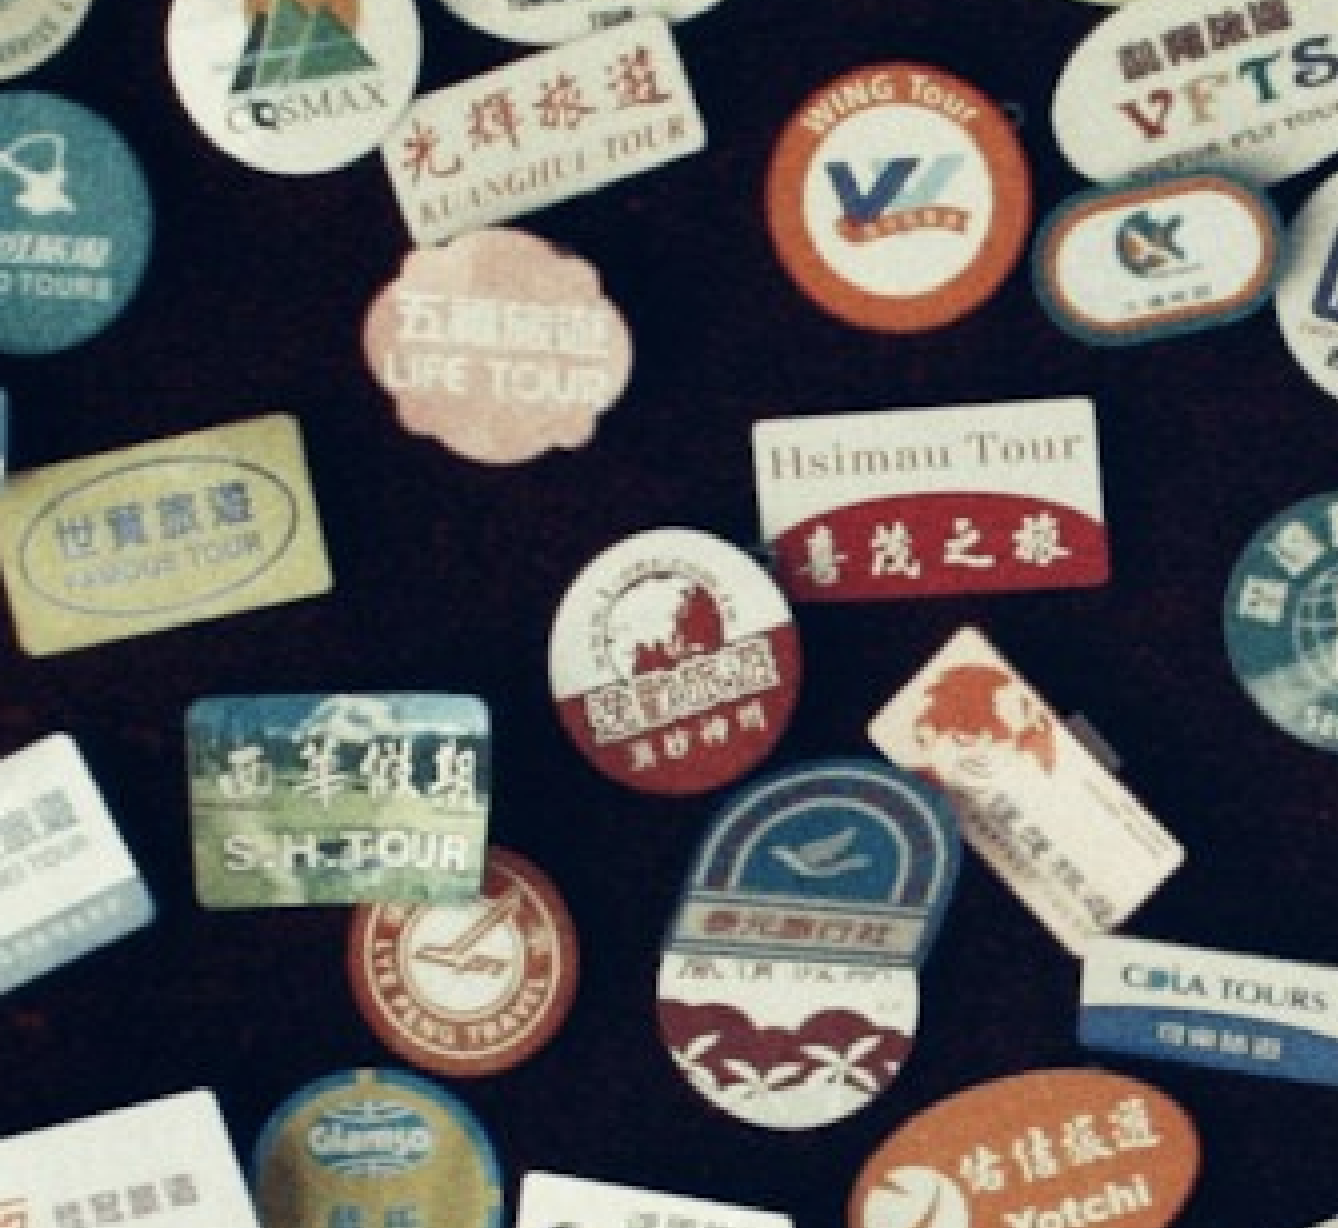
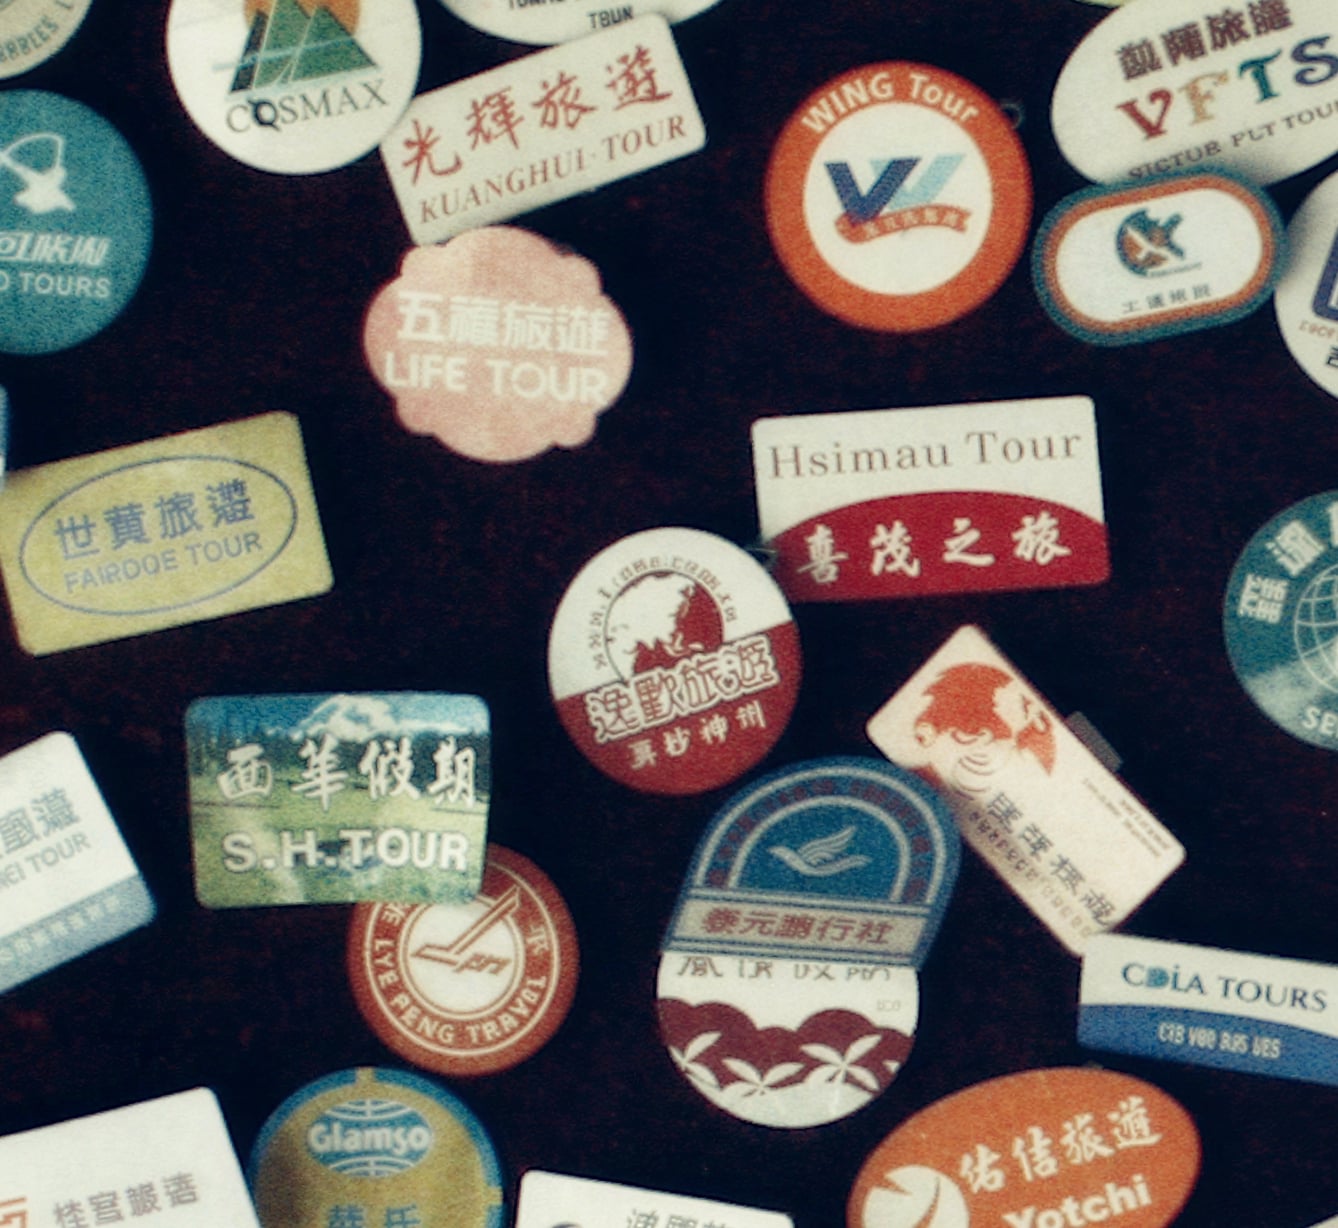
Here’s a perfect before and after example of badges for you
Here’s some information about the different Wonder Models
Wonder Versions
Wonder (v1): Best for heavily compressed or very low-quality images that need strong cleanup. Produces more aggressive, stylized results and can over-process in some cases.
Wonder (v2): Best for low-resolution or challenging images where realism is the priority. Produces cleaner, more natural results than v1, but can be more conservative on very low-detail images.
Wonder (v3): Released in Topaz Photo v1.5.0 - Best for recovering detail across a wider range of low to mid-quality images. Improves on v2 with stronger recovery, more realistic textures, and better handling of false resolution with minimal user input.
Wonder 2 - One-Click Realistic Enhancement for Challenging Images
This is our most impressive all-in-one realism model so far. It’s built to handle extremely difficult images and produce outputs that look clean, natural, and professional. Wonder 2 is a great choice when realism is the top priority and you want a safe model for professional work.
Wonder 2 is has significantly reduced artifacting delivering our cleanest, most reliable results to date. It avoids haloing, texture smearing, edge distortion, and unnatural sharpening. This helps produce outputs that look more natural, professional, and ready to use.
It also is text-safe, helping keep logos, signage, and readable text intact when source quality allows. This makes Wonder 2 a strong choice for business, marketing, and commercial images where clarity and accuracy are important.
Images with very challenging text have met their match. Before and after processing with Wonder 2.
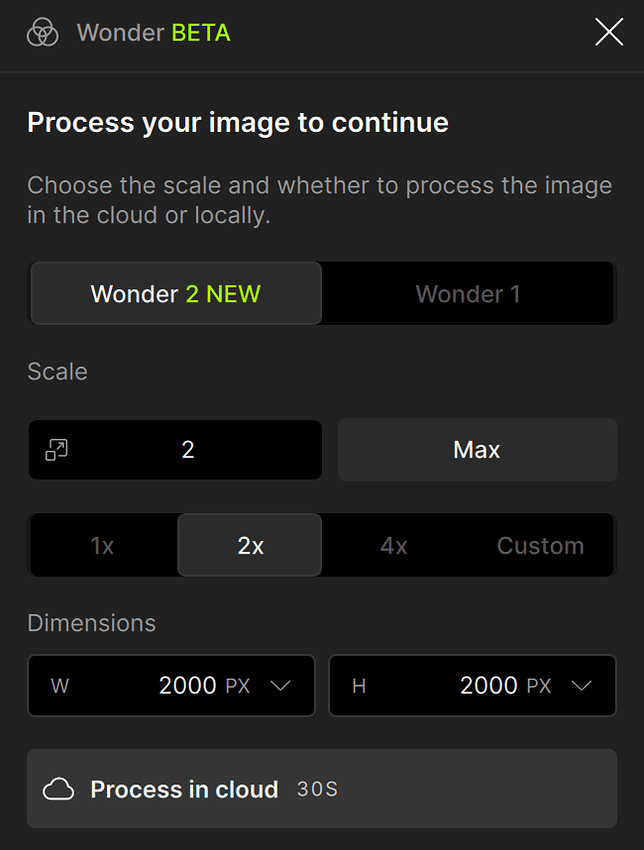
Wonder 2 is intentionally simple to use. There are no creativity sliders or tuning parameters. Select the enhancement, choose your upscale size if needed (you can also run 1x to improve your image without resizing) and run it. The model handles the complexity behind the scenes, making it ideal when you want consistent, high-quality output without manual adjustment.
Wonder 2 performs best on low-resolution or challenging source images that need strong cleanup and enhancement. For already high-quality images, it may be unnecessary, but it can still be useful for light cleanup or consistency improvements.
Because of the high requirements to run this model, Wonder 2 is currently available as a cloud-only feature. The maximum cloud output size is 128MP.
Wonder 3 — Smarter Recovery Across More Images
Wonder 2 set a high bar for general enhancement, but it was not yet at the level we were hoping for recovery. Low detail images, whether blurry, soft focus, or false resolution, saw limited improvements after processing, hitting the limits of what Wonder 2 could handle. Where Wonder 1 may have over-processed images and made them look artificial, it felt like Wonder 2 was not doing enough to improve images. It fell short, so we continued improving it to build the next version.
We tested Wonder 3 and quickly found it to be an extremely capable model. It handles images of all sizes and quality. The low quality images that Wonder 2 did not improve enough were easily recovered with Wonder 3, with an emphasis on realism. The new model produces high quality details that previous Wonder models struggled with. Wonder 3 handles difficult false resolution cases extremely well with no extra controls needed. You get better results on a wider range of images without having to intervene.
On this portrait, the skin and hair textures are photorealistic. Usually, AI models create smooth skin and hair with repetitive structure. Here, the hair seems to weave naturally around itself and fall down as expected. The skin textures are also imperfect as you would expect.
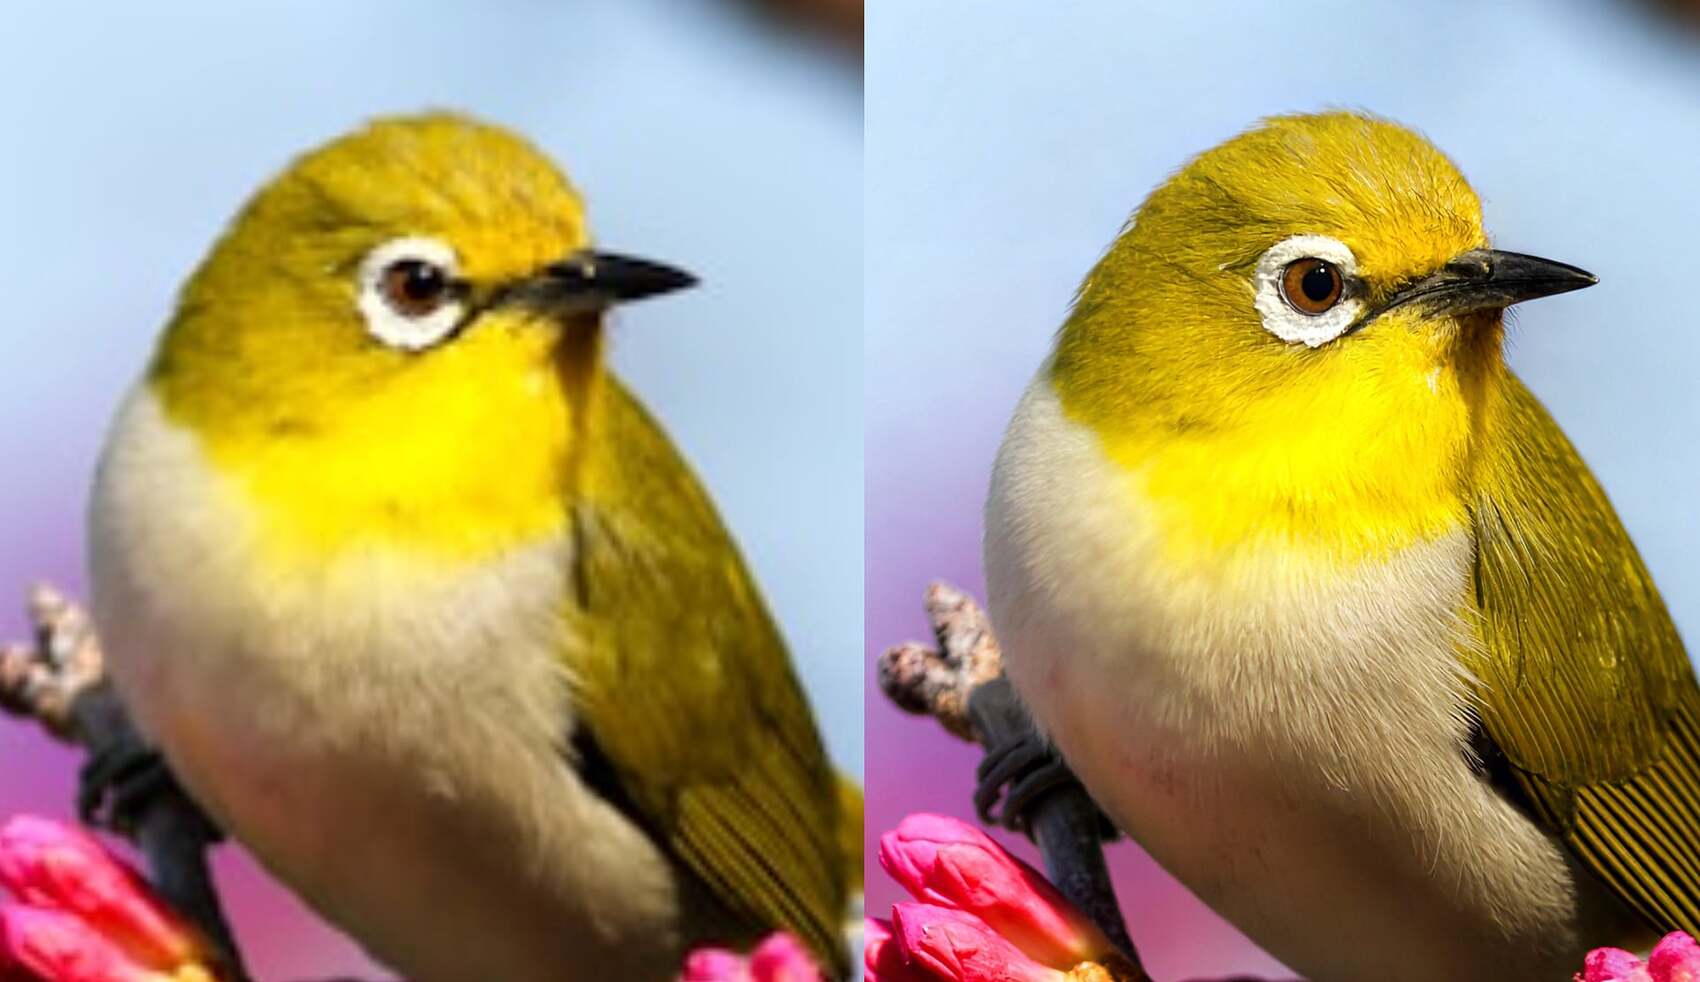
Here’s another example with wildlife imagery. The eyes and feathers where we focus our attention is sharp. The feathers have a blend of softness and detail for a convincing result.
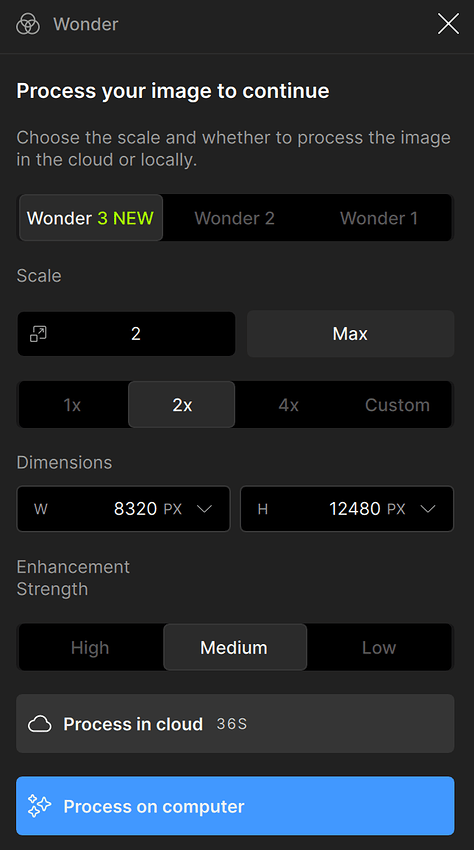
The model has two controls. Scale sets your target output size. Enhancement strength controls how generative the model is, giving you more powerful recovery when the image calls for it. Strength is paired with our image detail auto detection: when a low detail image is detected, strength is set automatically to produce the best result. For most images you won’t need to touch it.
Wonder 3 runs on Neuroserver which processes locally for NVIDIA, AMD, and Apple Silicon devices, just like Wonder 2 and other Neuroserver based models. For users with other hardware (Intel Mac, Intel GPU) or slow GPU processing, cloud render is available up to a maximum of 100MP in size.
Here’s the link for the Documents page information
The Wonder option is good for low-resolution or low quality shots.
I’m shooting with a Canon 5D IV. High resolution, shooting in RAW, with a powerful flash.
Here is an example of the processing being done, even when the option to Preserve text has been selected painted on a certain area.
In the original, you can see the text. The processed image doesn’t preserve the text, it still endeavors to clean up the image, even with the Preserved text option selected.
I understand what you’re saying about the Preserve Text option and it may be undated in the future however, may I also, bring you back to the Wonder Models which can handle your Canon EOS 5D IV resolution but, I would recommend for high powered lighting the Wonder 3 Model which is more than capable with your Canon 5D
You are correct that the information clearly stated low to medium images but, that actually means the lower the resolution the harder the model will work to enhance the image so, if you have a higher resolution images like yours the effect of the Wonder 3 model is less apparent.
Because it is clever enough to know to only enhance the image where it’s needed with Denoising, Sharpening and Enhanceing however, when it comes to text, the Wonder 3 model handles things entirely differently than a standard upscaler or the legacy “Preserve Text” filter.
Instead of treating text like a generic photo texture which often causes standard models to warp, melt, or blur letters into strange patterns the Wonder 3 acts as an all-in-one engine that actively recognizes text, logos, and symbols as distinct geometric structures.
Please try it for yourself because, I believe you will be presently surprised with the results
I don’t remember the revision number, but I do miss the performance of Preserve Text back before it was dialed back to what we have today. There was a short time period when it was like magic to include accurately matching the font’s typeface. I’ve alway suspected that they had trained Preserve Text to do that with scaled examples from actual font files, and that created legal issues for them. Since then the approach has been fundamentally different, and the results less spectacularly accurate.