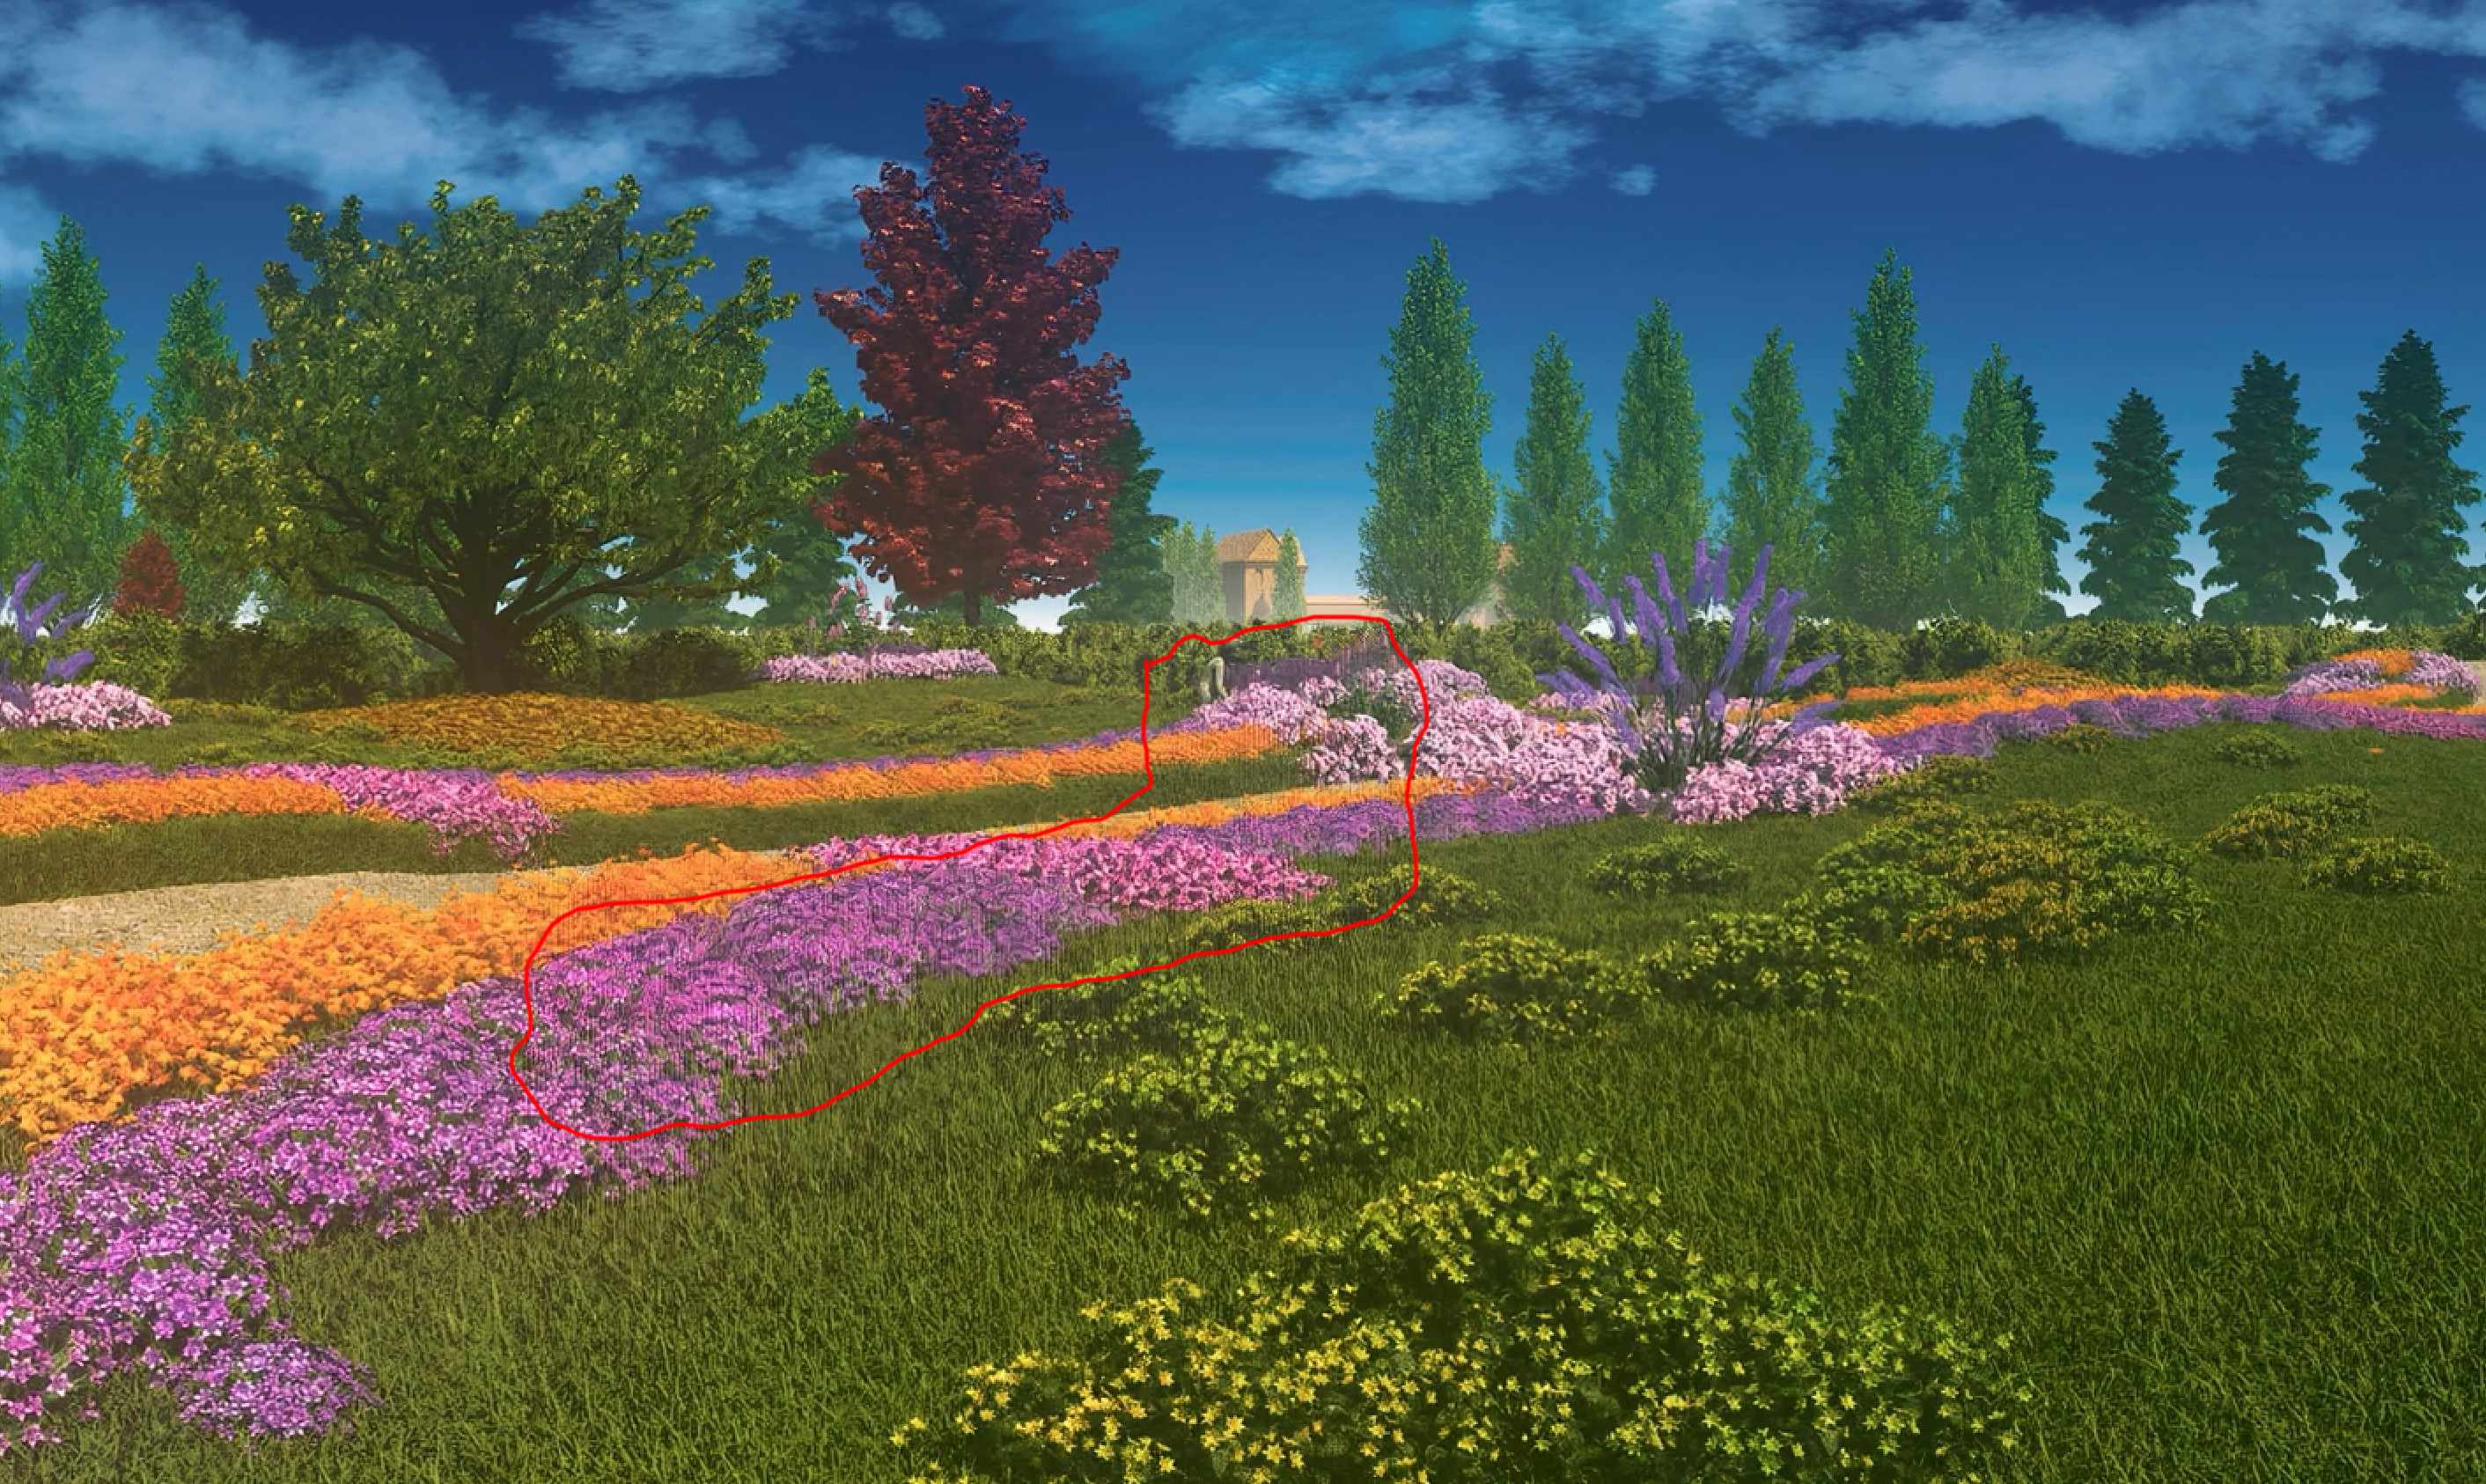
Hi, I am upscaling VR videos from 4096 x 4096 to 8192 x 8192 pixels, I use Topaz Video 3.1.10 with Proteus algorithm. The quality is really impressive but in some cases I am getting vertically lined areas like vertical line patterns. as you can see in the screenshot that I attached inside the area marked in red.
Does this happen to anyone else? any idea how to avoid it?
I’m on Windows 10 PC and with an RTX 2070 card
Ok I don’t see any way to attach an image… How you do this?
Hi, Thank you for you fast answer.
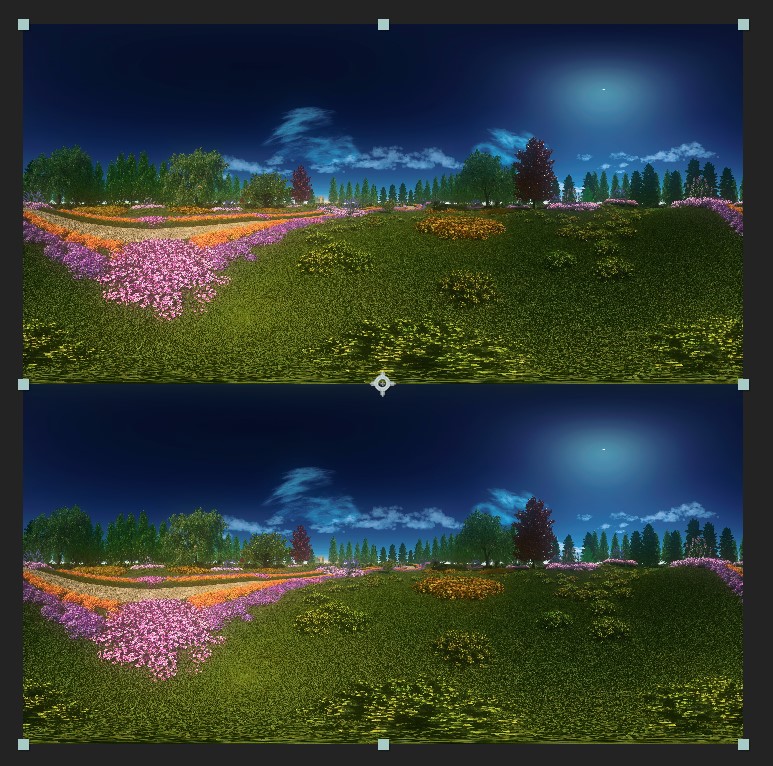
I’m using the ProRes LT, But I can see these patterns also in the preview window not in the first frame but in nexts frames. that you can see here:
The format in which I am upscaling it is over/under VR format and curiously the patterns appear in the same place in each image in each eye:
The work that Topaz Video AI does is really good but I don’t know why exactly those areas have this problem, this has happened to me in more videos but in this case it is very noticeable.
Any help will be very welcome.
I notice this is prominent on reds and pinks.
I use Resolve to colour correct then Temporal NR Luma and Chroma + Spatial NR Chroma only.
Cleans it up a treat
Hello, do you mean that this effect of vertical line patterns occurs only in areas that are over saturated with color?
It is probably related to the over saturation since it always appears in the same place in the two images both in the left eye image and in the right eye image.
I have seen that it always occurs in regions.
I will do some tests to see if this is corrected by making a low saturation copy.
Hi, I have done some tests with much less color saturation and the result is the same, the vertical patterns still appear, it seems that the issue is occurring at another level.
i think you should be using (better use) Gaia CG for that upscale.
Do a preview 5 sec export on the same scene you see those lines and see how it compares to your Proteus attempt.
Hi, thanks for your answer, I have done some tests with Gaia CG and indeed the patterns do not appear but the upscaling quality is much lower than Proteus, it does not work for me.
If I had at least some control over the intensity of the sharpen, maybe it would work.
It’s not that easy, both the Anti-alias/Deblur and Sharpen sliders can do the same thing. I have never found a way in Relative to Auto to get them to be near 0.
Manual is the only way.
They almost do the same thing, but I found the later (sharpening) adds more artifacts then Deblur at higher values
Relative auto at “0” doesn’t mean it set it to “0”, what it means that you don’t wish to override the Auto setting for that filter, so it leaves that value at “Auto”.
In other words Relative Auto at “0” = Auto (not “0”)
That can’t be set in Gaia. he was referring to Gaia that he would like to have it sharper.
I guess Relative to 0 is the same as asking for an Estimate in Manual and then adding or subtracting values from each parameter.
So far the best result I have with Proteus is with AntialiasDeblur at around -80 and increase 10 for Detail recover and Sharpen over the Estimate data. this gives enough quality without the vertical square patterns appearing too much.
I have also tried with Theia which has Sharpen control but the Proteus algorithm is far superior at least with these large 8192 x 8192 formats. Same with Gaia HQ.
I don’t understand why these patterns appear in some areas and not in others. The first frame of the Preview is perfect but in the following frames these patterns appear.
I guess someday they will fix this and then it will be fantastic.