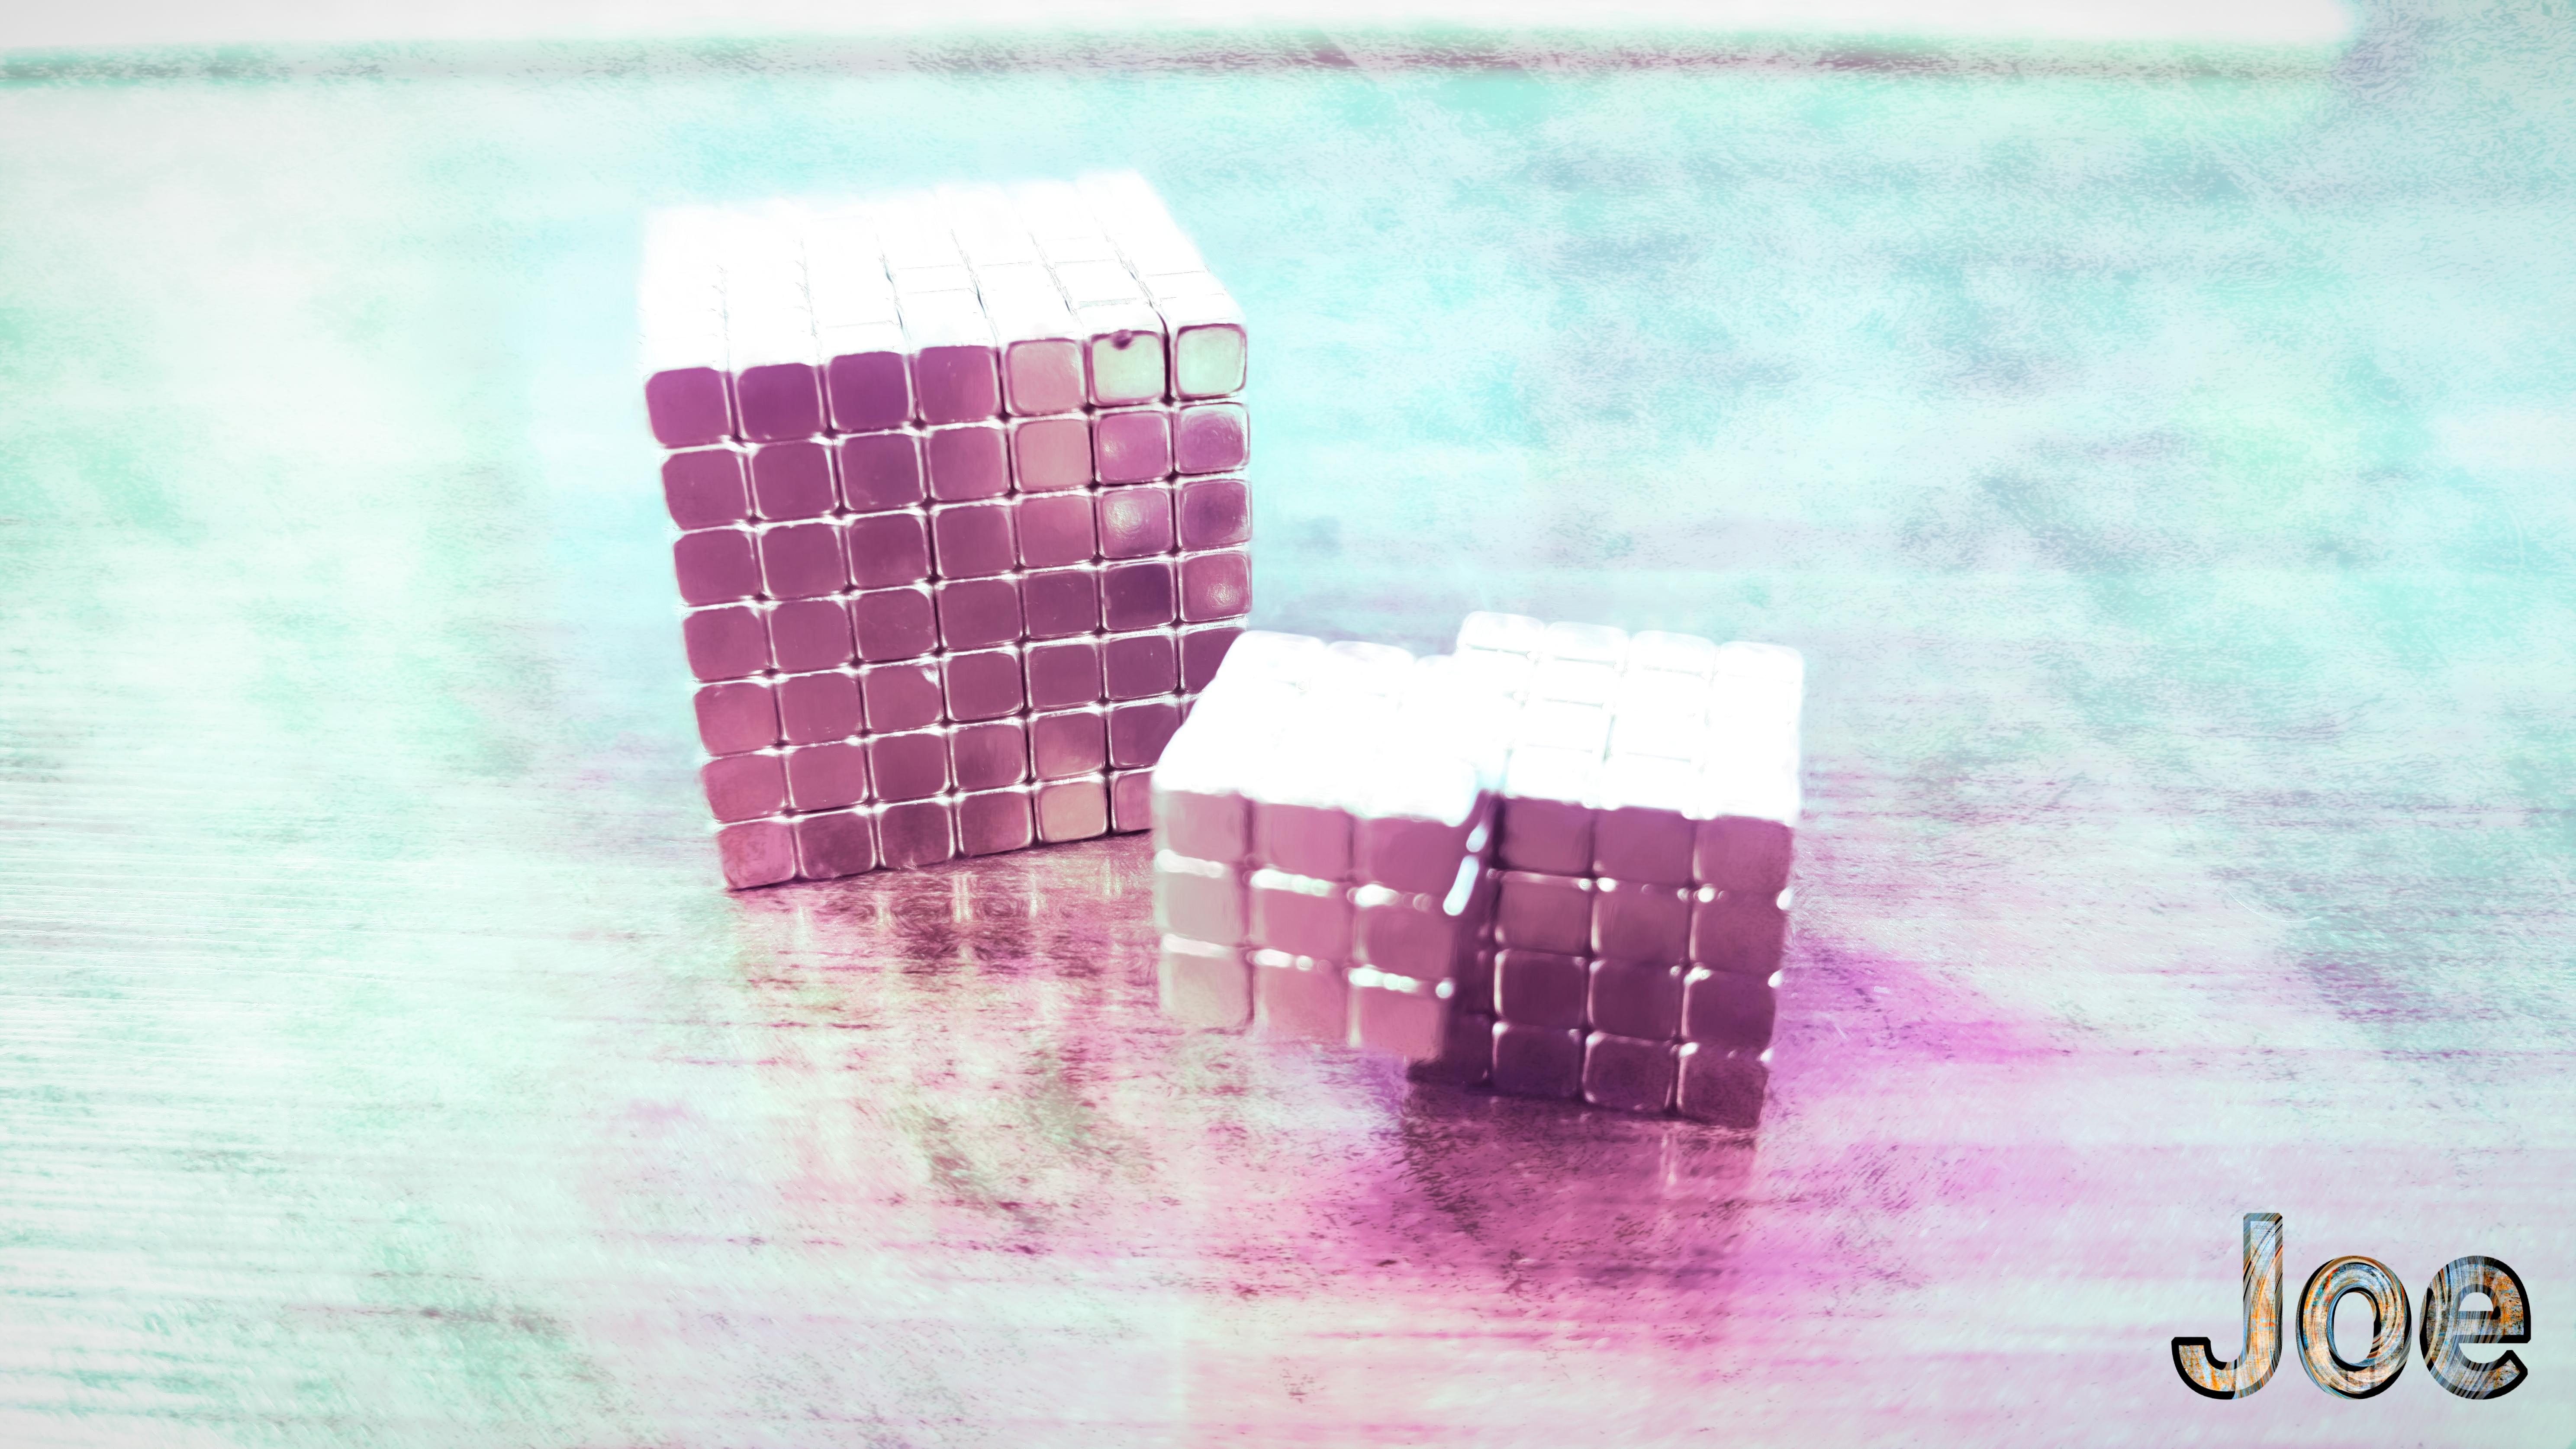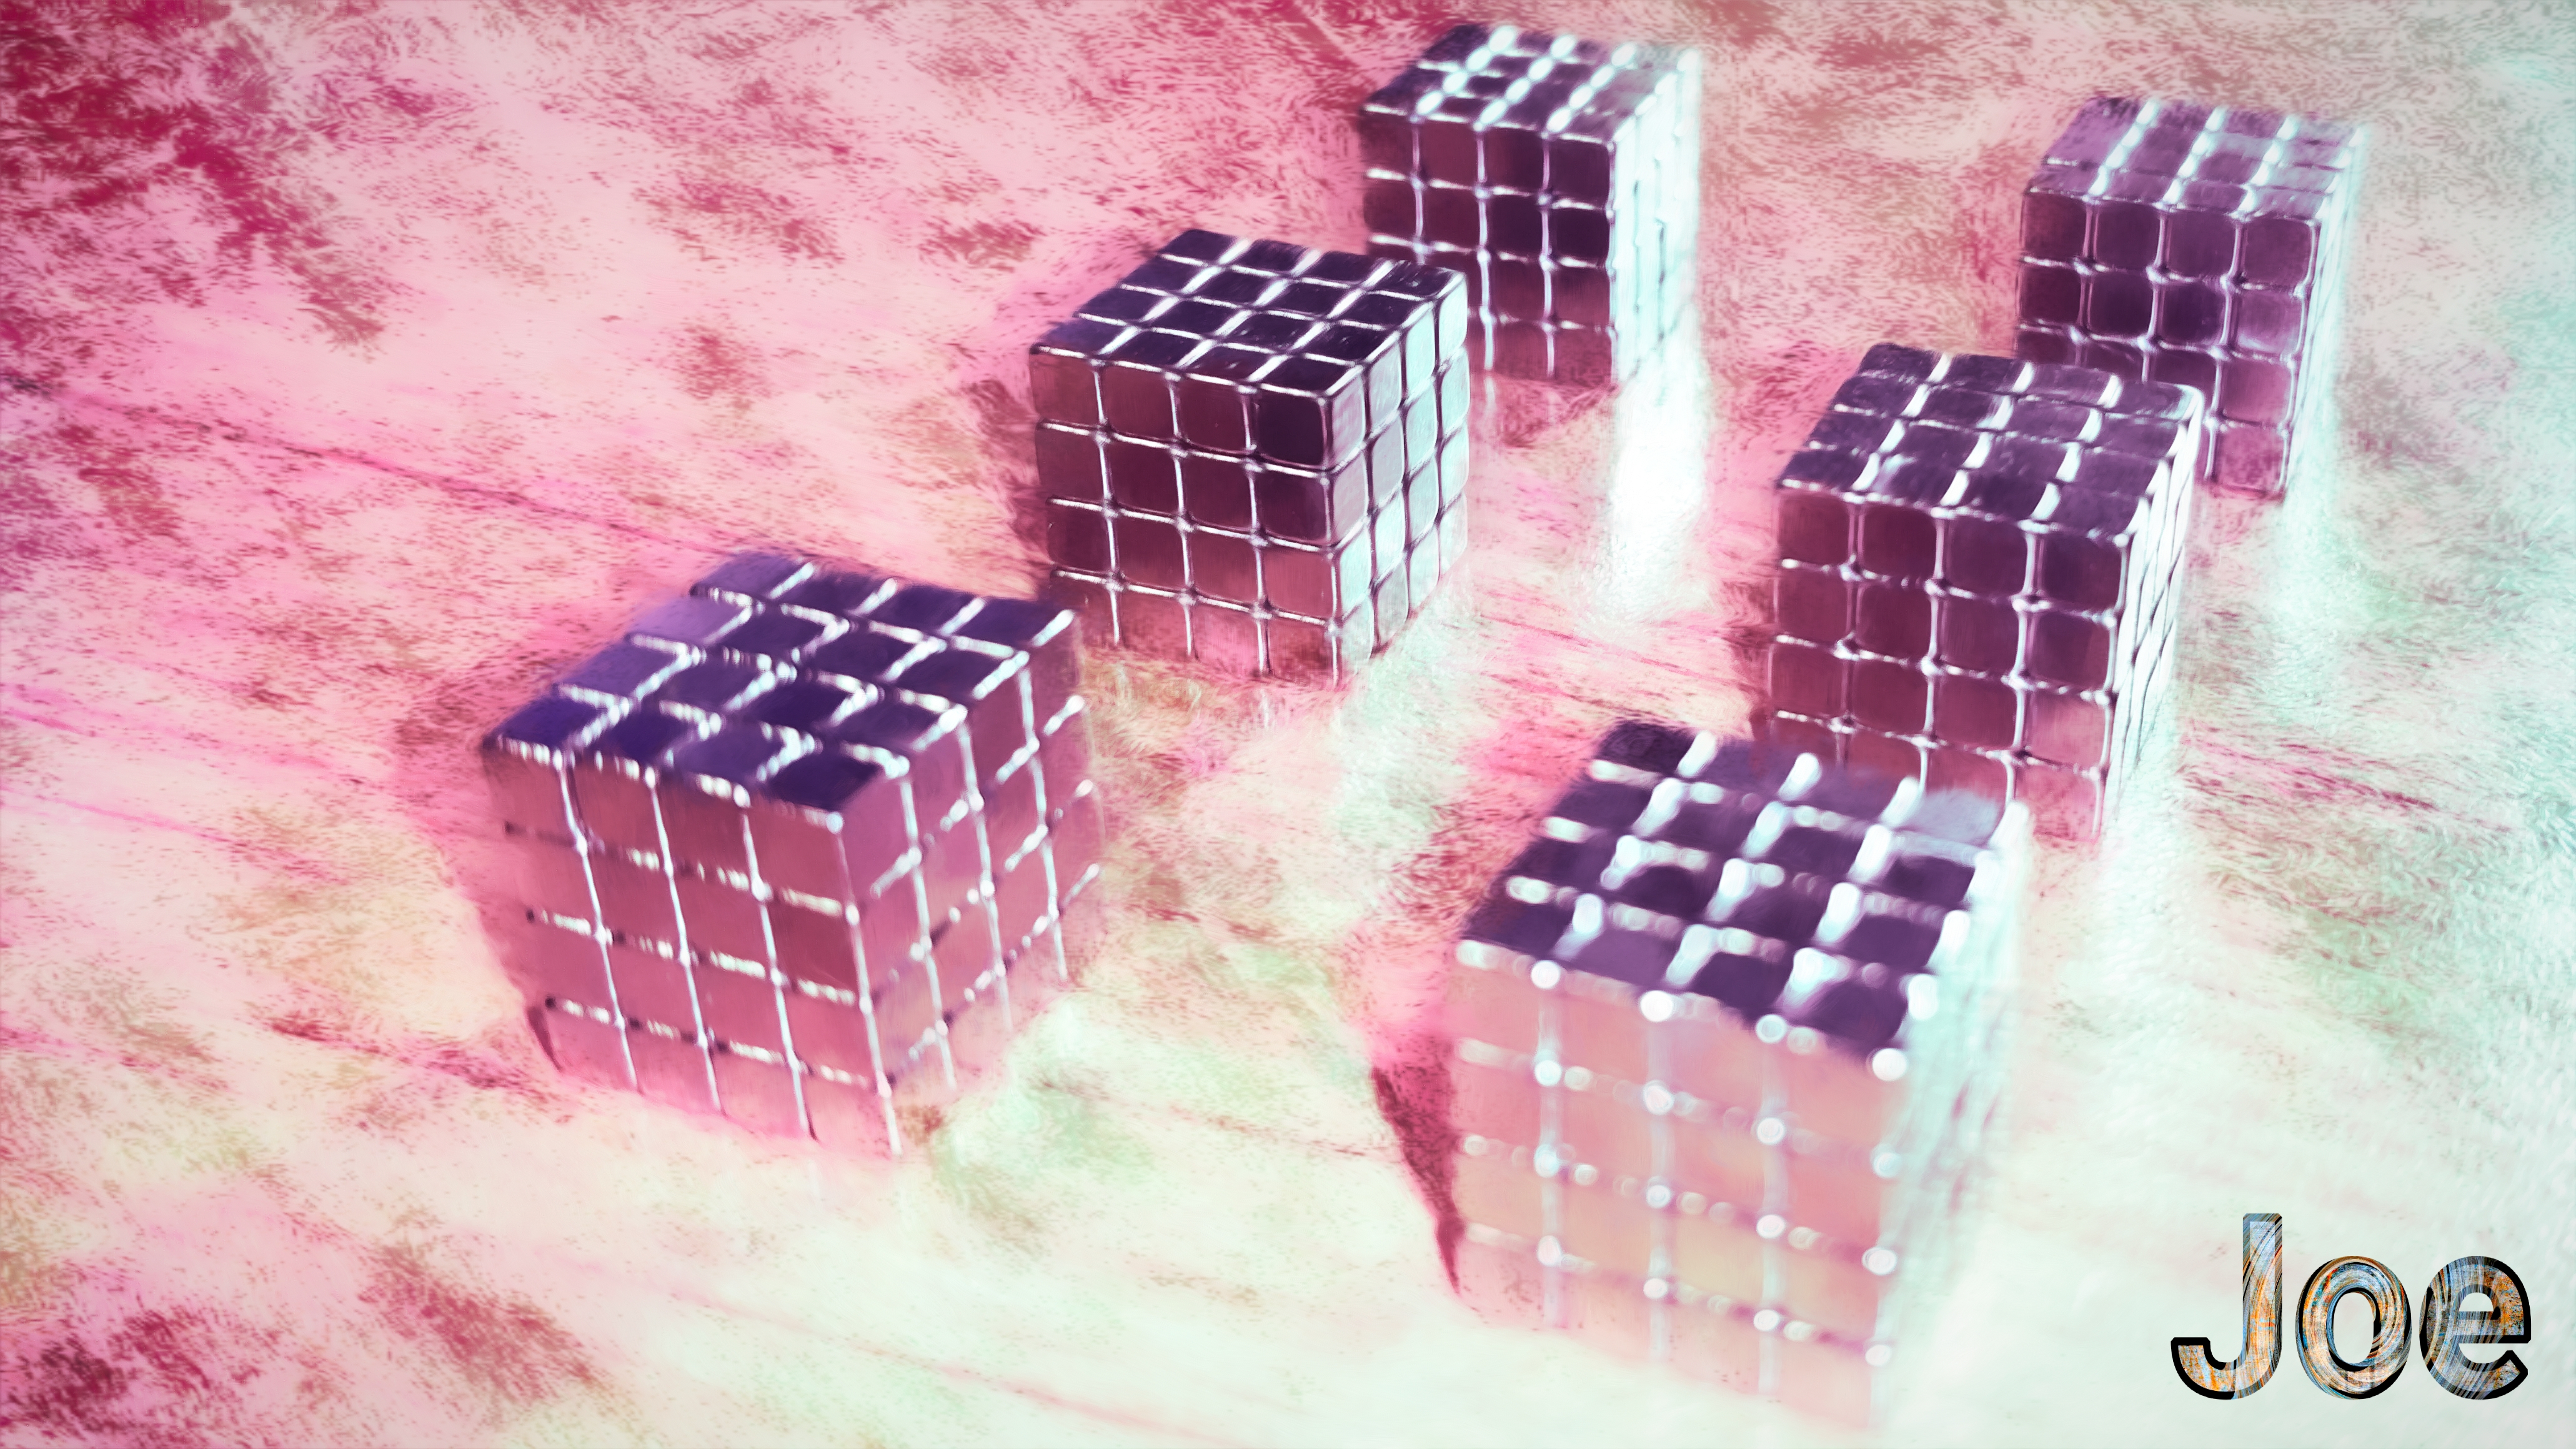
Hey everyone! Here’s a photo I’ve been working on. Processed in Studio, using these steps:
- Applied the Basic Adjustment: boost Exposure to +0.32, boost Clarity to +0.36, boost Shadow to +0.41, boost White Level to +0.25, reduced Saturation to -0.09. Used Lighten blend mode, 100% opacity.
- Applied the Quad Tone Adjustment: selected Vaporwave adjustment-level preset. Used Color blend mode, 36% opacity.
- Applied the Precision Detail Adjustment: reduced Overall Small Detail to -0.10, boosted Overall Medium Detail to +0.27, reduced Overall Medium Detail Boost to -0.35, boosted Overall Large Detail +0.24. Used Screen blend mode, 100% opacity.
- Applied Texture Adjustment: used a 2 Lil Owls texture, reduced Brightness to -0.24, boosted contrast to +0.50, boosted Detail to +0.29. Used Overlay blend mode, 46% opacity. Created a mask to reduce the effect on the cubes.
- Added Impression Adjustment: selected Brush type04, set Number of Strokes to High, set Brush Size to 0.31, set Paint Volume to 0.77, set Large Brush Volume to -0.36, set Paint opacity to 0.65, set Stroke Width to 0.44, set Stroke Length to 0.47, set Smudge to 0.16, set Coverage to 0.36, set Coverage Transition to 0.38, set Painting Progress to 0.19, set Texture Strength to 0, set Background Type to Original. Used Normal blend mode, 71% opacity.
- Added a Text Adjustment for my fancy new signature/name.
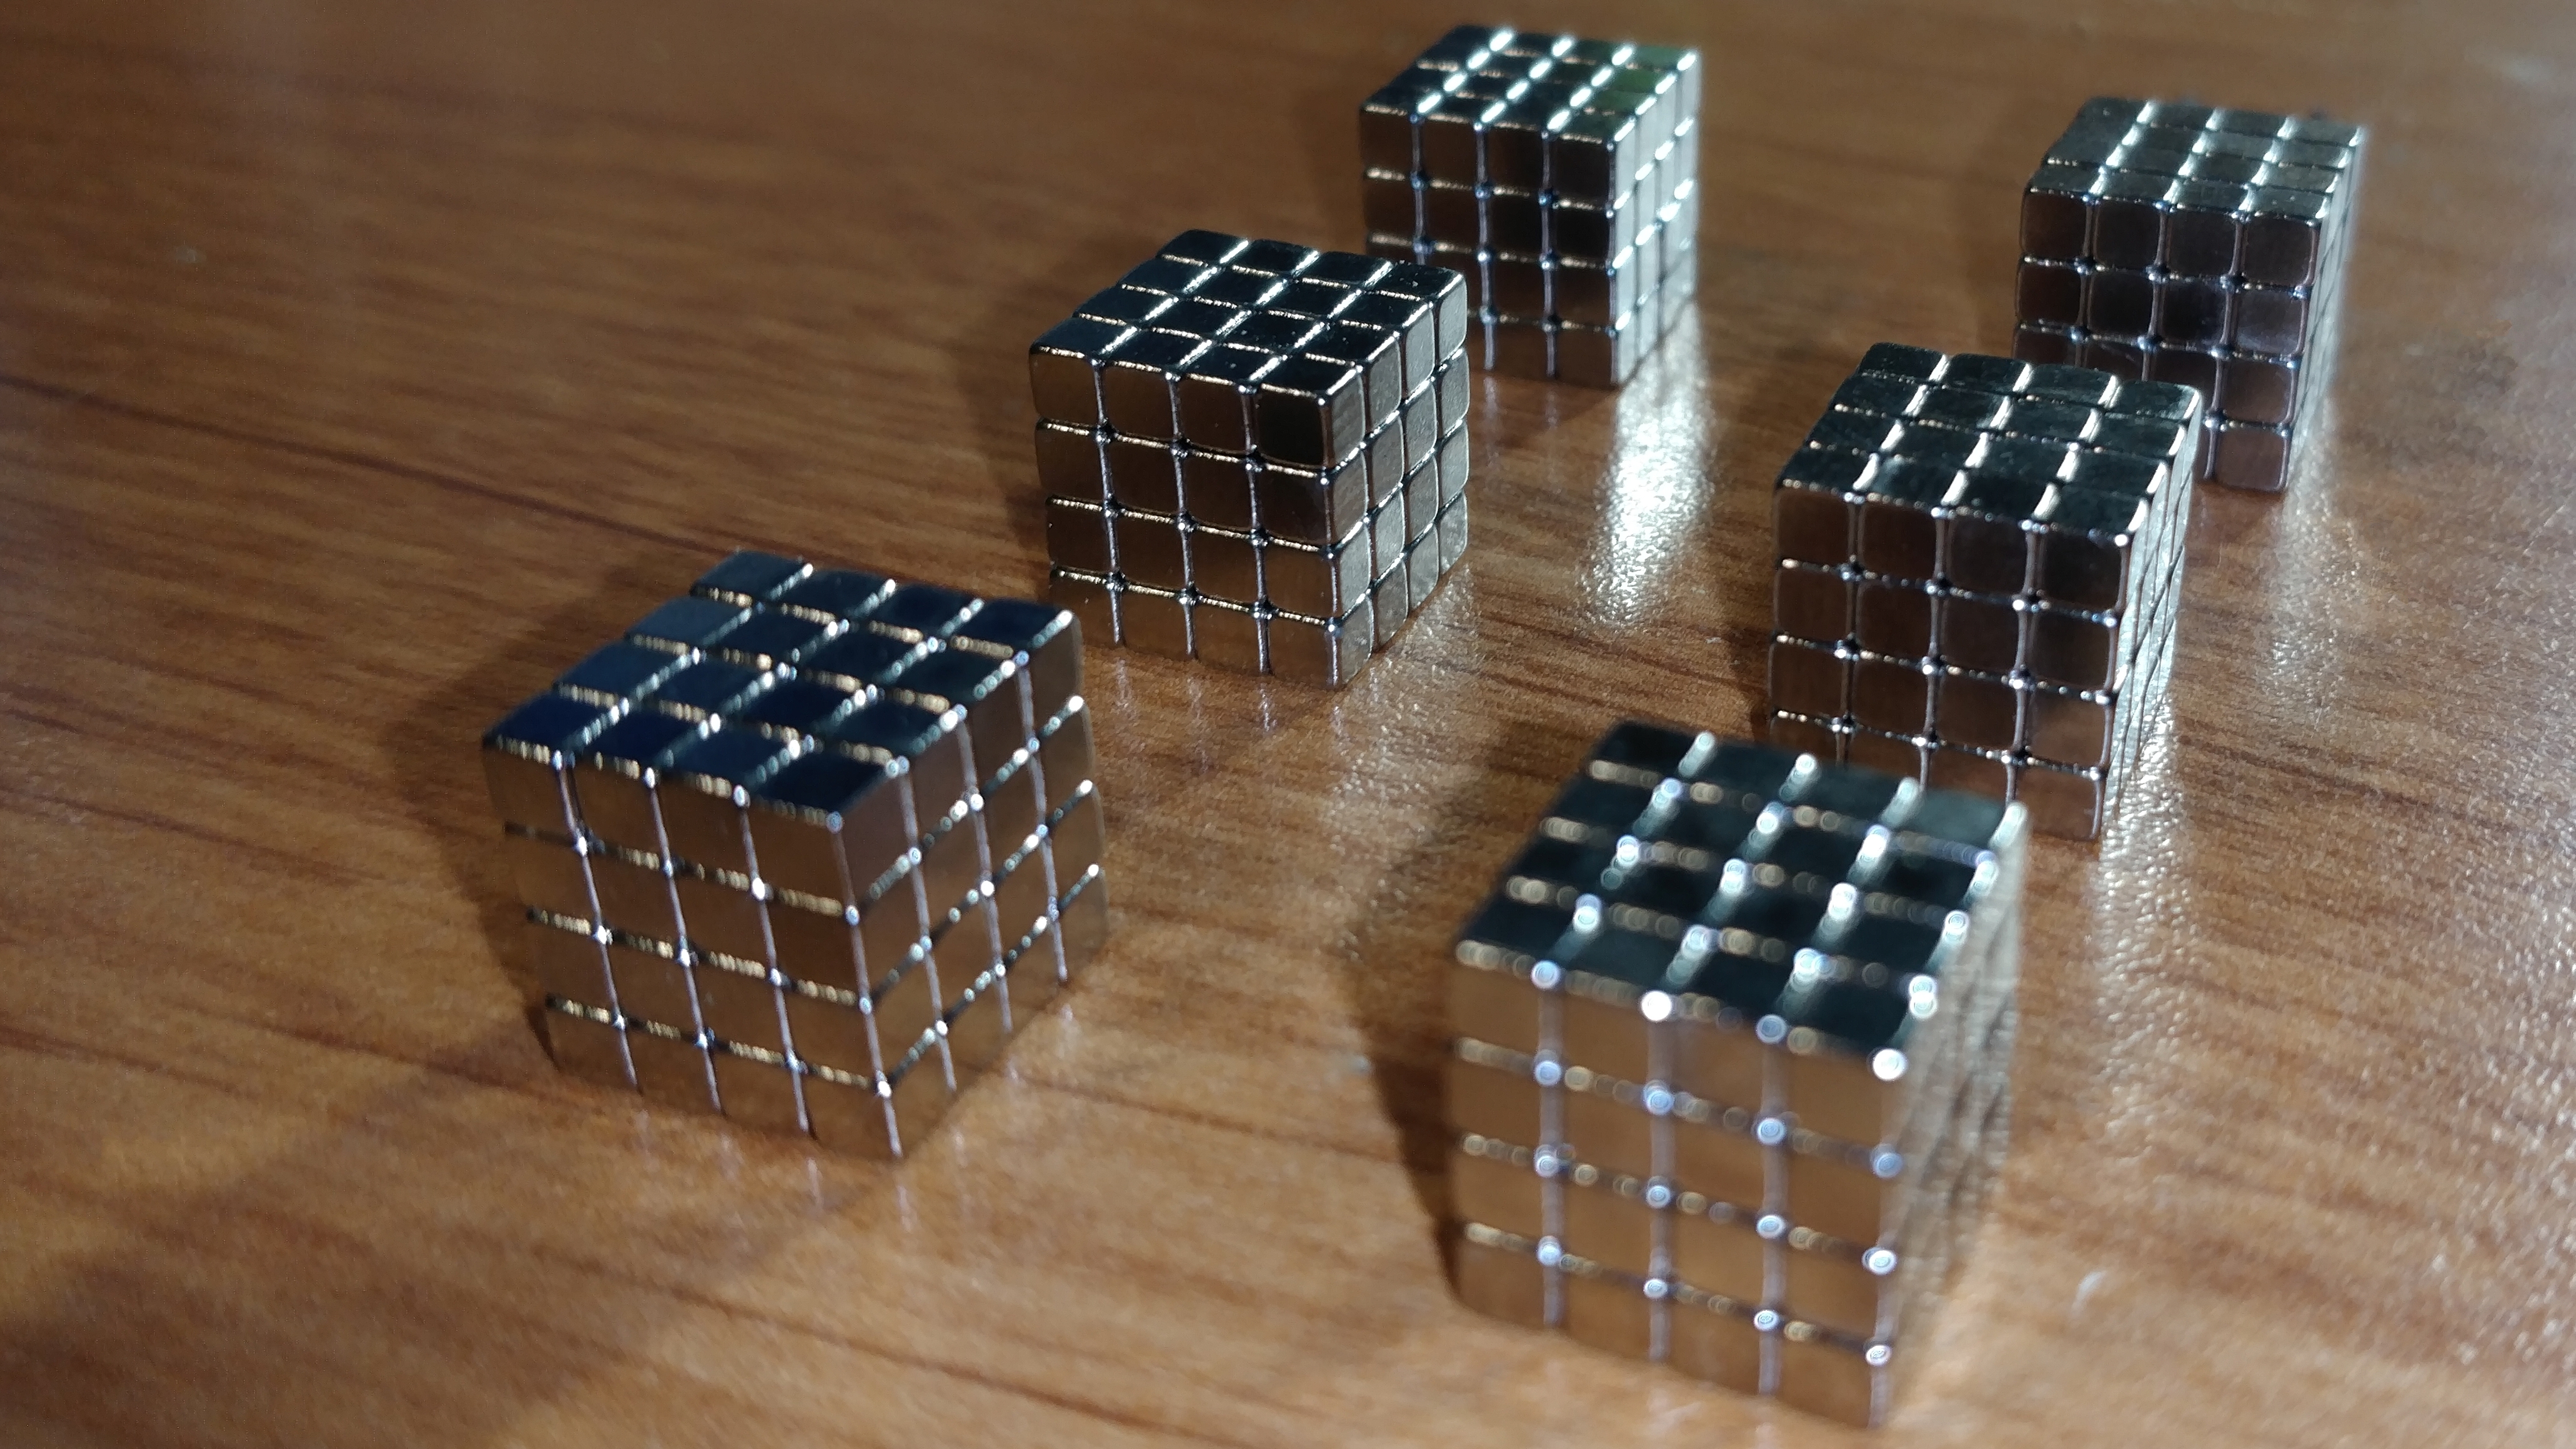
I’ve shared this preset on the community, excluding my signature, under the name “Vapor Texture Smudge”. You’ll want to mask out the Texture Adjustment, where you want your subject to stand out! Enjoy everyone! Original below: