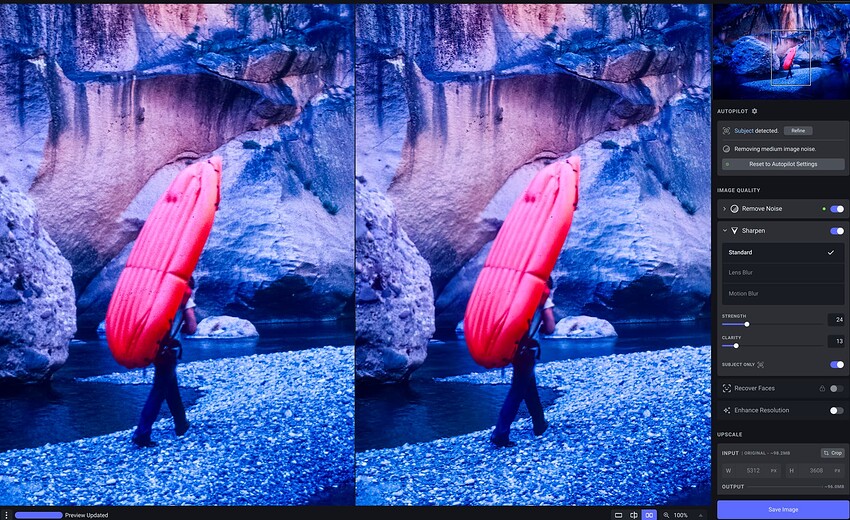
Great, thank you. If you need any further info, examples or testing, let me know.
Way too many posts to read them all so this may have been mentioned. 1. Finding the brush is far too hard to see. I think it needs to be more prominent.
- Using a portrait photo with three people the AI mask covered about 95 % of them with some areas of pants not covered. I then used that basic add brush and filled some hair area. I then scrolled down using the space bar/hand to the bottom to fill in some of the pants and the brush stopped working. It would not move when trying to apply the mask. Also, I couldn’t scroll the picture any more though I could zoom.
Windows 11, GPU RX 5600 XT, CPU Ryzen 7 5800X, 32 GB ram
Hi Don -
Sorry for confusion: I was responding to a reply that I thought was to me, but wasn’t - the chasing of replies is something “fun” with this layout ![]()
As for the HDR issues I am encountering, see my post above this one (#83 on March 5th) and it shows with screen shots what the issue is from a visual standpoint, but to try to describe: the development settings are coming back relatively the same values on the sliders after I run a LRMobile Camera HDR dng through the tool, but the resulting look is way off, and to a point that it isn’t recoverable
There is still a problem working with un-tone mapped HDR DNGs. The image comes from a Pixel 4. It is a multi frame, HDR+ Enhanced image that was also the result of on device digital zoom. The P4 outputs a jpg with it’s own AI enhanced uprezzing. The dngs from it’s digital zoom, are just crops of the sensor.
Below is a 50% magnification in LR. In PAI, I increased resolution by a factor of about 2.1, to bring it back to 12mp. The one on the left comes from the un-tone mapped dng. The one on the right is a 16 bit tiff that I first tone mapped in LR. I’m not sure which processing parameters in PAI will ultimately be best, but both of these are the low rez model with sharpening, no mask. I just made a quick job to show the issue.
Basically, any underexposed sections of an image are not enhanced, or are down right blurred to oblivion.
Please enlarge this to get the full difference. Below is a similar crop of the unprocessed dng in LR for comparison.
I don’t believe HDR from LR cameras is supported. What was fixed was HDR produced from LR because of the floating point integers used in the propriety DNG.
@adam.mains maybe you could comment on this.
Note anyone having issues with the Intel ARC series of GPUs a solution was posted by @gorp in this thread …
Do you mean the “Brush” tip should be a more conventional circle (and, square - for geometric objects) vs just a crosshair? If, yes, that would be preferable.
[Please describe your issue here. Try to include logs (Help → Logging) and add screenshots if necessary.]
Steps to reproduce issue:
Cannot proceed. Error: Topaz Photo AI is not installed. Mac Ventura OS.
- Step 1
- Step 2
- Step 3
Topaz Photo AI [v1.x.x] on [Windows/Mac]
Ahh - I didn’t read it like that.
But I do know last version I would receive an error when loading a HDR DNG from LRMobile that it wasn’t supported. This time around it will load, but results as mentioned.
Hi, since loading the latest version, when i open Photo AI from within Lightroom, the image changes to monochrome and is distorted, whereas when i export the same image and open it in Photo AI, it retains its color. any thoughts on why this is so? To clarify, this happens in the File pull down tab for Plugin Extras.
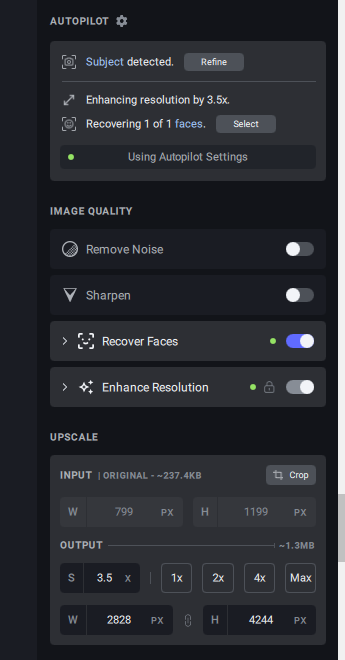
When batch processing pictures, the GPU is untouched and almost no CPU usage.
The processing is slow.
Some setting i’m missing? I’ve selected the M1 Max.
Mac studio m1 max
Can we have the original image for us to debug? Please help drop the file below if possible. Thanks!
This issue can be fixed by deleting the plist files for Topaz Photo AI and rebooting your computer.
An article with instructions is here:
Topaz Photo AI Freezes on Importing Image (Mac)
No, I mean that the masking brush is hidden and I almost gave up trying to find it. Look at the panel, the masking brush is nowhere and even “refine” is meaningless.

Ahhh, now I see what you mean!
Yes, agree, it would be cool to have a little Brush Icon on the Refine button. Since that was a symbol Topaz used as a convention for masking in the past.
Squares are present in the background after RAW > DNG workflow.
-
Noise reduction + Sharpening applied
-
Cropped up 2x upscale
-
Enhance Resolution = High Fidelity
The Squares do not appear if I do not crop and use Enhance Resolution. I uploaded the image to your dropbox.
I was looking at the square issue recently. Can you help confirm you saw the same thing on this image? Thanks!
Applying cropping → set to 2X → turning on toggles of sharpen and denoise (enhance resolution is on, by auto).
No squares in preview. Saving to png, no square. Saving to dng, squares show up.
I can confirm that the squares are not visible in the preview. Only when saved back to Lightroom as a DNG. I don’t have the option to save to PNG.
Also, if it helps, squares do not appear if I turn off Sharpening.


