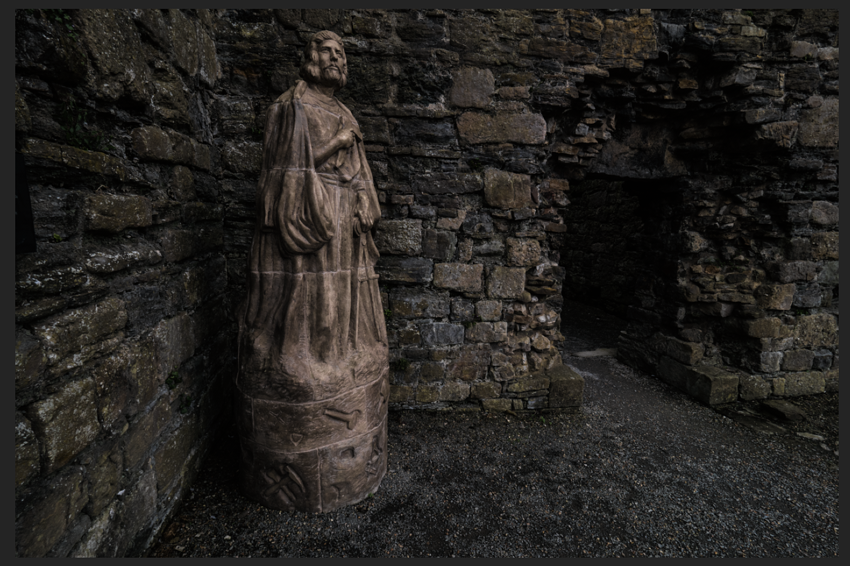
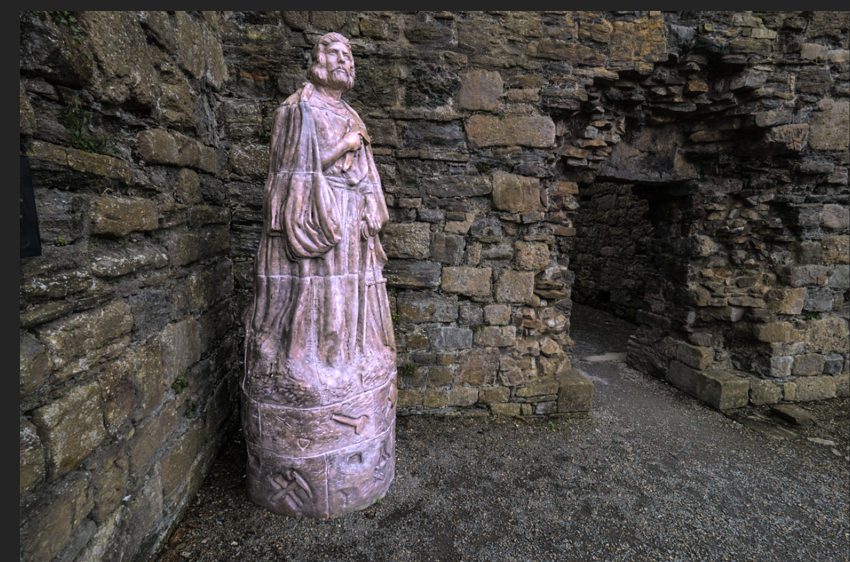
I am having a hard time working with Layers and Masks in Studio. I’ve looked at a couple of tutorials but I’m still mystified how all this works… so mystified, in fact, I’m not even sure how to ask the question, or how to illustrate my confusion.
What I want to do is
1)create a “background” layer and apply, say, basic adjustments, or, even better, effects from a “specialty” like Detail.
-
create a “foreground” layer with effects from a “specialty” like Clarity.
-
Mask the “foreground” layer so that only a portion of that layer shows, and the rest of the “background” layer appears where the “foreground” layer is not masked.
I will try to illustrate.
First, here are the three layers in the image I’m working with:

My objective is to darken the background so that the statue of this “Master Mason” (at Beaumaris Castle in Wales) will command attention in the frame. For starters, I have taken this bottom “Basic Adjustment” layer and brought the exposure down 2/3rds of a stop:
Then I went to the “Detail” specialty and found a nice effect called “Spring Landcape II” that lends a nice warm cast to the statue:

I THINK that is what appears in the middle layer, labeled “Channel Mixer” in the Layers palette above. So I painted the mask that you see there so that the effect would be applied only to the statue.
I think this is where I start getting confused. My expectation is that by making OUT all but the statue, the underexposed “background” layer should be showing through.
But when I adjust the exposure value of the background layer, the adjustment seems to effect the entire image, not just the masked background.
On the other hand, when I go into the “Channel Mixer” layer and move those sliders around, that seems to effect only the statue. So somehow, despite my clumsiness with the process I seem to be getting something pretty close to what I had in mind:
I also have a third, top layer for “Precision Detail.” I’m not even sure how that got there. Note also that this layer is also masked… which brings me to one of my direct questions:
Is it possible to copy/paste or otherwise duplicate a mask from one layer to the next? In this case, I started with the mask for the Precision Detail layer. I then wanted a similar mask for the Channel Mixer layer. I had to do that manually; it would have been a touch easier if I could have replicated the mask from the other layer. Is that possible?
It might be that I just don’t understand what the masks are revealing,. I might be operating under the misconception that what is masked in one layer will let the contents of the other layer show through. That is why I expect exposure adjustments to the bottom layer to effect only those portions that show through the masked layers above it, and not the entire image. That might be a misconception that I’m carrying over from Photoshop, where masking one layer lets the layer below show through
So, what am I not quite grasping here? Do the masks in each layer effect JUST the effect in that mask?
Is there a tutorial that covers JUST the layers and mask effects? I have looked at several but they are an hour long and cover a lot of ground other than what I’m trying to sort out here.
Forgive my total confusion here, I hope somebody can grasp the essence of myth problem and set me straight. Thanks,
–PS

