“Text Preserve” – I didn’t know there was such a thing…now I will have to look for it…
Thanks for tip… : )
“Have you tried using the left and right bracket keys to alter brush size?” – …no, but that sounds useful…still way behind Photoshop’s (brush control) features…
…anyway…it was a little concerning that Photo AI didn’t do a better job of detecting and defining a mask for an aircraft against a clean, even background…
I have spent so much time isolating skies from other things, planes or whatever, I was hoping “auto recognition” would work more or less flawlessly on sharp, hard edged objects…but that’s not the case…
Thanks for reply!
Yes, with Text Preserve you use a masking brush to ID by painting over text in your image. It’s goal is to preserve how the text appeared in the original image vs being mutated by the sharpening and/or denoising gyrations. I’ve found in some cases it improves the appearance of text in my photos, but the baseline expectation is (at least to me…) that it preserves how the text looked before other PAI processing.
Brush ops. Yes, Ps is better. I only do post-processing in Ps. So often I must ‘translate’ what to do when working w/the PAI plugin to Ps. I don’t use PAI standalone to process Raw images. For me, it’s not there yet. I use ACR for that.
And, it’s been puzzling for a long time in the PAI development process (again, to me…) why a cleaner overlay/selection can’t be generated for subjects/objects on clean backgrounds. For the longest time I wondered if the only training images were birds - since that’s what’s always featured on the installer image thumbnails and the users who post the typically best sharpened images seem to post birds (and sometimes other nature critters). I’m more in your camp w/regard to I shoot architecture, cars, street photog and use a mix of images to create composites (in Ps) that need consistent sharpening, denoising and scaling. I’ll be curious to see if the scaling aspect of PAI (in Ps) helps at all w/the low res Firefly generative AI content.
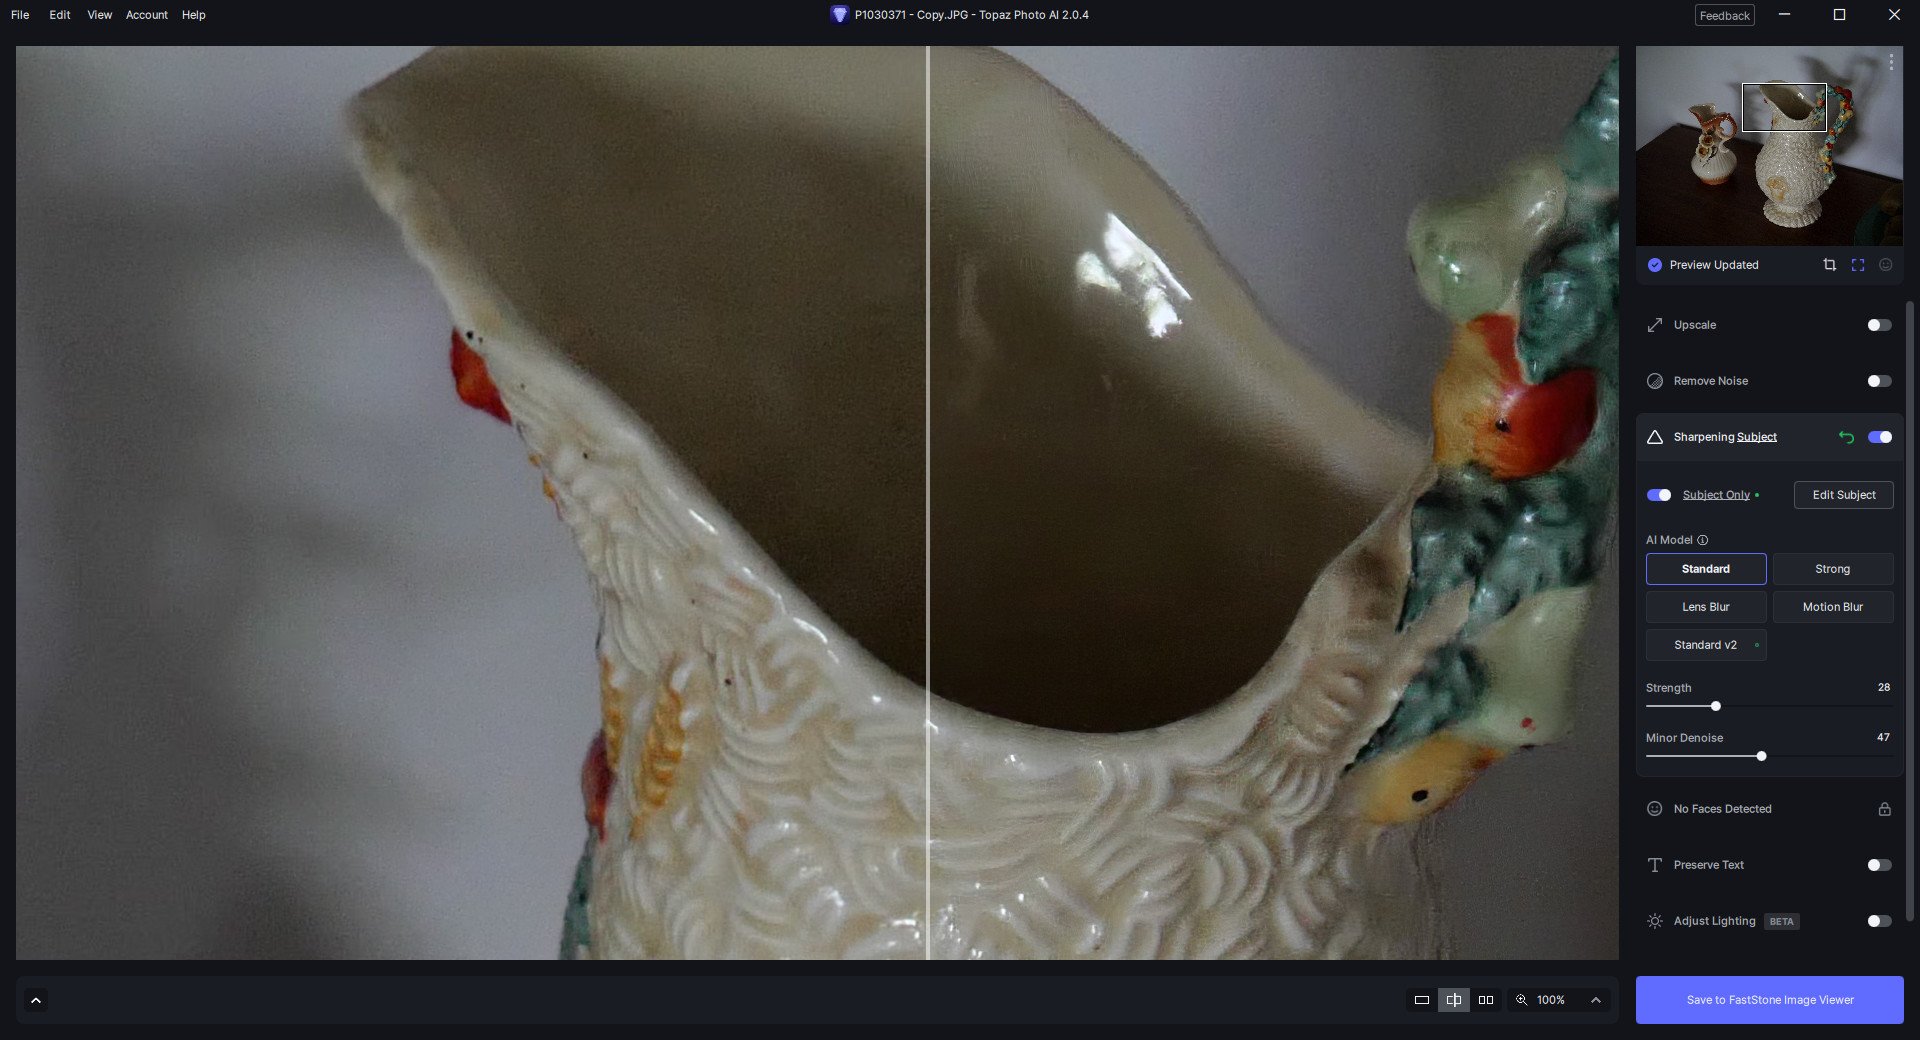
In most circumstances, I have found that the V2 of “Sharpen standard” is much too strong, introducing artifacts or unpleasant images. Reducing the value of the “Strength” helps a little bit, but not sufficiently. In most cases I choose to use the V1 version of “Sharpen standard”.
If the V2 of “Sharpen standard” is planned to take the place of the V1, please keep the V1 by simply renaming it (for instance rename it “Mild”).
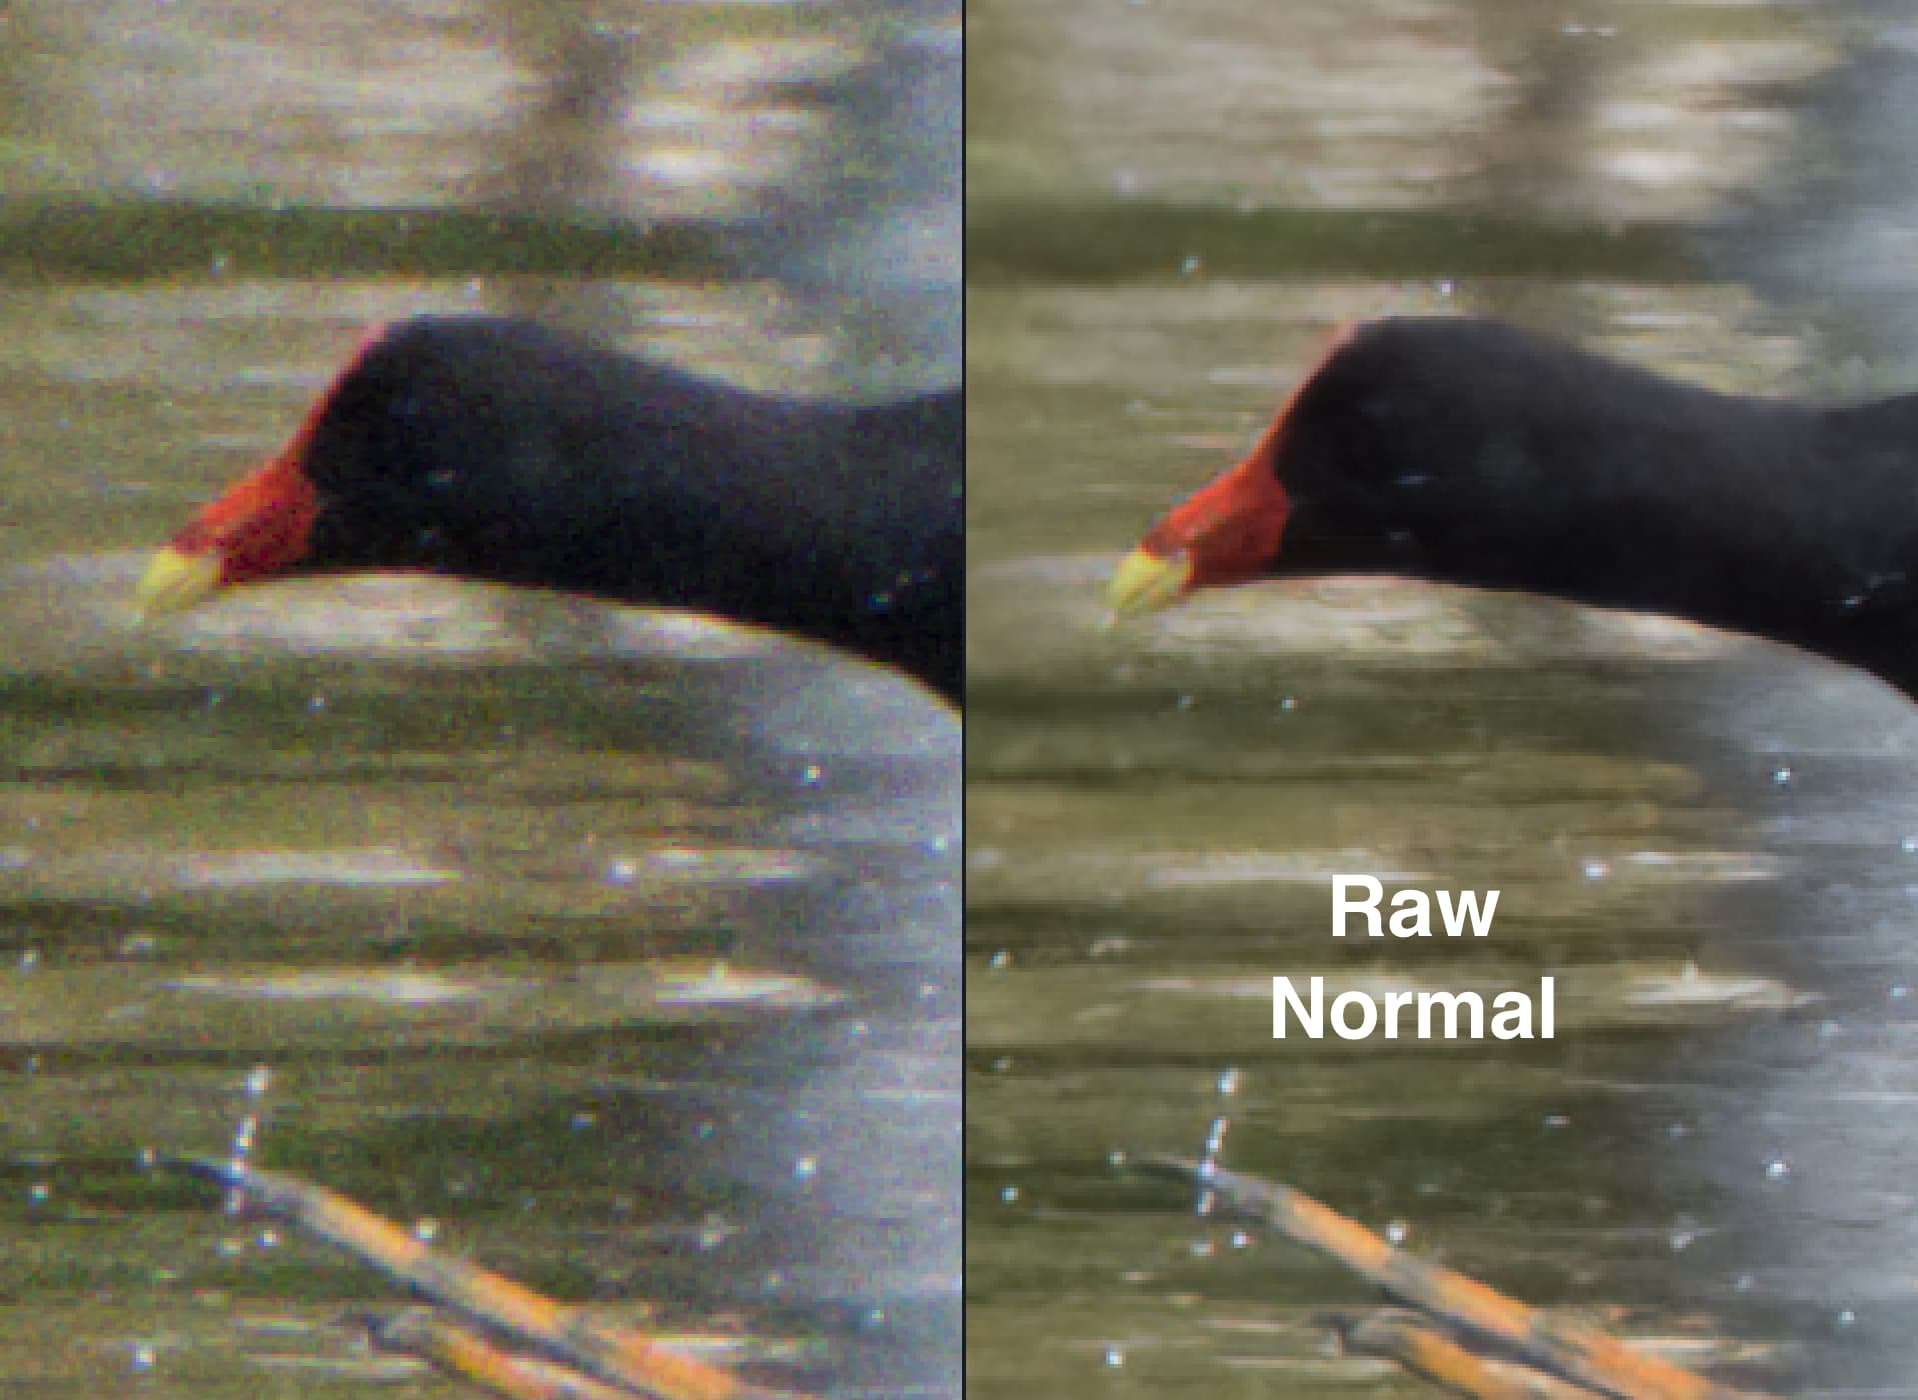
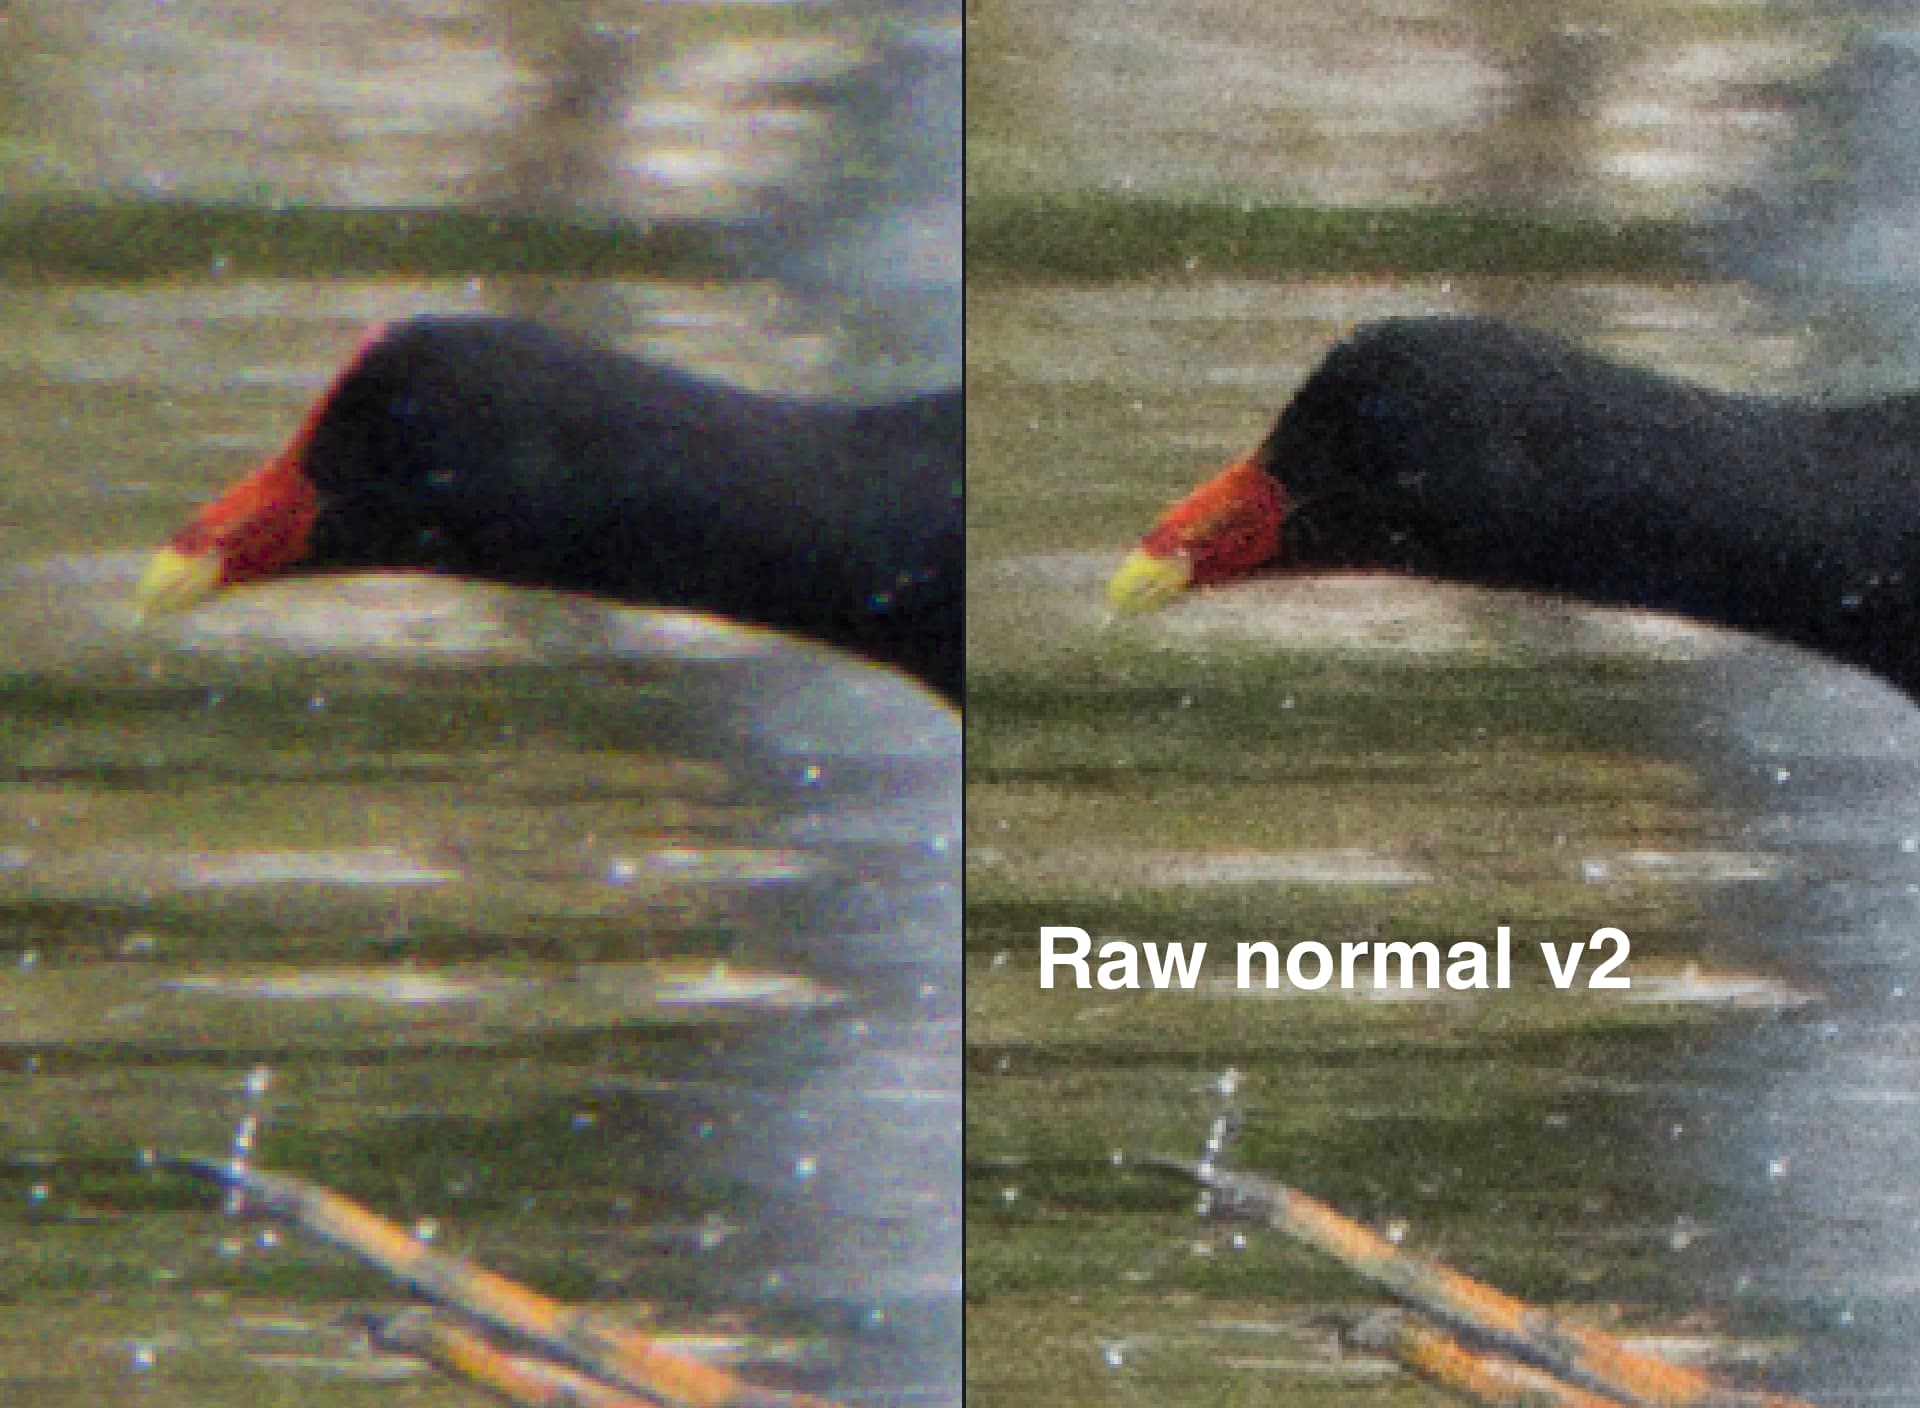
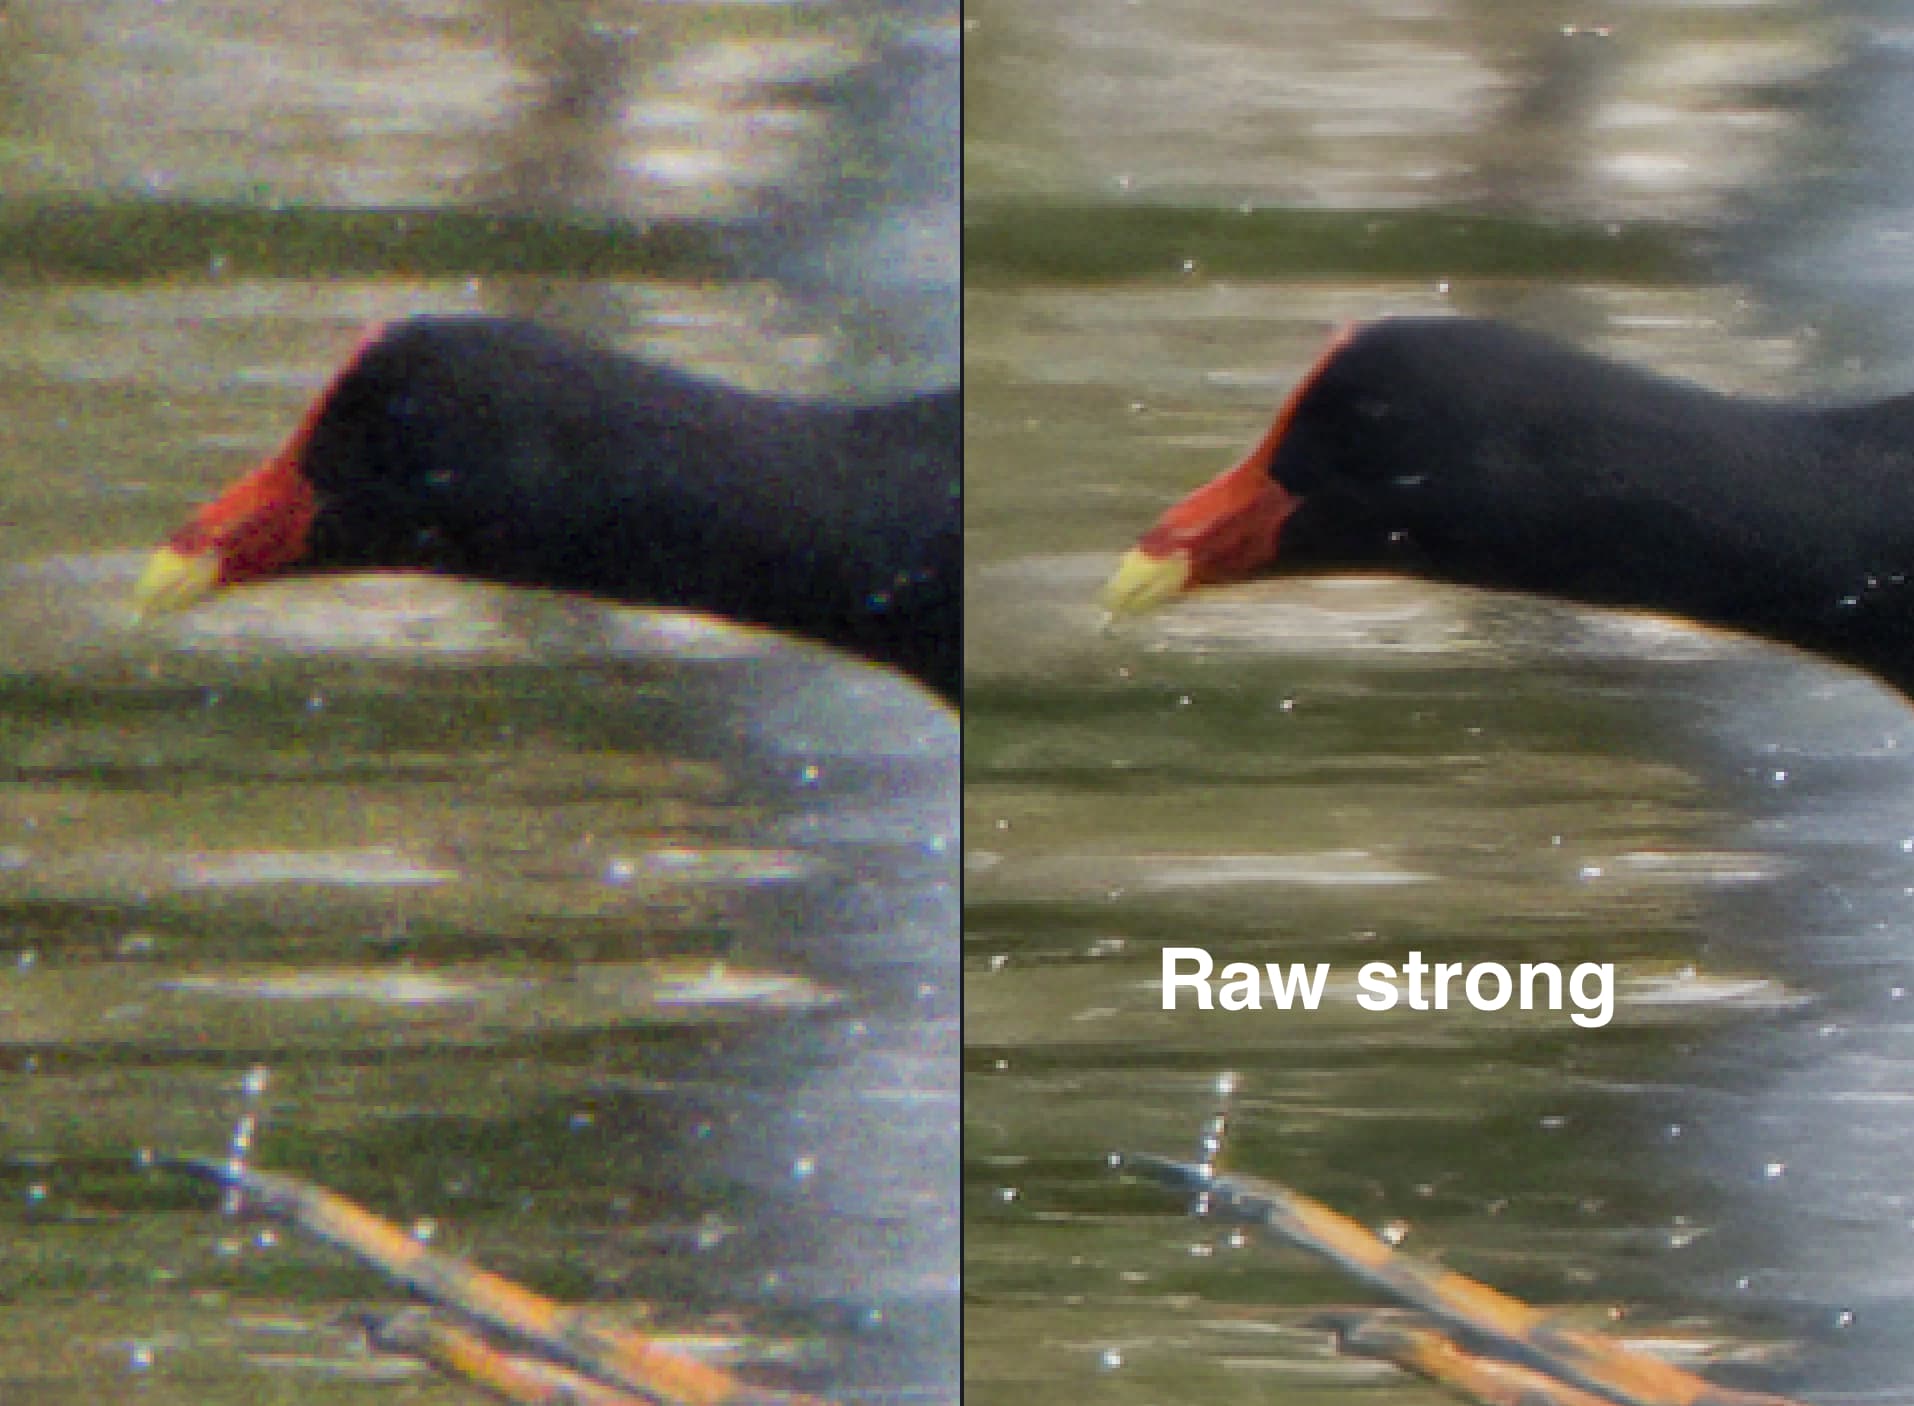
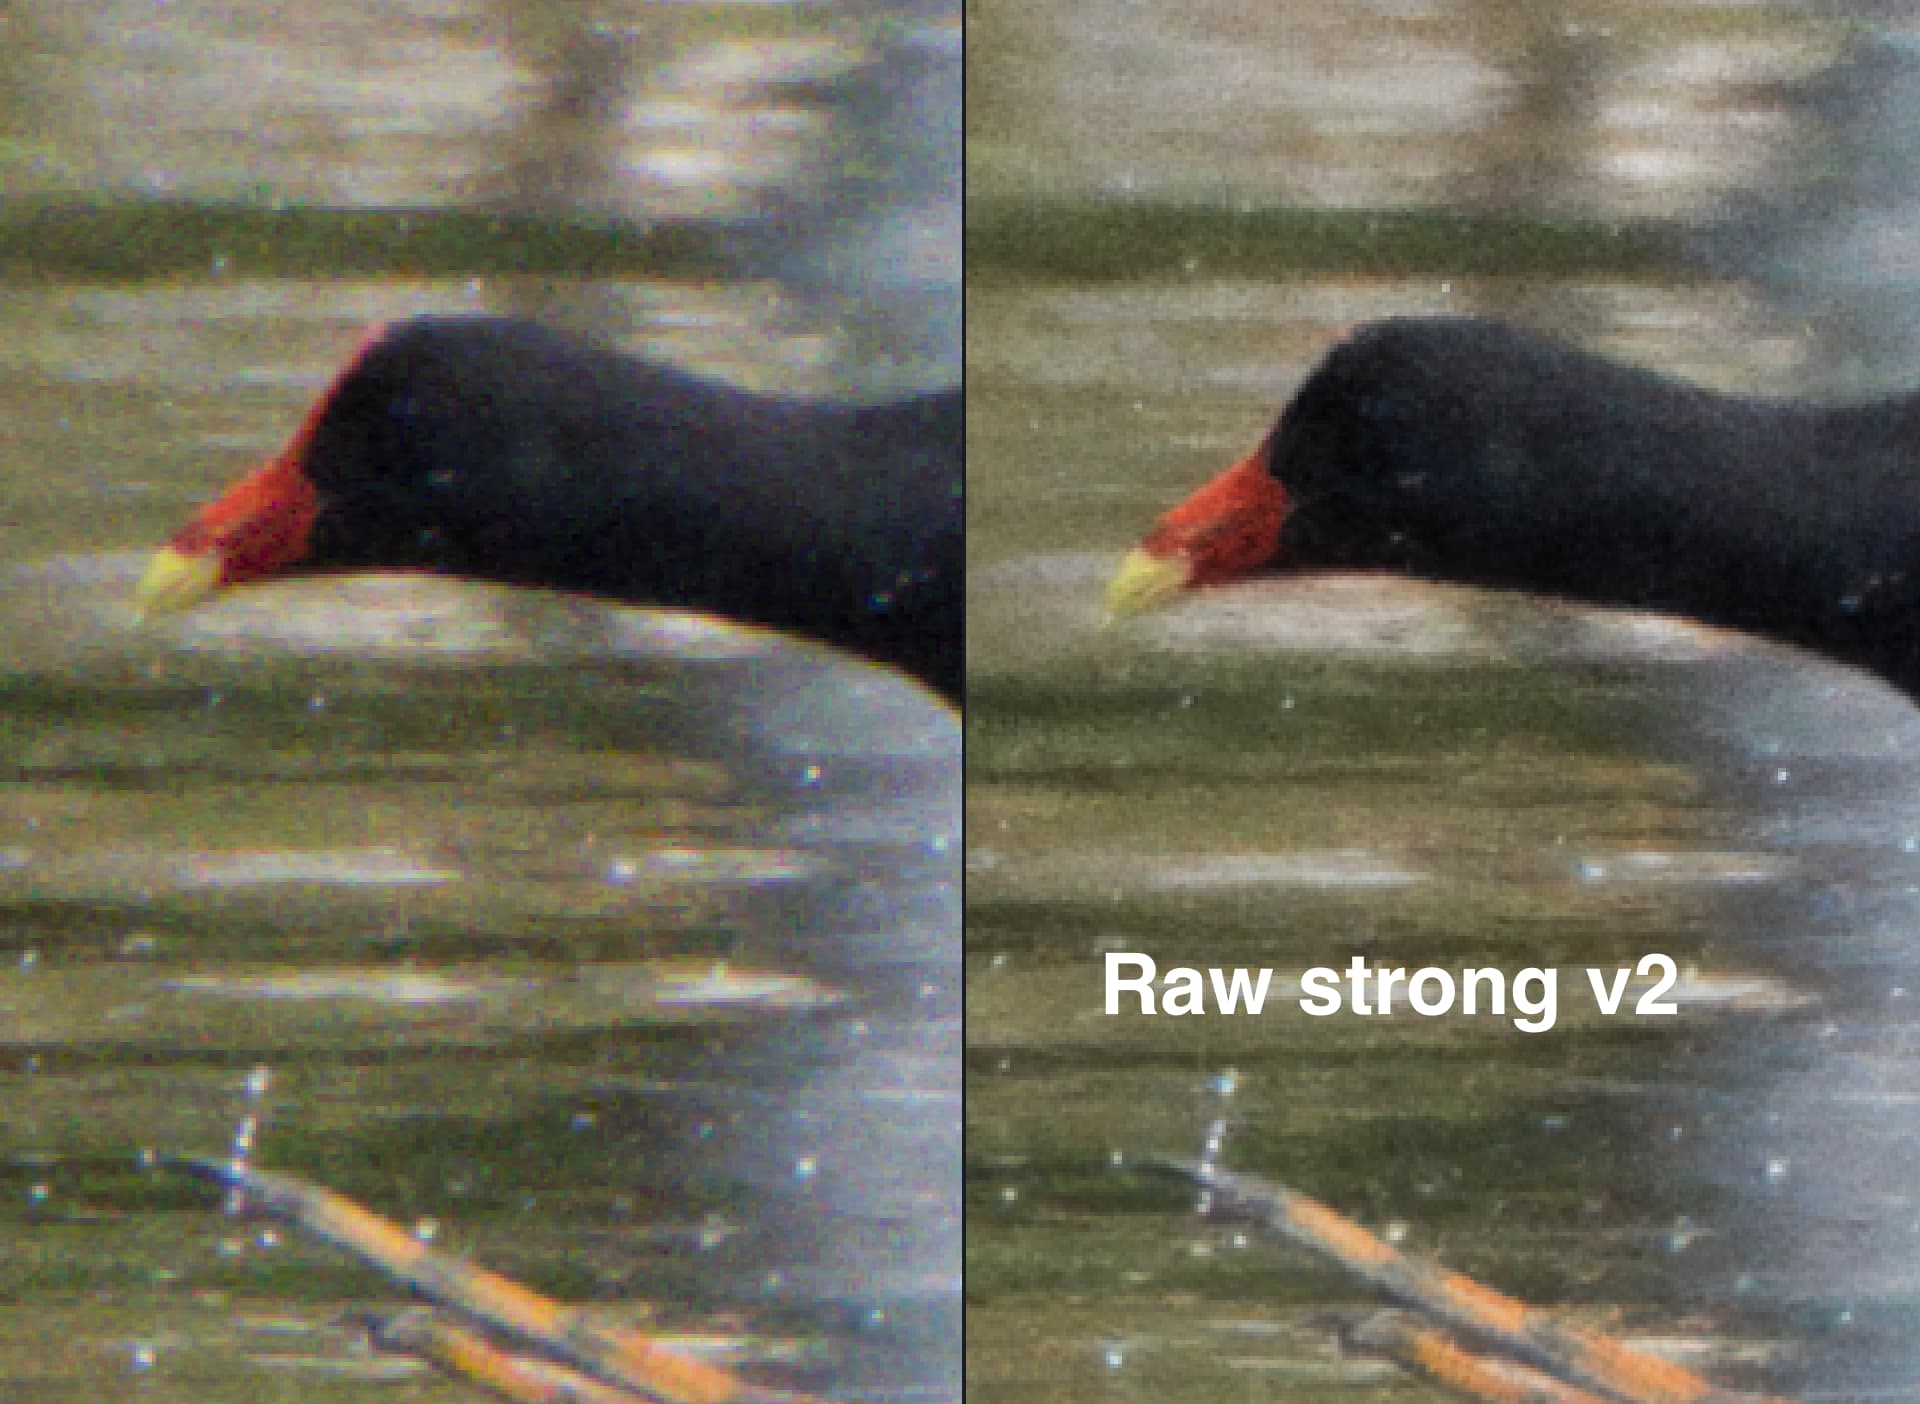
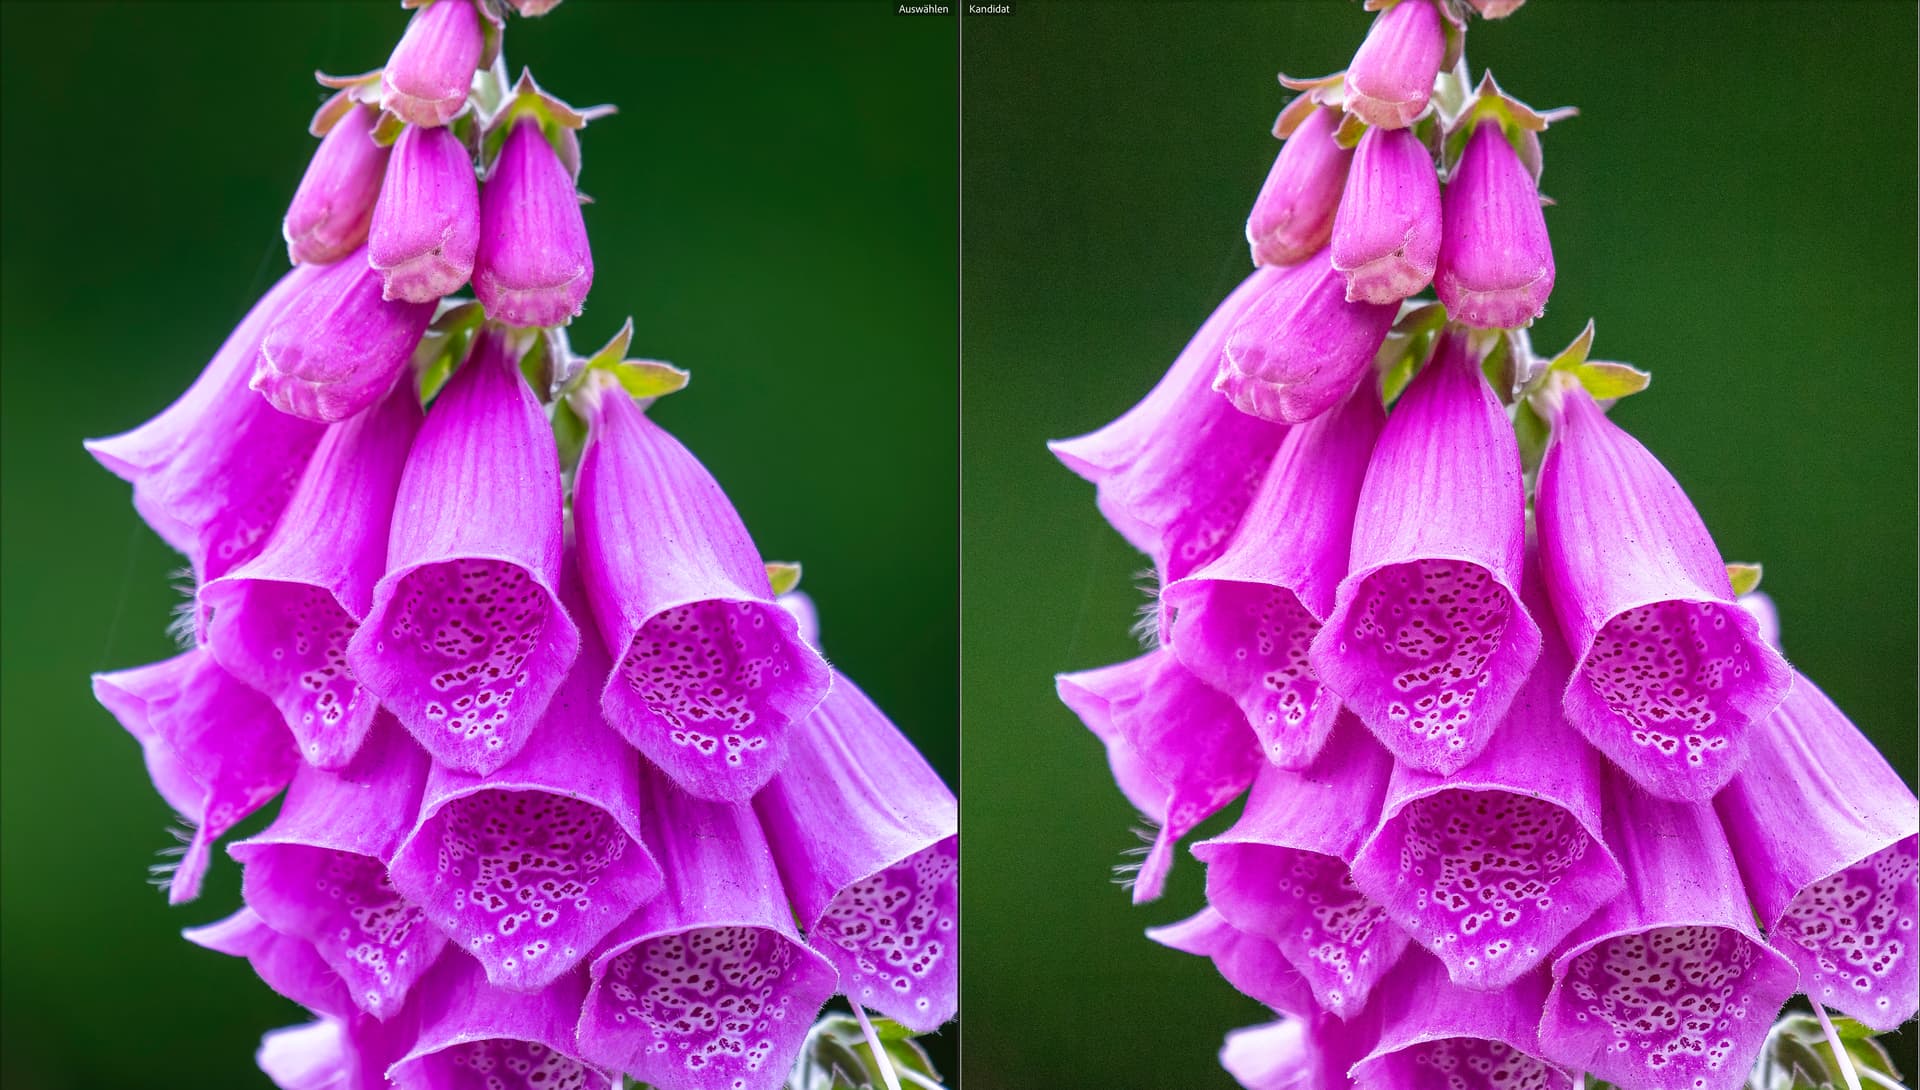
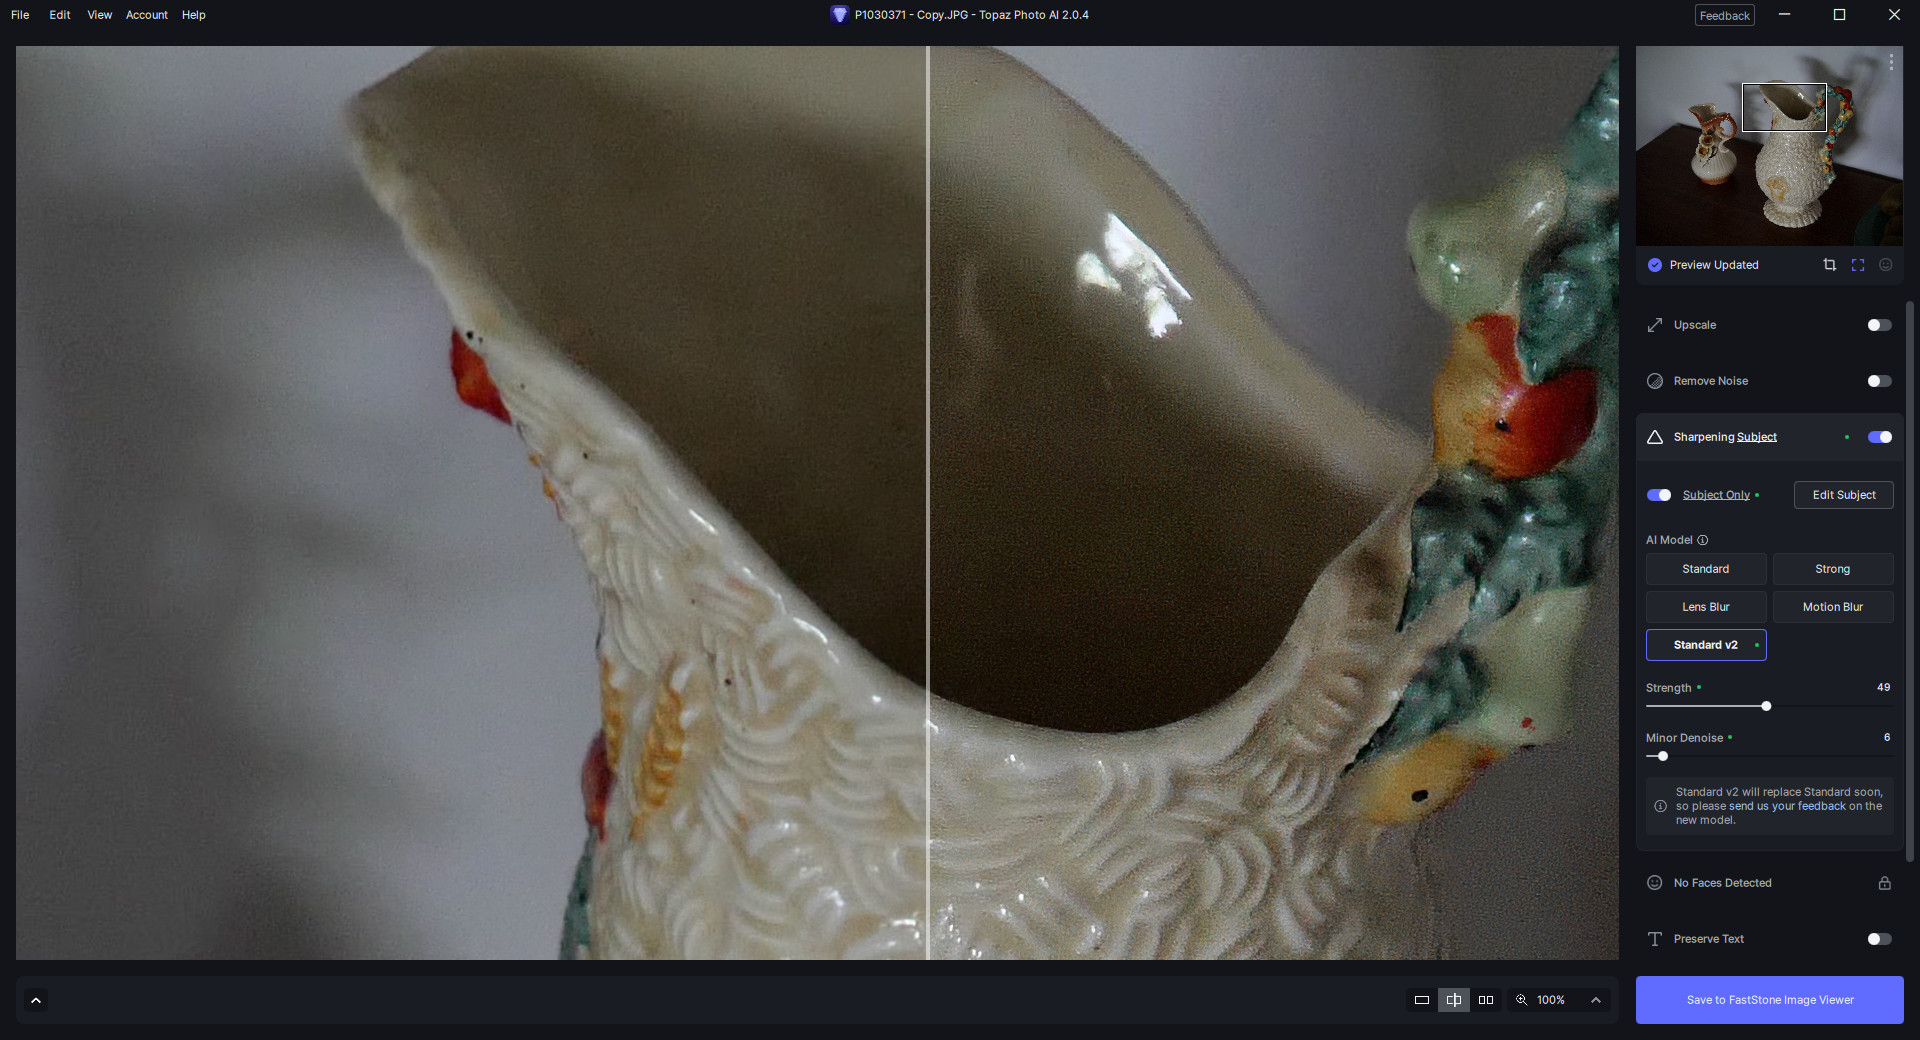
honestly, huge disappointment- I’m losing literal image information with the v2(pay attention the red on the birds face). images to demonstrate attached. in each case, 400% preview- the v2 makes the image much, much worse!! noisier, loss of detail… I just don’t see the benefit…
working from raw, DNG files. Let the autopilot do its thing, and toggled between the remove noise settings, in default… I’ll not be updating if you remove the option to keep original settings…
The RAW v2 are doing a better job for me. That is for wildlife / nature when having bad conditions / high ISO / high noise levels and CR3 files. (other formats can and do behave differently).
Where v1 looses the details too much. (fur looks as smooth as bare skin) Adobes recent raw noise removal did a better job, but the RAW v2 is about as good or even better. (in most cases).
Also I see far less of a color shift when using v2.
Slider settings from autopilot do need adjustment in most cases (v1 to lower, v2 higher), setting them wrong can result in “surprising” outcomes like strange patterns (happened in v2 (not in v1) but disappeared after increasing the slider setting with 100%.
In short HI still beats AI, and you need to play / try / skip error to get the best results. as per below
RAW normal v2 with auto pilot strength 28. the pattern / pixelation starts to go down at 39 and is gone at 45 and looking Good.
(unfortunately it (v2.0.2) keeps crashing when switching between them : raw strong v2 - v1)
For sharpening v2 no verdict yet. With autopilot settings it looks better (more natural) at first, but after testing and trying it very much look like that v2 is a slightly milder version of v2, and when increasing the slider for v2 the difference is largely gone.
In most cases I get best results using the strong model at very low (< 5) strength.
I posted previously about bright speckles on RawV2 photos taken a very high iso. I had a reply that this was caused by hot pixels. I don’t think this is correct as the speckles are not actually visible in the original unprocessed image and do not appear in Photoshop. Even after updating today, the old Raw Normal produces images that are far superior to the new V2 results. In fact I images processed in RawV2 are still still pretty much unusable in my opinion.
Sharpen V2 introduces a strange grid-like structure when applied to all of the image. Also it seems to shift colors and lighten up everything slightly.
Right side shows Sharpen Standard V2 result, left side shows DXO Pure RAW 3 processed image.
V. 2.0.3. Sharpen V2 is looking good, but default setting is too aggressive and I always reduce it by almost half. But I think it’s now better than V1. I am mainly interested in comparing it to Sharpen A.I., hoping that I will eventually be able to uninstall Sharpen A.I. and use only Photo A.I. As of now, they are close, but I still prefer what I see from Sharpen A.I. in terms of natural (realistic) look, sharpening where needed and not elsewhere, noise removal where needed and not elsewhere (sometimes medium-low level textures are mis-interpreted as noise and smoothed out). It still seems to me that Sharpen A.I. is making decisions that are preferable, but in most cases it’s at pixel-peeping level.
Can you submit a support ticket at support.topazlabs.com using the beacon at the bottom right corner of the page and include some context from the thread/your experiments? We’ll be able to experiment and take info better that way.
If you switch to V2 Raw Normal Denoise, without keeping the old version, I will likely stop using the program at times. The new V2 introduces a lot of white pixel “specks” in dark areas, and is noisier in other situations, as a number of others have mentioned. I wouldn’t be happy with this as a default. I appreciate that you want to make the product better, but this isn’t ready yet.
Sharpen RAW V2 tends to lighten the image. Denoise RAW v2 seems to add more detail. Maybe noise. very subtle difference. I had to pull V2 back in both cases.
Did a head to head comparison (again) with DxO Prime 3. DxO beat out Topaz this time using V2 Sharpen & Denoise, In the past, Topaz beat DxO with sharpening, which is why I have both tools. We are being really picky about this now.
On a side note, Adobe Denoise in Lightroom is doing a pretty spectacular job by itself. DxO used to get me most of the way there. Topaz took me all the way there. Mostly I use DxO more for camera & lens corrections. It’s slightly better than Adobe CR. Will keep using all tools for now.
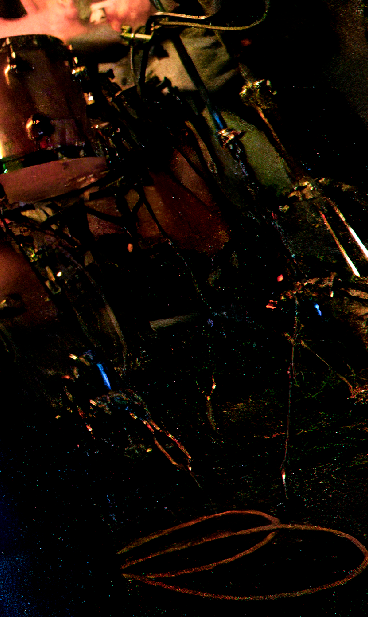
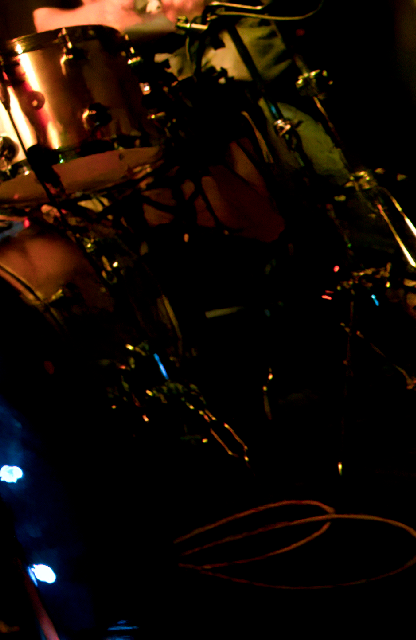
Any update on fixing the masive amount of bright spots introduced on high ISO photos by the Denoise V2 RAW? After the latest update I can’t even use the old Denoise model now as it has been removed. In my opinion this product is currently unusable for my purposes (Gig photography in low light at very high ISO). The old version worked just fine.
Any update on fixing the masive amount of bright spots introduced on high ISO photos by the Denoise V2 RAW? I can’t even use the old Denoise model now as it has been removed. In my opinion this product is currently unusable for my purposes (Gig photography in low light at very high ISO). The old version worked just fine.
We added Hot pixel removal option at preference panel. If you turn that on those bright spot should be fixed. Another way to deal with slightly grainy output is to increase the Remove Large Grain slider in Raw Strong model. You should get desired output by tweaking the Remove Large Grain and Strength slider in the strong model.
Thank you Partha! Changing these two setting has helped immensely! I’d have to test more, but at first glance this is now very similar to the old denoise model. Much appreciated indeed!